Christine de Beer - effortless floral craftsman
Foliage Weaving
- 8 June 2011
- and more
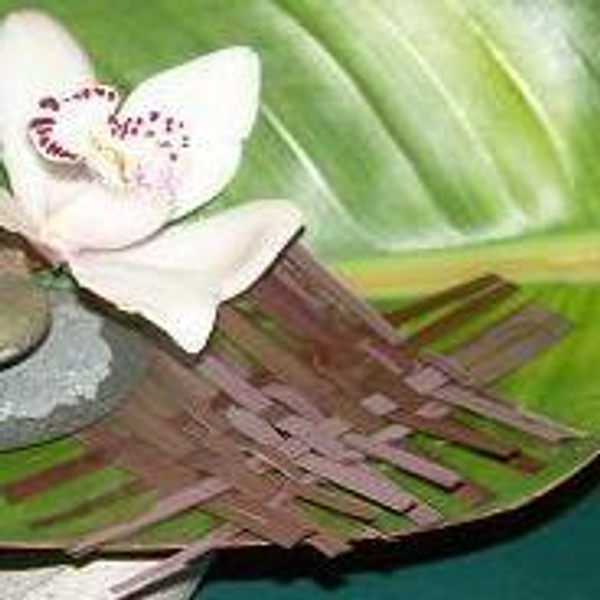
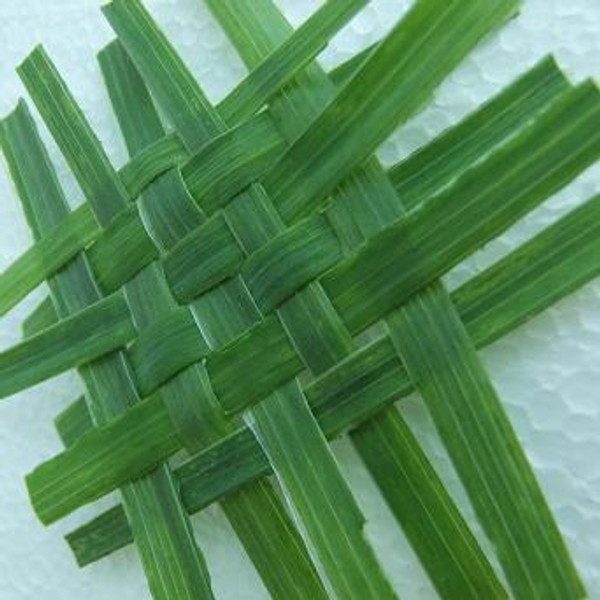
To weave is to interlace bands or strands or strips of material at right angles to build up a patterned mat, surface or sculptural form
This is a great starting point to learn how to weave with foliage. No need to soften or prepare the leaves to be more durable or flexible.
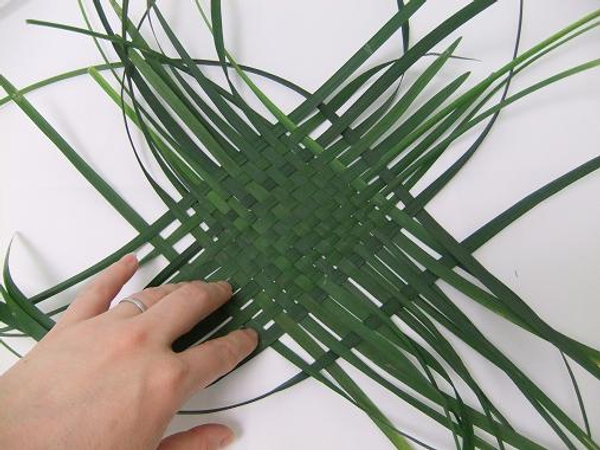
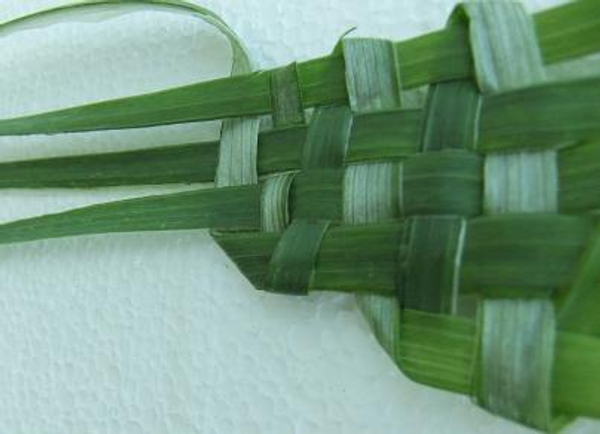
I used iris and cymbidium leaves to weave with but typha, lily grass or New Zealand Flax is great for larger weaves. In this tutorial I mainly used a balanced plain weave pattern that looks like a checker-board and is often described as a "one-up-one-down weave" or "over and under" pattern. There are many other weaving patterns but I find this to be the most versatile
To create an open ended weave:
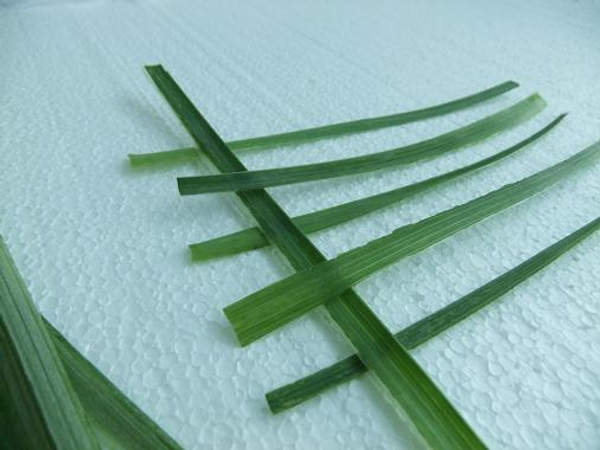
Place a few blades of grass in a parallel horizontal position.
Weave a vertical pattern, with a new blade of grass, under and over the horizontal pieces.
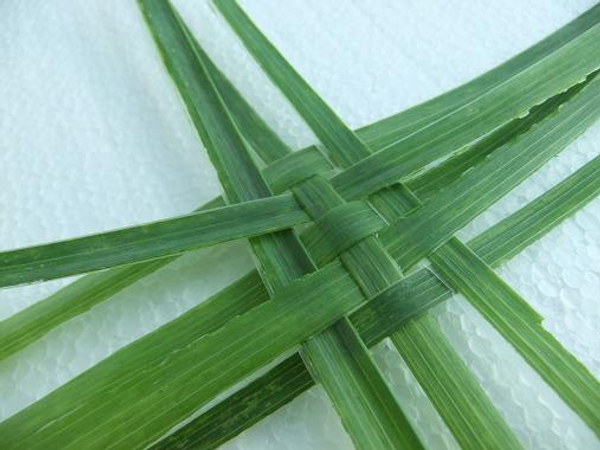
Weave the second row, with a new blade of grass, over and under the horizontal pieces. Keep the weaving tight up against the previous row for a strong weave.
Handle with care- the weave will loosen up.
For a more secure weave you can try:
To create a closed ended weave:
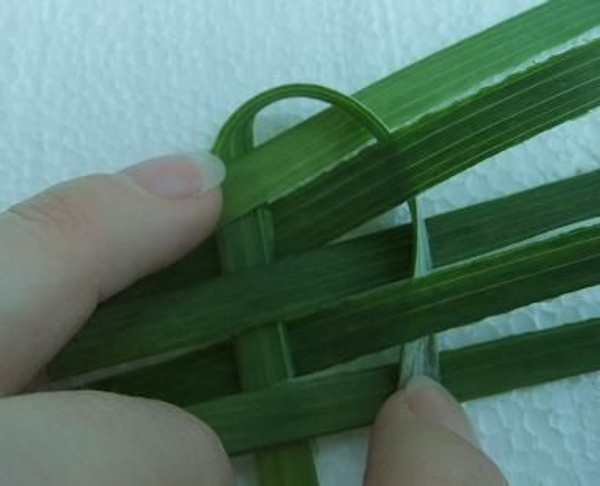
Take the end piece from the horizontal blades and weave it over and under across the horizontal blades.
When you reach the other side, bend the blade over and weave it back the other way.
Add new sections of foliage or grass as needed, by overlapping the end pieces and continue weaving.
To create a curve on one side:
Take the end blade from the horizontal pieces and weave it over and under across the horizontal blades of iris leaves. Bend the next end piece from the same side as the first piece and weave across.
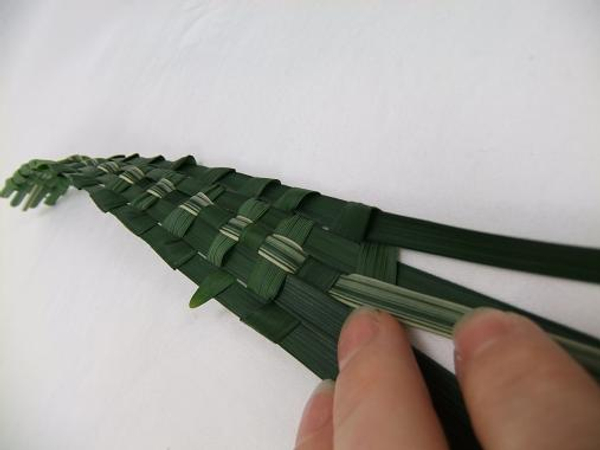
To create an edge that tapers on both sides:
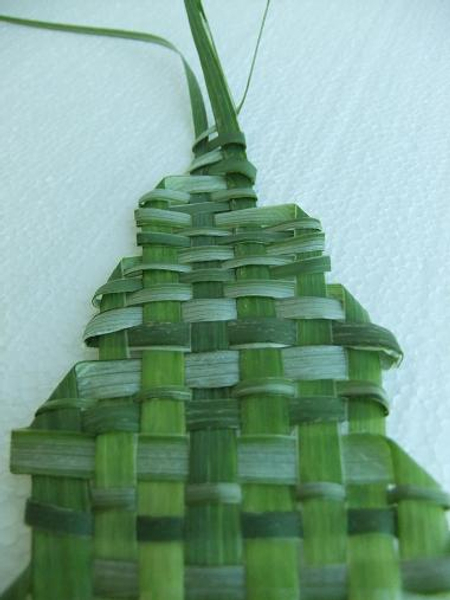
Take a strand from the horizontal pieces and weave. When this blade reaches its last full length of the weave, bend it over at the end, catching the end horizontal blade, and weave over the next horizontal blade and tuck it under the next horizontal piece. Cut any extra length. Bend the next blade from the other side (the opposite side of the previous weaving blade) and continue the weave.
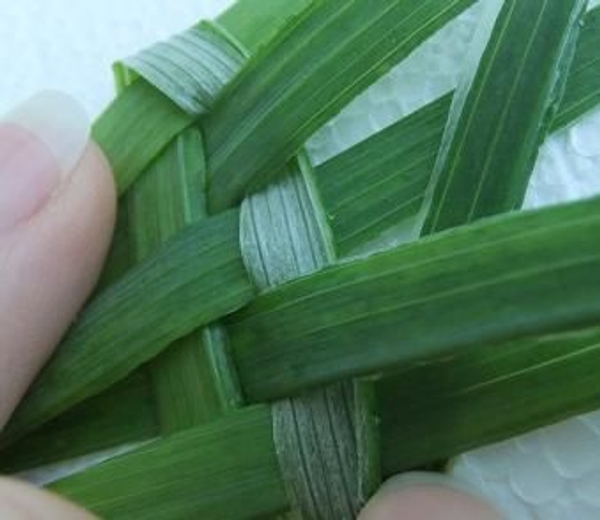
Securing loose strands and finishing the woven design
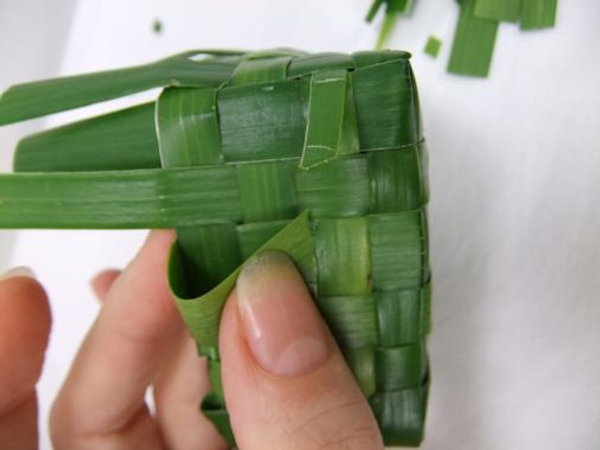
Finish the weave neatly by folding the loose strands over or under the previous weave line.
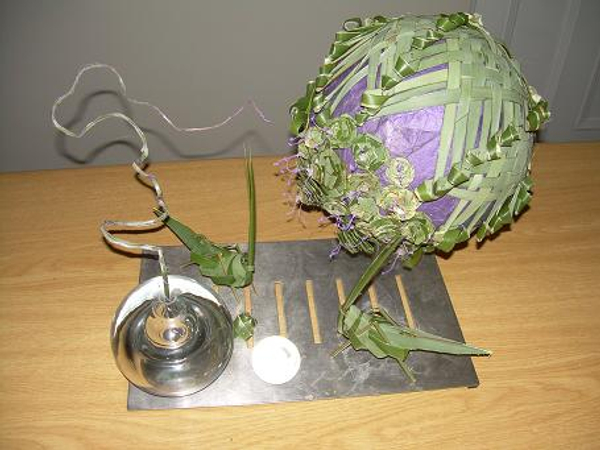
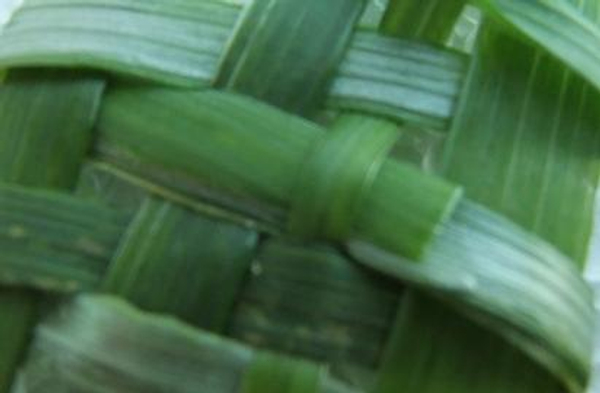
Once you know how to weave you can start to experiment with your design: turn the pattern for a diagonal weave, add woven flowers, weave shapes, loosen the weave, pull an area tighter to create tension and curl the weave.
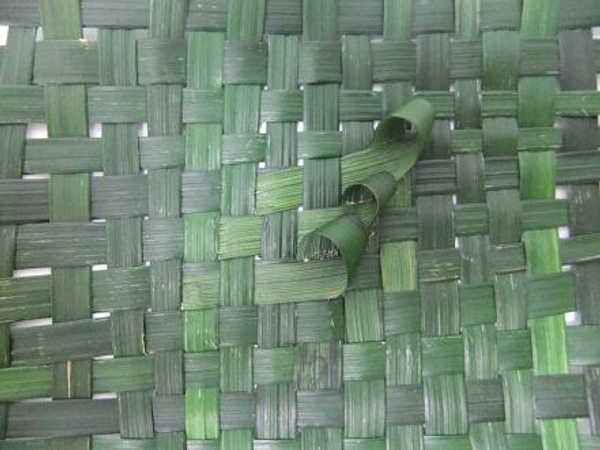
Weave a few loops into the pattern

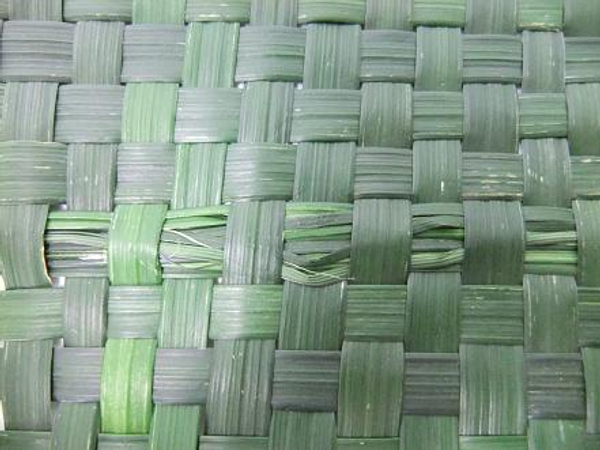
Weave a gap
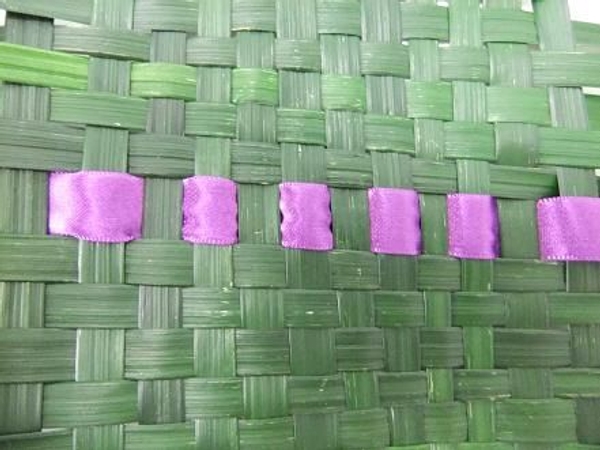
Weave ribbon into the design
Weave in strands of ripped leaf
or add a variegated leaf as contrast.
A Special note about weaving with Flax:
Harvesting and preparation:
Do not cut the central shoot form the flax plant when harvesting. This weakens the plant.
Do not cut in rain or at night- the foliage will be hard to work with because of the added moisture.
Leave the leaves for an hour in the sun to soften- but no more as this will cause the leaves to roll up or become brittle.
For weaving:
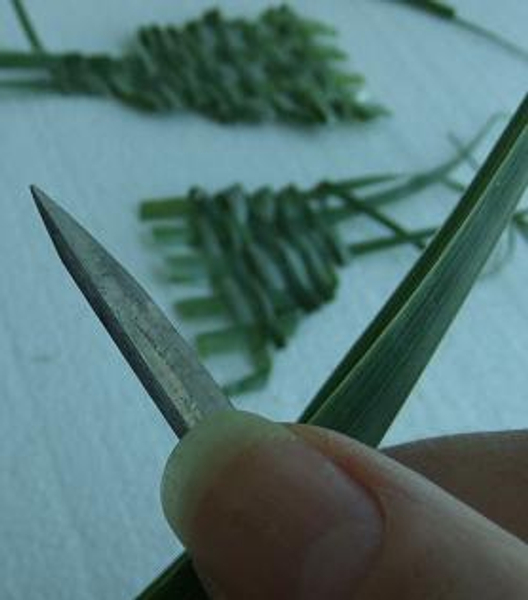
Hold the dull underside of the leaves against the back of your knife blade and pull through. Turn the leaf over and do the other side. This removes added moisture and the leaf dry to a better colour
Sign up for my weekly newsletter
Every week I add a new design with related tutorials. Be sure to subscribe to receive an email notification with design inspiration.
")


 in a vase floral design basket")


 Way")


