Christine de Beer - effortless floral craftsman
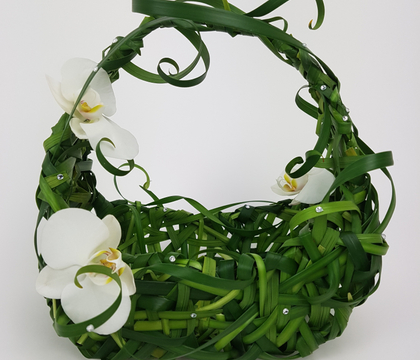
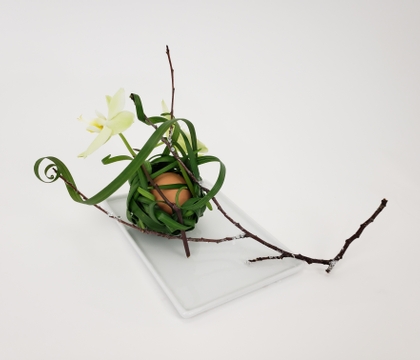
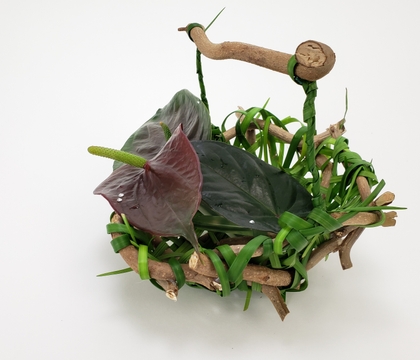
Handcrafted grass and twig basket to hold some Easter flowers
- 13 April 2022
Wonder how I come up with my ideas? I am preparing an online workshop to show you exactly that!
If you would like to read more about my first ever online workshop here is some details: 7 day floral retreat to jumpstart your creativity
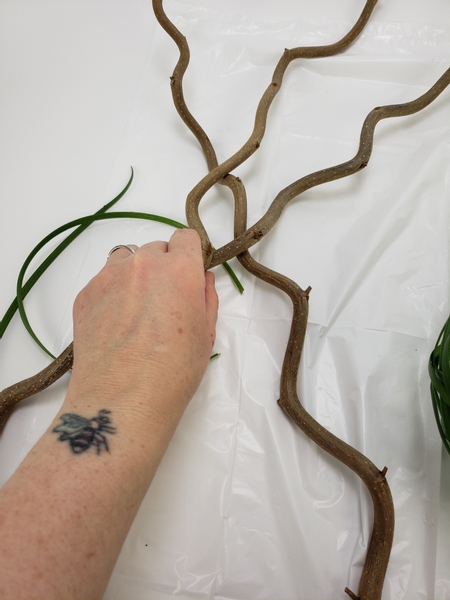
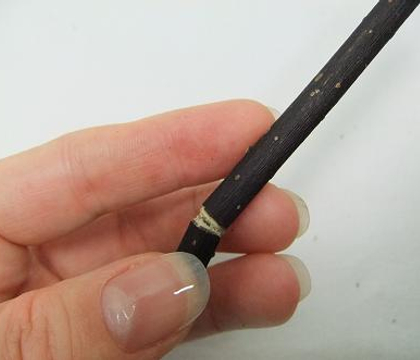
Choose some pretty twigs to craft the basket frame with.
This is a great way to use up those interesting but oh so dry twigs you have saved up in your design room.
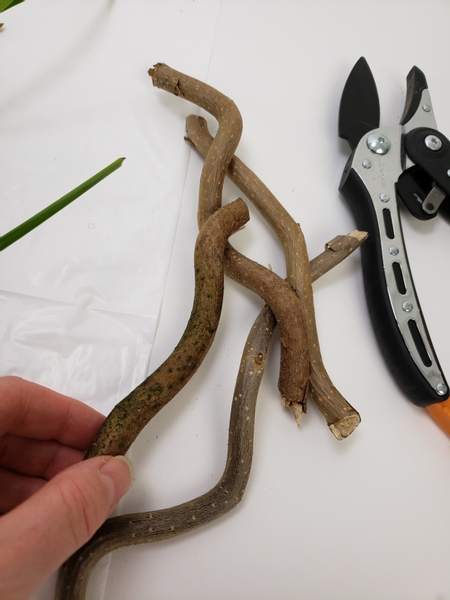
Cut the twigs into snippets.
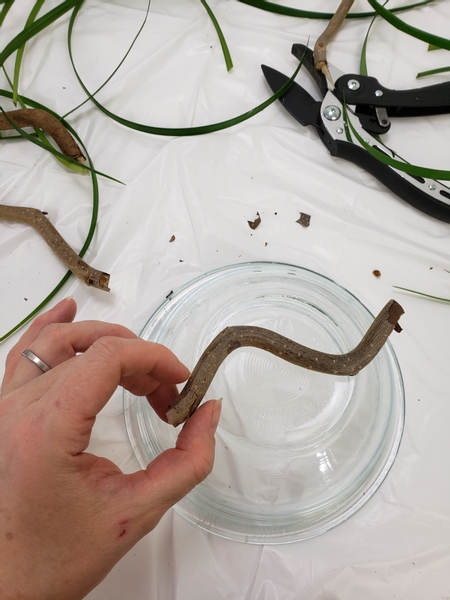
Use an upturned bowl to shape the twig basket frame. Place the first twig over the base of the bowl.
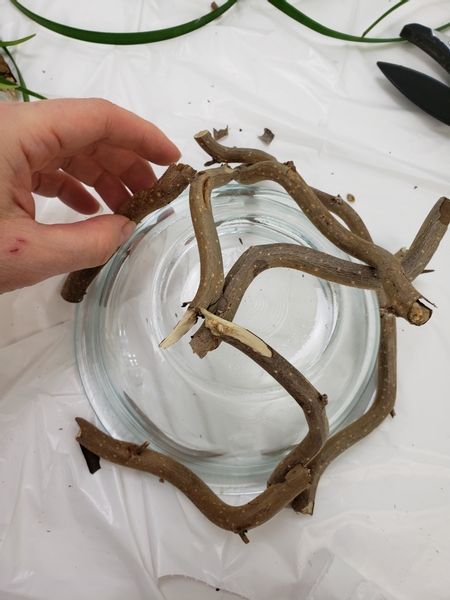
Place the twig snippets all around the bowl and secure them with hot glue.
You can also wire the twigs in place if you want to create an even more sturdy basket but I found once you add the grass it becomes pretty robust.
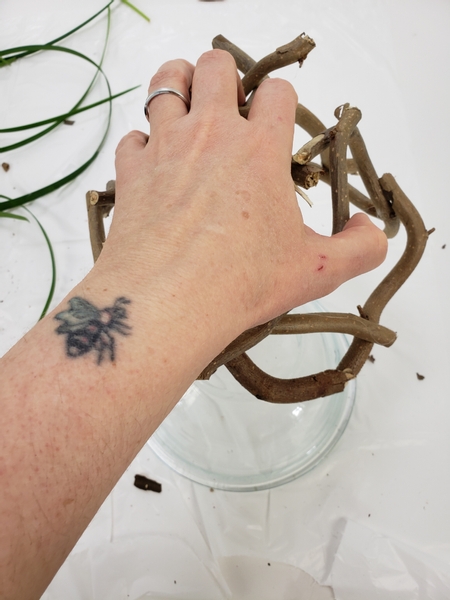
Make sure to glue the twigs to other twigs and not to the bowl so that you can easily remove it.
There are a few tricks when gluing twigs to a shape like this. I go into great detail in some of the designs I have added below in the links so have a look if this is the first time you try to make an armature like this.
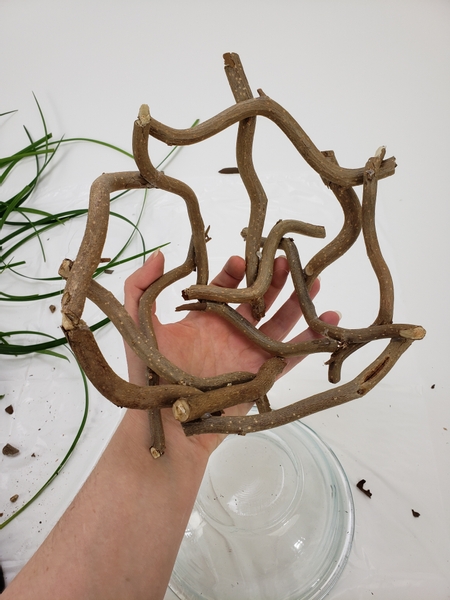
Turn the basket frame around and glue in more twigs to get the exact shape you want.
Also wiggle the twigs to make sure it is secure. Glue any twigs that still moves.
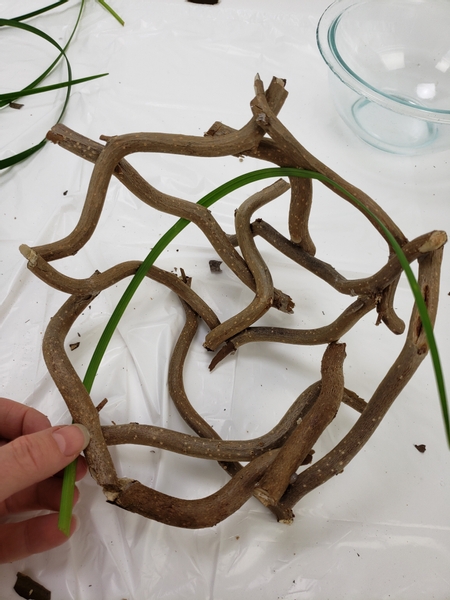
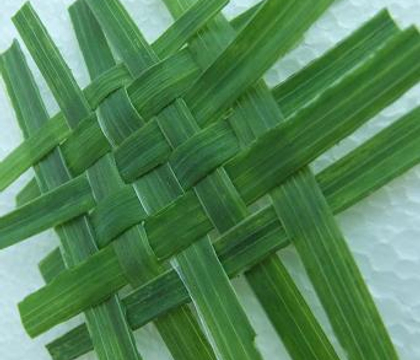
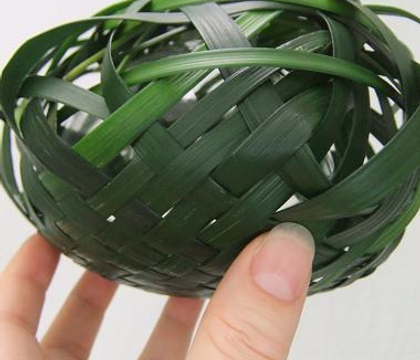
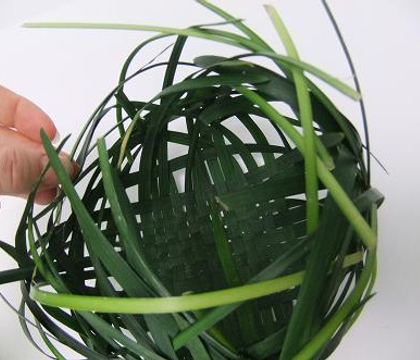
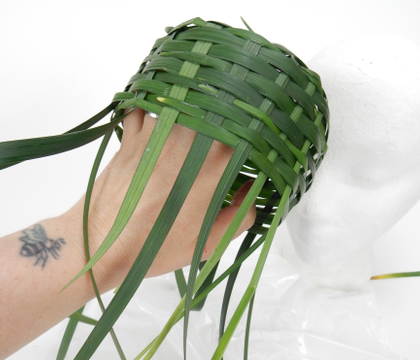
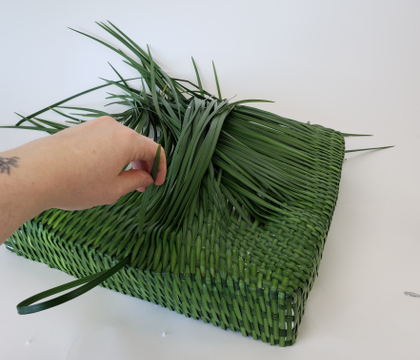
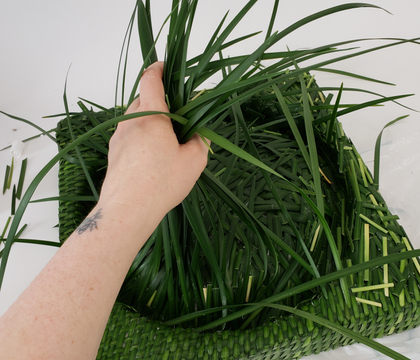
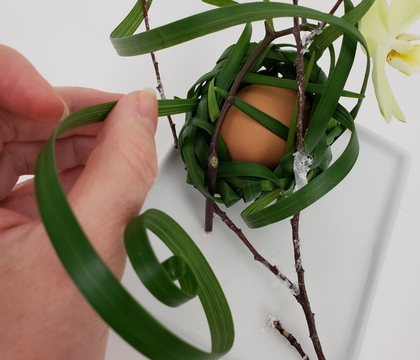
Start interweaving a fresh blade of grass through the twig basket frame.
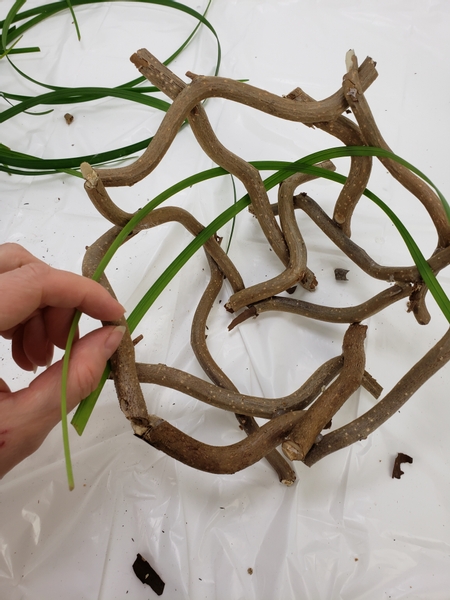
Add in the next blade of grass.
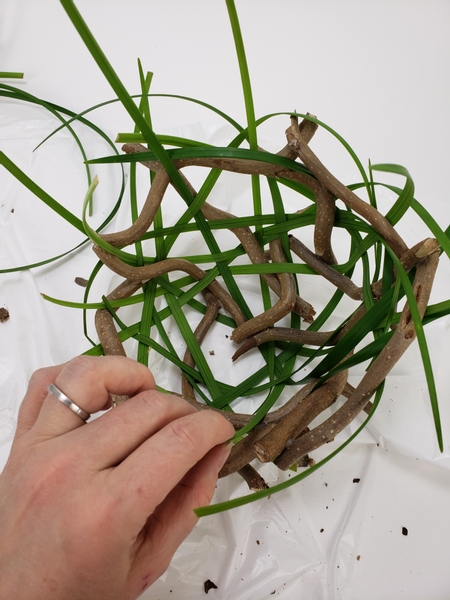
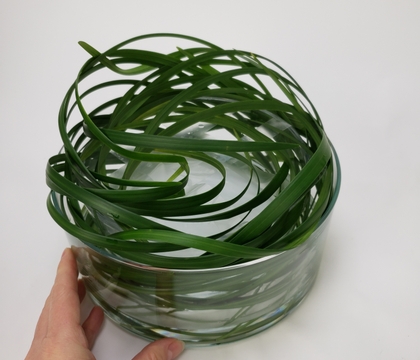
Keep adding in grasses.
I wanted my basket to be obviously hand crafted. I talk a bit about this in our email this week. Make sure you are signed up to receive the once a week email the moment the design is ready for you with your exclusive bonus tip. The sign up is below this post.
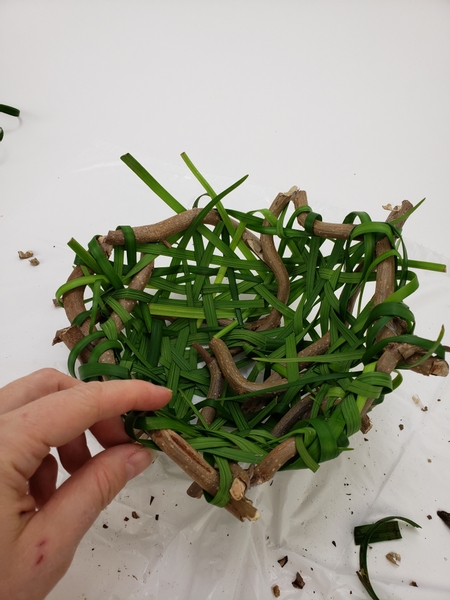
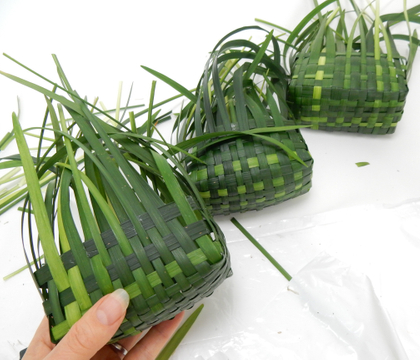
Once the basket is secure and the grasses start to keep everything neatly together start folding in the ends to secure them around the edge of the basket.
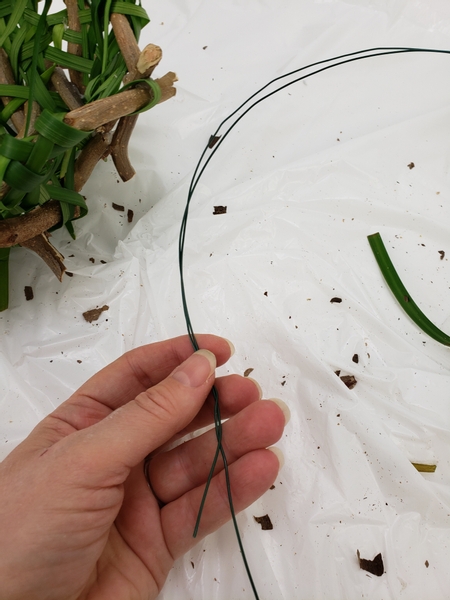
Cut some sturdy wire to craft the basket handles.
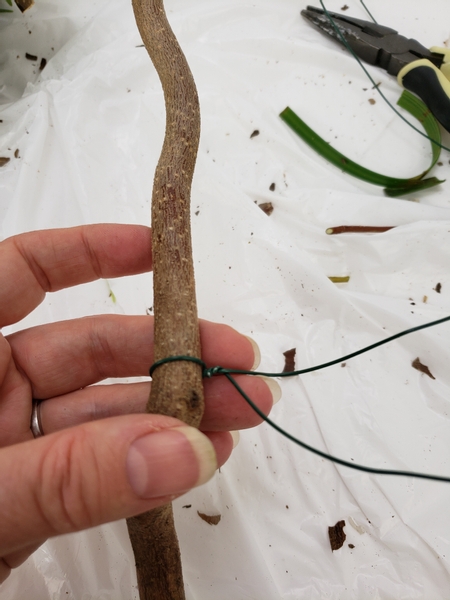
Loop and twist the wire around a twig on one side.
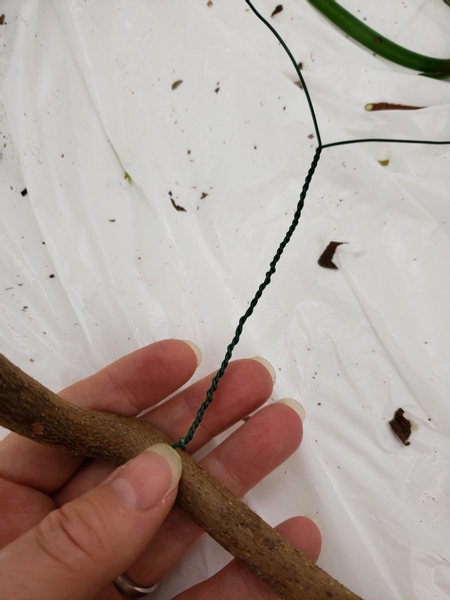
Twist the wire to create a handle as high as you require for the basket.
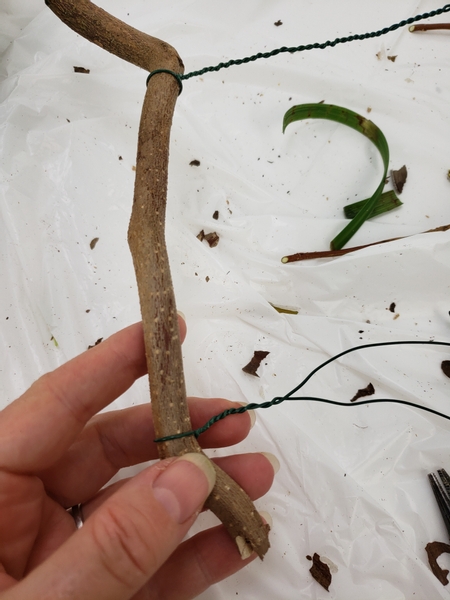
Loop and twist another wire on the other end of a twig. Twist the wire to be exactly as long as the other end.
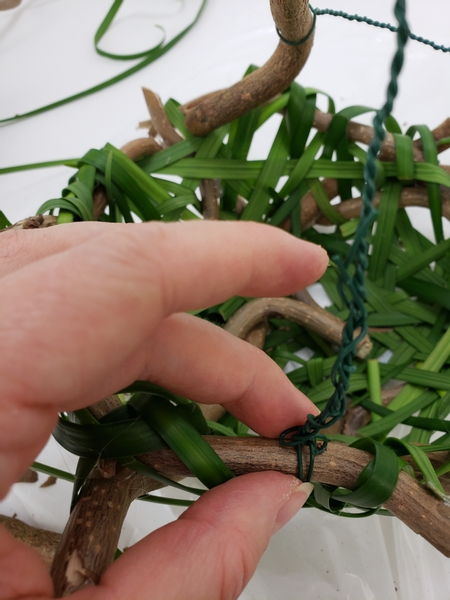
Secure the wire and twig handle to the basket frame.
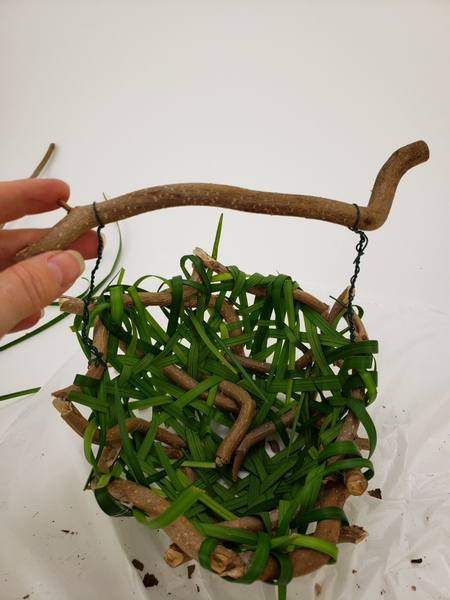
Secure the other end of the handle to the basket frame.
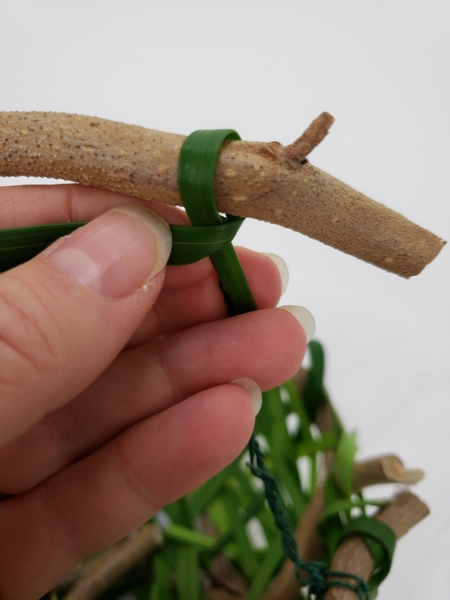
Loop a blade of grass around the wire to conceal it.
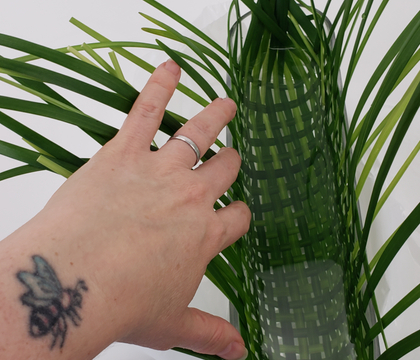
Book readers turn to page 236 for more information on how to use wrapping with grass to create an armature that looks impossibly delicate but can carry Cattleya orchids... in glass water filled bud vases! It really works well.
For more information about my book: The Effortless Floral Craftsman
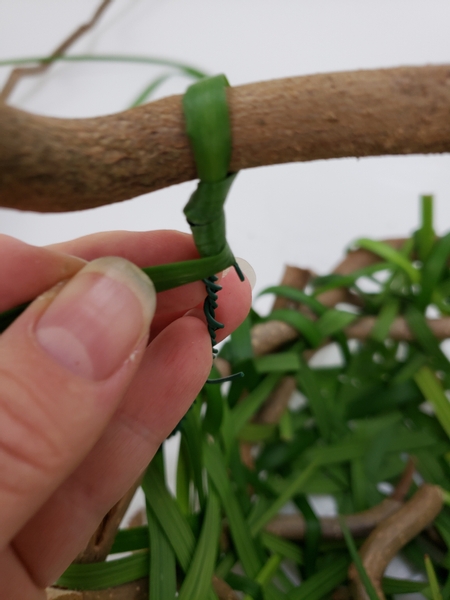
Wrap the grass around the wire all the way from handle to basket frame.

Knot the grass to secure it to the basket.
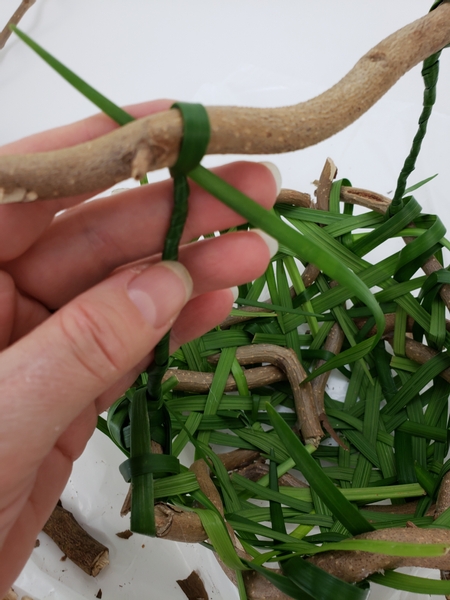
Do the same with the wire on the other side of the basket.
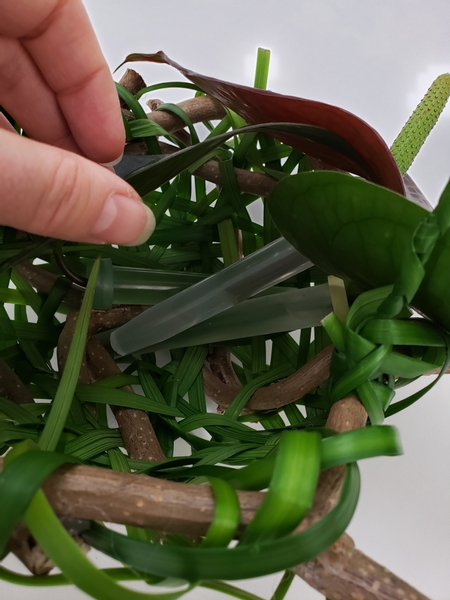
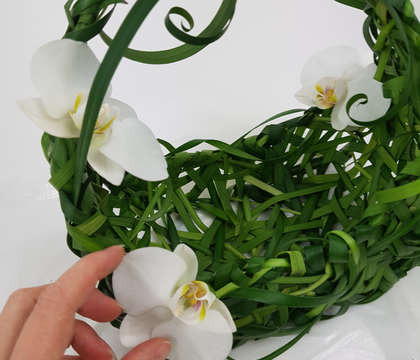
Place a few anthuriums and foliage in water tubes and nestle them into the basket to make sure they remain hydrated.
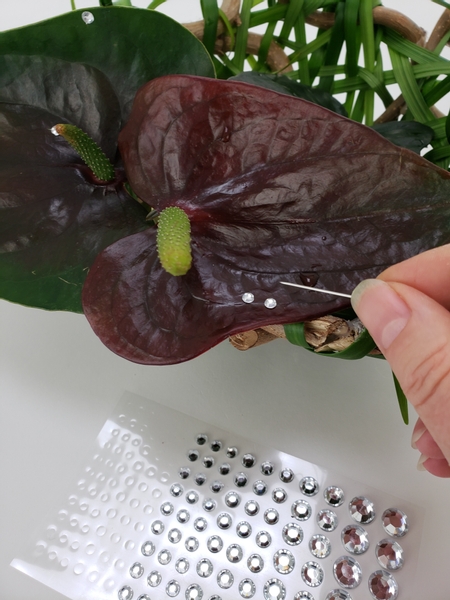
Add in a few dew drop crystals for sparkle.
See the Tutorial below for detailed instructions on how to place the crystals.
Sign up for my weekly newsletter
Every week I add a new design with related tutorials. Be sure to subscribe to receive an email notification with design inspiration.
