Christine de Beer - effortless floral craftsman
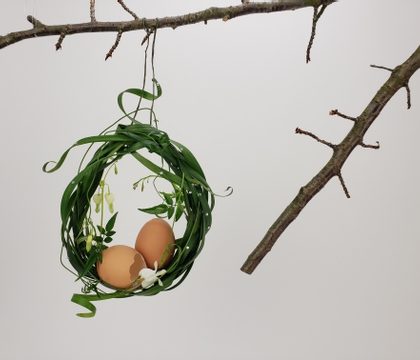
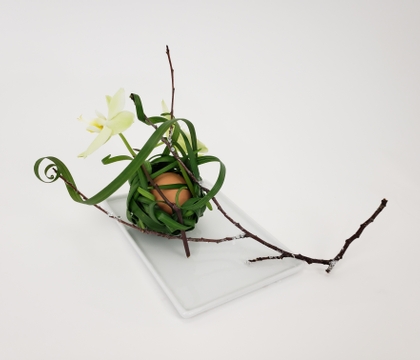
Interweave a criss-crossed nest for an Easter Egg
- 31 March 2021
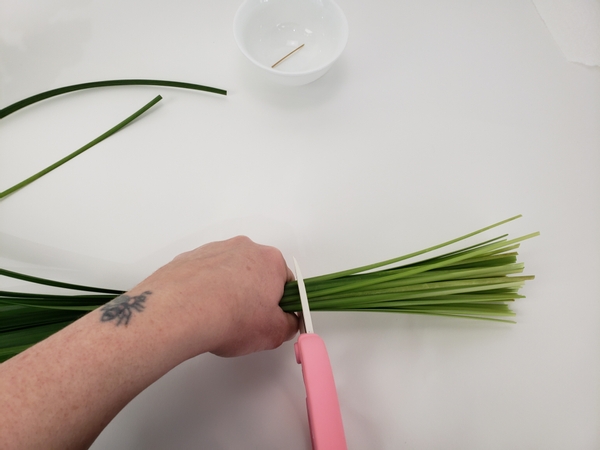
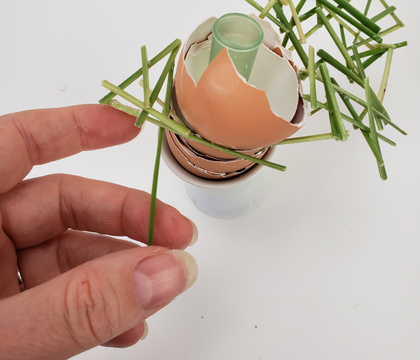
Cut away the hard ends of a bundle of grass.
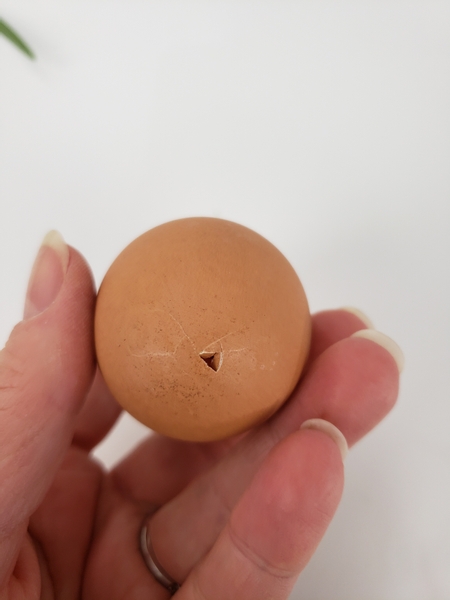
Pierce a hole in both ends of an egg and blow out the egg white and yolk.
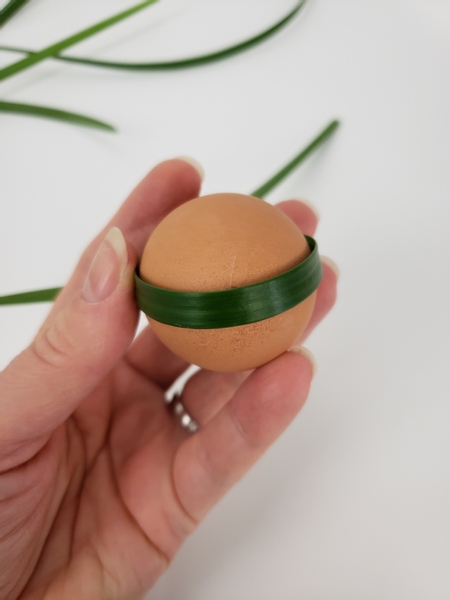
Curve a blade of grass from hole end to hole end.
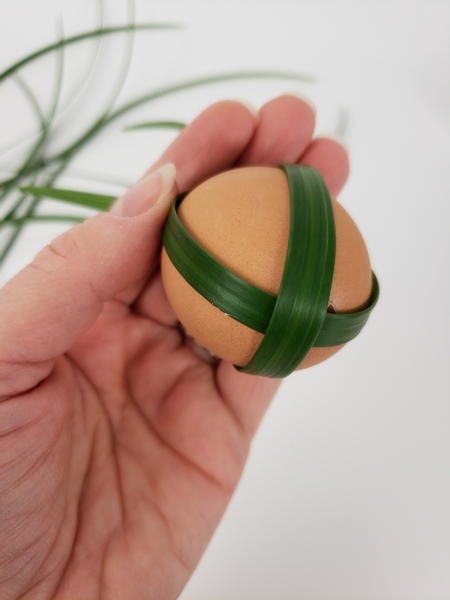
Curve the another blade of grass over the first.
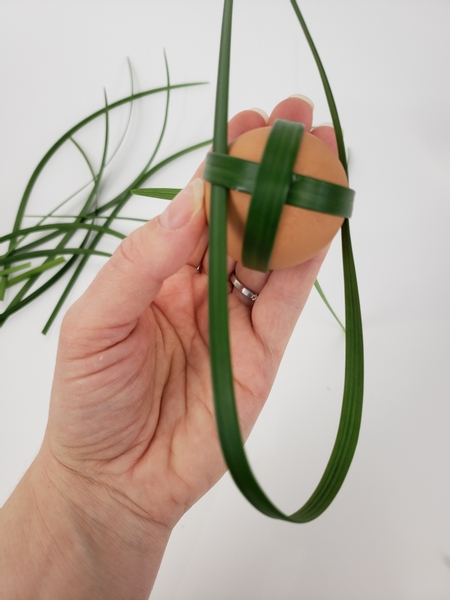
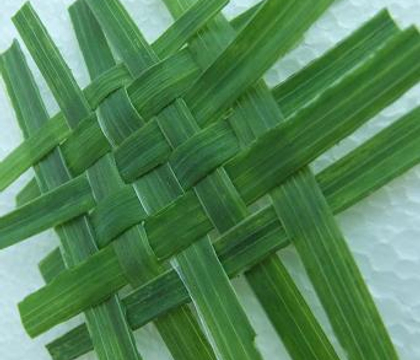
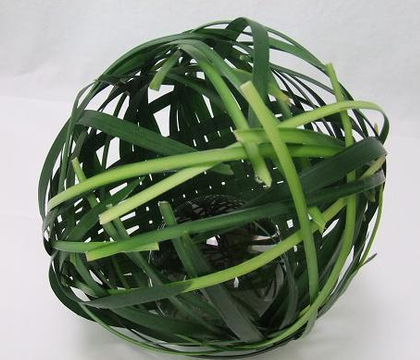
Weave a blade of grass around the two blades.
If you are unsure of how to weave with grass see the Tutorial below for more detailed instructions. You can also find more information in my book. Book readers turn to page 226 to learn how to interweave. Turn to page 158 for another way to do this... and page 186 if you want to take this to the next level.
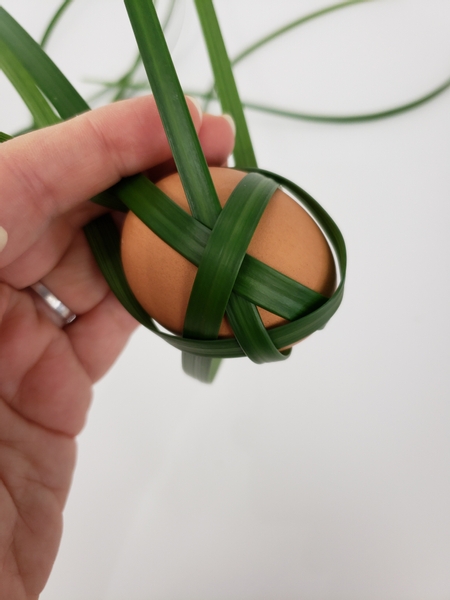
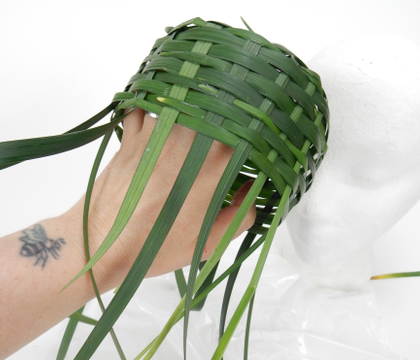
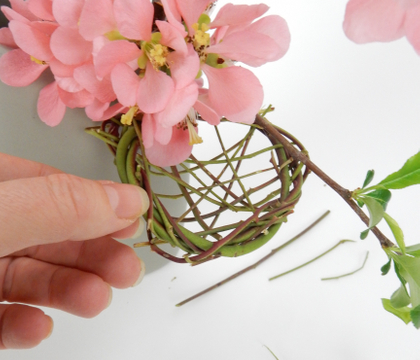
Hold the blade ends between your fingers and start to interweave the blades.
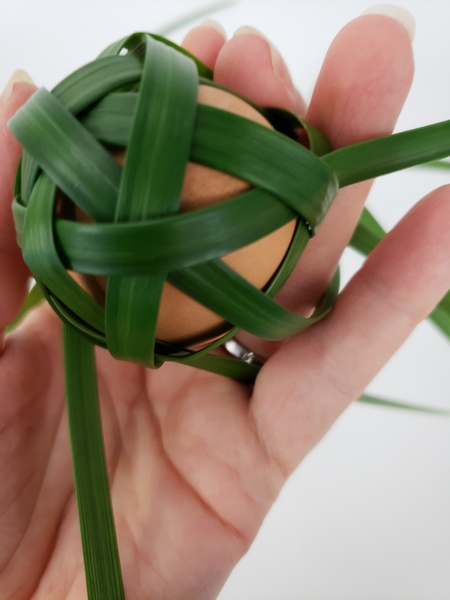
Weave the blades in and out to catch all the ends into the weave...
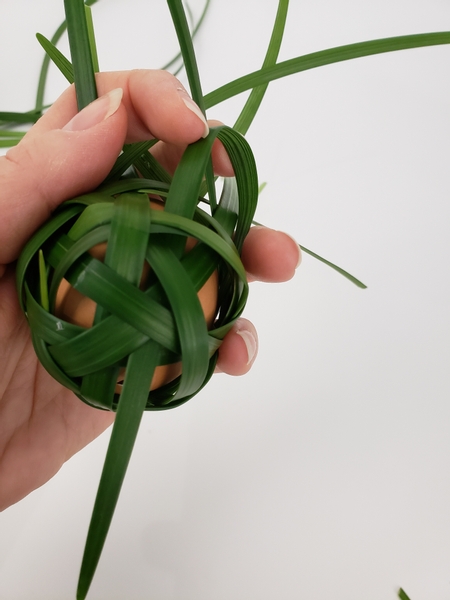
Slowly turn the egg so that you can interweave the sides.
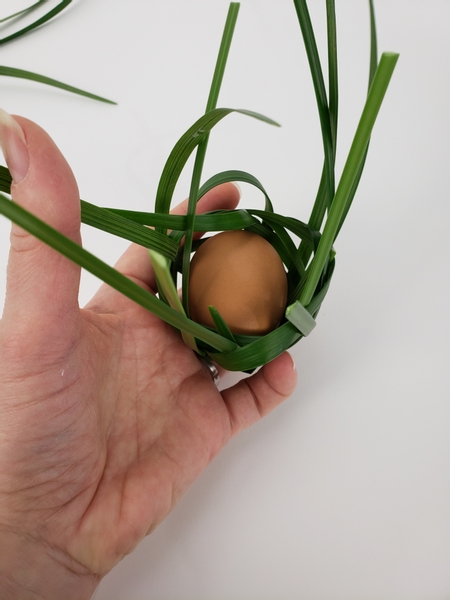
So that when you let the blades go from between your fingers it keeps its shape.
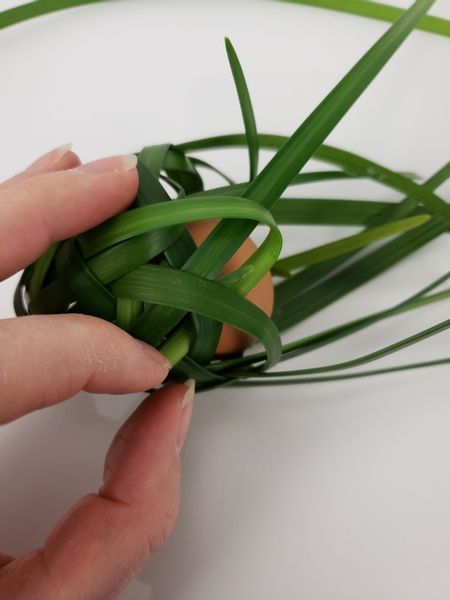
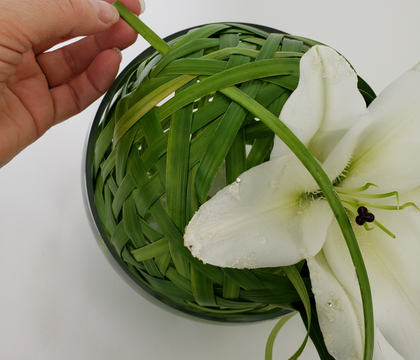
Fold the dangling blades in and weave it back into the nest.
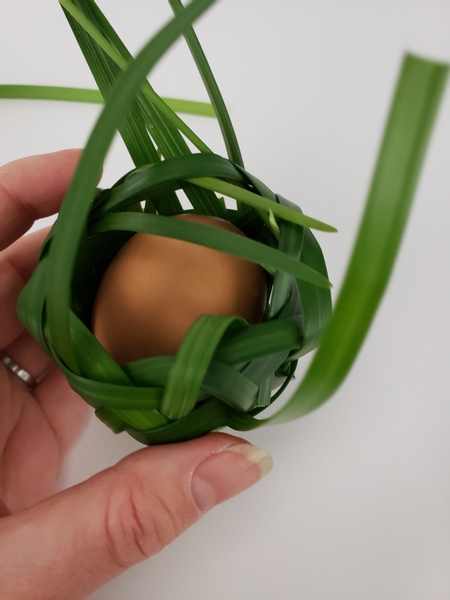
To create a neat edge.
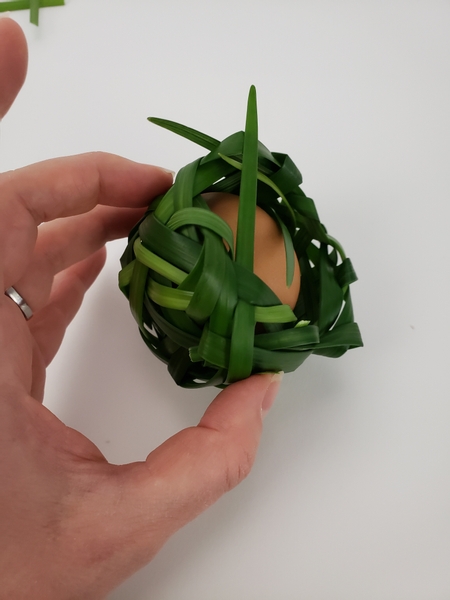
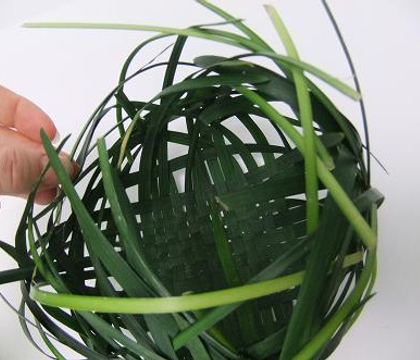
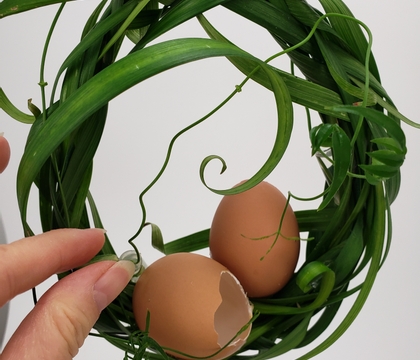
Move all the way around and weave in the grass to finish the nest.
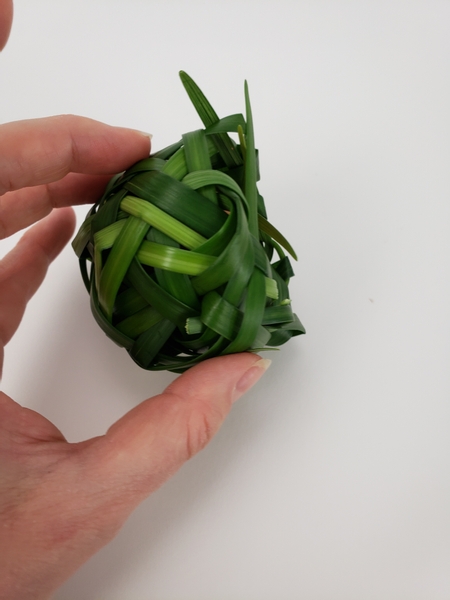
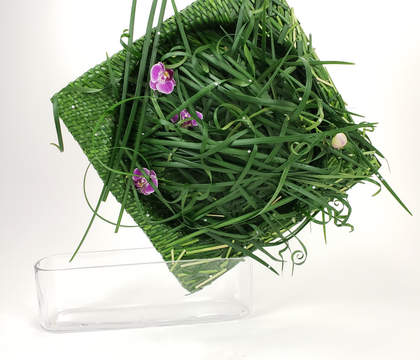
Creating a flat opening to still see the egg.
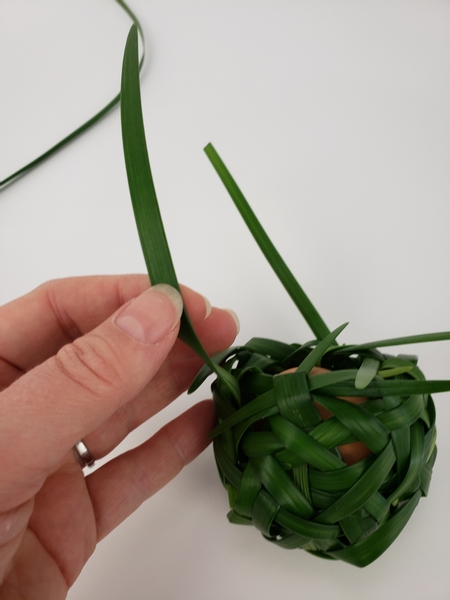
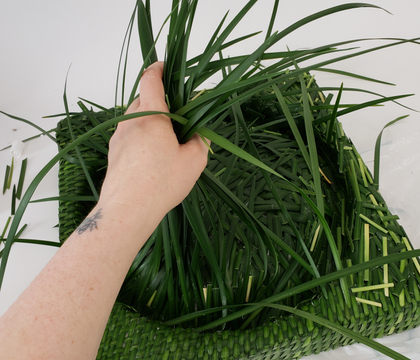
Weave in a few longer blades of grass...
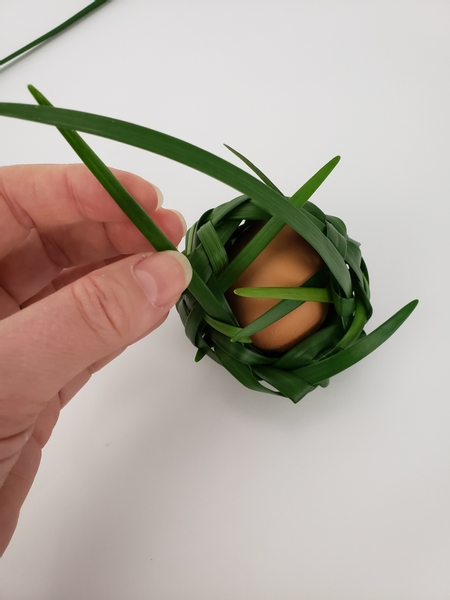
... All around the nest to dangle freely.
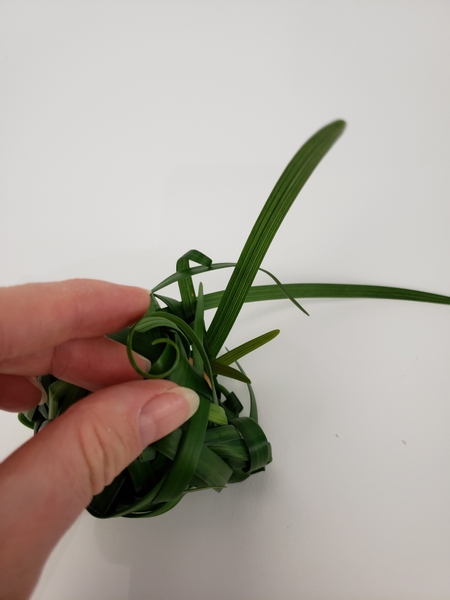
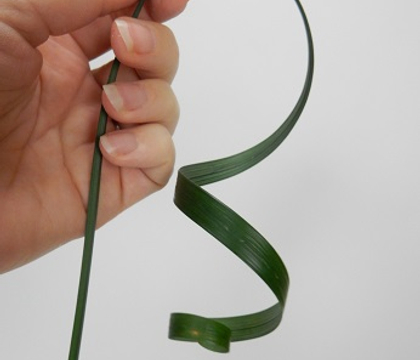
and curl into ringlets.
If you want to learn how to curl grass you can find information in my book. I also have a basic Tutorial for you below this post to get you started.
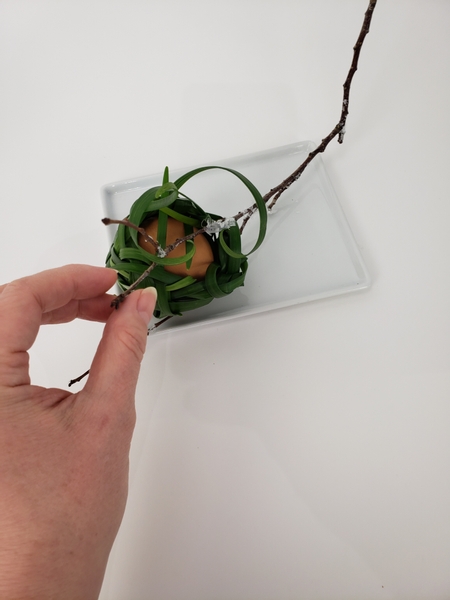
Place the nest in a shallow display container and prop it in the exact position you want with a twig.
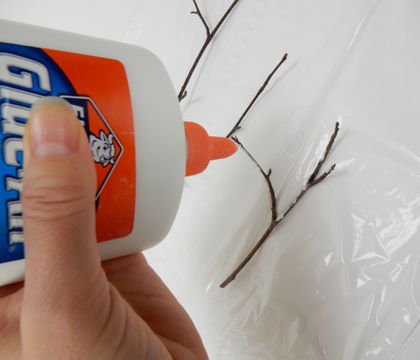
I added a dusting of snow to my twig. See the Tutorial below for more detailed instructions on how to do that.
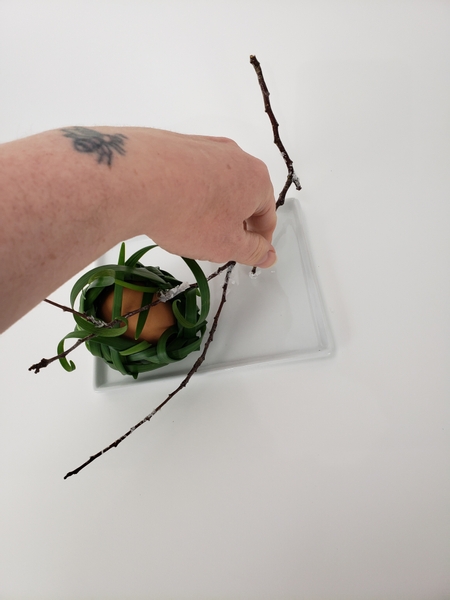
Reposition the ringlets to curve around the twig
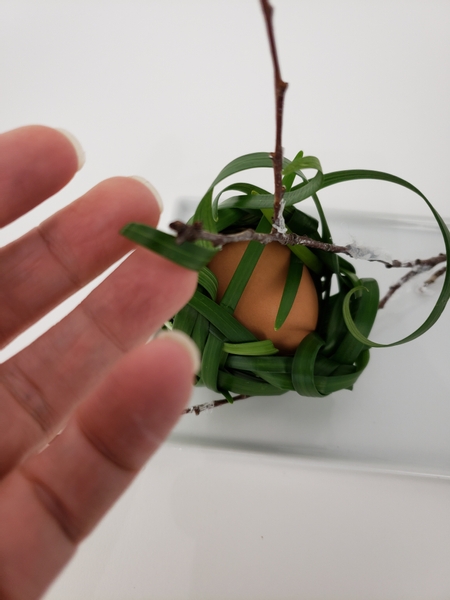
To gently curve over and under the twig.
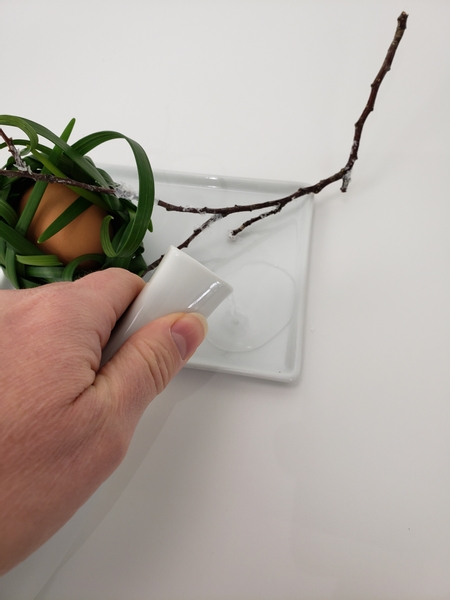
Pour water into the shallow container.
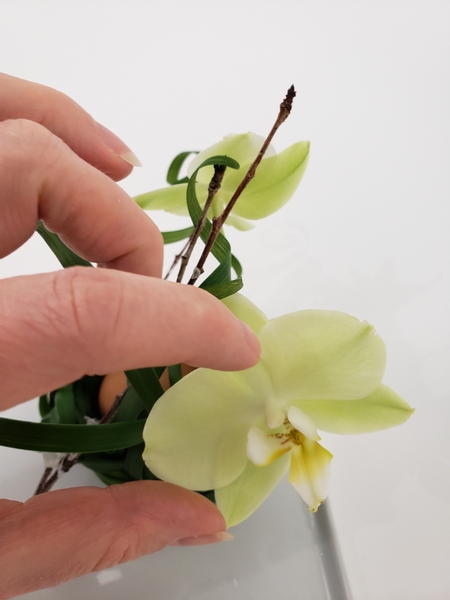
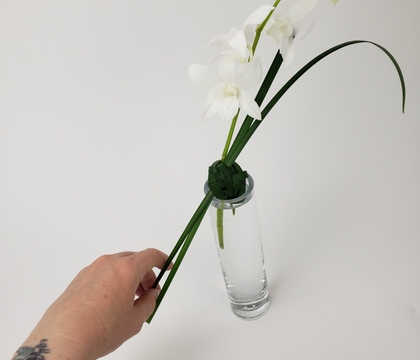
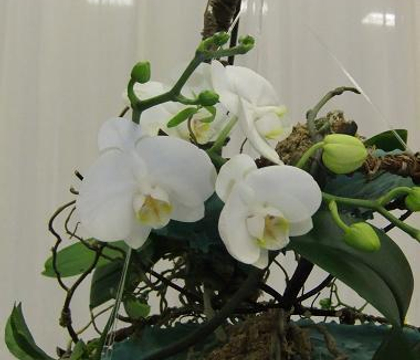
Add the orchid stem into the design.
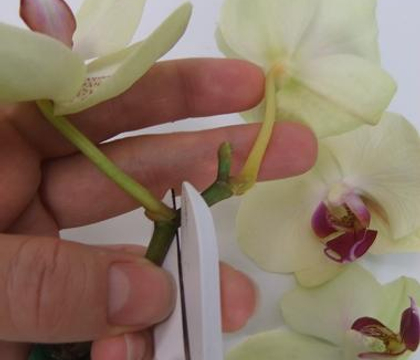
Orchids are slow drinkers and can happily stand in a shallow dish like this... but there is a trick to it. This week I am showing you how I cut the orchid stem... and why in my newsletter email because it requires a bit more of an explanation and I want you to be able to ask questions and comment so make sure you are signed up. The button is below this post.
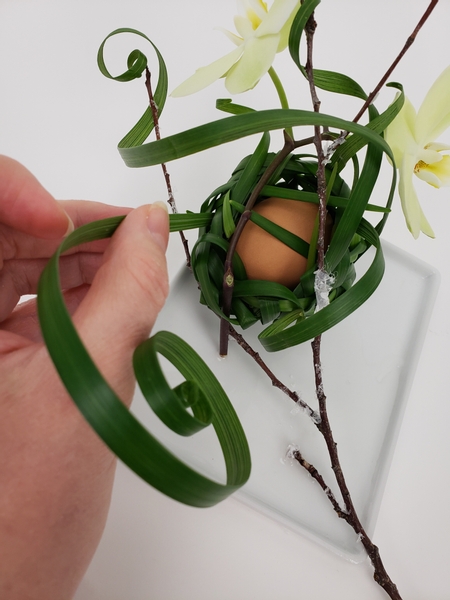
Finish the nest design with a few more grass curls and some sparkling dew drop crystals.
Sign up for my weekly newsletter
Every week I add a new design with related tutorials. Be sure to subscribe to receive an email notification with design inspiration.
