Christine de Beer - effortless floral craftsman
Clip a neat design strip right through 38.46 g (or a thousand!) sprouting wheatgrass for a ethereal Spring display
- 12 March 2025
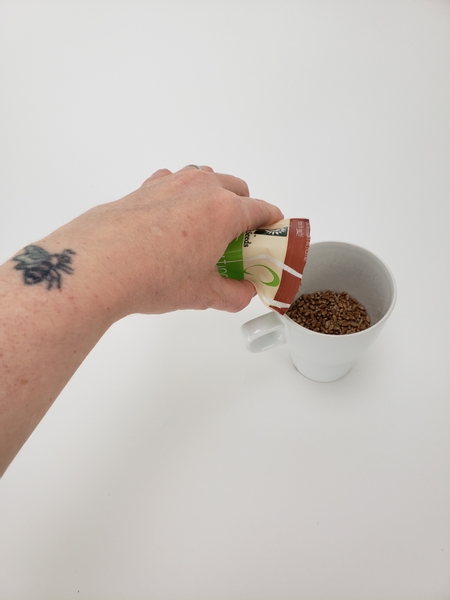
To celebrate my 1000th Tutorial I wanted to use exactly a thousand seeds... so I weighed it out.
Interesting note: Thousand kernel weight (TKW) is a measurement of seed size. It is, as its name suggests, the weight of 1,000 seeds. Knowledge of this seed characteristic is fundamental to seeding management decisions, crop establishment, and thus, yield potential.
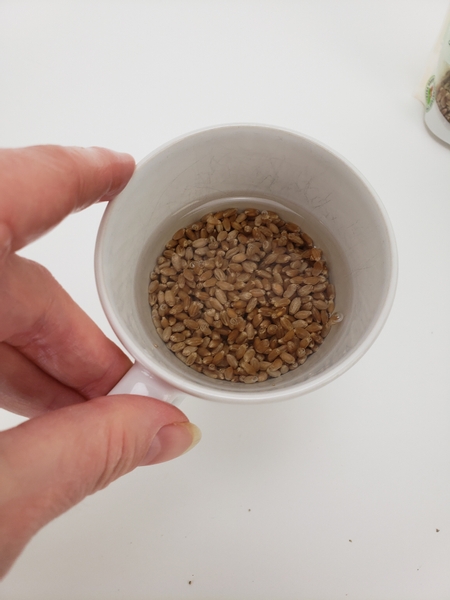
Wheat grass Seed Count in the packet: Approx. 1820 / Weight: 70 g
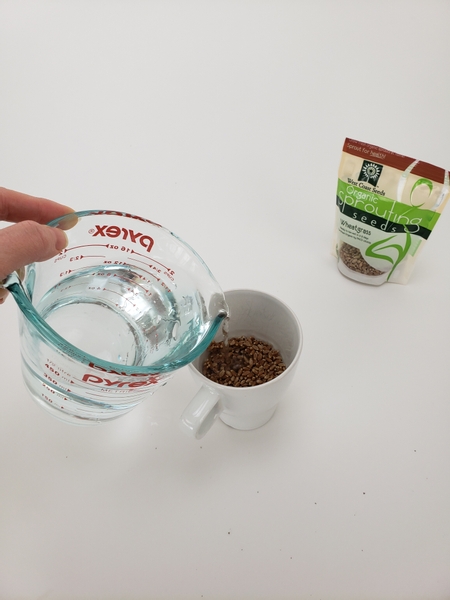
Pour luke warm water over the seeds to soak it
Soak the wheatgrass seeds overnight.
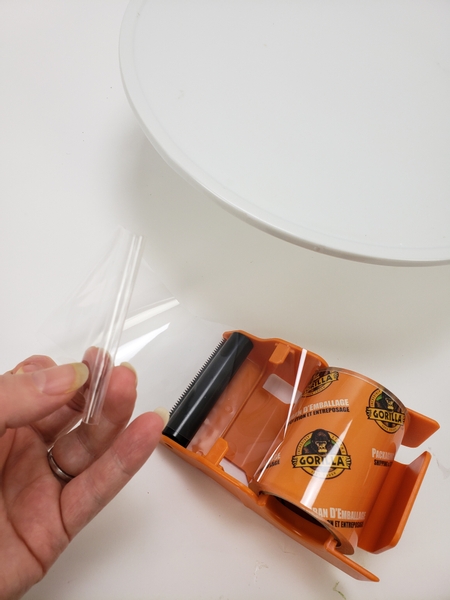
To prepare my display cake stand I am using packaging tape to craft a edge all the way around.
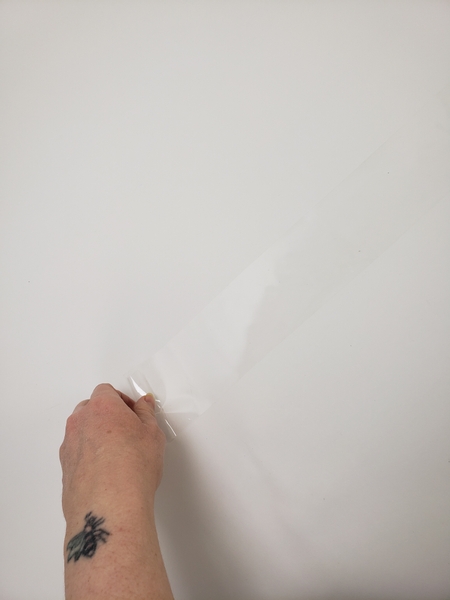
Place the tape sticky side up on your design table...
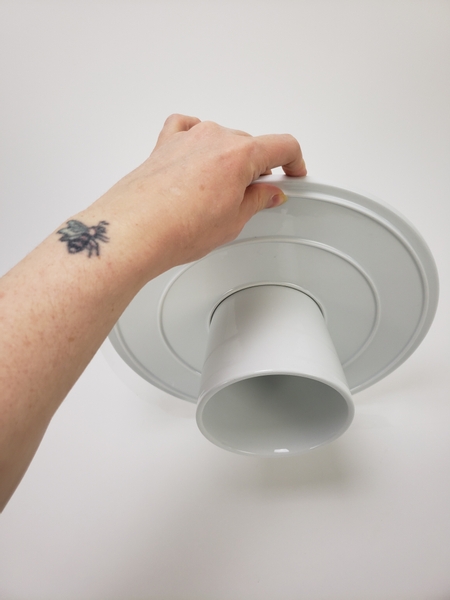
Roll the cake stand so that the tape adheres to the side of the plate...
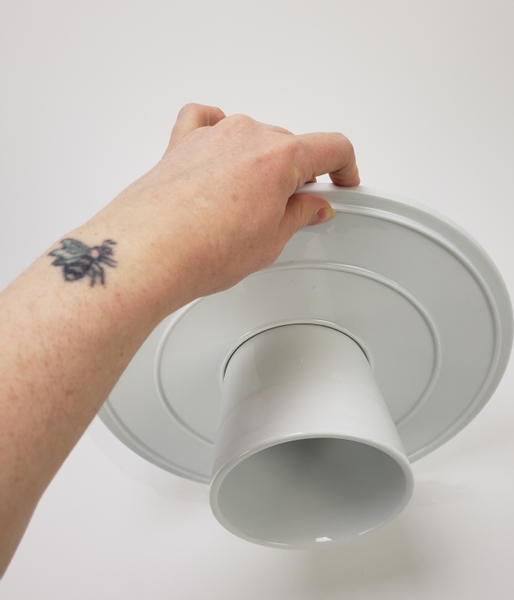
Half of the tape should adhere to the side edge of the plate...

Fold the top half in half to glue the sticky sides together to craft a sturdy edge all the way around.
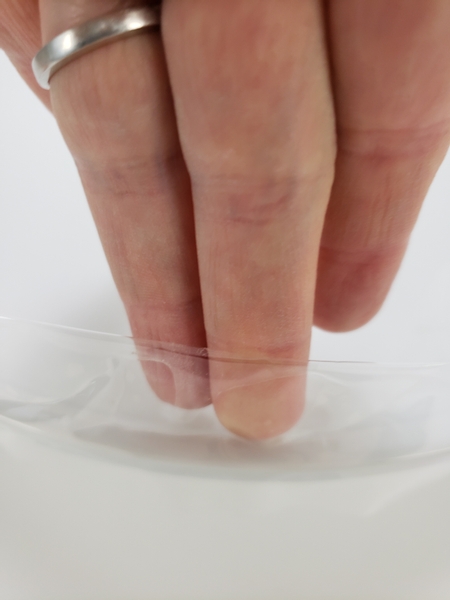
Make sure the tape stands upright so that you have a little well that will keep the water for the seeds
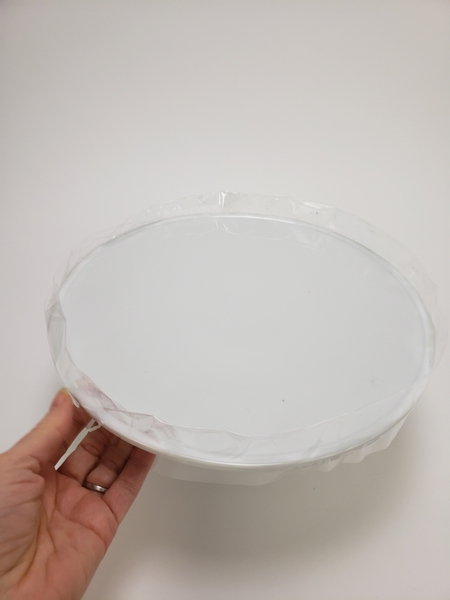
The goal is to create a shape for the seeds to sprout in that will still allow the water to drain slowly.
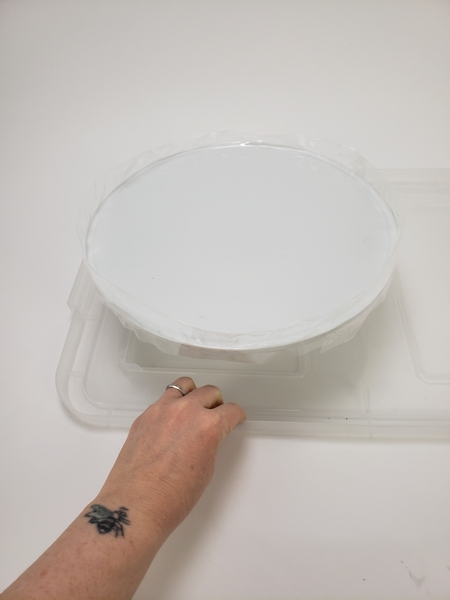
Place the cake stand on something that will catch the water as it drains while the seeds grow over the next few days.
I simply used a storage container lid.
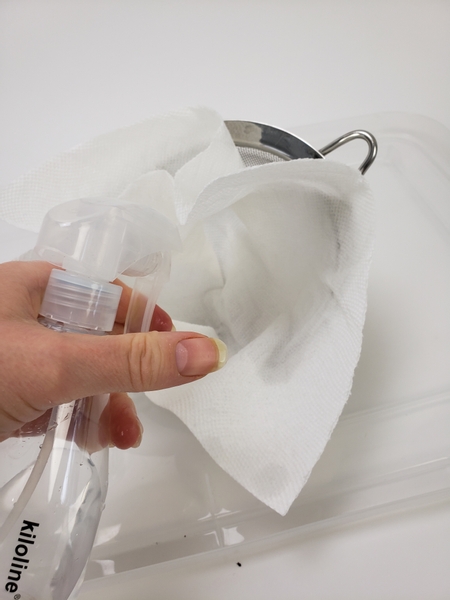
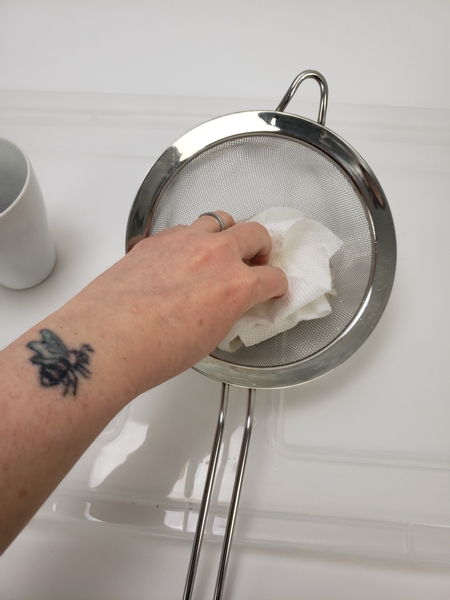
Place a few sheets of kitchen paper in a sieve and spray it with water.
Pour the thousand soaked seeds into the sieve...
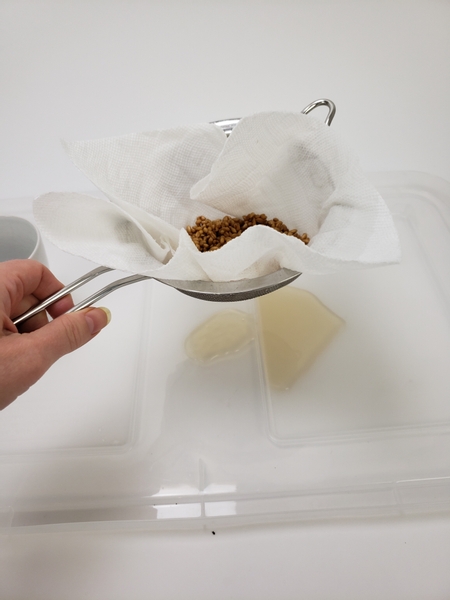
Allow the water to run through the sieve to drain...
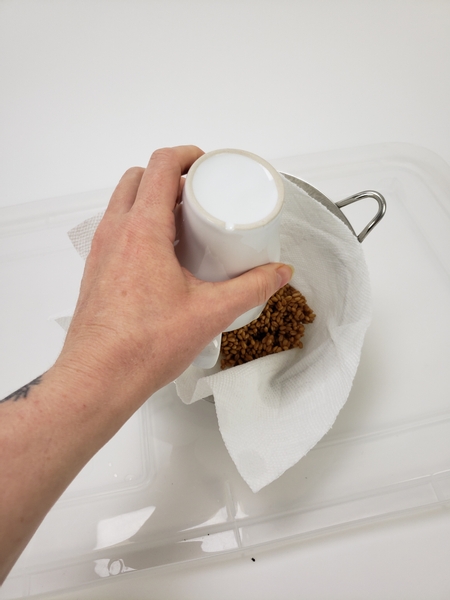
Fold the wet paper over the seeds to cover
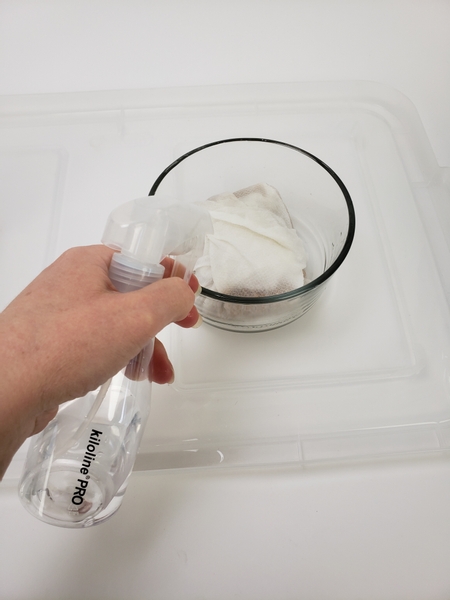
Keep the seeds in the paper wet but not soaked for two days by spraying it with water.
Pour out any water. Do not let the seeds sit in a puddle of water.
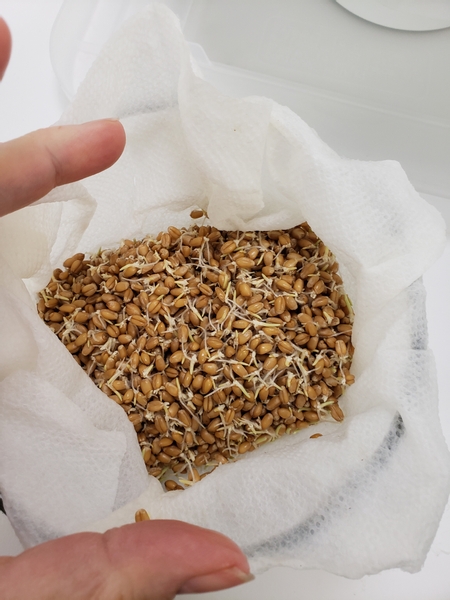
After two days the seeds will start sprouting...

Spread the wheat grass seeds out in a layer on the cake stand.
Spray the seeds with water so that the roots tangle up... and as soon as you start to see green grass...
Water the grass under slow running water twice a day.

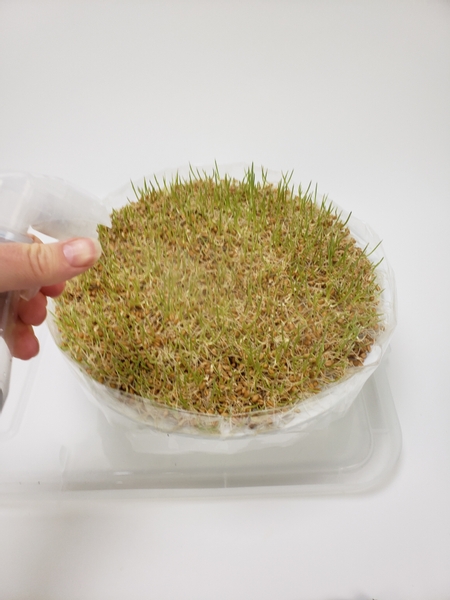
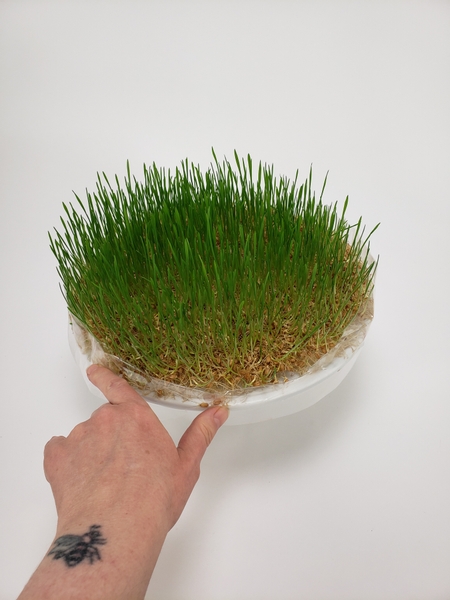
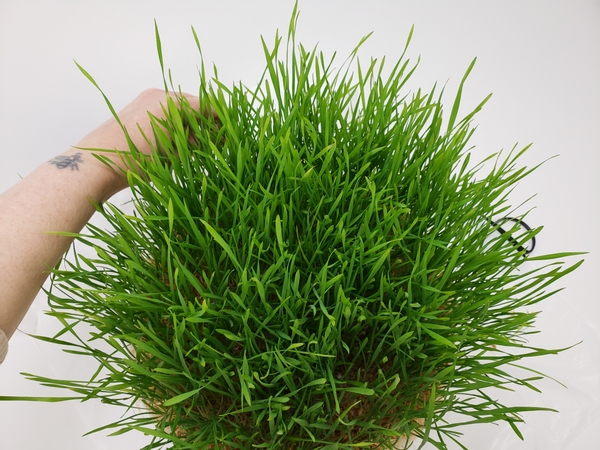
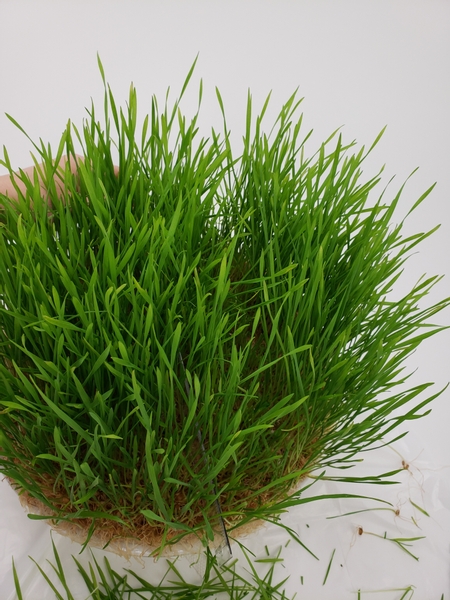
Within a few days (mine took about 5 days) you should have a healthy patch of grass.
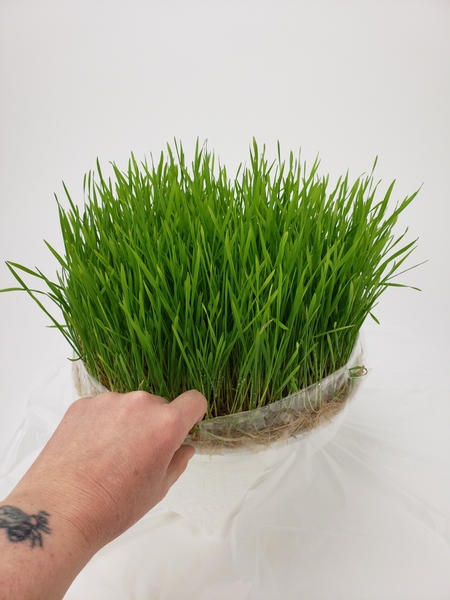
Nine days later I was ready to design with my grass patch.
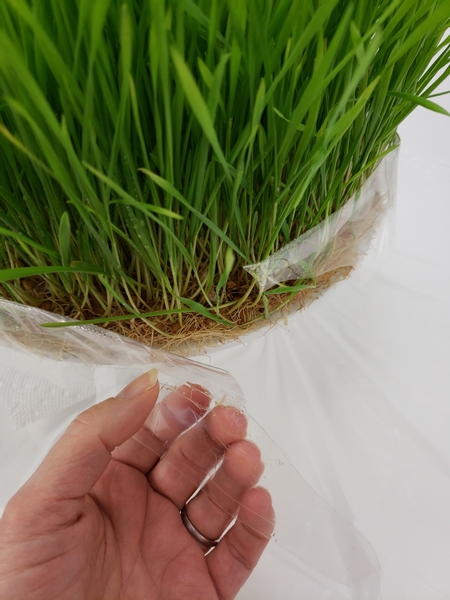
Carefully peel the tape from the edge of the cake stand.
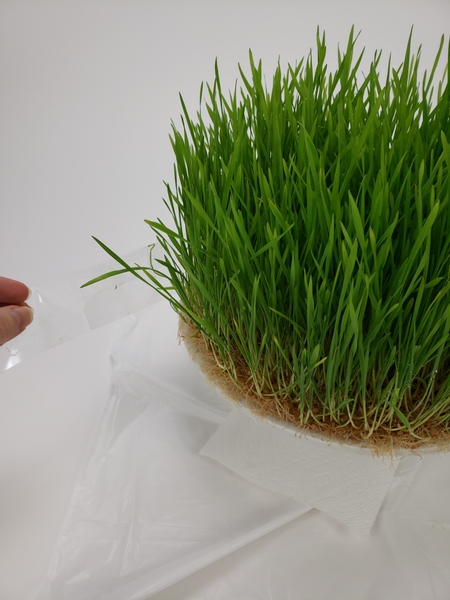
Remove the tape completely...
This week in our email I tell you a bit more about adding the magic and how I soften the edge of the cake container. I send out an email every Wednesday morning (Vancouver time) with a design specific tip so that you can make the most of the weekly design inspiration even before looking at the design. The sign up is below this post if you want to join in.
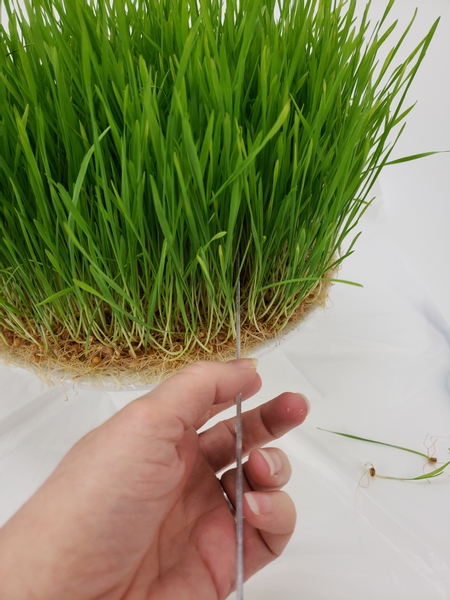
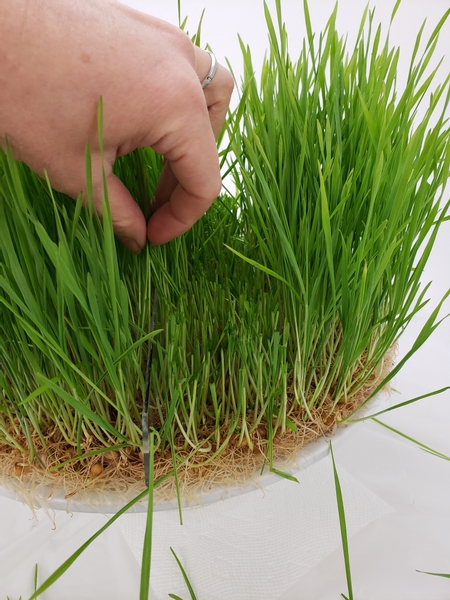
To cut the strip slip a ruler into the base of the wheat grass, all the way from the one end through to the other.
Make sure the ruler stands level.
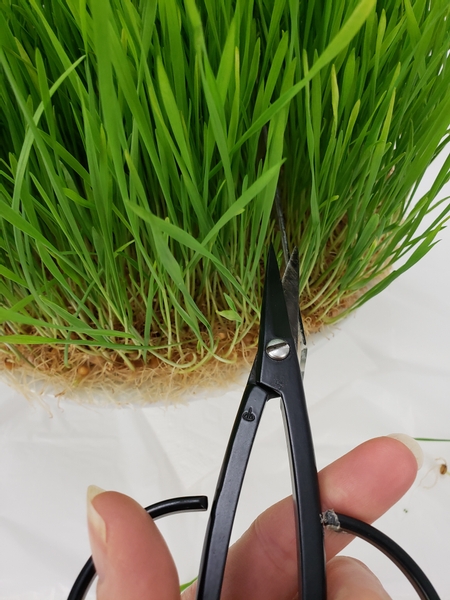
Start to snip away the grass just above the ruler.
All the way from the one end to the other leaving a gap through the grass.
Move the ruler to the other side of how wide you want the gap to be...
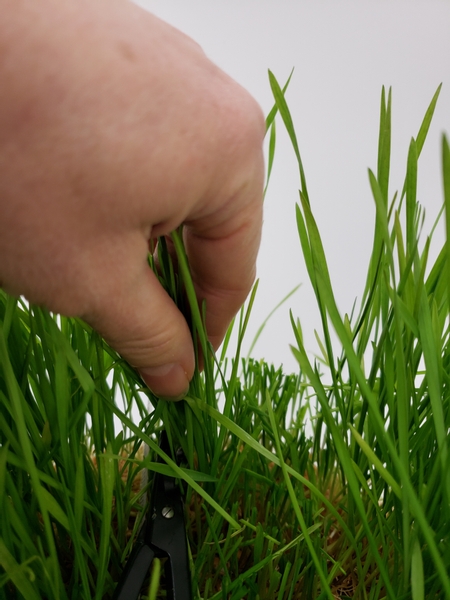
And snip away the grass to create a neat and freshly mowed design strip right through the grass.

Pick out any blades of grass with tweezers to neaten up the gap.
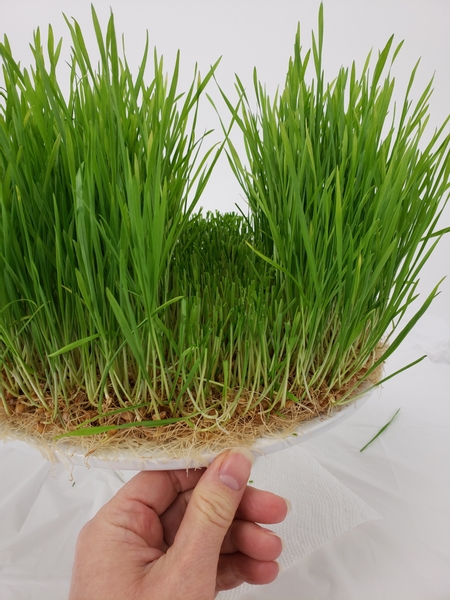
Your grass strip is cut and ready to design with.
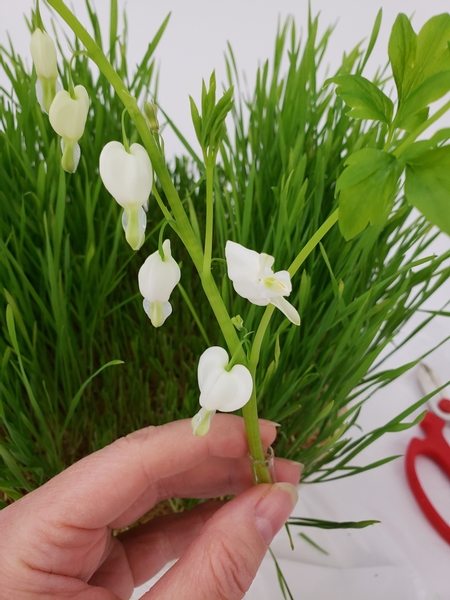
I am placing a bleeding heart stem deep into the seeds so that it can continue to hydrate...
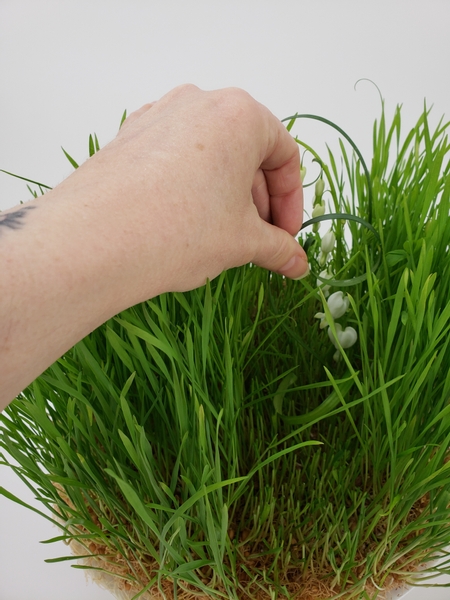
With a few curled lily grass blades...
See the Tutorial below for detailed instructions on how to curl lily grass.
Book readers turn to page 289 for another way to curl the grass in even tighter ringlets. For more information about my book: The Effortless Floral Craftsman

I am also adding a few passion fruit vines and a few green strawberries.
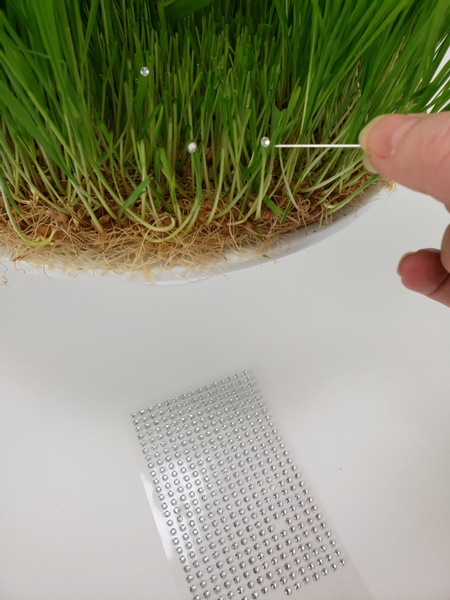
And I am finishing Design Tutorial number 1000 off with a few dew drop crystals... as always.
See the Tutorial below for detailed instructions on how... and why I add the crystals with a pin.
Sign up for my weekly newsletter
Every week I add a new design with related tutorials. Be sure to subscribe to receive an email notification with design inspiration.


 in a vase floral design basket")


