Christine de Beer - effortless floral craftsman
Weave a trendy oversized clutch purse with a hidden magnetic closure
- 22 April 2020
- and more
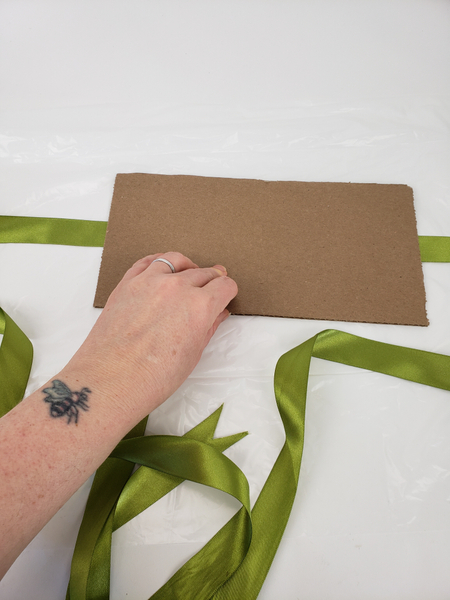
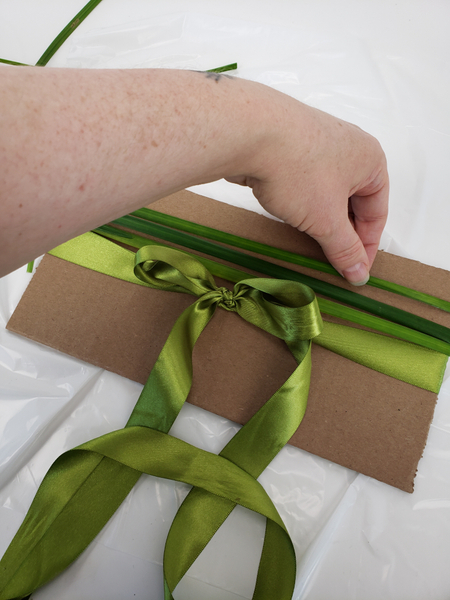
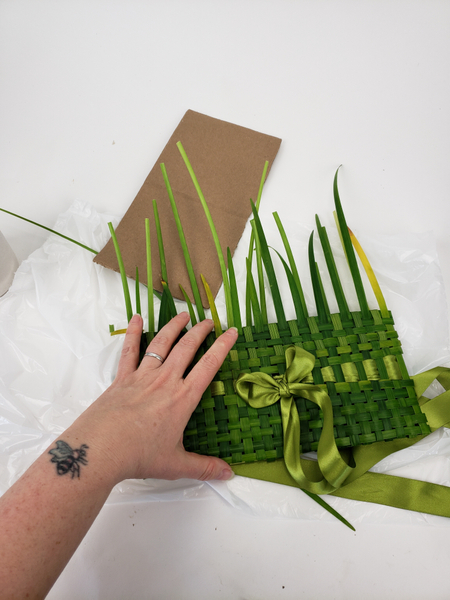
Cut a sturdy cardboard template in the size that you want the purse to be.
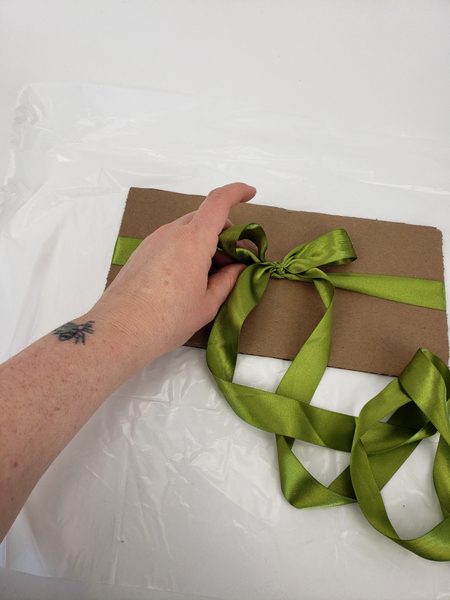
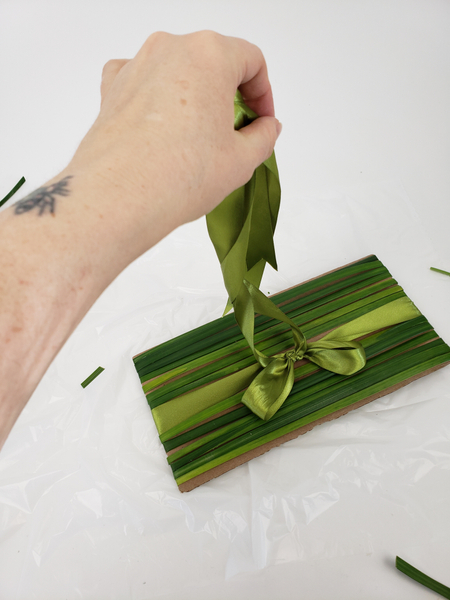
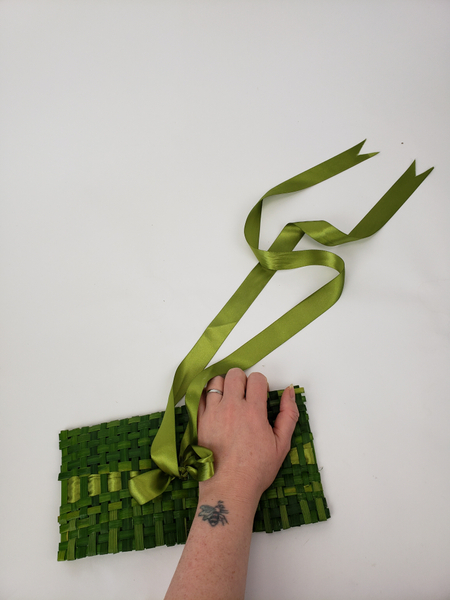
Tie a ribbon bow around the cardboard.
Make sure to give the ribbon a double knot so that it can be handled without coming undone while weaving.

Connect strands of grass so that they easily wrap around the cardboard. Just a tiny drop of floral glue is all you need.
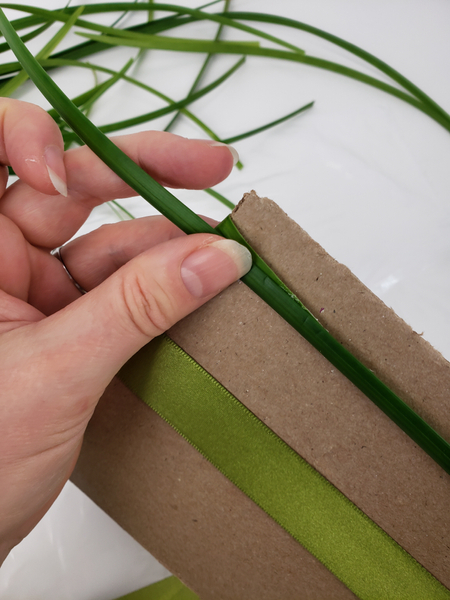
Wrap the grass strand around the cardboard in the same direction as the ribbon. Secure the band of grass with a drop of floral glue.
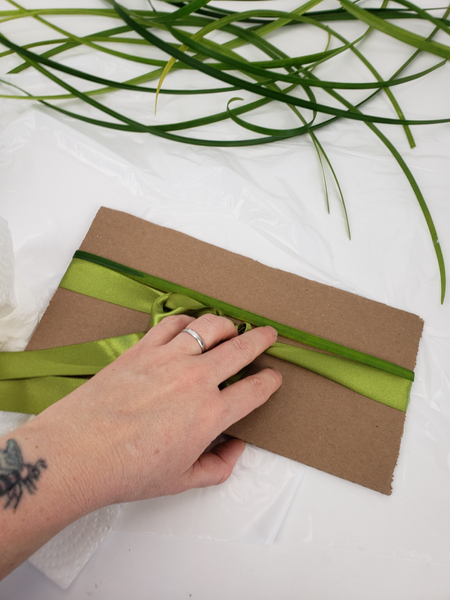
Move the grass towards the ribbon to make space for the next band.
Add more bands of grass above the ribbon.

To cover the entire upper half.
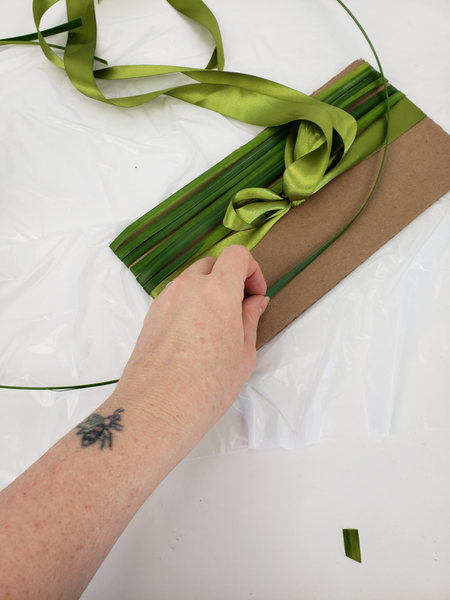
Add a band of grass below the ribbon to start to cover the lower half.
Keep the ribbon neat as you add the bands of grass.
Remember to keep the ribbon ends away from the bands so that they can dangle freely... it's surprisingly easy for them to catch somewhere getting glue on or making it difficult to remove without damaging the grass.
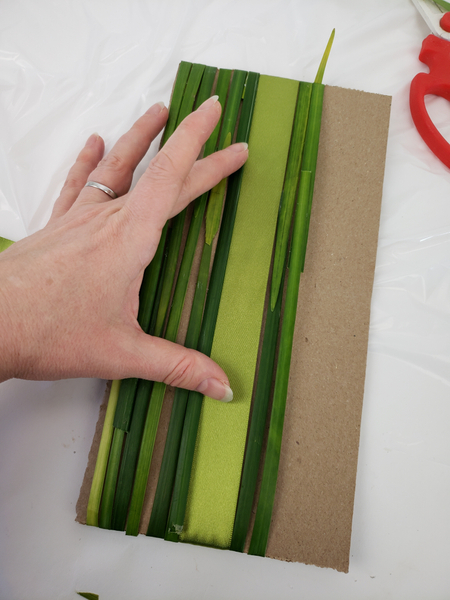
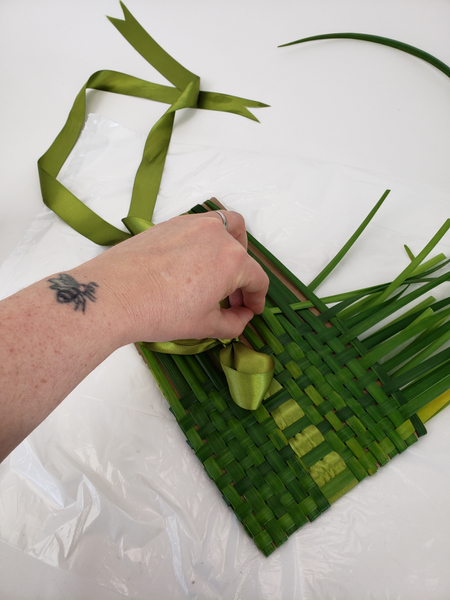
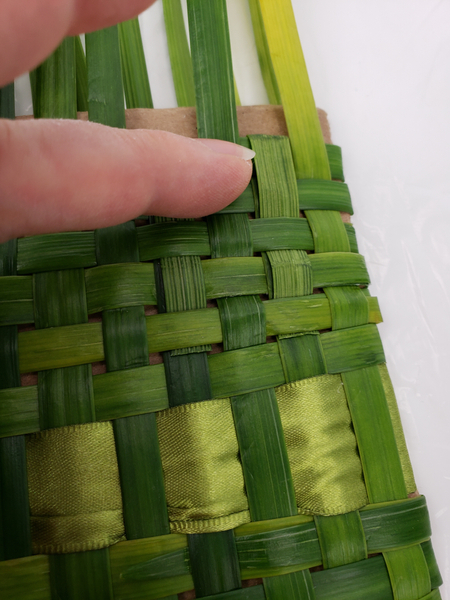
Weave the first strand of grass into the bands. Treat the ribbon as you would a band of grass.
Design note: weave with strands even though the grass is long. You need a generous length of grass to weave back into the purse to finish it off neatly.
If you need a bit more help with weaving see the detailed instructions below in the Tutorial section... or you can always have a look in my book. As you can imagine I have included quite a lot of weaving Tutorials in there.
Move the first woven strand right to the edge of the cardboard.
Bend the strand to the back and continue the weave. For instance if you ended on an "over" on the one side now continue with an "under" on this side.
Weave in the next strand of grass.
Weave in strands of grass right up to the bow knot.
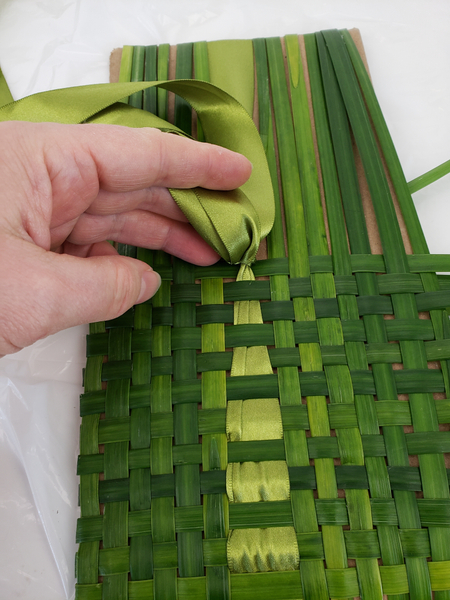
Move the grass as tightly as possible below the knot.
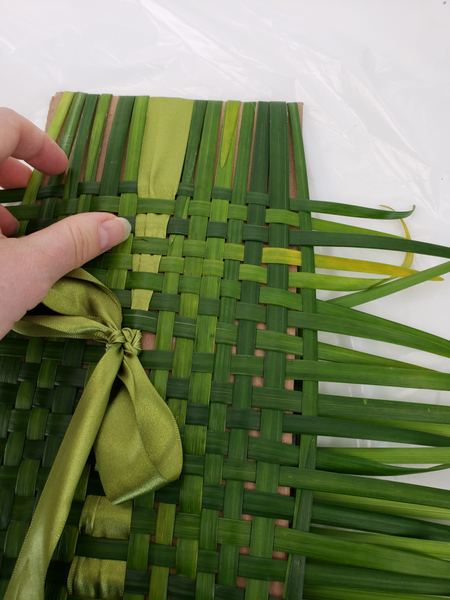
And continue the weave on the other side of the knot.
Weaving in strand after strand of grass.
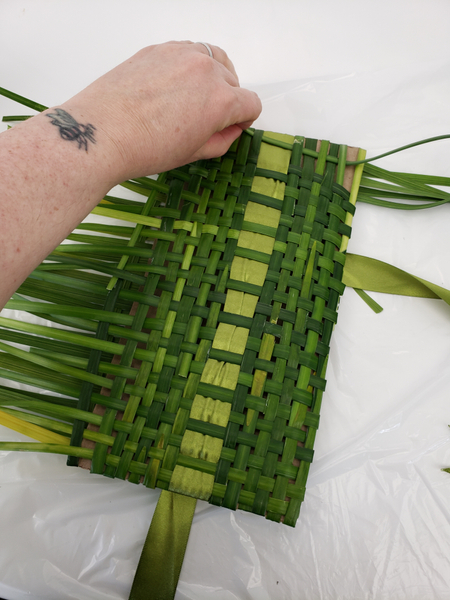
Make sure the middle point of each strand in at the bottom of the purse.
Move the grass strands as close as possible.
Work from the bottom to the top so that any gaps that are still there is at the top once done. Add in another band if required.
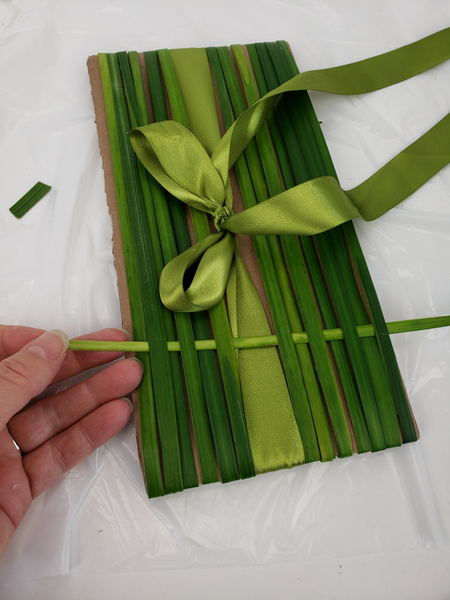
Now to finish the edges:
Carefully look how the weave works... bend the first "under" strand over the band to catch it so that you can weave it back on itself.
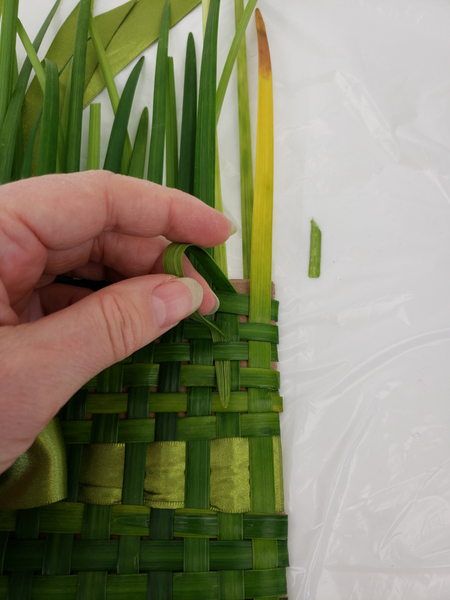
Simply weave it under the next band and over the one thereafter.
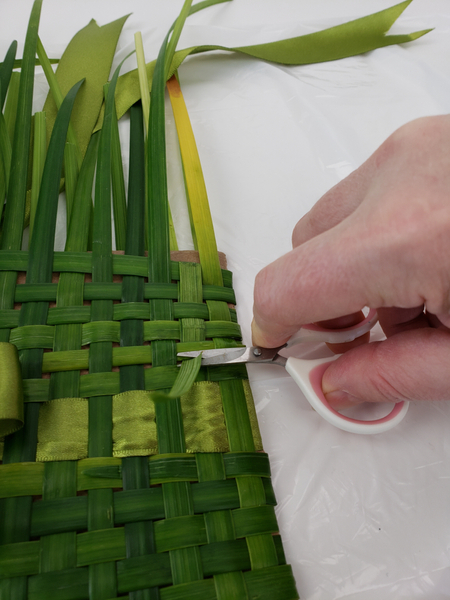
And snip the left over grass away.
Creating a neat and secure edge.
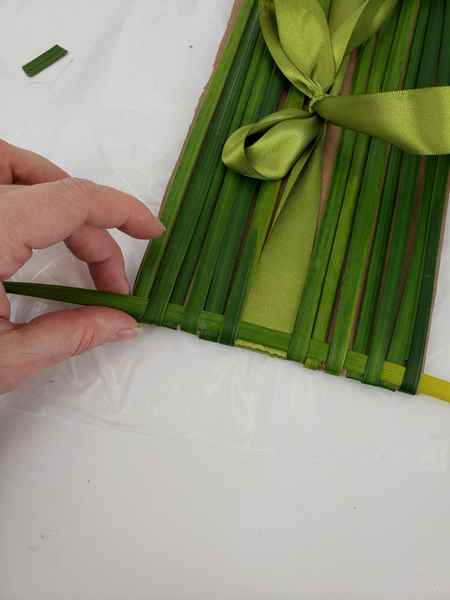
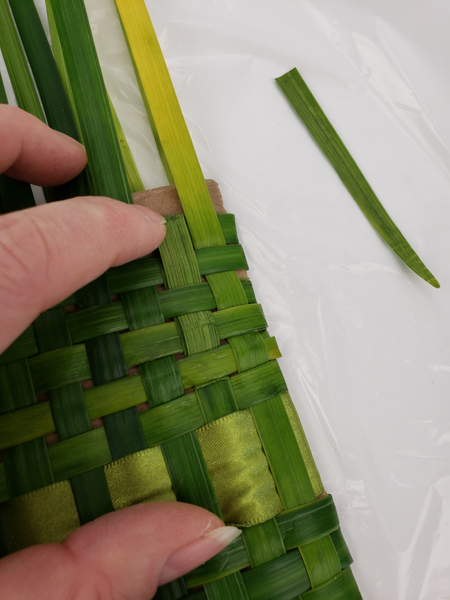
Leave the next strand of grass and bend over the one after that to again hook over the band.
Weave the grass back in on itself and snip the leftover grass away.
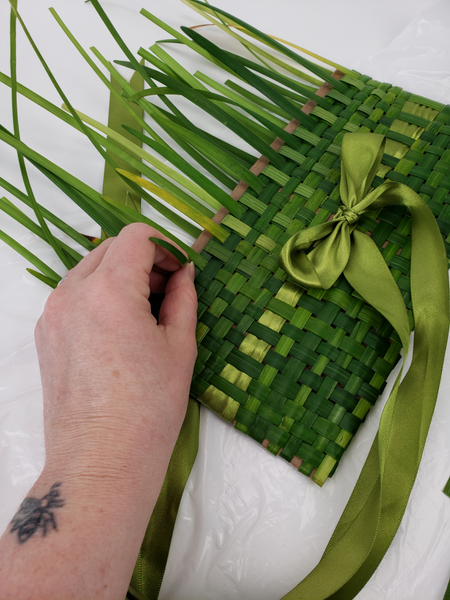
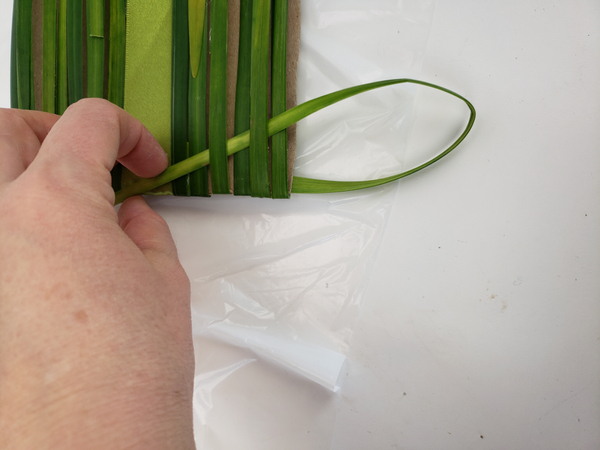
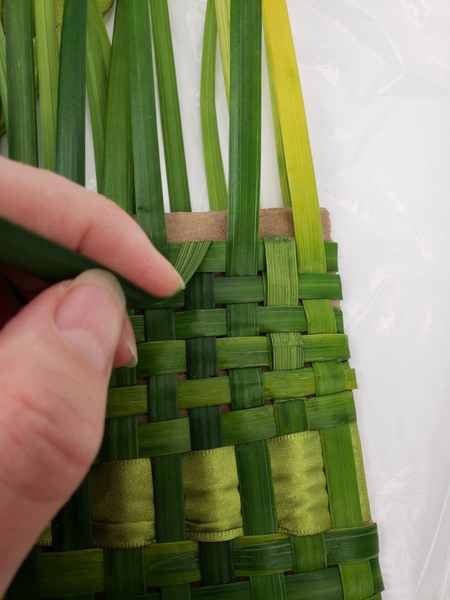
Move all the way around and weave in the grass strands.
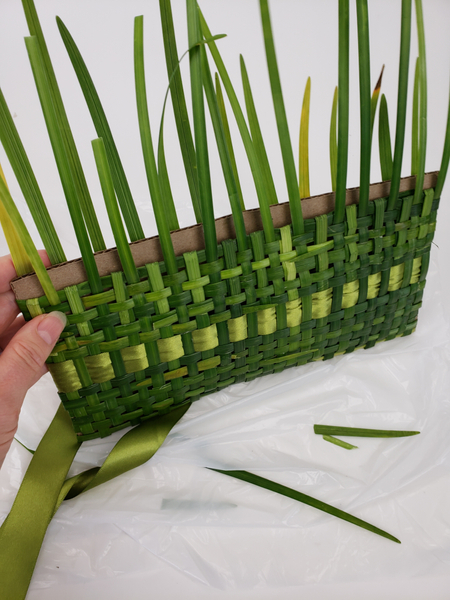
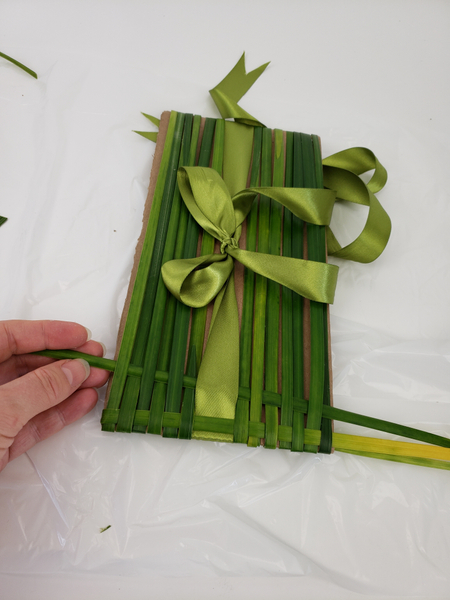
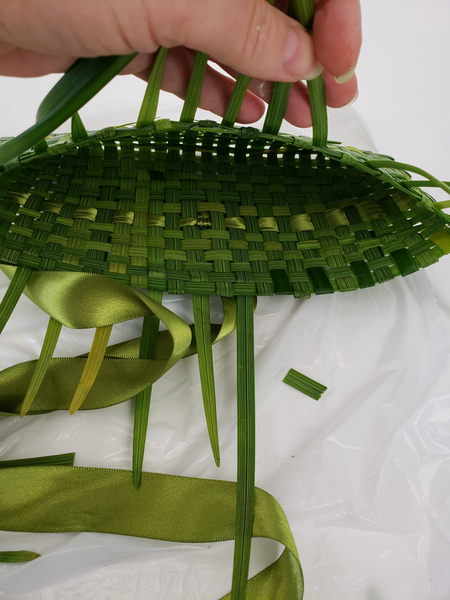
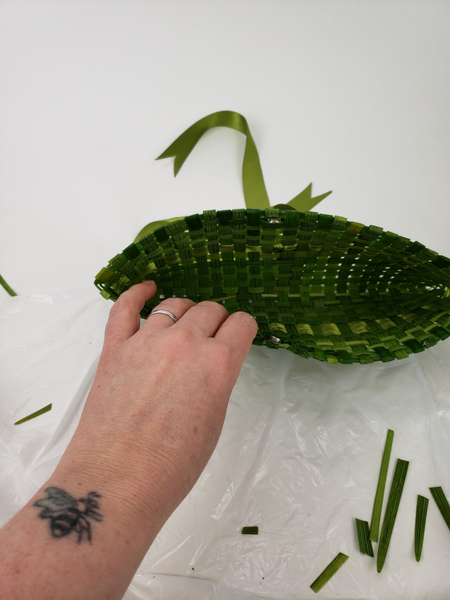
You are now ready to remove the cardboard...
Bend the cardboard slightly at the middle so that it pulls out without damaging your bag.
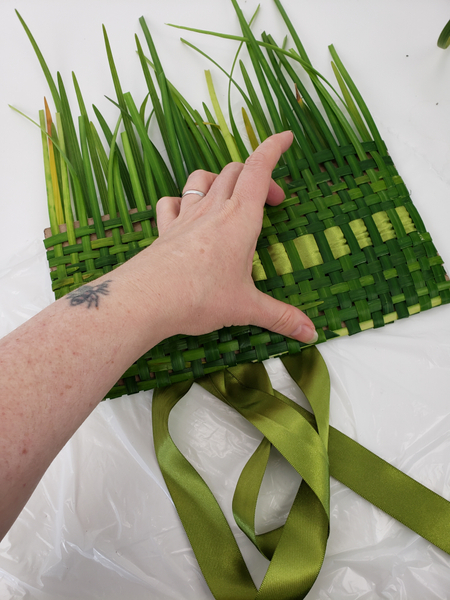
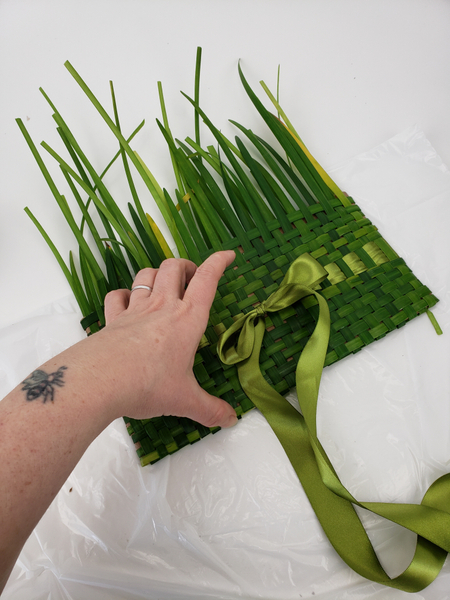
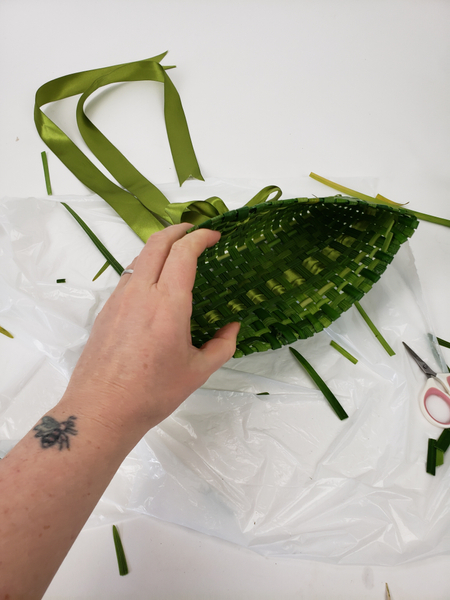
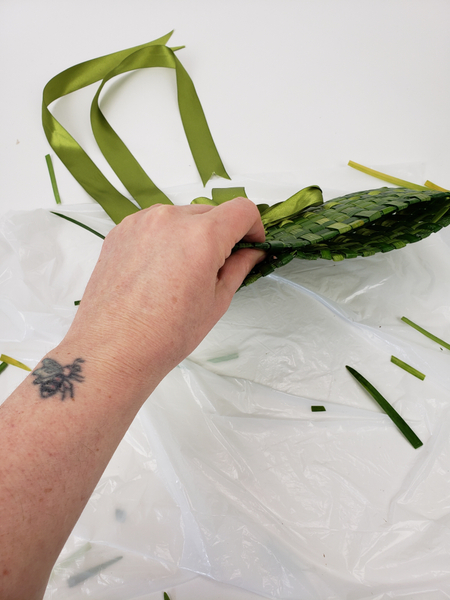
Leaving you with a woven purse.

With a generous inside to keep all those things you want to keep... (see the design of this tutorial)
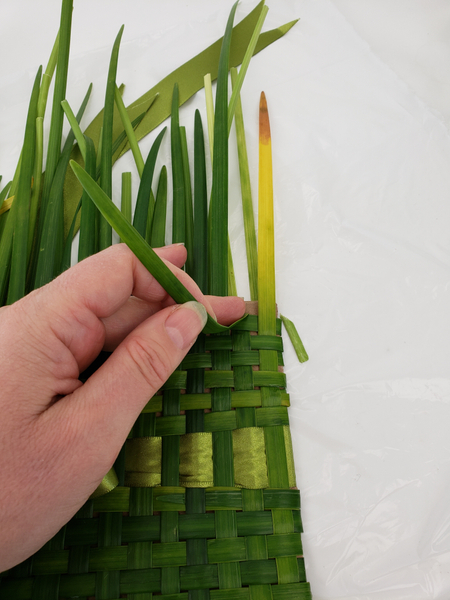
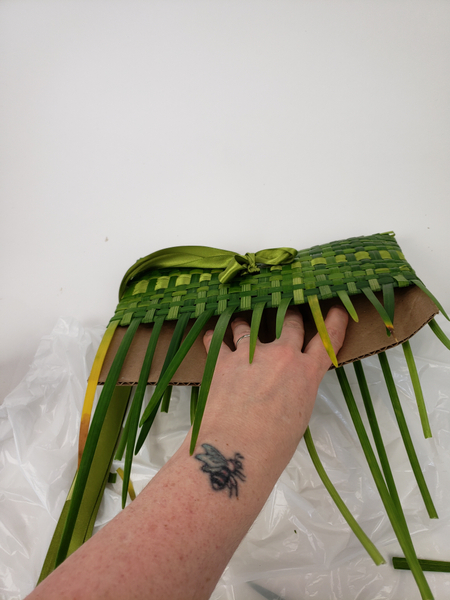
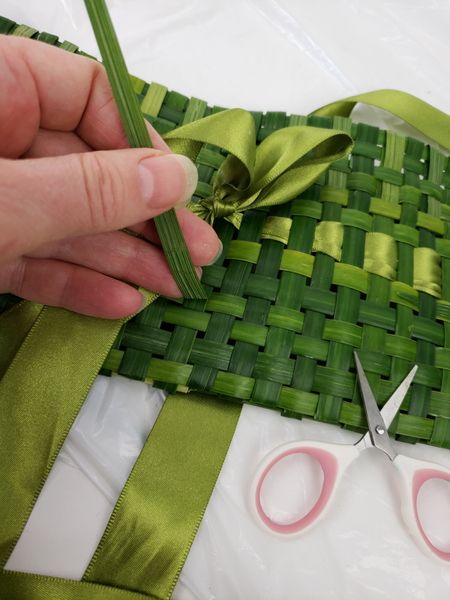
Begin in the corner and fold in the first strand of grass. Again you simply follow the weaving pattern.

Fold the grass over the band and under the next band... and...

Snip away the leftover grass.
Creating a neat and sturdy edge.

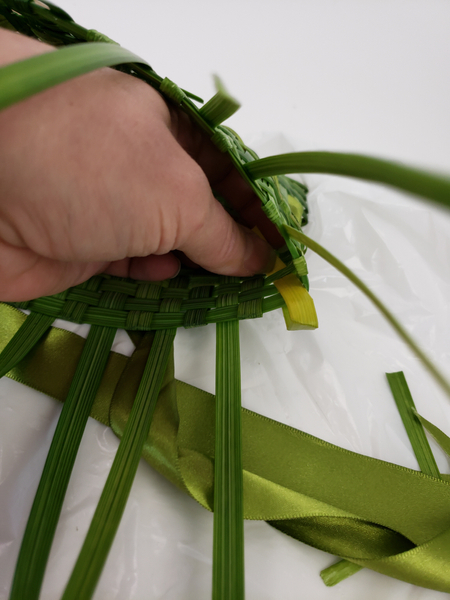
Weave back all the strands except the mid four. Two in the front and two in the back. These will hold the magnetic clasp in place.
For the Magnetic clasp:
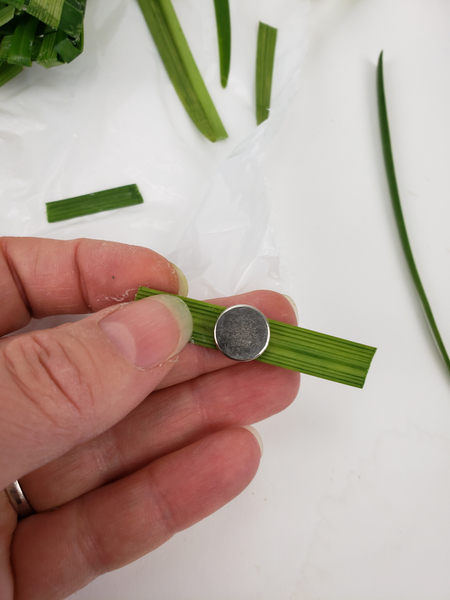
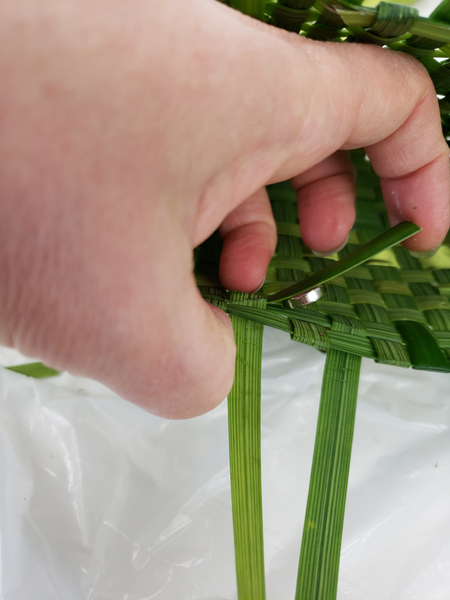
Glue a corsage magnet to a blade of grass.
Design note: the stronger the magnet the more you need to weave the grass into the design. My magnet is a standard corsage magnet.
Weave the magnet into the purse at both ends.
Newsletter Subscribers I have a special tip for you if you are concerned that the magnet you are using is stronger than the standard corsage magnets. Make sure to subscribe so that you do not miss out on these weekly tips. These tips are design specific so they are only in my newsletters and not added to the Tutorials.
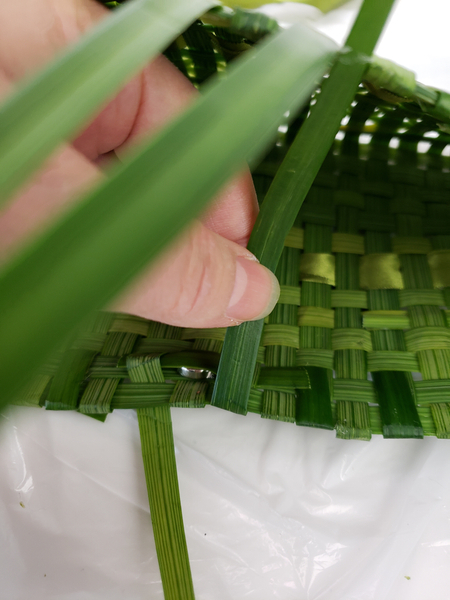
Fold the first blade of grass back in over the magnet.
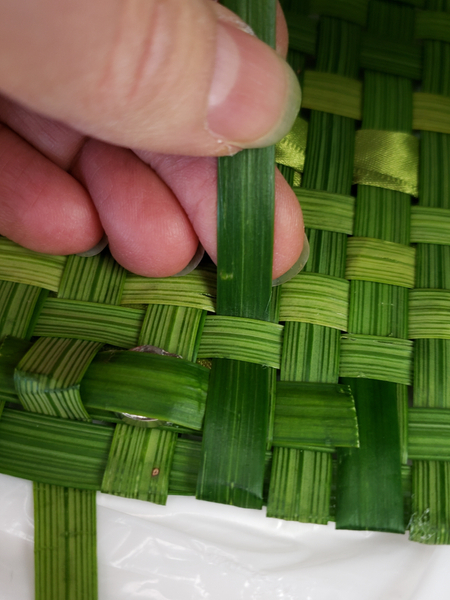
And weave it into the purse.
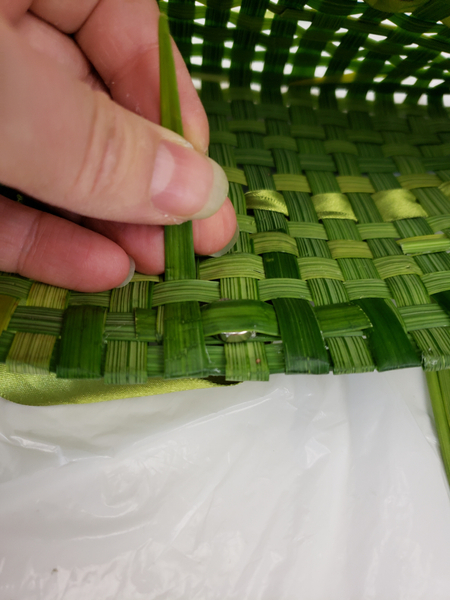
Do the same with the other strands of grass.
Keep the magnets separated to protect the purse from ripping... but have a look to make sure the position of the magnets will connect to close the purse.
As a final step to secure the magnet weave a strand grass of all the way around the purse...
... To completely conceal the magnet
So that the purse can be neatly closed... and opened.
Book readers: turn to page 230 for a Tutorial if you want to add a handle to the purse. And 229 for another example on how to weave with ribbon.
Your purse is now ready to design with.
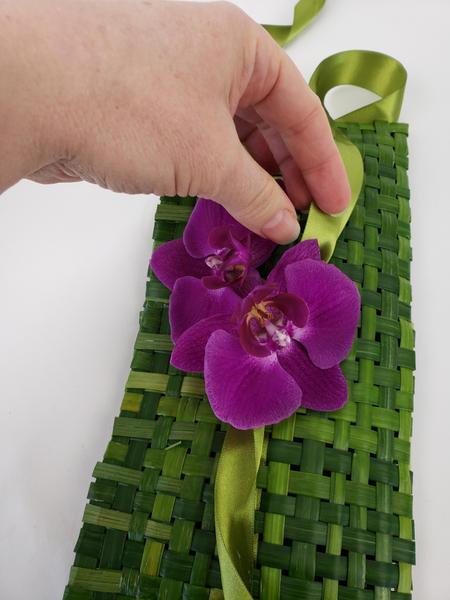
When it comes to placing the flowers... Book readers... turn to page 303.
I came up with this idea out of necessity. But it has changed the way I design body flowers forever. Try it... it works so well!
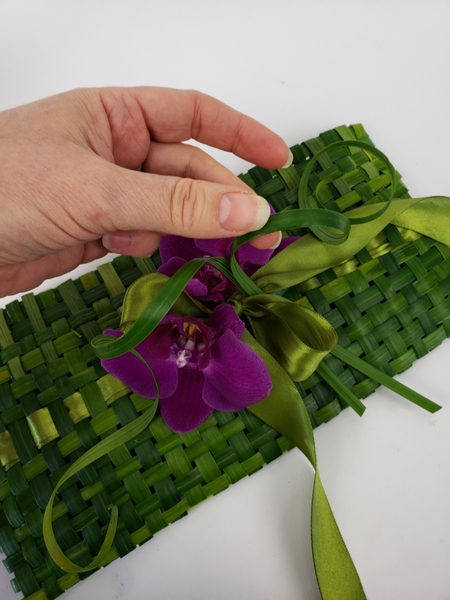
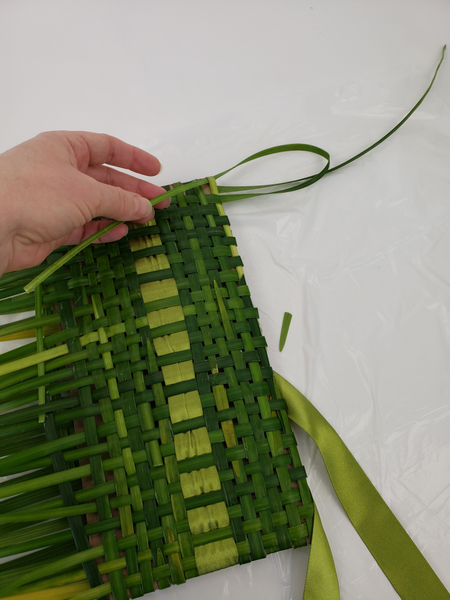
Finish the design with a few blades of grass curled into ringlets... see the Tutorial in the section below for detailed instructions.
Sign up for my weekly newsletter
Every week I add a new design with related tutorials. Be sure to subscribe to receive an email notification with design inspiration.


 sprouting wheatgrass for a ethereal Spring display")


 Way")


