Christine de Beer - effortless floral craftsman
A witch... or wizard... hat that you can shape any which way you like
- 19 October 2022

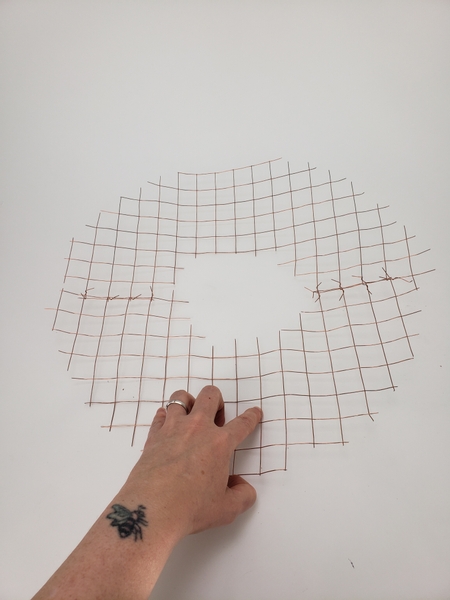
Roll out copper mesh on a flat working surface.
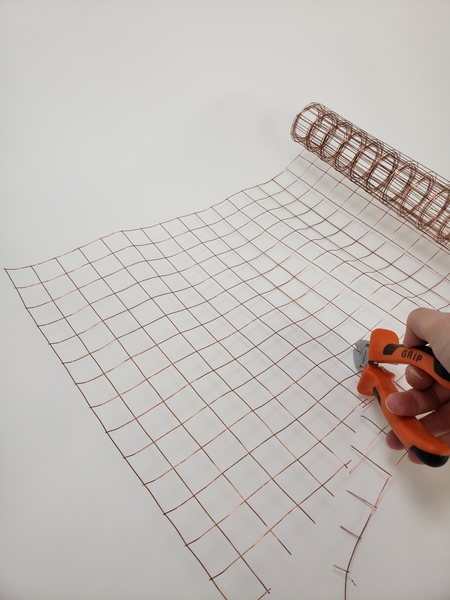
Cut from the bottom corner curving up to create a cone shape.
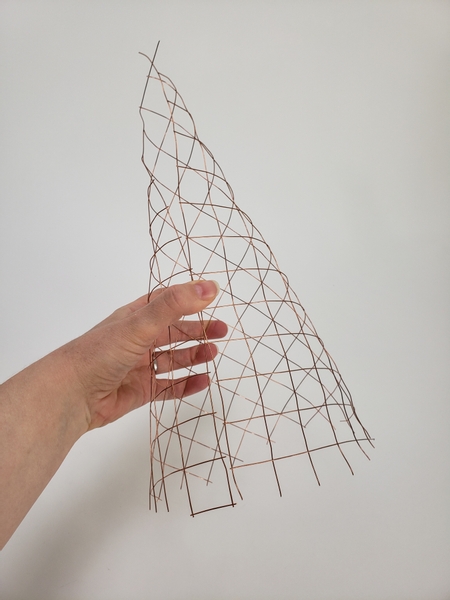
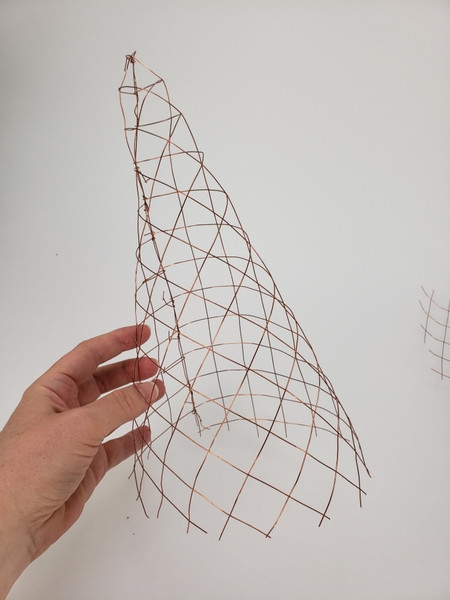
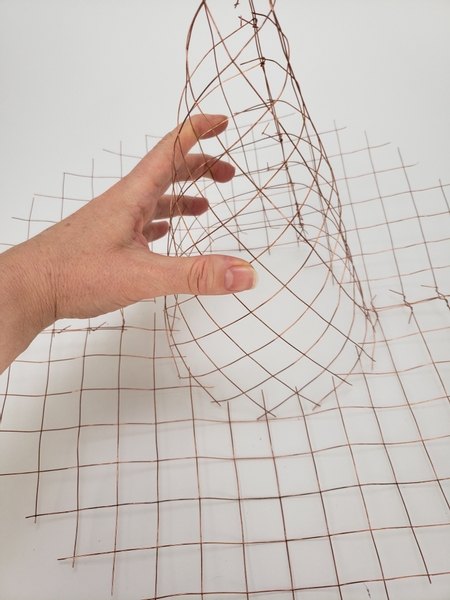
Roll the wire mesh into a cone. This will be the shape of the crown of the hat.
If it is to be worn adjust the open end to fit the circumference of your head. Mine measured about 20" or 51cm to fit the mannequin's head.
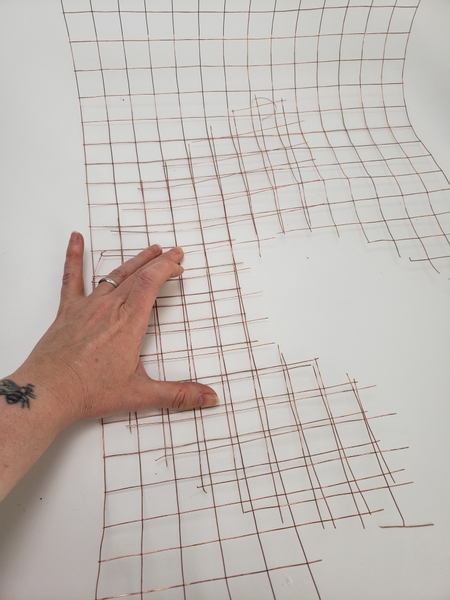
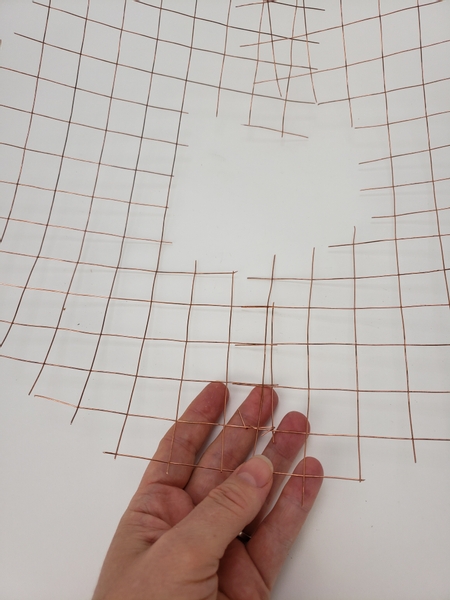
For the brim cut out a doughnut shape.
The inside circle should be the same circumference as the biggest opening in the cone shaped hat crown. Rather cut too big...
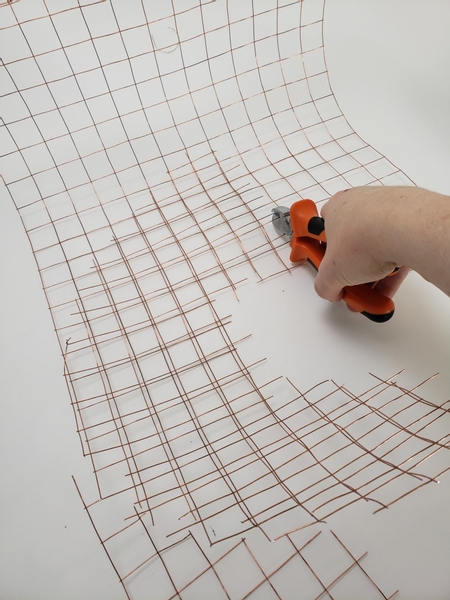
... with open ended wire bits sticking out so that it is easier to adjust and wire the pieces together.
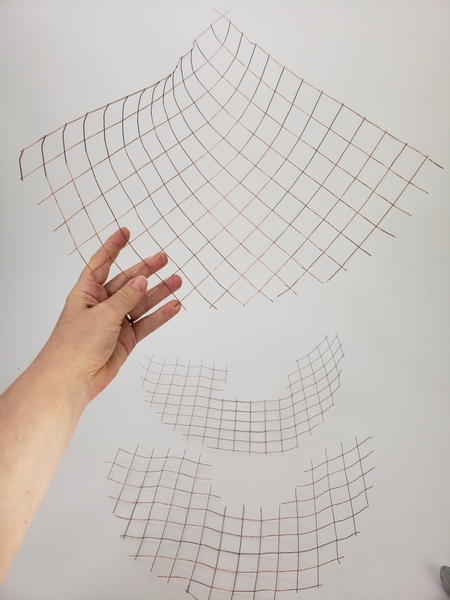
Ready to assemble the three pieces of wire mesh...
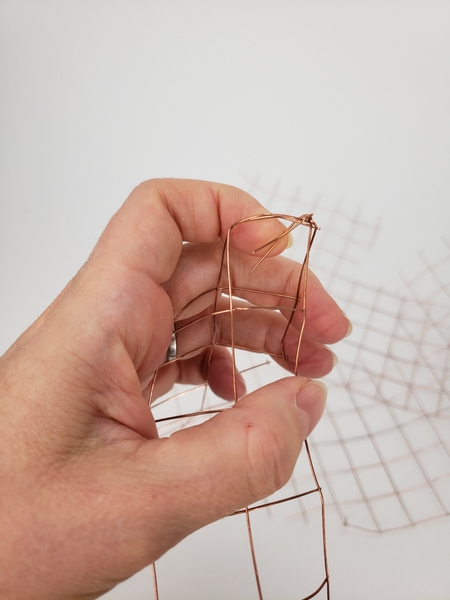
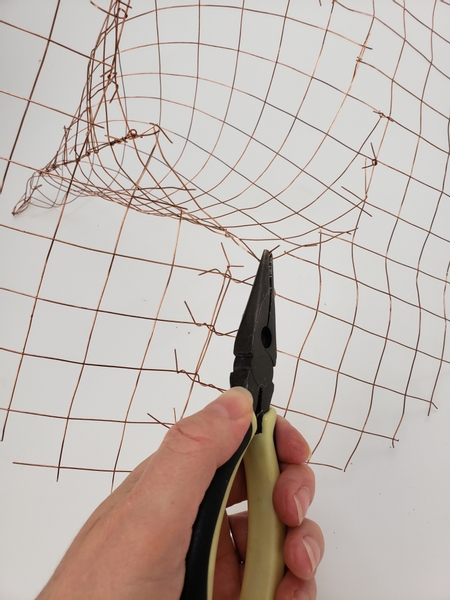
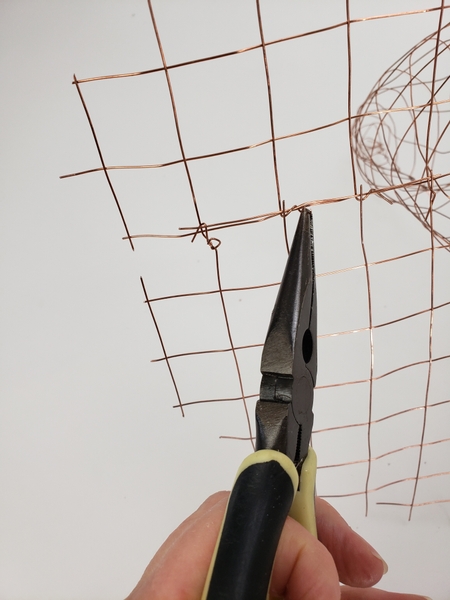
Shape the crown of the hat by wiring the edges together.
At this point allow the wire ends to extend as visibly as possible. It makes it easier for you to see them when you go over the design to secure the sharp ends.
Overlap the brim shape and twist the wires together to secure.
Again keep those sharp ends to be as visible as possible.
Fit the crown on the brim...
And twist the wires together to secure.
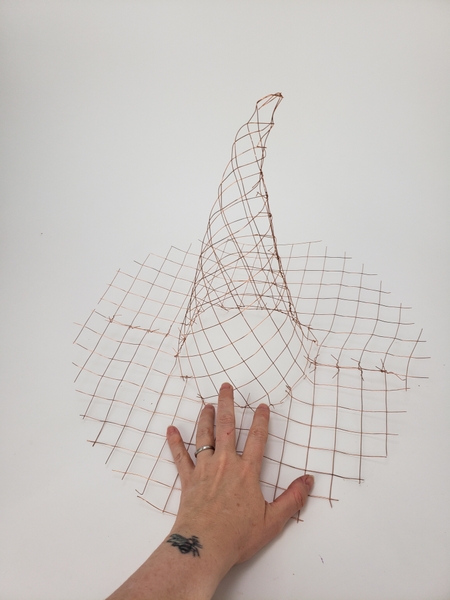
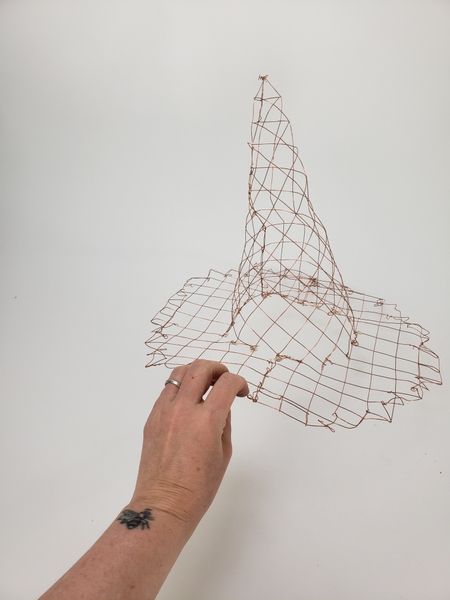
Your mesh frame is now ready for the most important step...
You should be able to trust any design 100% that it will not cause any harm. No poking wire ends... ever. Nothing that can cause any discomfort should be included in body flowers. Book readers turn to page 267 where I speak about testing the rules. For more information about my book: The Effortless Floral Craftsman
And for a bonus step to this design I have an additional tip for you in this week's notification email on how to take the hat from comfortable to luxurious to wear. The sign up button is below this post if you are not yet signed up.
The first step is to go back and twist all those poking wires so that the sharp ends are pointing inwards.
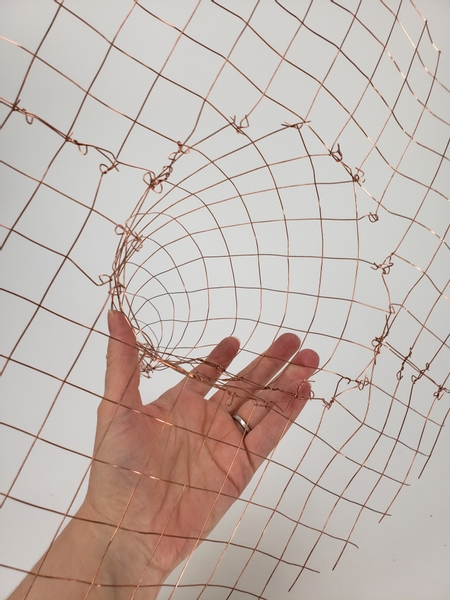
Inspect the wires to make sure they are all twisted in on themselves. You are going to be really glad you did a great job at this point once you start weaving. These wire ends are so sneaky!
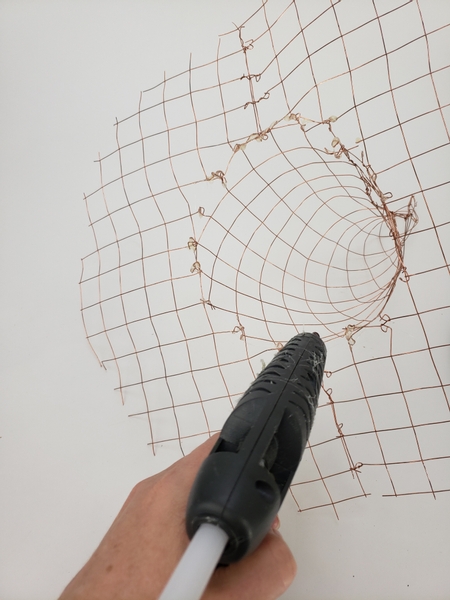
Next I add a drop of hot glue on all the ends around the brim.
Shape the hat by folding the ends in around the brim edge.
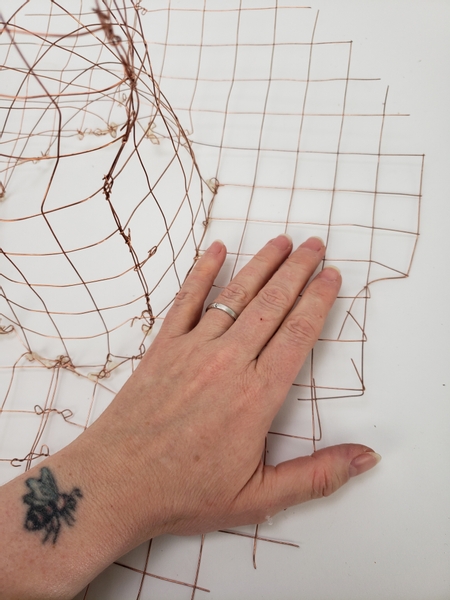
Twist all the sharp wire ends in on themselves to secure.
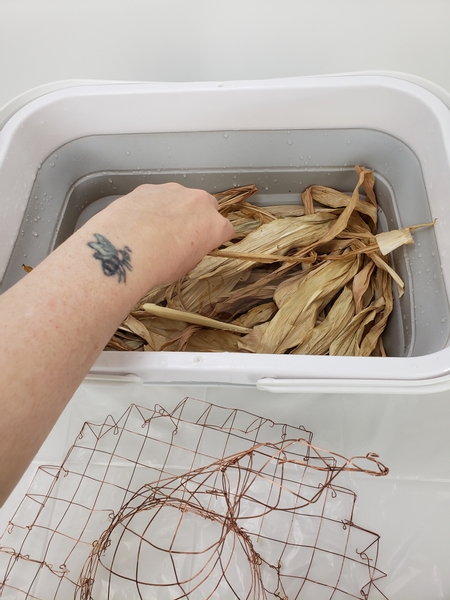
Soak the corn leaves (or foliage such as banana leaf, flax, lily grass, bamboo husk or palm leaves) in warm water to rehydrate.
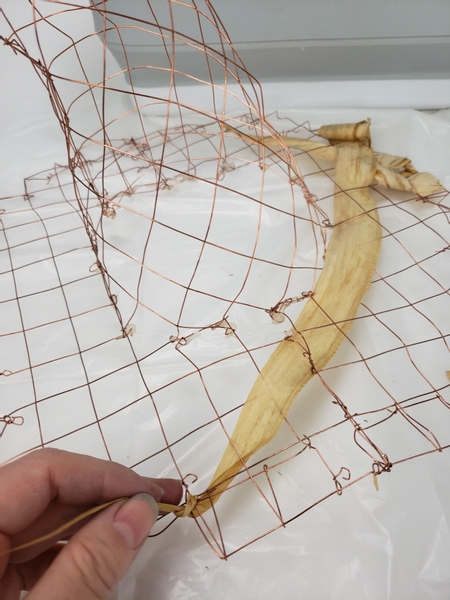
knot the leaf on one end and weave it through the frame to the other side... add in the next leaf and weave that through the wire frame...
Interweave the foliage around the brim and up the crown.
To learn more about weaving and interweaving you can have a look at my book... but to get you started I also have a few Tutorials linked below this post.
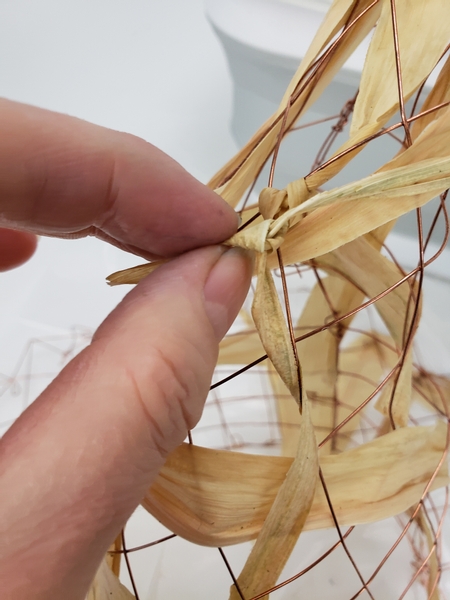
Knot the foliage to the wire at both ends so that the hat can be reshaped once done. Okay... maybe not every time at both ends but do this often enough so that the weave wont pull apart if you reshape the hat.
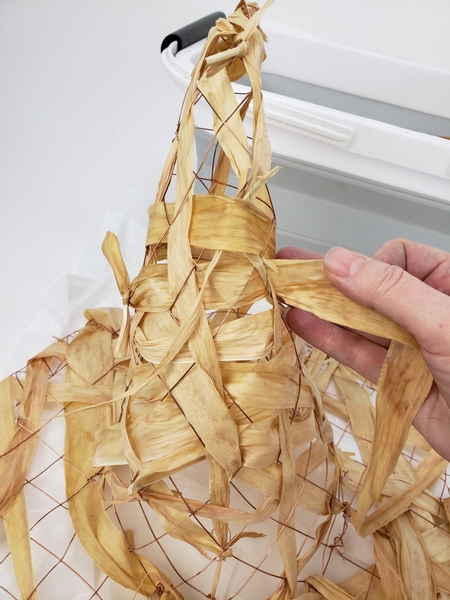
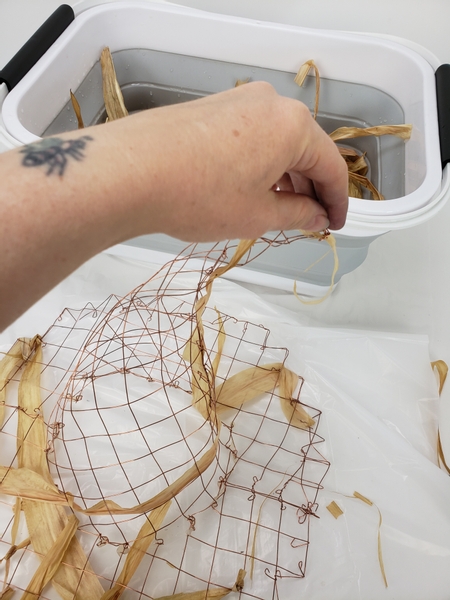
Weave in more leaves... and a few more... and a few more...
Turn the hat around and then... and then you weave in a few more leaves.
If you prefer you can also weave in a few leaves to conceal at least some of the knots to make the weaving look neater. This of course depends on the style you want.
Design note: I loved the knots. It is so obviously handmade that I actually exaggerated it by letting the end pieces dangle.
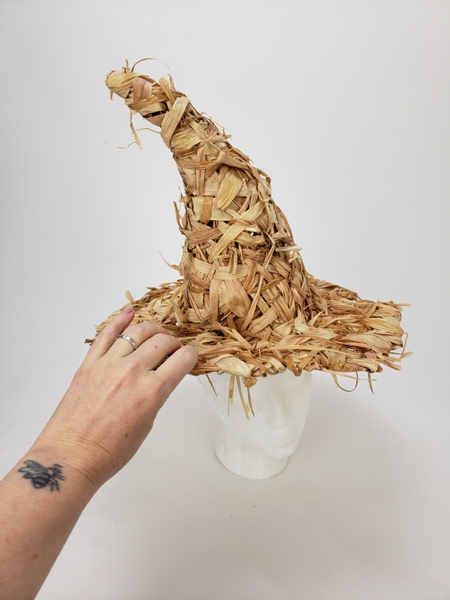
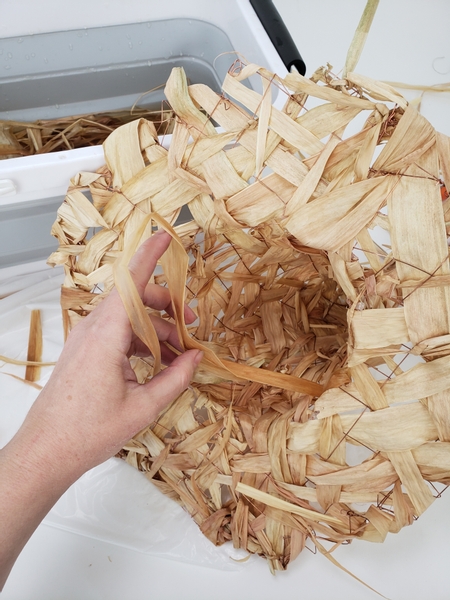
Fit the hat and make adjustments as needed.
Design note: If you find that the hat is a bit snug add a ribbon to tie the hat to your on top of head. If the hat is too big twist the wire to adjust it.
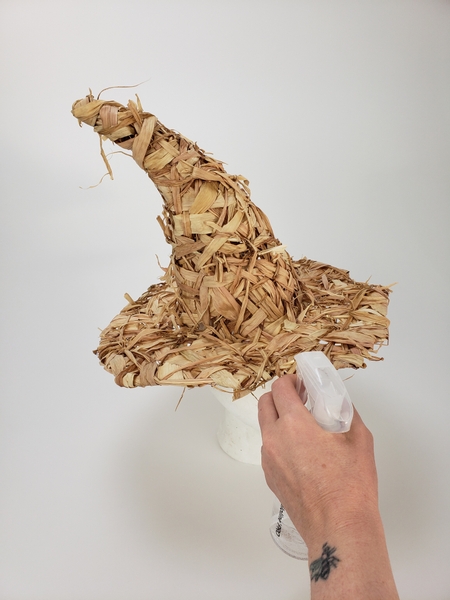
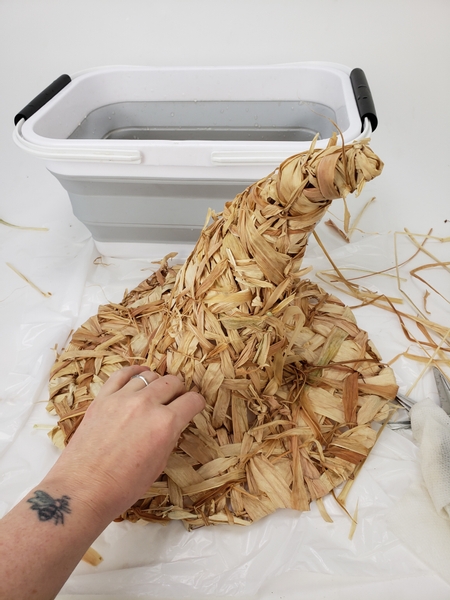
If you want to re shape the hat spray it with warm water to make the foliage more pliable again...
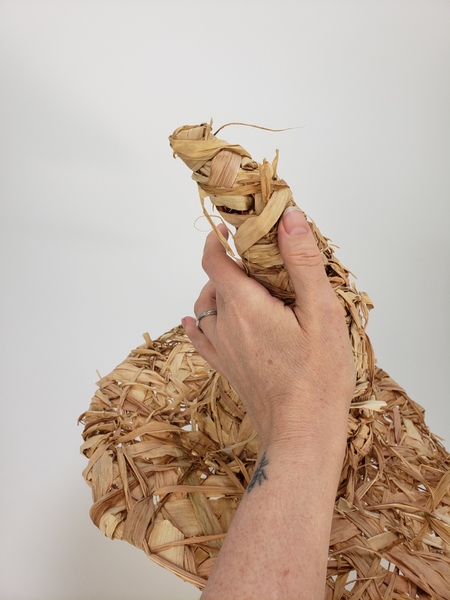
And simply reshape the wire.
... on to decorating the hat. Here is what I did...
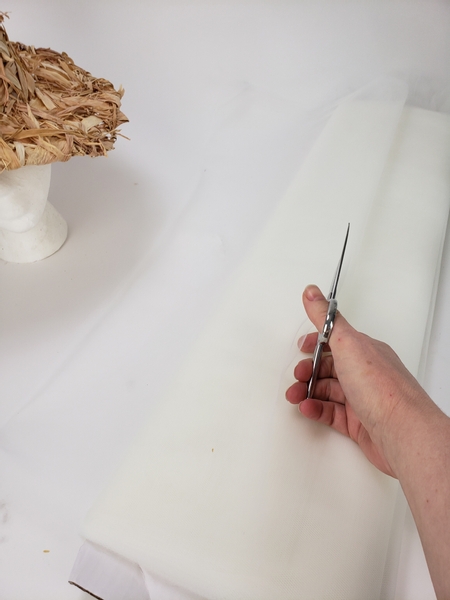
Cut tulle into wide strips...

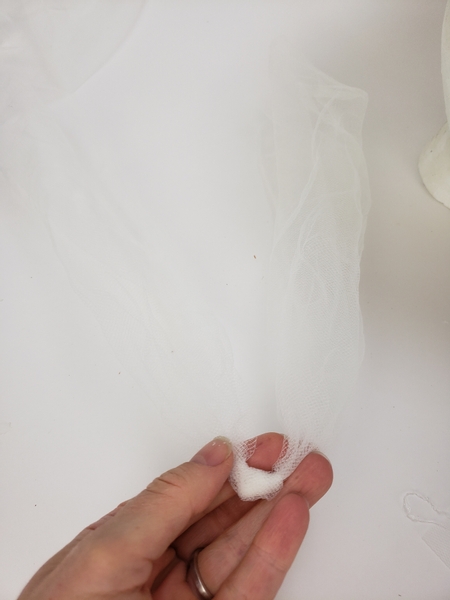
Cut the tulle strip into pieces and fold the end together and gather it to create a puff of tulle.
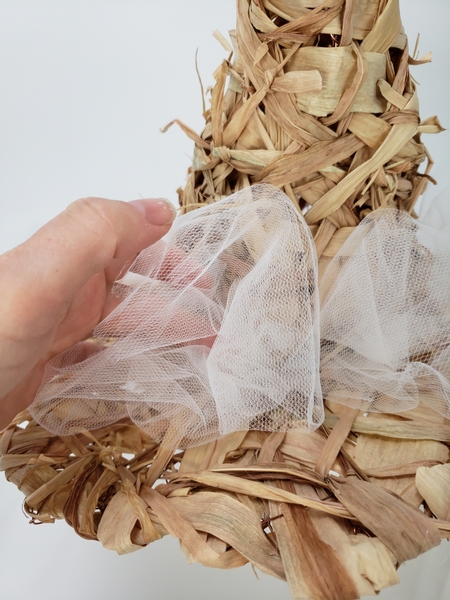
Glue the puff of tulle every here and there around the brim of the hat.
Knot a strip of tulle to create a tail...
And glue the knot to the side of the hat.

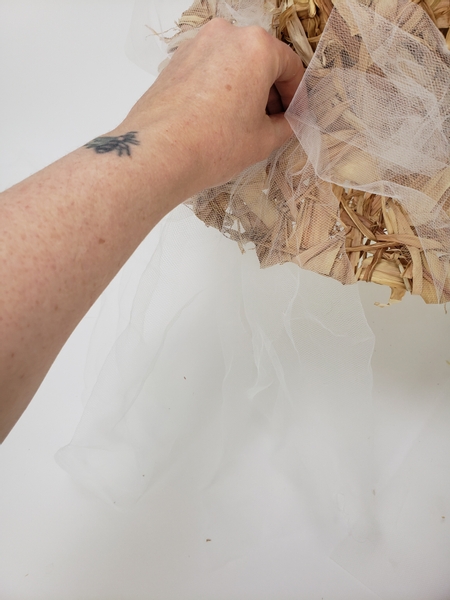
Drape another thick strip of tulle all around the hat to create a second layer over the puffy bits. Style the tulle around the brim and secure every here and there to get the look you want

Place a few stems of jasmine vine in a water tube.
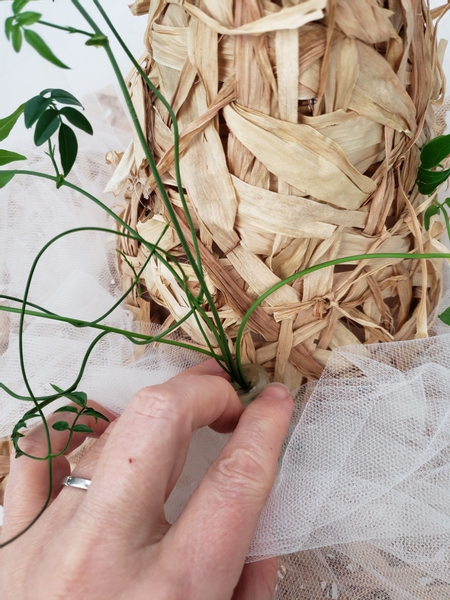
Glue the water tube to the brim of the hat...
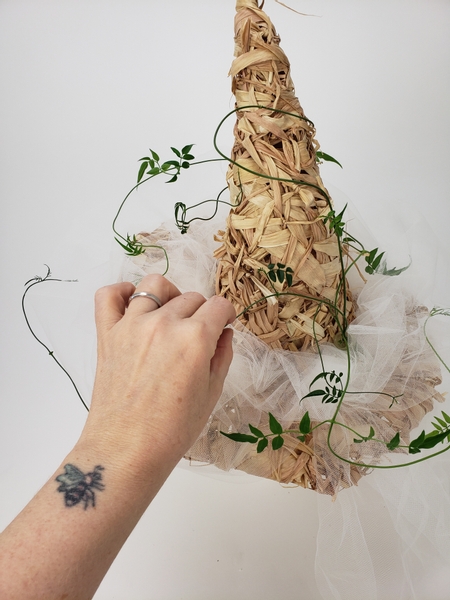
And drape the vines over the hat.
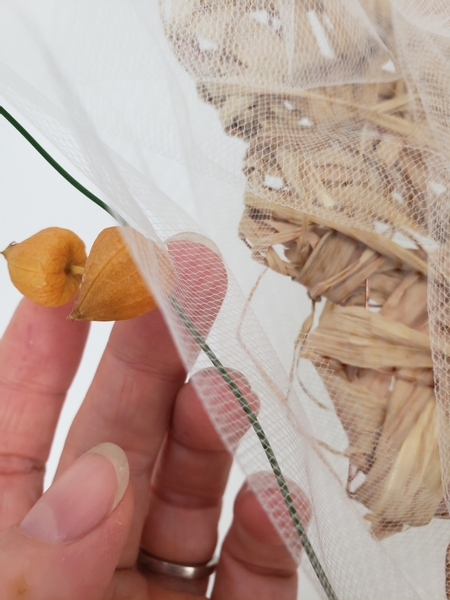
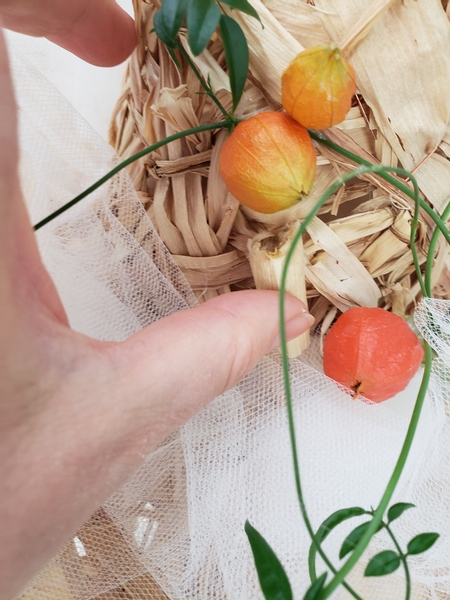
Glue in a few Chinese lantern husks.
Dried husks are lighter and and keeps its shape hovering over the cloud-like tulle. See the Tutorial below for detailed instructions on how to dry physalis pods.
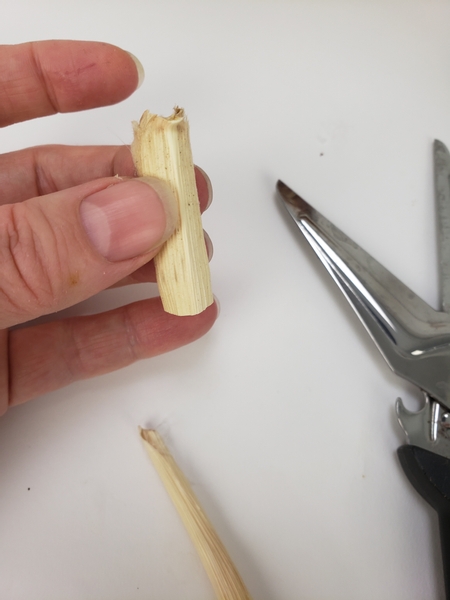
I made a little grass covering for the water tubes to keep the flowers hydrated.
Book readers you can find more inspiration on page 190. Also... if you are concerned about the water spilling turn to page 303 for my trick for hydrating body flowers.
Glue in the tiny water tube.
Oh... and if you are wondering about the tiny water tube see the Tutorial below for detailed instructions on how to make them.
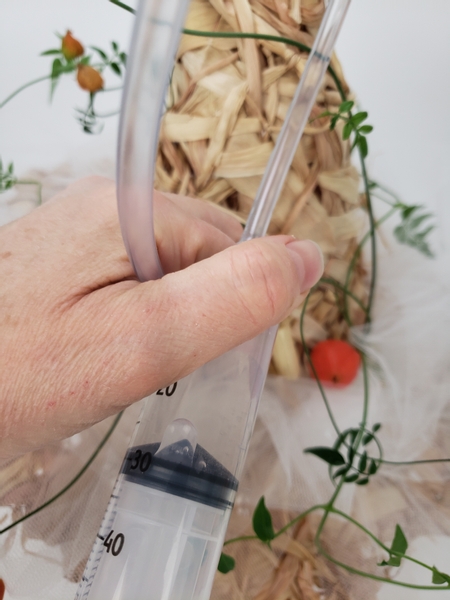
Fill the foliage covered tube with water.
See the Tutorial below for detailed instructions on how to fill water tubes in rather awkward spaces.
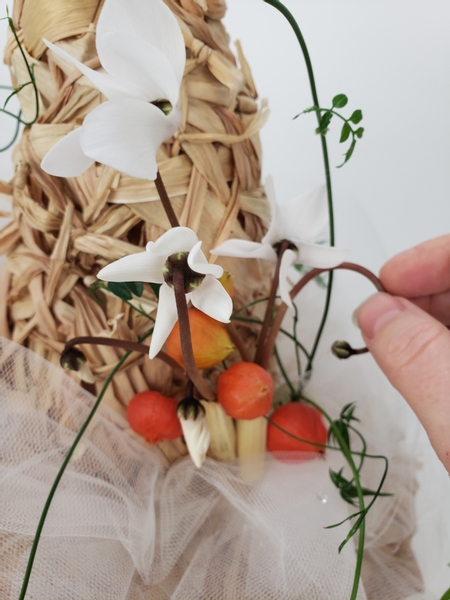
Slip the flowers into the water tube. I used the white cyclamen buds and blooms to curve and hover around the side of the brim.
See the Tutorial below for detailed instructions on how to harvest cyclamen so that you keep as much of the tall stem as possible to design with.
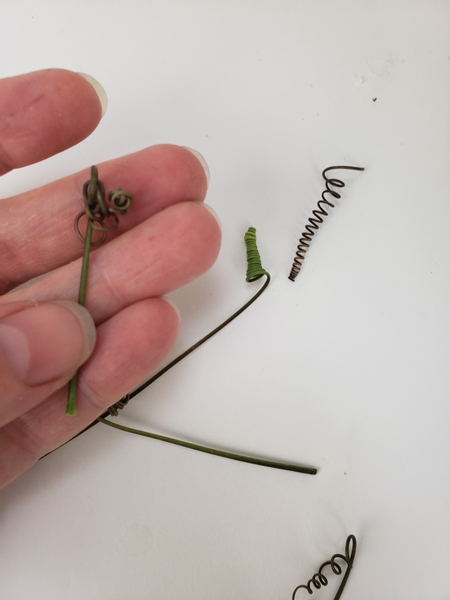
And to bridge the gap between the white flowers and the rest of the design I added in these tendrils that are dark like the cyclamen stems but also green like the jasmine vine in other places.
Design Tip: If you want to make sure you have darker tendrils move your plant to the sunniest possible position this time of year. The darker tendrils are really the plan the plant makes to protect it from the sun. It's sunscreen!
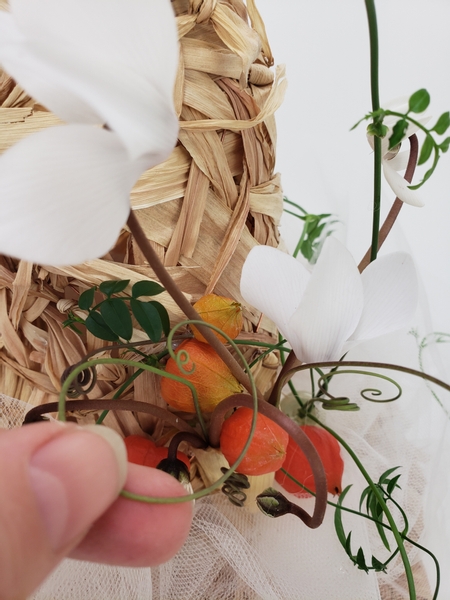
Glue in the tendrils...
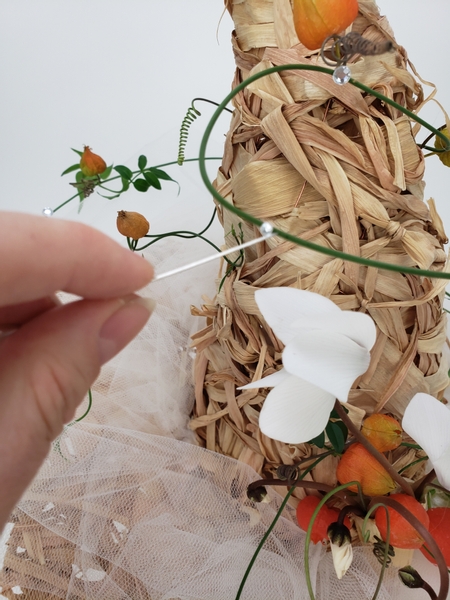
And add in a few dew drop crystals to finish the design.
The best part of this design was how to vines rearranges themselves. As they hydrate the vines curve this way and then that way....
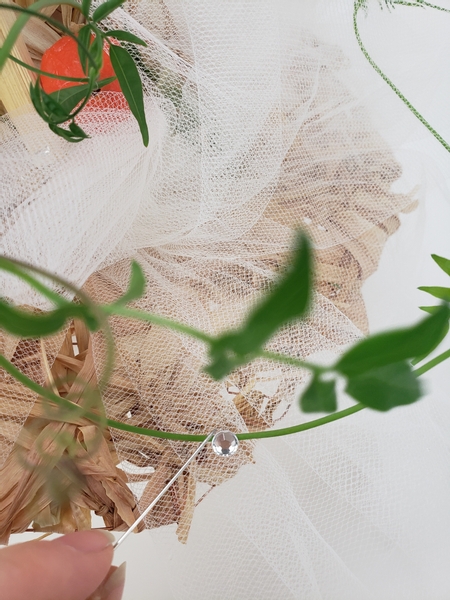
You can anchor the vines (to some extend) by attaching them to the tulle with the dew drop crystal. This will ensure that the tulle moves with the vine.
Sign up for my weekly newsletter
Every week I add a new design with related tutorials. Be sure to subscribe to receive an email notification with design inspiration.


 Twig Season")


 Way")

