Christine de Beer - effortless floral craftsman
Water dip Wax to match the flame petals of a Cyclamen flower for a layered Twig and Leaf armature
- 15 November 2023
- and more
Melt a generous chunk of wax. I melted clear and white wax into a block and then melted the block down to give me a marbled wax effect.
If you are unsure about melting wax have a look at the Tutorials below. Also have a look at the Design that I did years ago that will give you another look at what happens to wax when dipped into a deep bath of water.
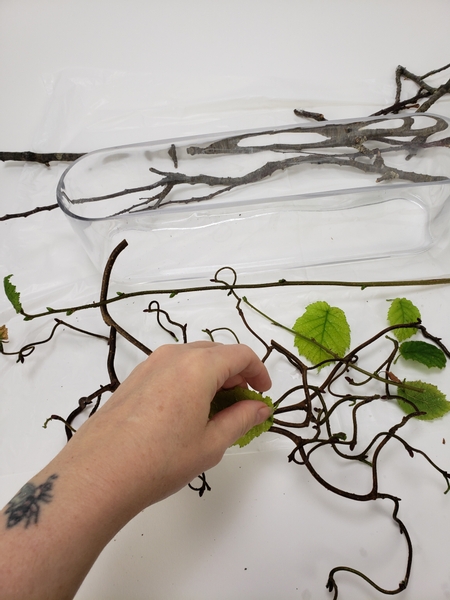
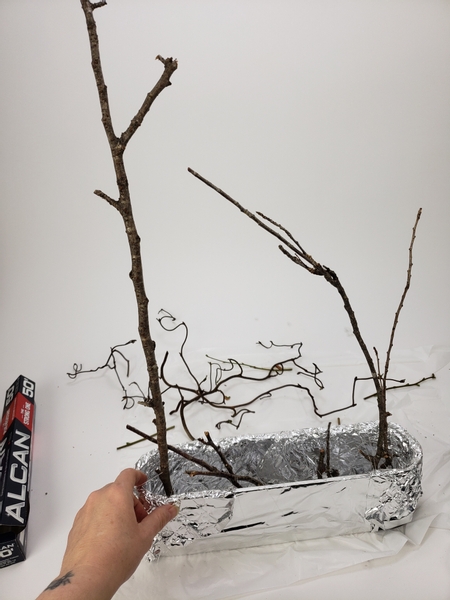
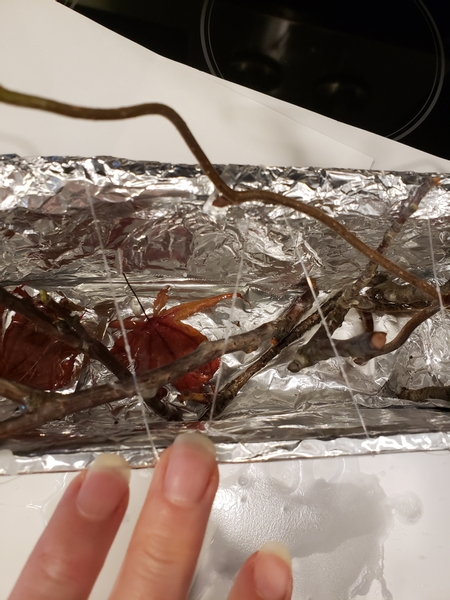
While waiting for the wax to melt remove the foliage from a few pretty twigs.
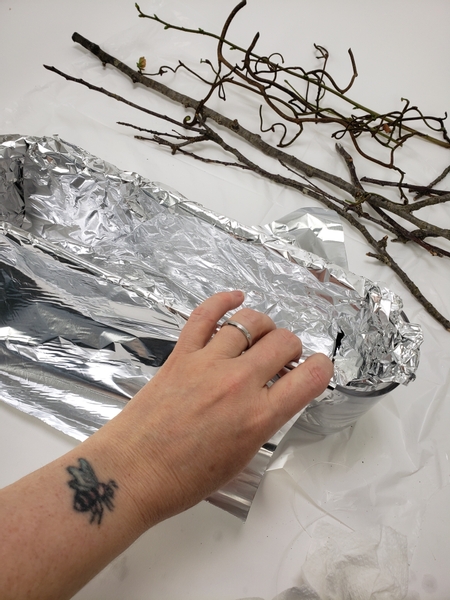
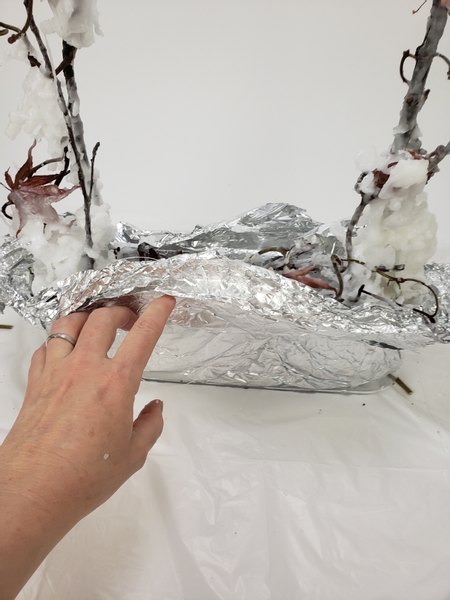
Line your display container with foil. I wanted my foil to be part of the wax design so I layered the foil in strips. Do not smooth it down too tightly so that the wax seeps through and create foil and wax layers for you to peel back once set.
Fold the foil over the side to protect the outside of the display container and make clean up easier.
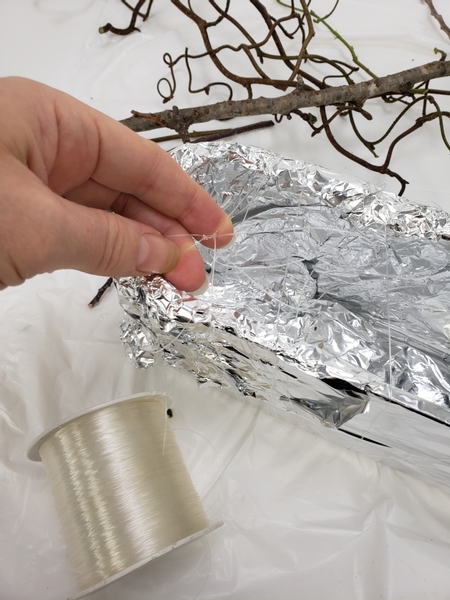
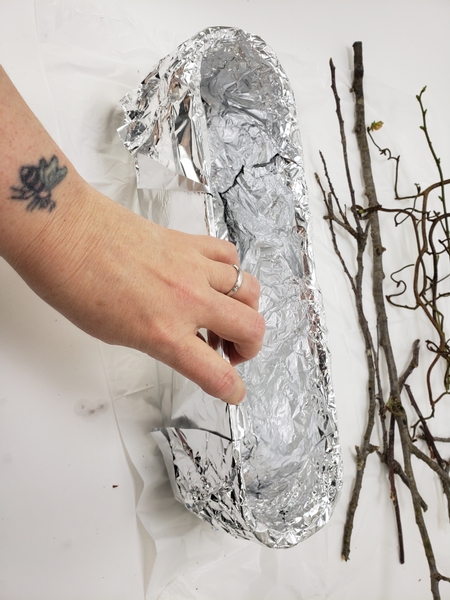
Wrap a grid of fishing line around the container and secure the line with a knot.
Design note: instead of the grid you can also pour wax into the bottom of the container and set the twigs into that to keep them in place. This would create a solid and static base. I wanted my twigs and autumn foliage to move with the wax spontaneously and not stay down, so I kept them upright with a grid.
You can get the basic idea for your armature but the wax will still change the look so allow for it to be a surprise.
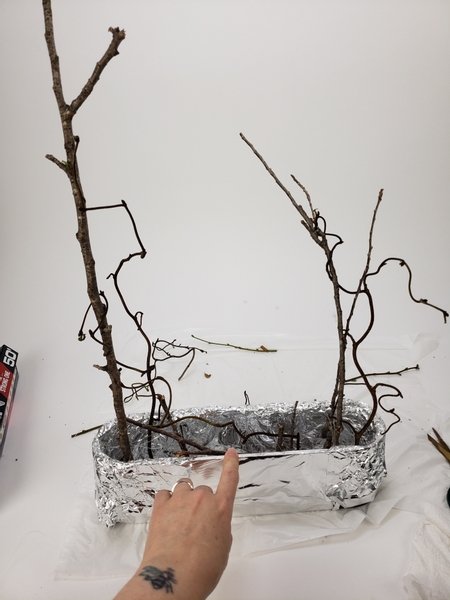
Add in the curly hazel twigs to curl around the upright stems.
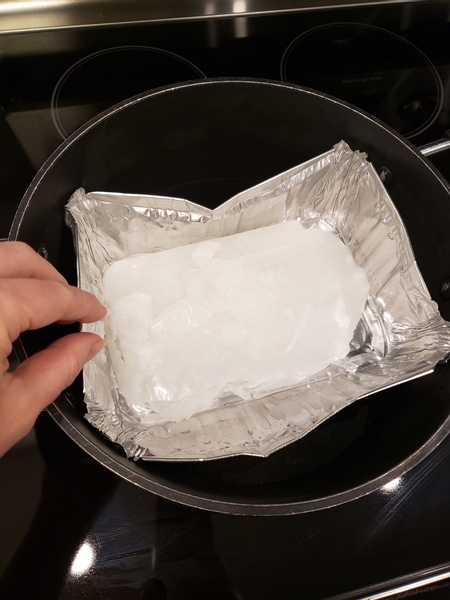
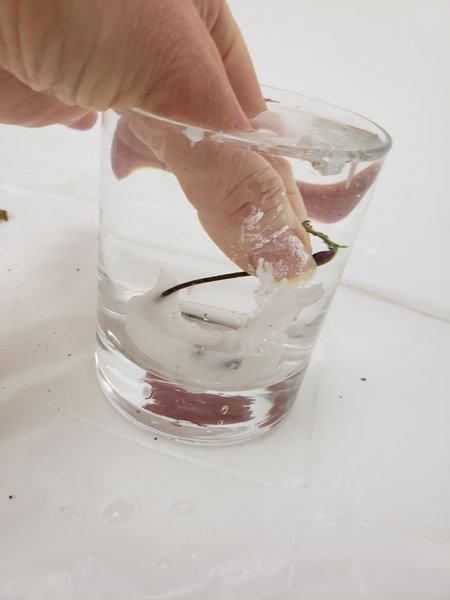
Fill a deep basin or tub with cool water
Take a deep breath. The next few steps are actually one step. You have to work really quickly. It really should be two steps... pour and plunge the wax into the cool water.
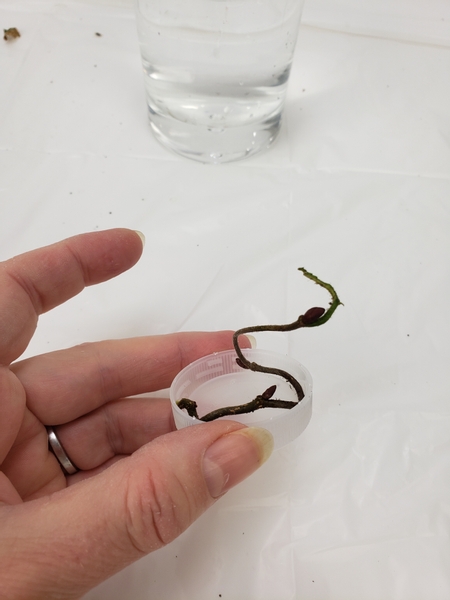
Let me show you a small scale version of what we are going to do. It looks something like this... only on a larger scale. The twig goes into the container...
You fill the container with hot wax.
And plunge the wax into deep water...
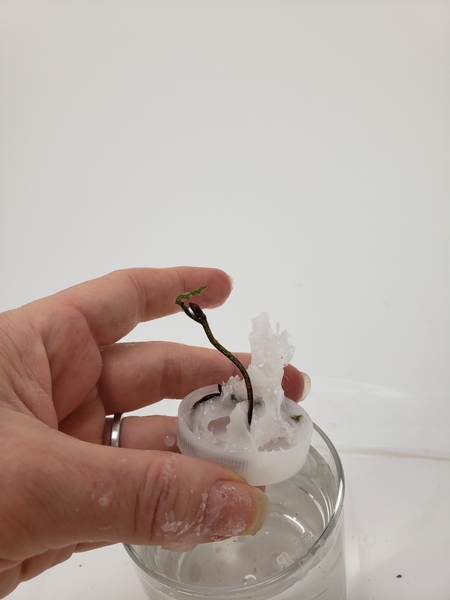
And when you lift the twig out you have these gorgeous wax flames.
Okay... ready? Here we go...
Pour the melted wax into the container and drop a few autumn leaves into the bottom.
Don't take too much time to decide on placement it really should be a smooth move....
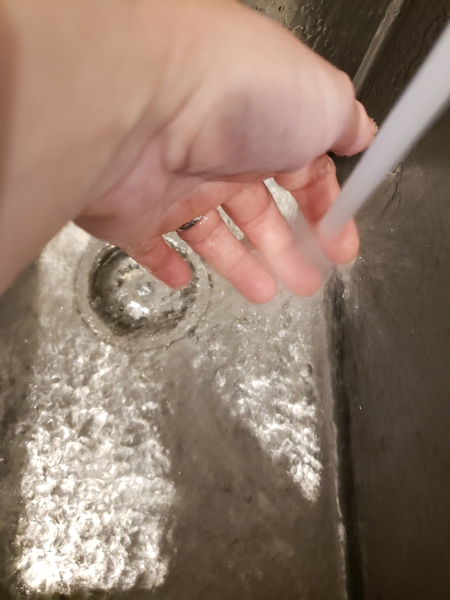
Plunge the hot wax into deep water.
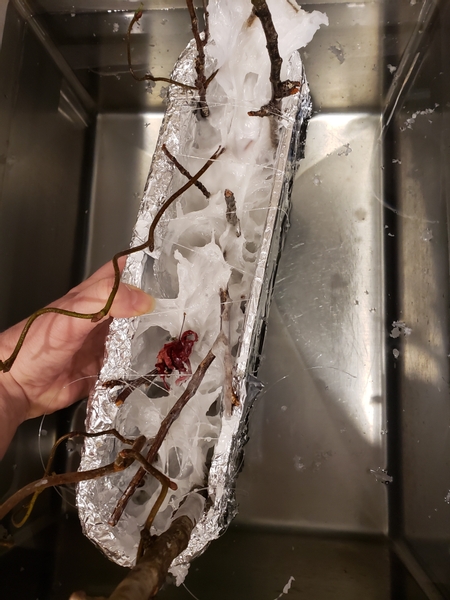
Drain out the water and place the wax armature on your work surface.
Cut away the line and fold the foil up over the wax to protect it from some of the heat and rough handling as you wiggle the armature out of the display container.
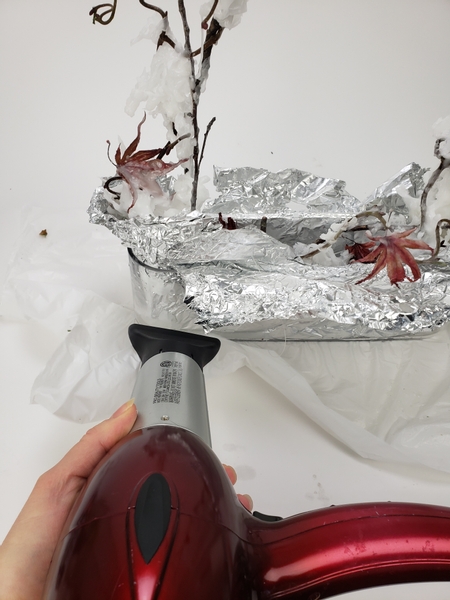
Heat the glass with a hairdryer to melt the wax to slip it out of the glass.
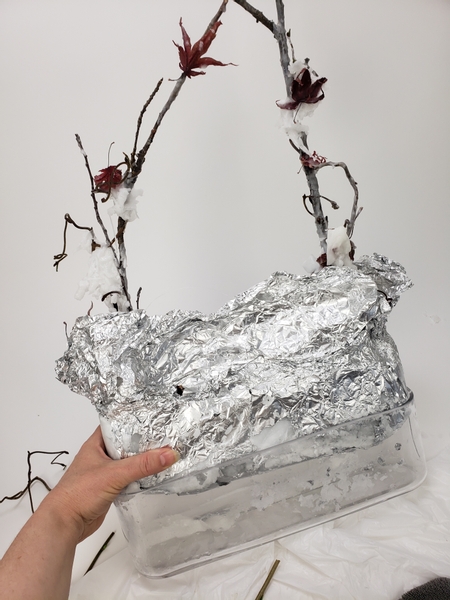
Pull and tug on the foil not the wax. It is quite brittle and will damage easily
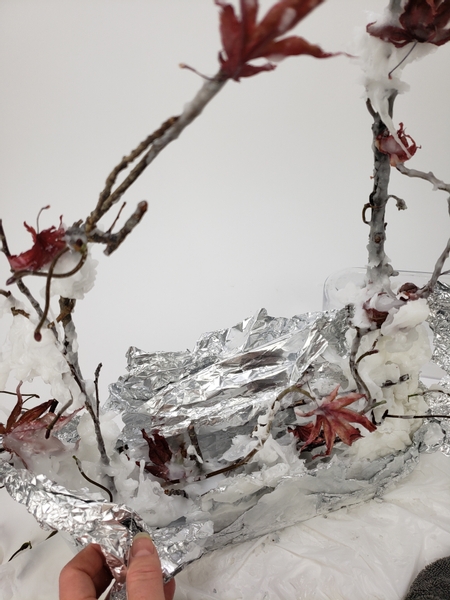
Peel the foil away to reveal the layers of wax.
Urgh... now for the hard part. Cleaning up all that wax. I do have a final clean up tip for you in our email this week. Just before you stage the design... give it a quick wipe. Don't underestimate how much wax gets around... everywhere! And it can really spoil your design. Make sure you are signed up to receive my weekly notification email so that you have early access to the design and can get the most out of the inspiration by reading the tip first... and then looking at the design. The sign up is below this post. You can also use that email address to contact me if you have questions or a comment. Or say Hi. Simply reply to the email and I will get back to you during the week.
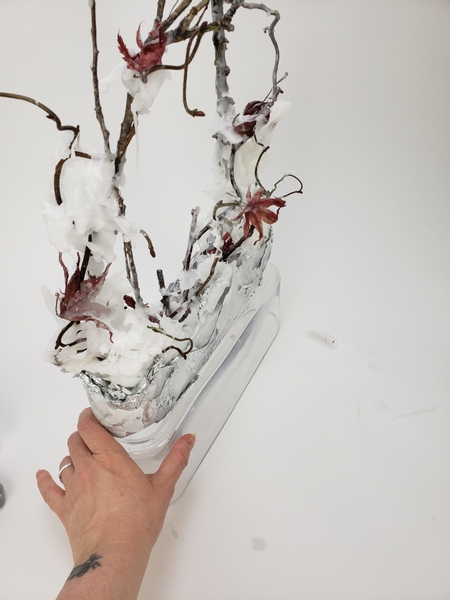
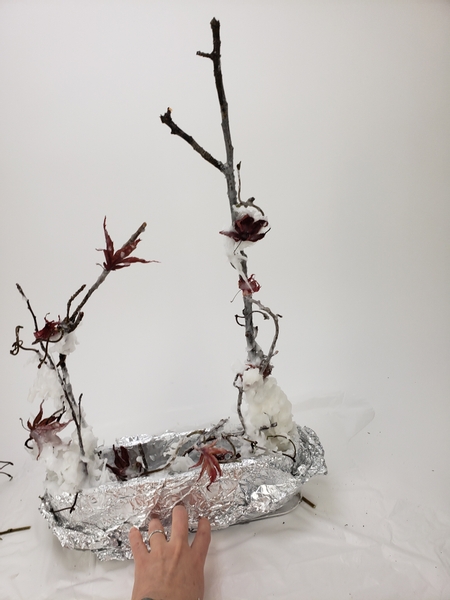
Place the armature on the upturned display container for a perfect fit base.
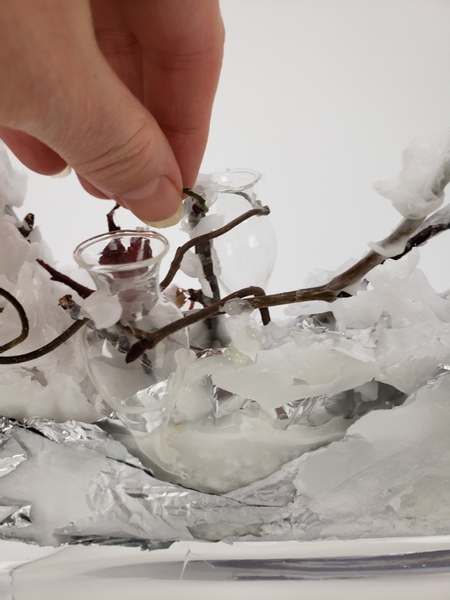
Now the armature is ready to design with. Slip a few sea horse water tubes in-between the wax and twigs. Some of the hazel twigs have the most perfect curl for me to fit the vases in. I also used a tiny drop of hot glue just to make extra sure....
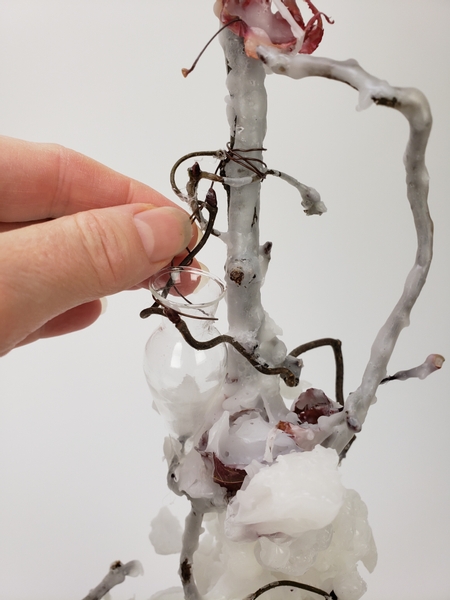
I also used a thin wire just to make double sure that the glass vases stay perfectly in place even if the wax around it gets damaged on the way to staging.

Fill the vases with water.
There is a Tutorial below to make this syringe with tube. It works so well to fill any water tubes even if they are in the most awkward positions.
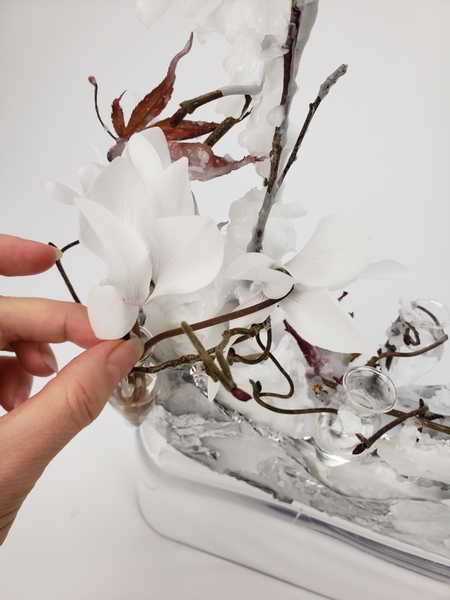
Tug the cyclamen flowers from the plant and place it in the water filled vases.
Book readers turn to page 95 where I tell you more about harvesting cyclamen flowers ( and the special grooming needs of some of our favourite plant material)
For more information about my book: The Effortless Floral Craftsman
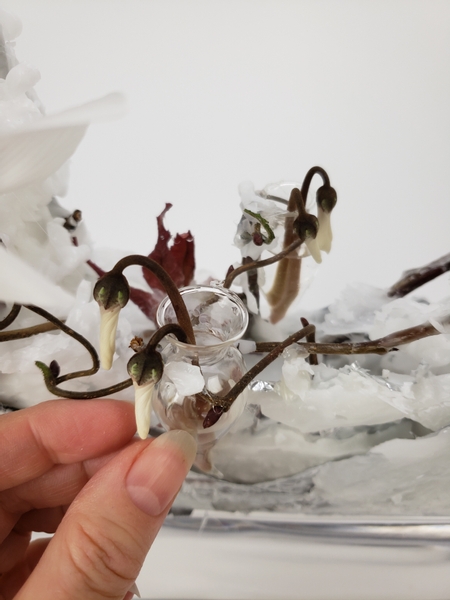
Add in a few of the flower buds to bring in the deep burgundy of the stems and the Japanese maple leaves...
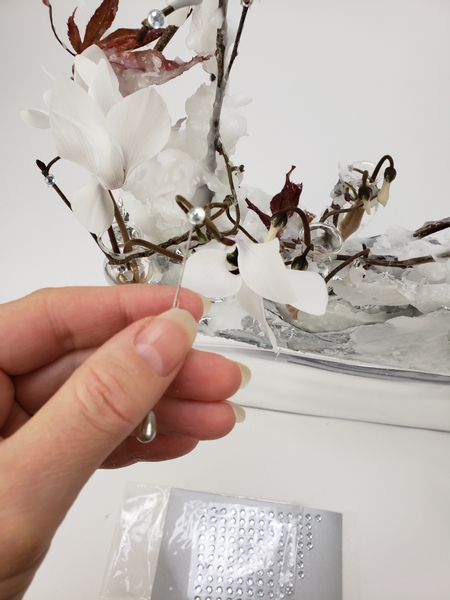
And finish the design off with a few dew drop crystals.
Sign up for my weekly newsletter
Every week I add a new design with related tutorials. Be sure to subscribe to receive an email notification with design inspiration.


 Way")


