Christine de Beer - effortless floral craftsman
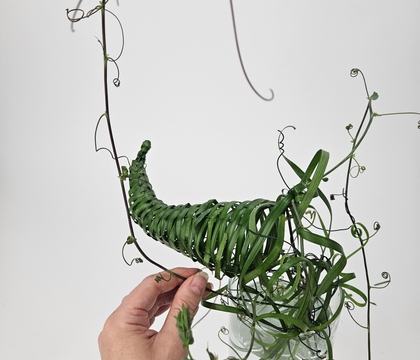
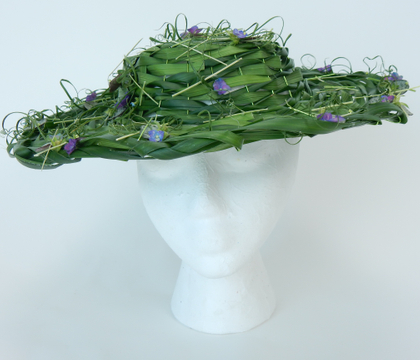
Twisted Lily Grass sun hat
- 20 July 2016
- and more
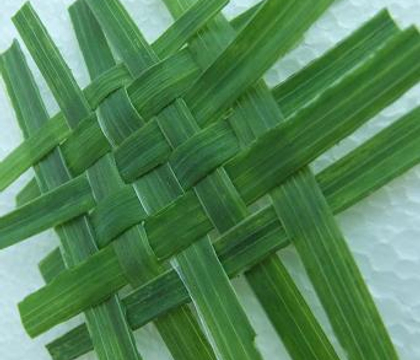
This is the basic pattern used to weave a hat. It is actually very easy to weave. If you get the first strand (or garland) right it is just basic weaving until the hat is the size you need. See the Tutorial below for more information about basic weaving patterns.
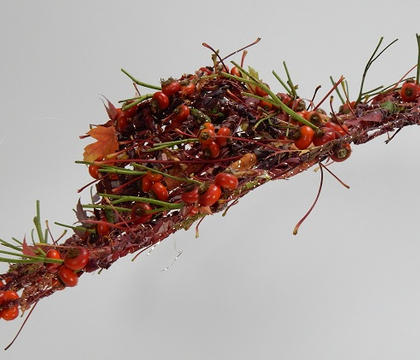
I also made a more decorative hat out of Autumn foliage and rose hips. See the Tutorial below
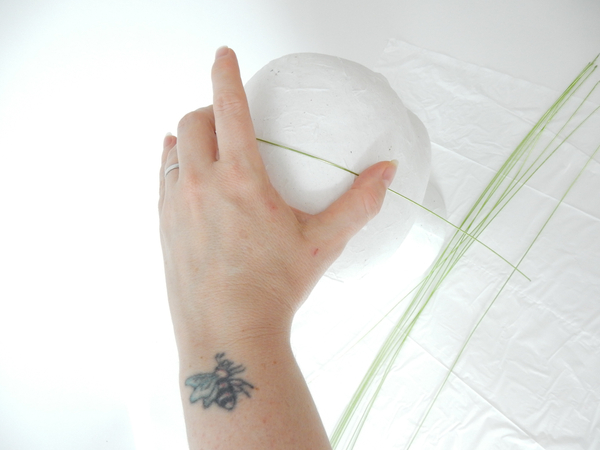
Measure the wires to fit the size of the ball of the hat
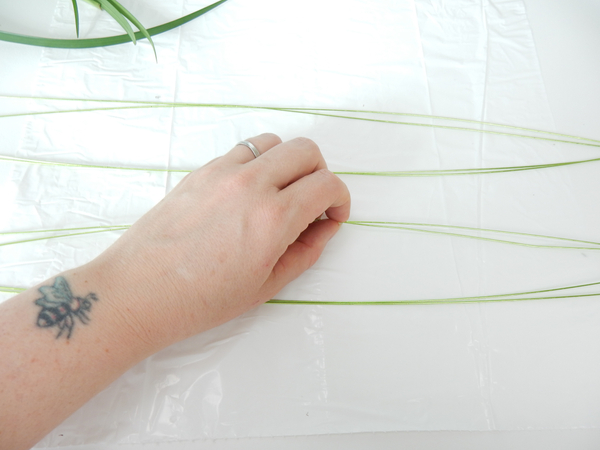
You will need 8 short wires and one long garland of lily grass to weave with. Make the garland by gluing blades of grass into a continues length.
Work on a flat surface to get the weave started. We start at the ball of the hat. Work in pairs and lay the first two pieces on your working surface.
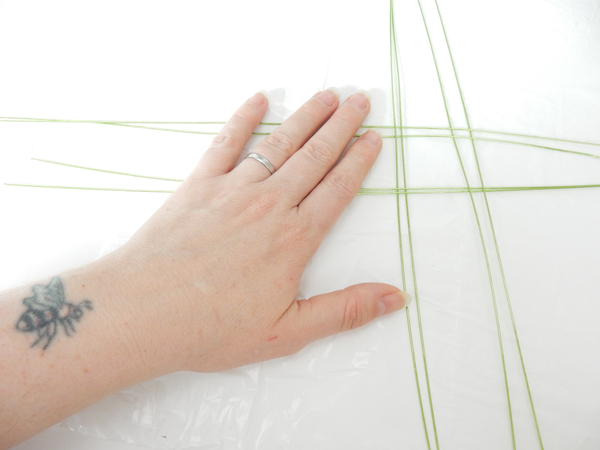
Cross the next two strands over the first two... Weave in two more pairs of strands. The second pair was over the first but under the pair below. The pair next to the first goes under and the pair below over.
It is a bit difficult to see with the thin wires. For more detailed pictures on this step you can also look at the Autumn Hat Tutorial
This is the only bit that is slightly tricky:
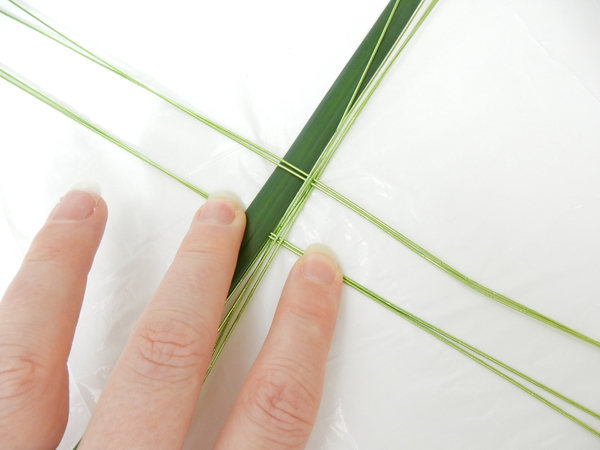
Start weaving in the long grass garland. Place the garland parallel to the four horizontal wires. The end of the garland should be as long as the horizontal wire on the left side so that it becomes a fifth horizontal strand on that side.
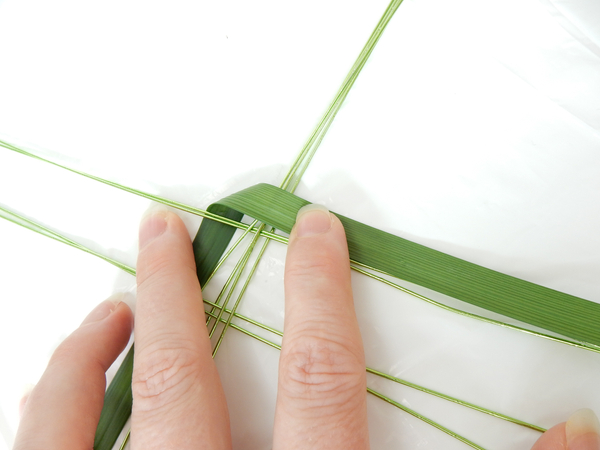
Bend the long side of the garland down to start the weave
Weave in a spiral. First weave the long garland through the middle garlands in couples.
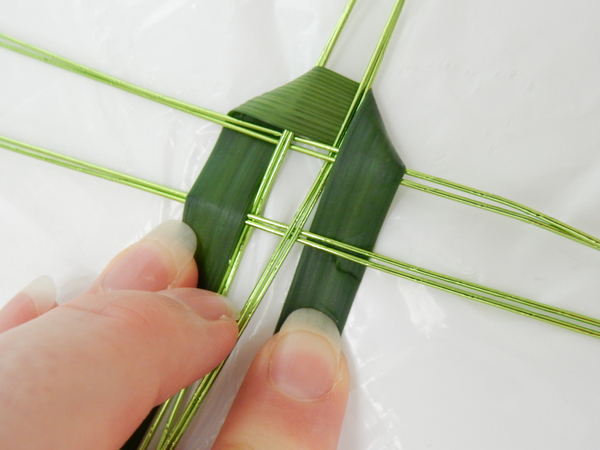
Weave the garland over the first two and under the next two strands. Give it a twist.
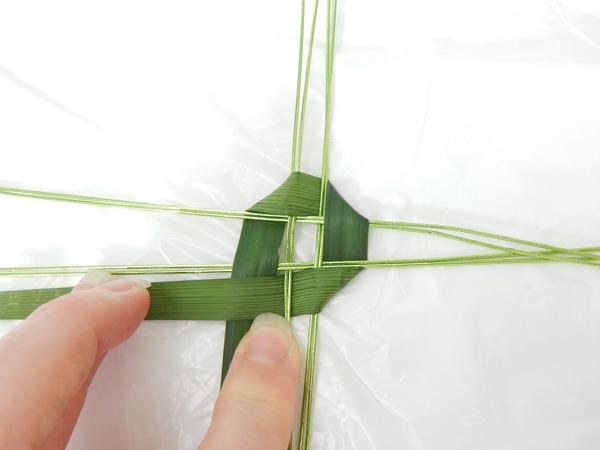
Continue the weaving pattern around the strands. Include the new strand that was created with the garland
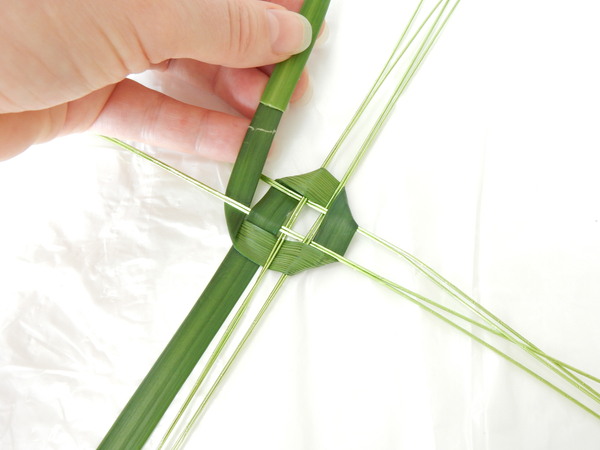
Weave another spiral, twisting the grass as you make a turn in the spiral
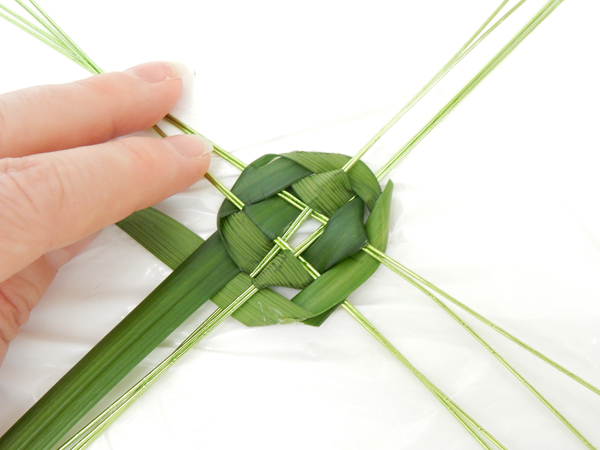
The wires are now held in place with the grass
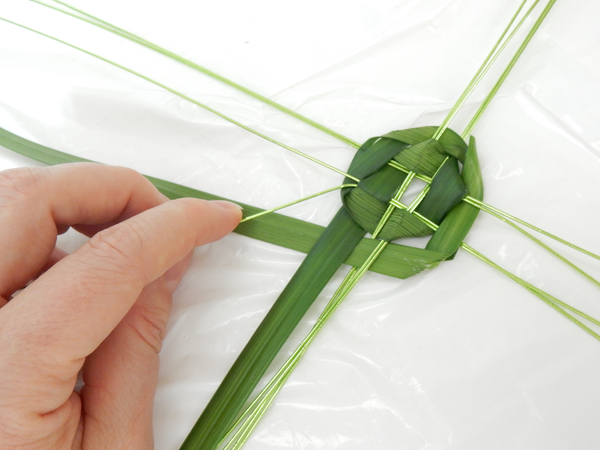
Bend all the Wires open to radiate out
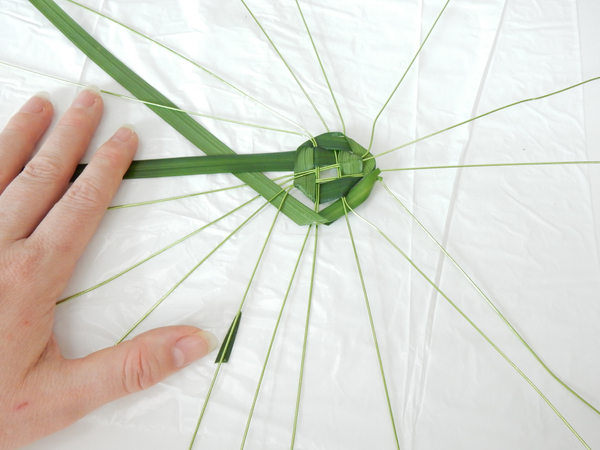
Space out the strands to all the sides
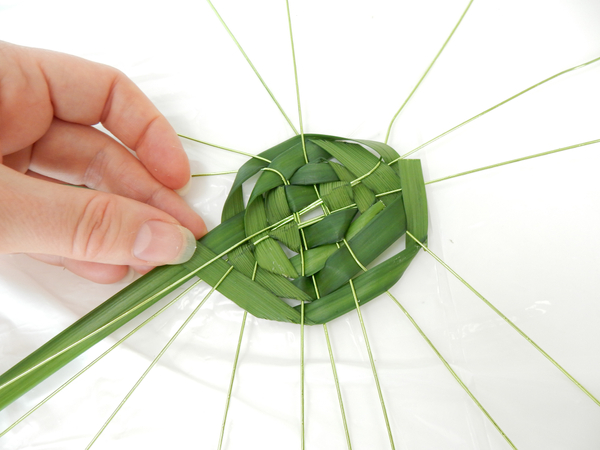
Weave the garland of grass over or under every wire following the basic weaving pattern
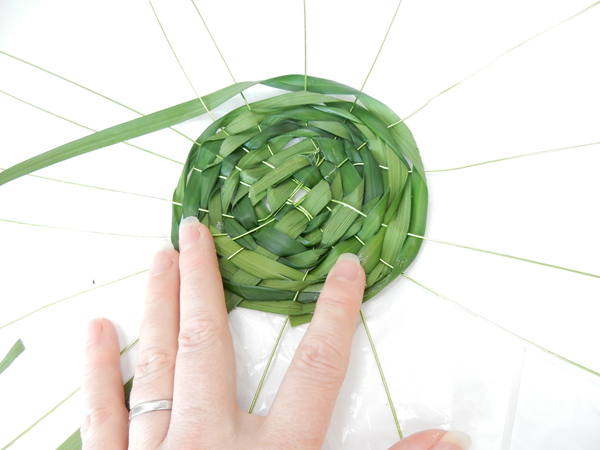
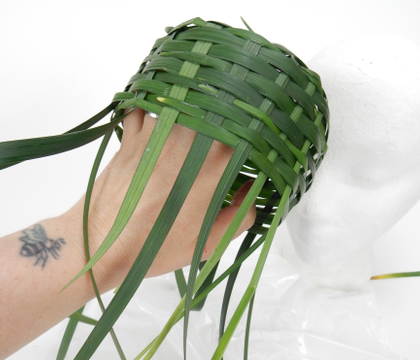
Continue weaving the garland grass to create the bowl of the hat
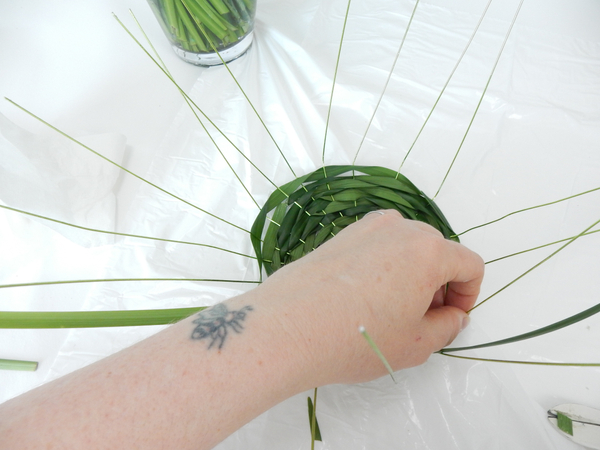
Bend the wires up
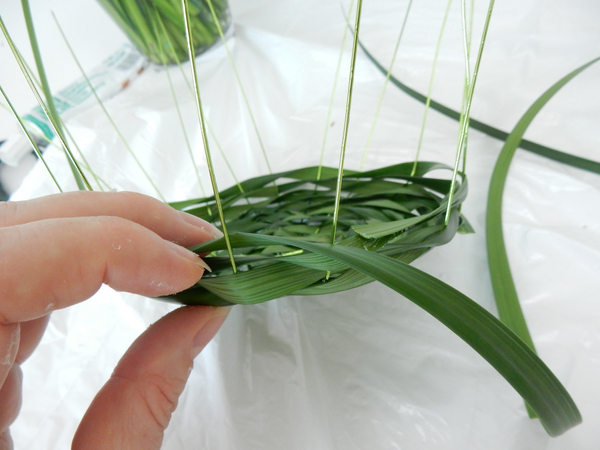
Weave the sides of the bowl, giving the grass a twist at every turn
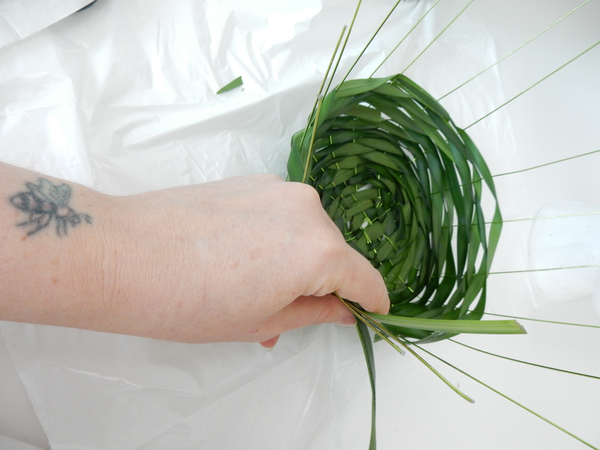
Weave around and around creating the bowl of the hat
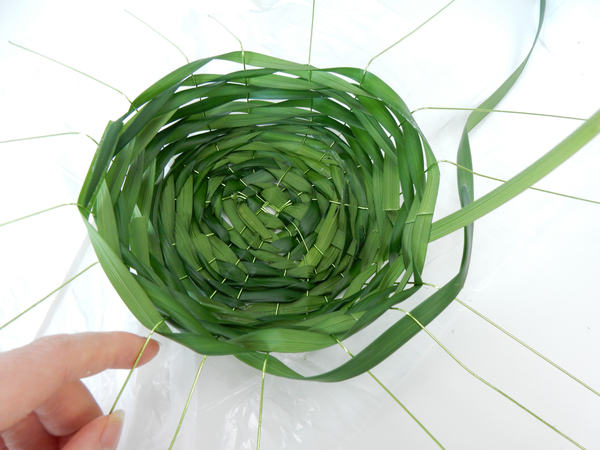
When you have a neat bowl, bend the strands down and straight out to create the brim
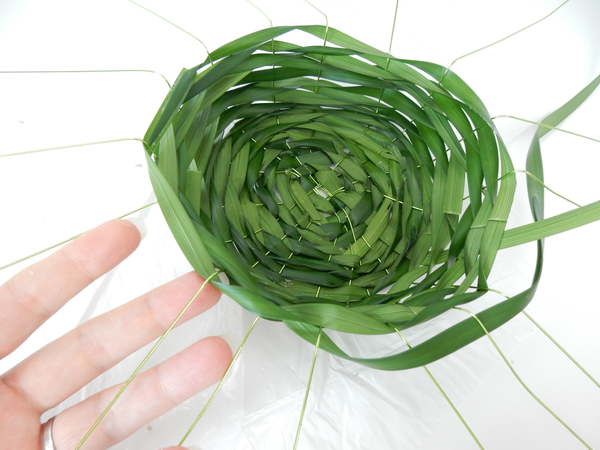
Move all the way around spacing out the strands to radiate
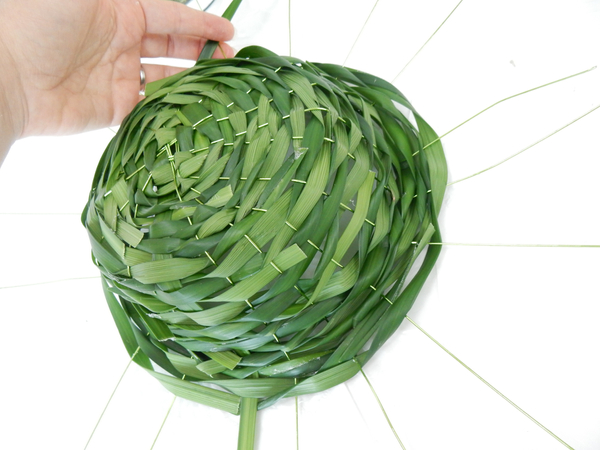
Flip the design around so that the brim is flat and resting on your working surface
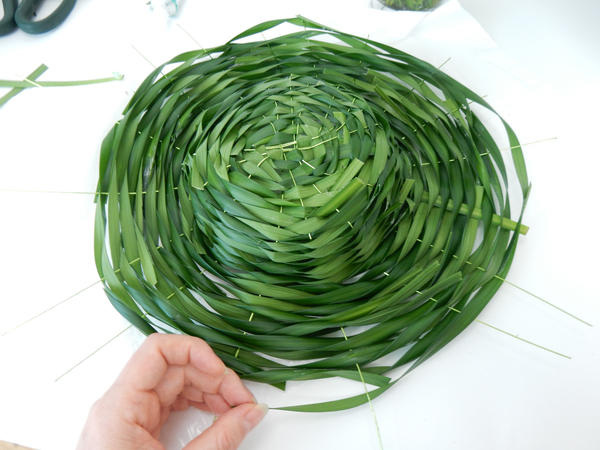
Continue the weaving pattern moving around the brim, twisting the grass at every wire.
Continue the weaving pattern moving around the brim
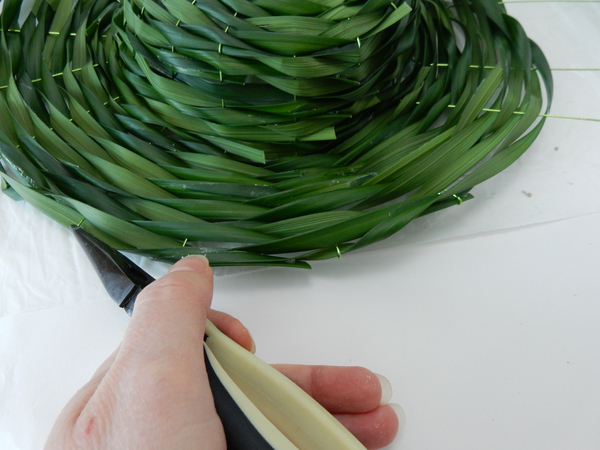
Bend the wires over with pliers
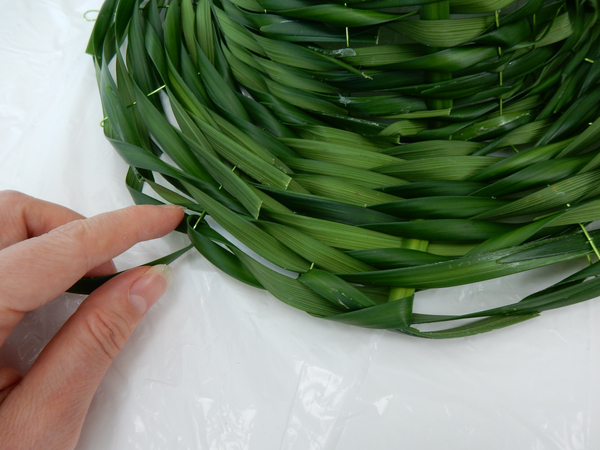
Weave another strand around the brim of the hat to secure and hide the wire ends
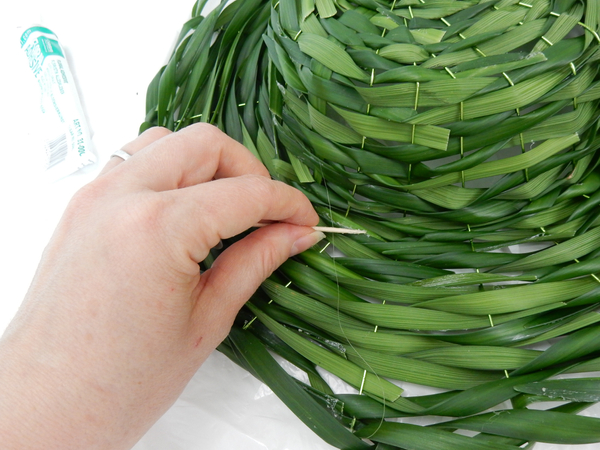
Clean up any glue spills. See the Tutorial below for more detailed instructions on how to clean up floral glue spills
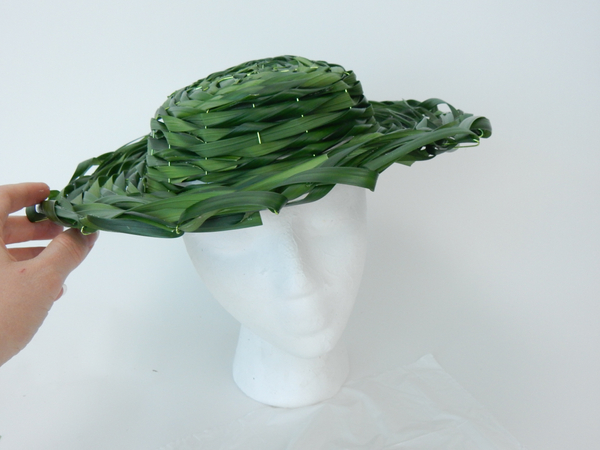
The hat is now ready to design with
Sign up for my weekly newsletter
Every week I add a new design with related tutorials. Be sure to subscribe to receive an email notification with design inspiration.
