Christine de Beer - effortless floral craftsman
Gap basket weave for a Spring flower container
- 1 May 2024
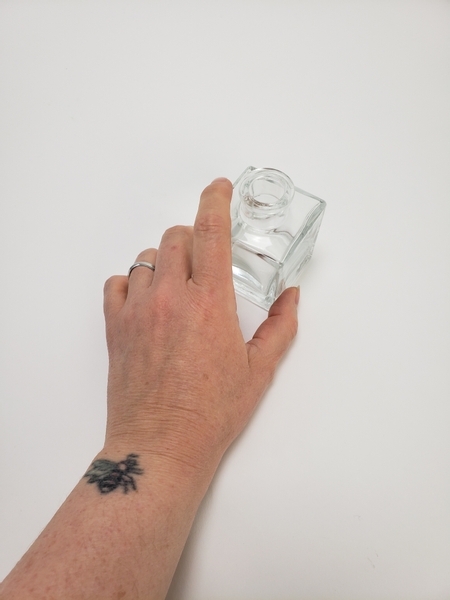
Any small container will work... a bud vase or rinsed out perfume bottle... or drinking glass... or even a not so small container if you want to scale up the design.
If you want to use a round shaped container and do not want to follow a more complicated pattern, I suggest that you interweave. See the Tutorial below. But if you do want to try weaving around a round container I suggest using the pattern I used to weave the bowl of a hat. Simply continue up on the sides. The Tutorial is below this post.
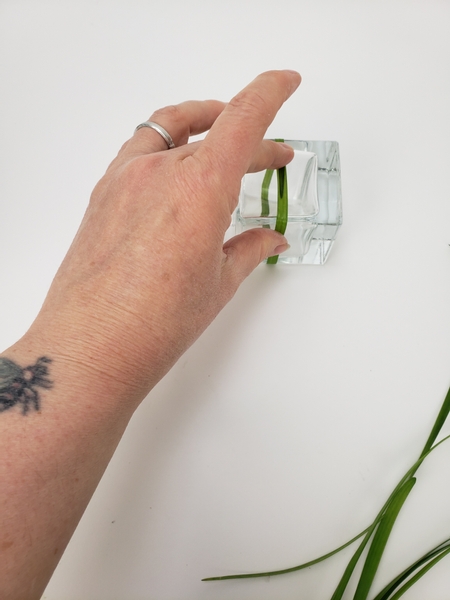
Wrap a blade of grass around the container and secure it with floral glue.
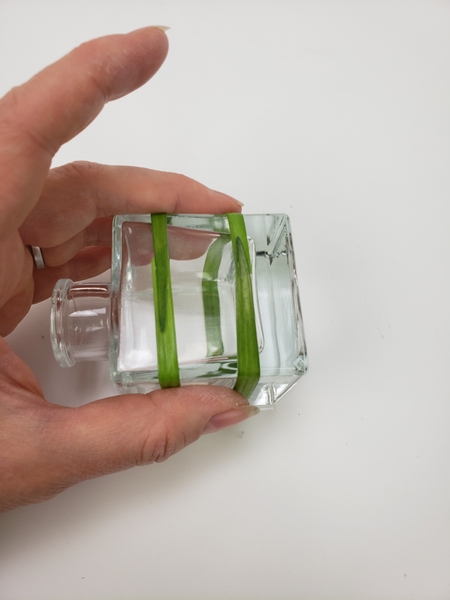
Wrap a second blade of grass around the container and secure it with glue...
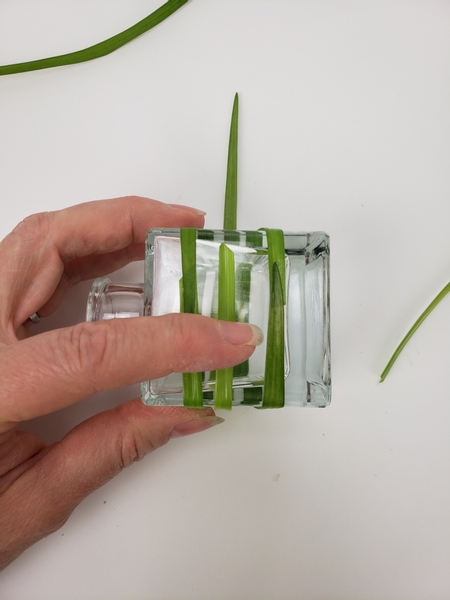
... And add the third blade of grass around the glass container.
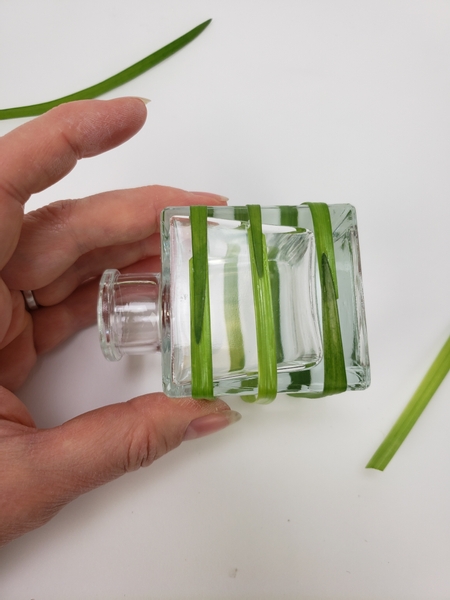
Simply wrap the blade of grass tightly around the container and secure it with a small drop of floral glue.
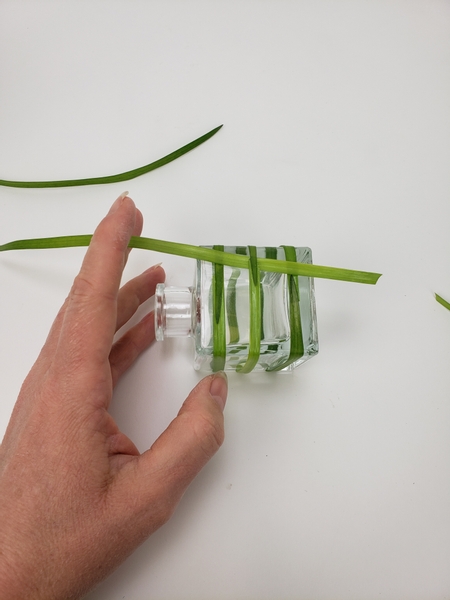
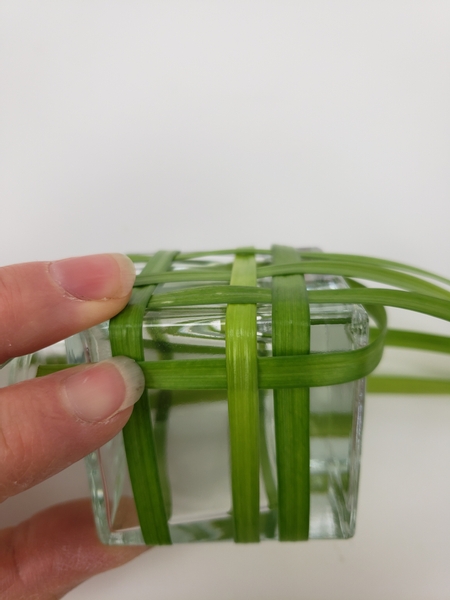
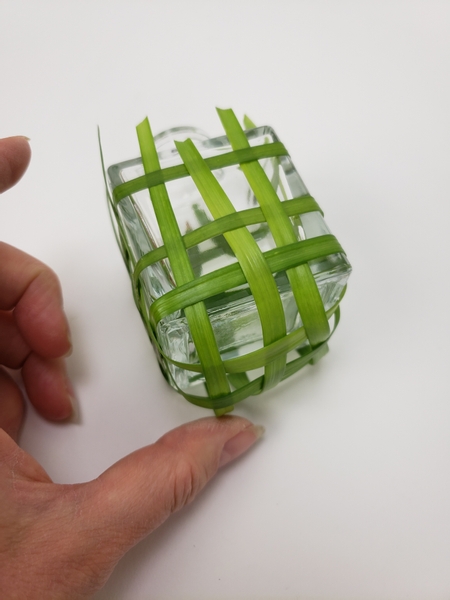
Start to weave in the grasses beginning by keeping the blade over the first grass band, under the next and again over the last band of grass.
I use the simplest over and under basket weave pattern for my designs because I want to keep the attention on the flowers. But (absolutely!) you can use more elaborate patterns if that suits your style better.
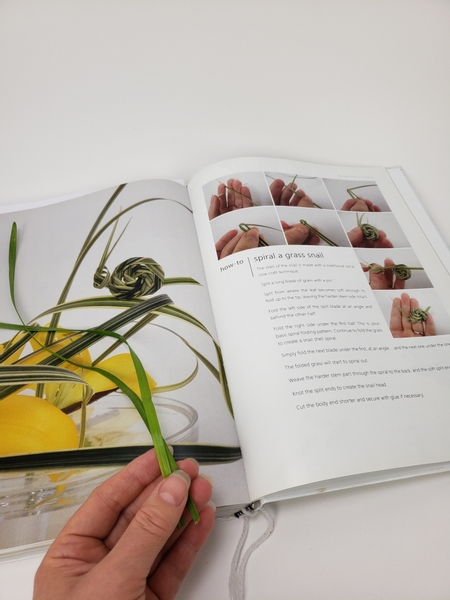
Book readers turn to page 226 of my book to read more about using weaving techniques to craft your floral designs. For more information about my book: The Effortless Floral Craftsman

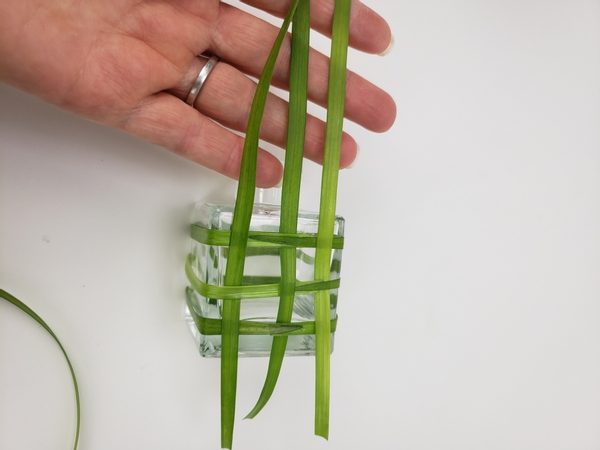
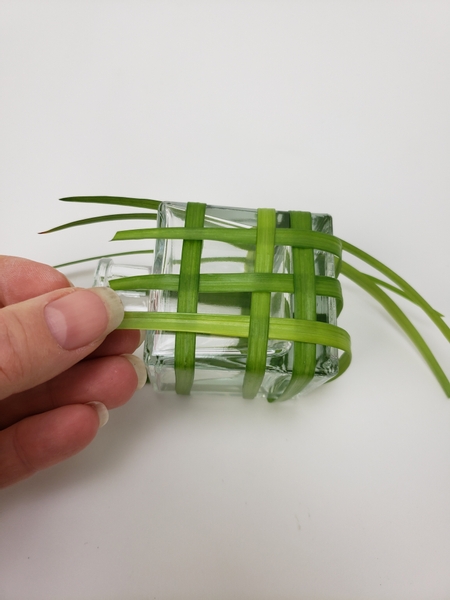
Weave in the next side of the container keeping the weave pattern...
When the two sides have three blades of grass each woven in tug the blades so that the longest pieces dangle to the bottom.
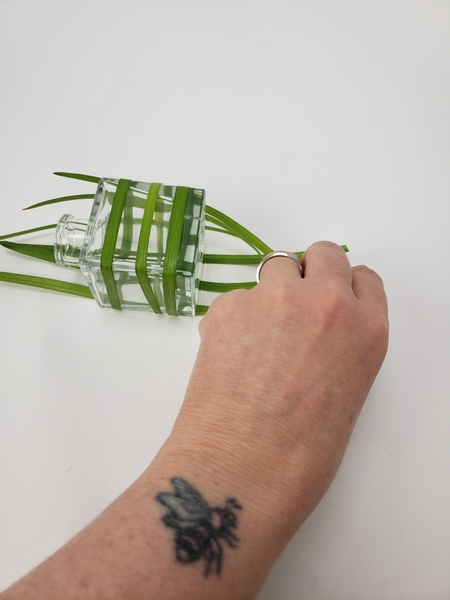
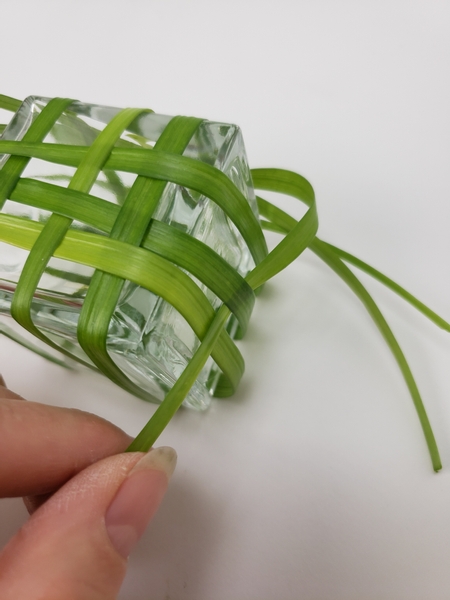
Fold the blade of grass over the bottom and start to weave it in on the side.
Weave in all three blades over the bottom and up to the side.
Fold over the left over dangling blades of grass and weave it through the three blades of grass that extends over the bottom.
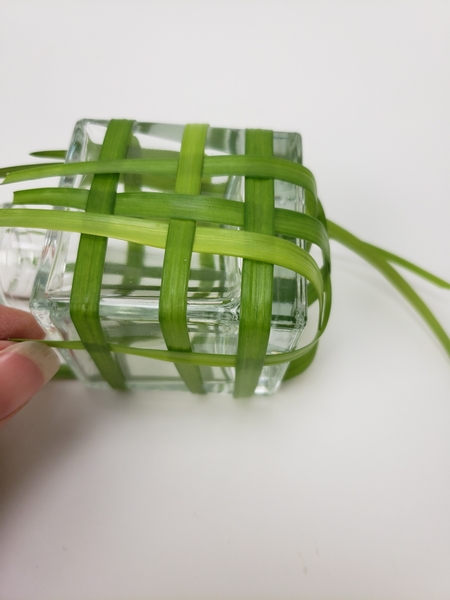
And finish the last side by weaving the blade up and through on the side.
Weave the three blades to finish the bottom and the side weave to complete the weaving pattern.
Now to secure the weave. Yes, you can fold each blade over and weave it back into the basket (see the Tutorial below for more detailed instructions) but I wanted mine to look a bit more "handmade". I explain more and give you my tip on how to get a drop of glue below the blades of grass without damaging it in our email this week. I send out an email each Wednesday morning (Vancouver time) the moment the new design is ready for you to view. I also show you a little bonus something to help you make the most of this week's inspiration. You can sign up below this post.
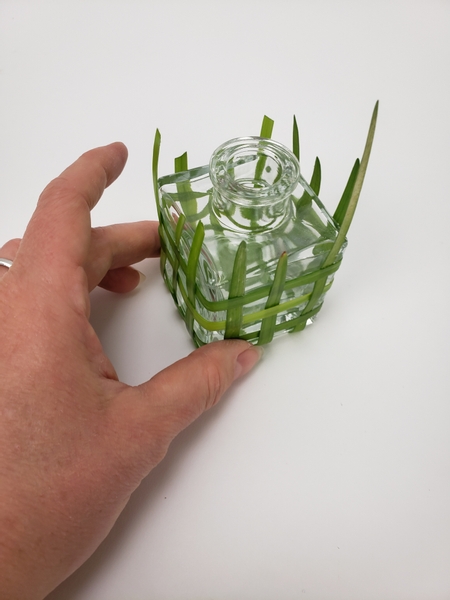
Once secured with a few tiny drops of glue the open weave basket is ready for you to design with.
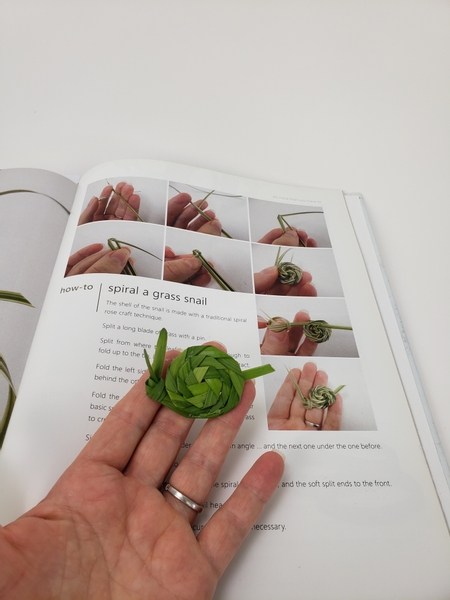
The little snail is from page 390 of my book where I show you how you can add a little more than you have to in your design work.
But it is too cute so to get you started I have also included the Tutorial below this design.
Only I used lily grass to fold my snail with for this week. Simply glue the ends together and continue to fold as shown.
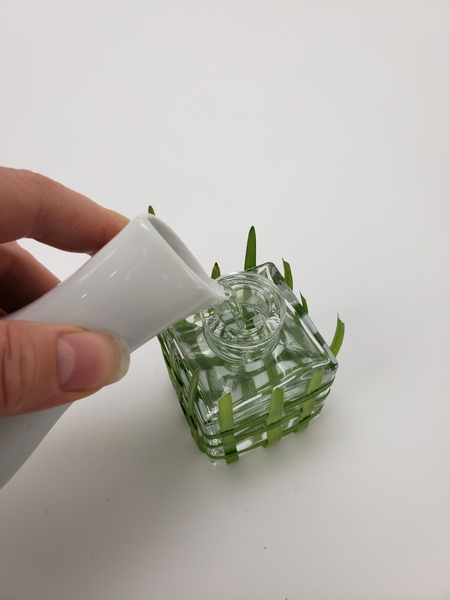
Pour water into your basket container...
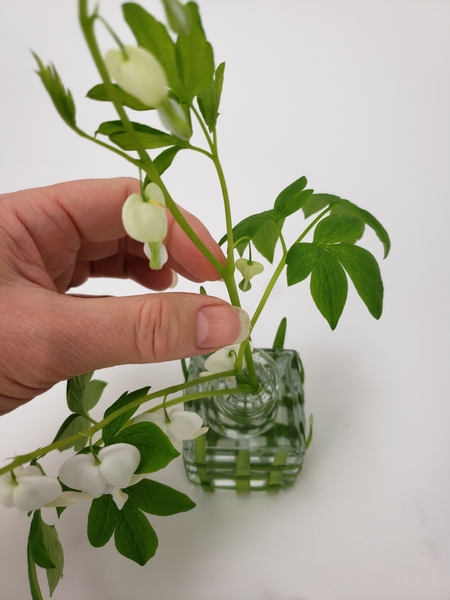
Add in the bleeding heart stems... stunning, right?

and then... and this is so important... give your little snail a reason for being there. Any tiny critter or design accessory should always add to your story. Make sure they look happy to be there. Give it something to admire or talk to. Nothing in your design (unless that is what you are going for... of course!) should ever look desperate to escape.
Glue the snail along the stem and angle it up towards a flower.
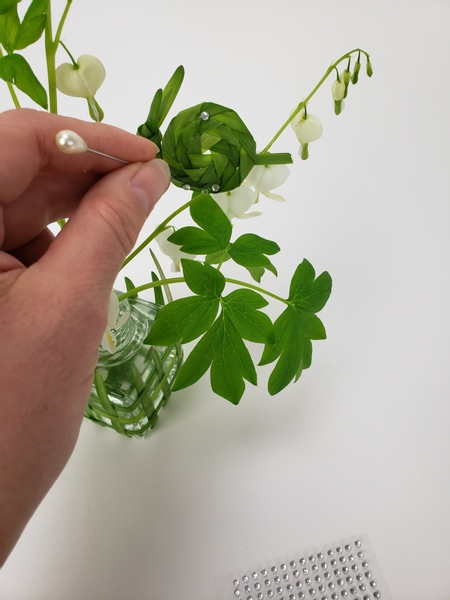
Finish the design with a few dew drop crystals to add sparkle.
I use a pin to add the crystals to my designs. See the Tutorial below for more detailed instructions.
Sign up for my weekly newsletter
Every week I add a new design with related tutorials. Be sure to subscribe to receive an email notification with design inspiration.


