Christine de Beer - effortless floral craftsman
Folding a Frog
- 24 September 2014
- and more
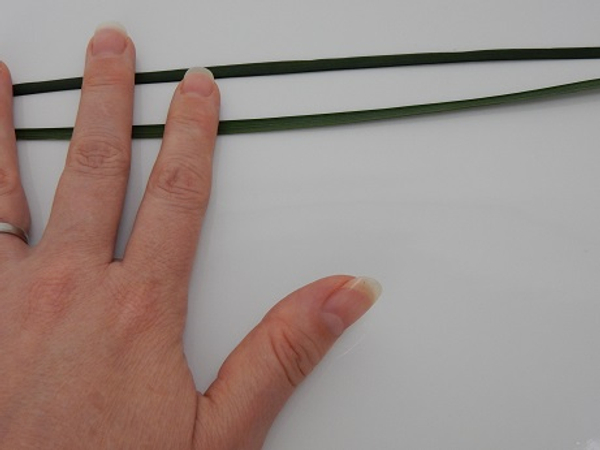
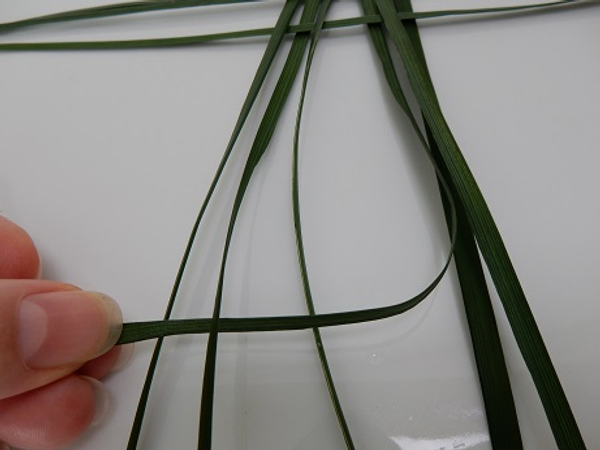
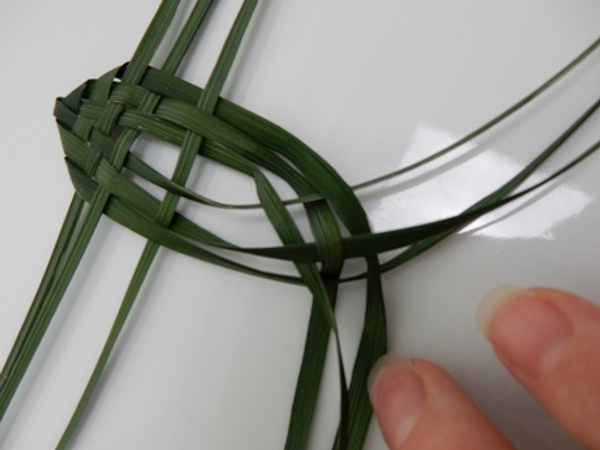
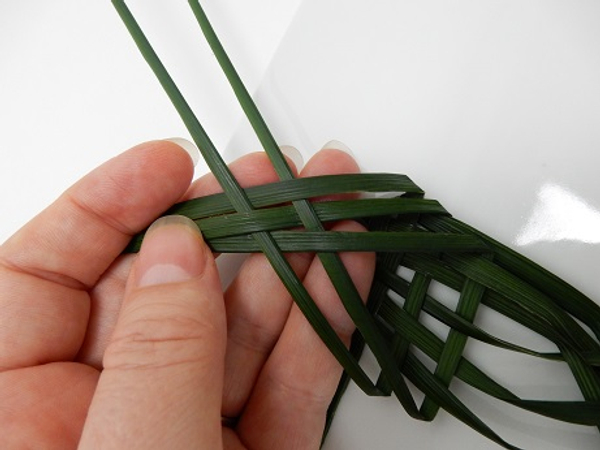
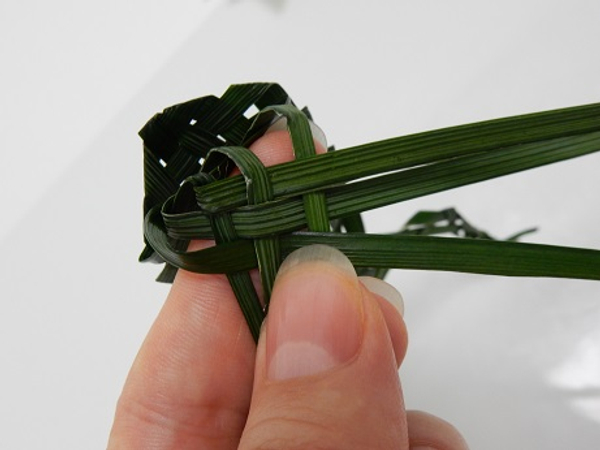
Place two blades of grass horizontally on a working surface
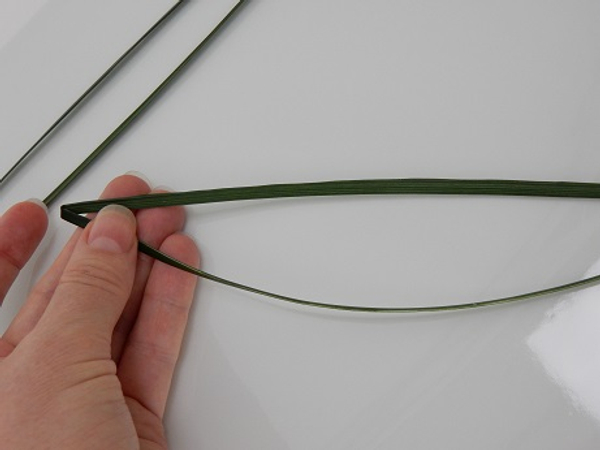
Fold the next blade of grass in half
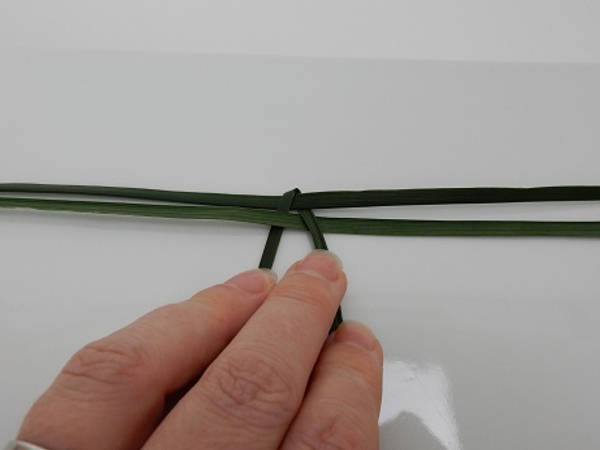
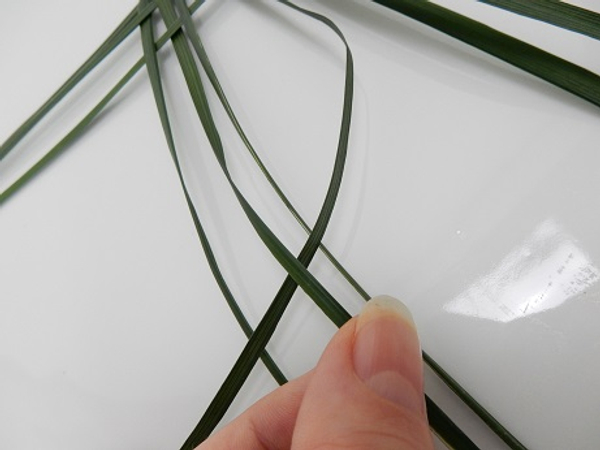
Weave the grass through the first blades
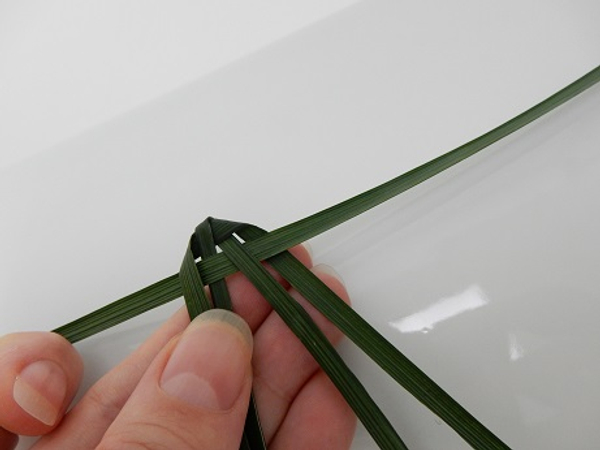
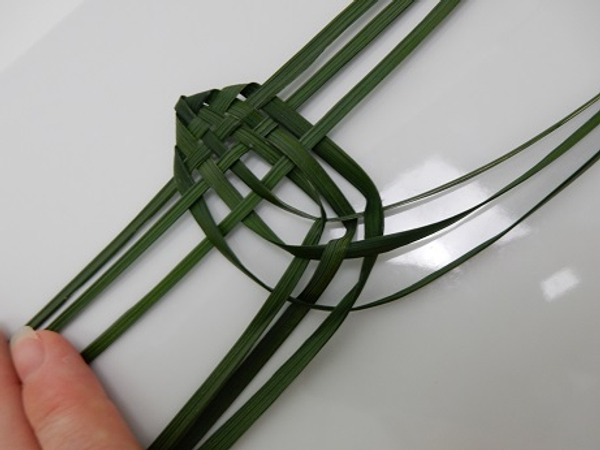
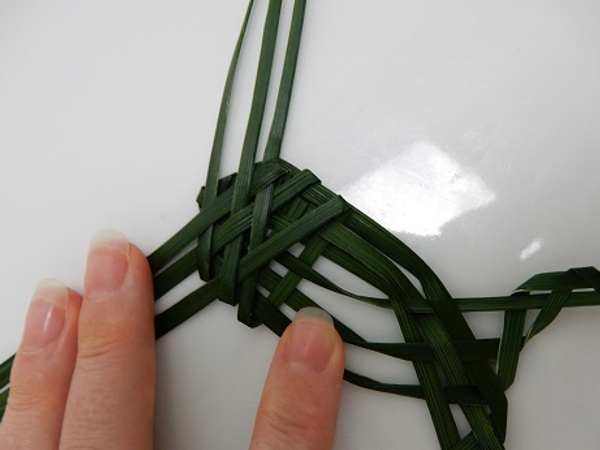
Fold the top blade over to the front and under to the back
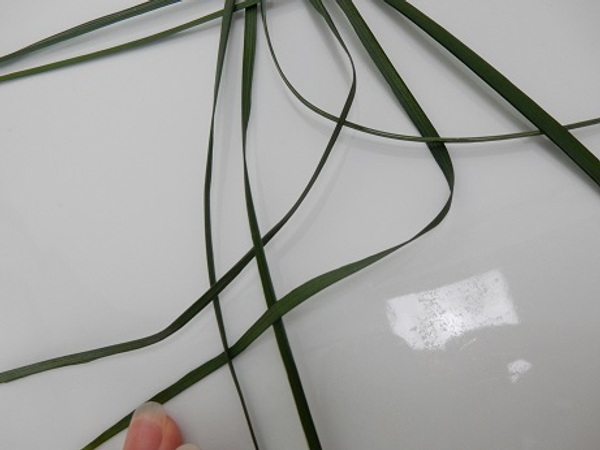
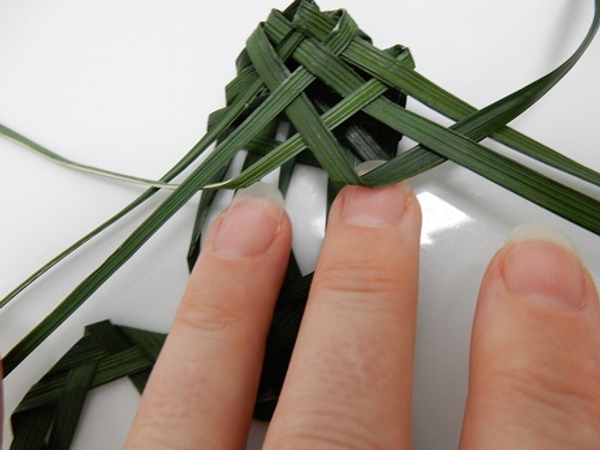
Add another horizontal blade
Weave in another two blades
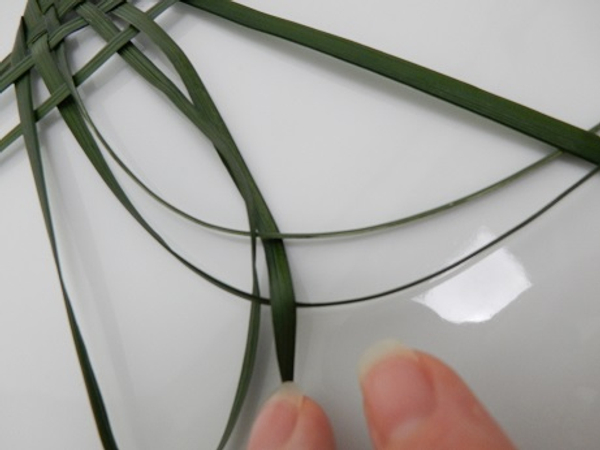
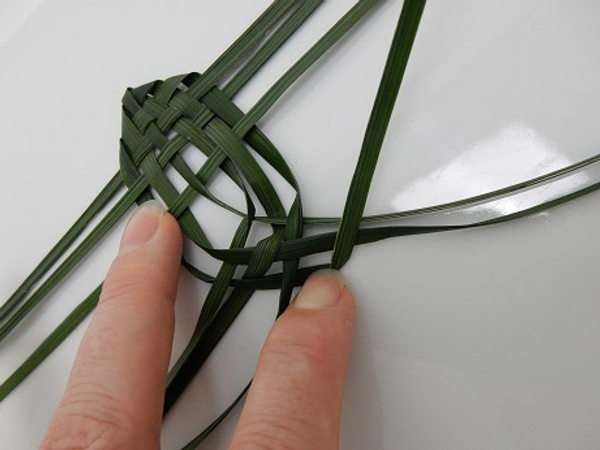
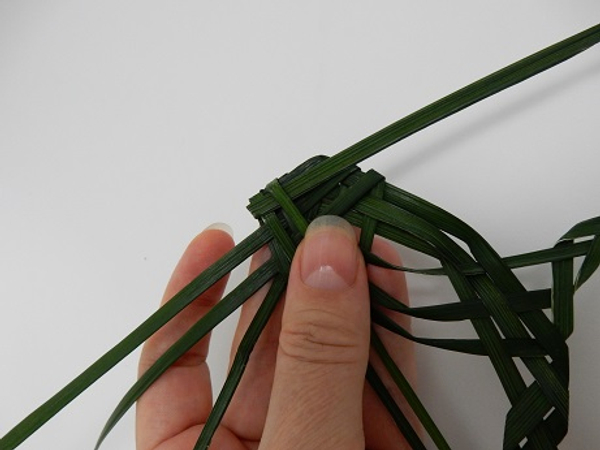
Continue the weaving pattern by folding over the top blade...

And under the left blade...
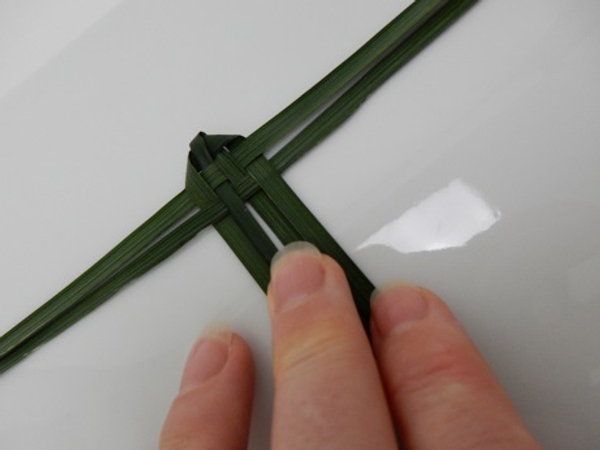
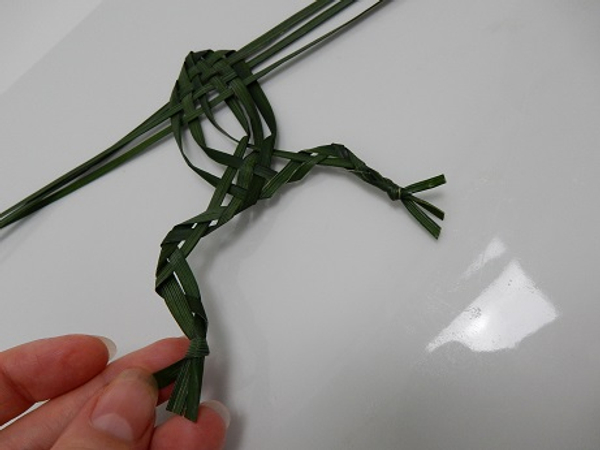
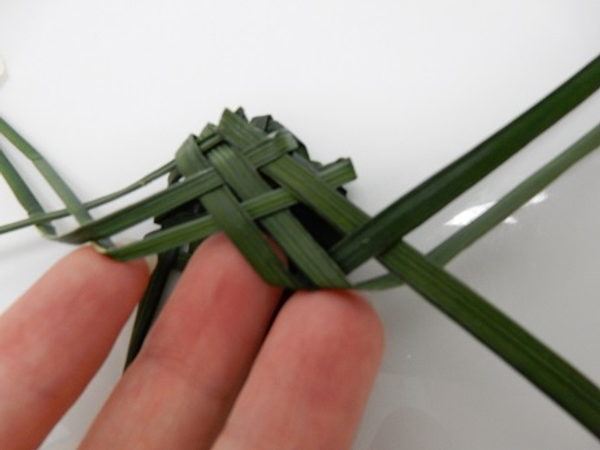
Separate the six blades in half, to start weaving the body
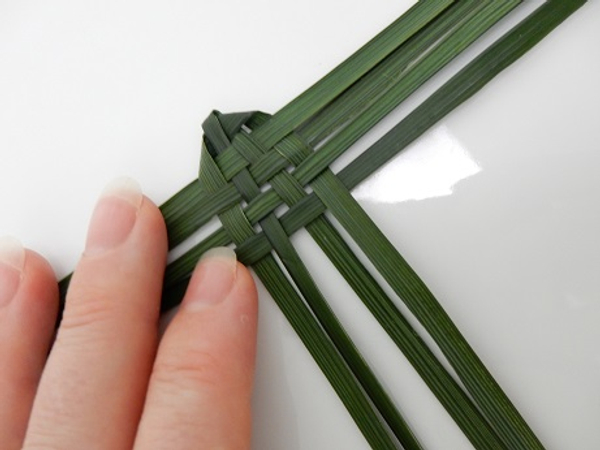
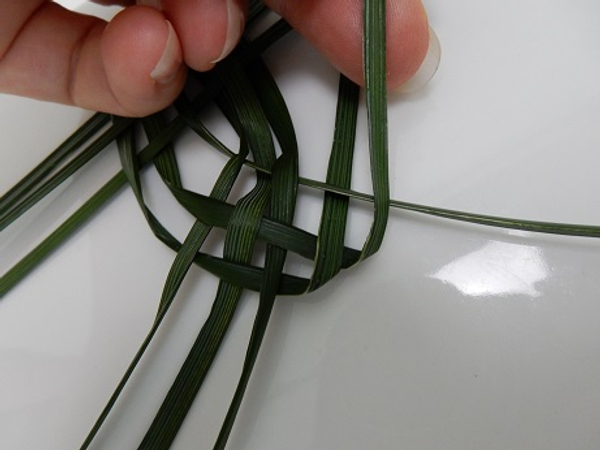
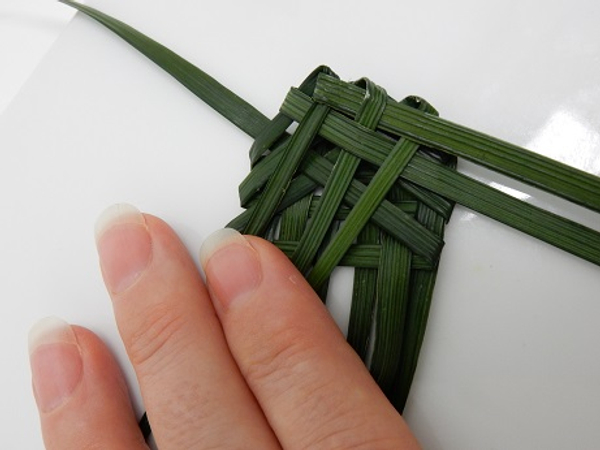
Trunk:
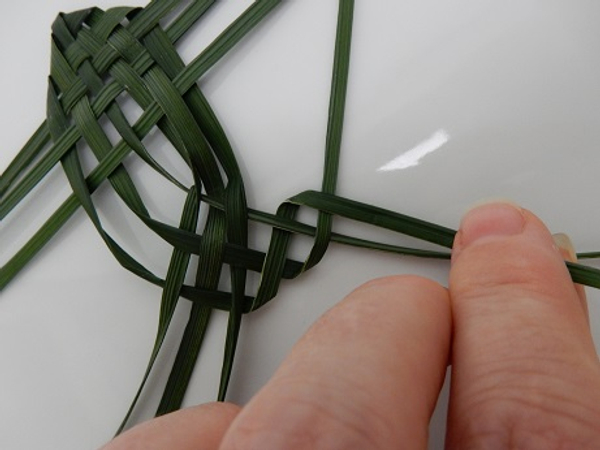
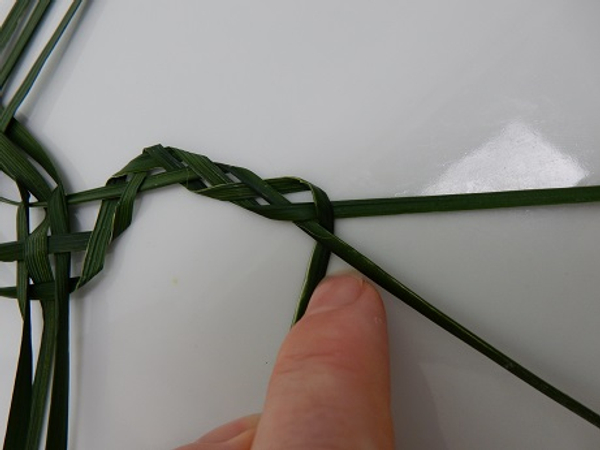
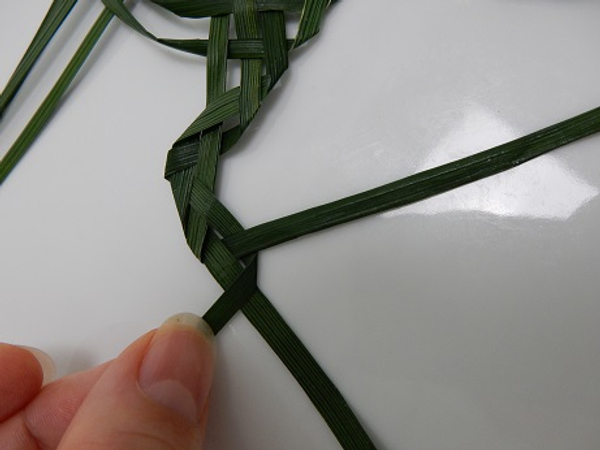
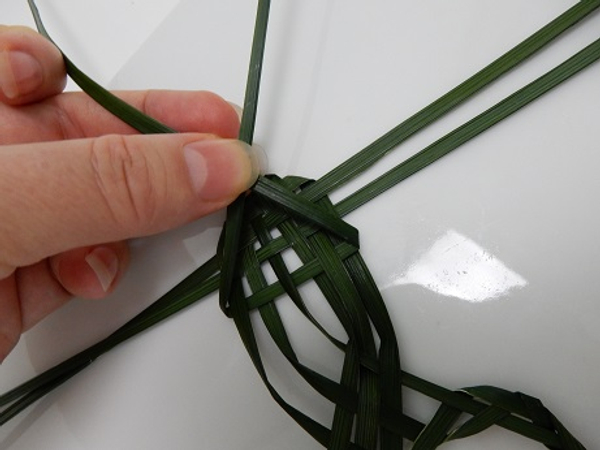
Bend the first right blade left
Weave it through

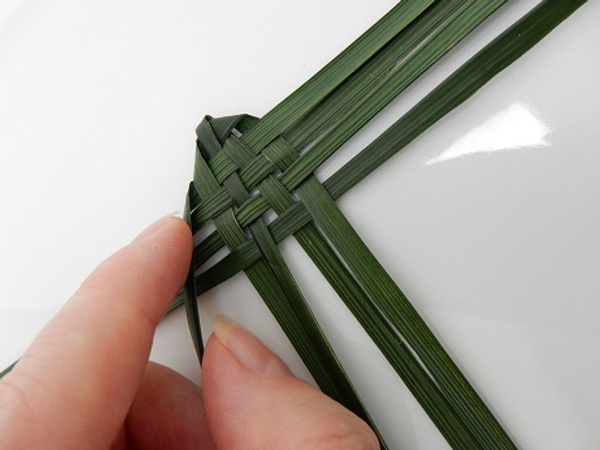
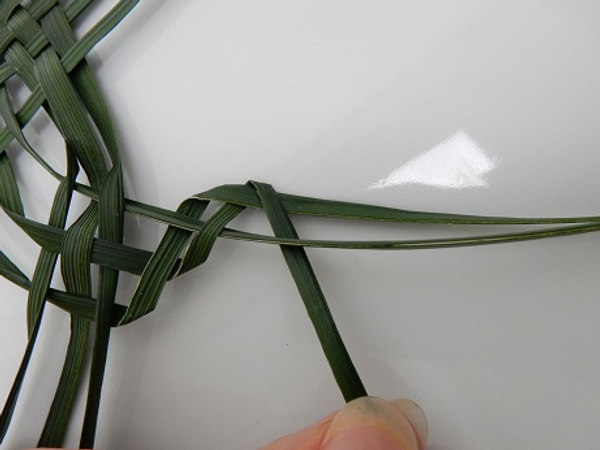
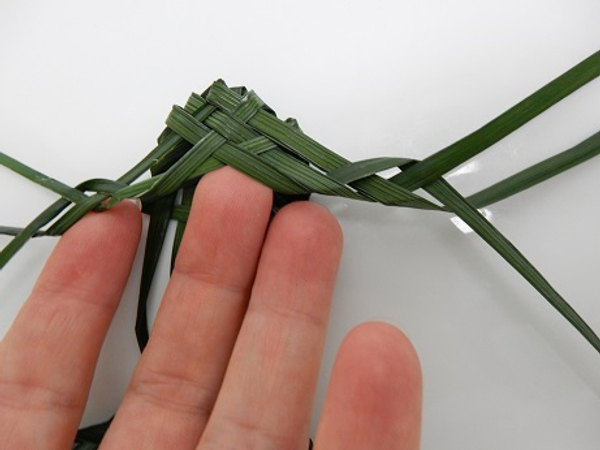
Do the same to the right
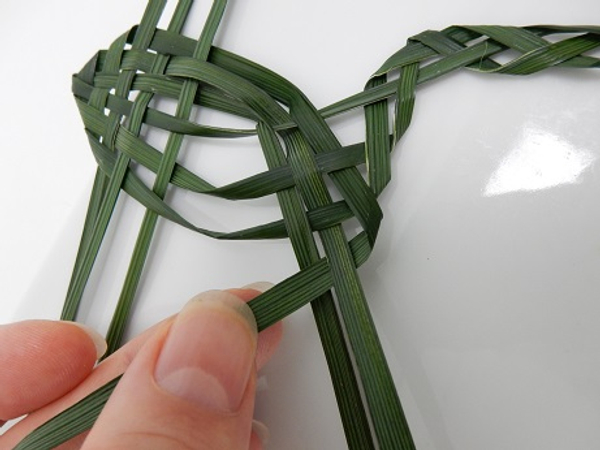
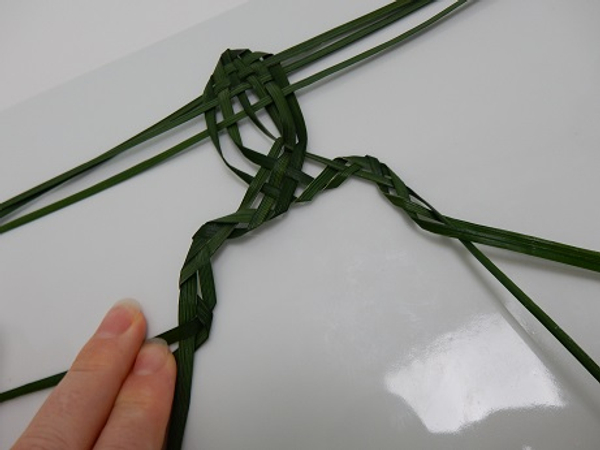
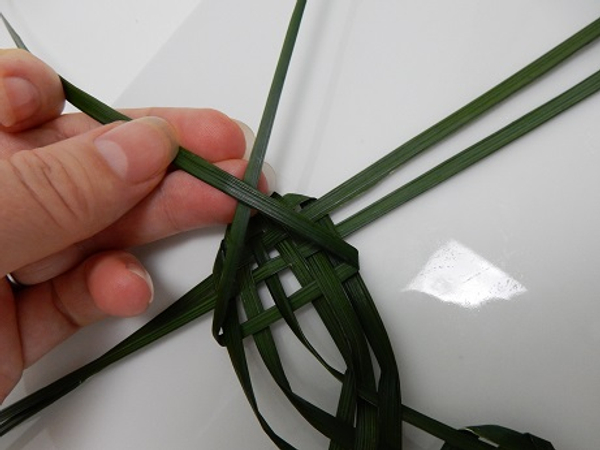
Fold and weave the next blade
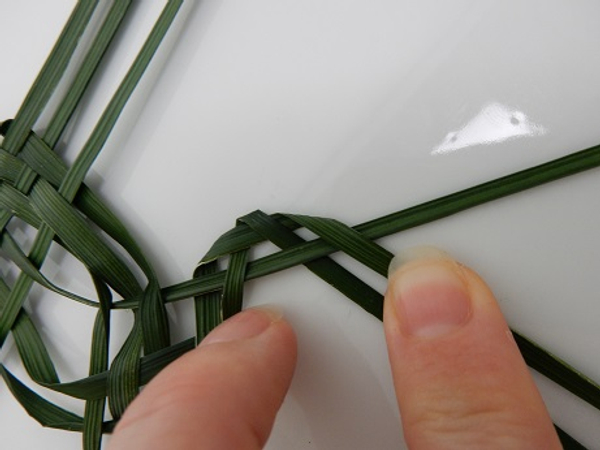
And the same on the other side.
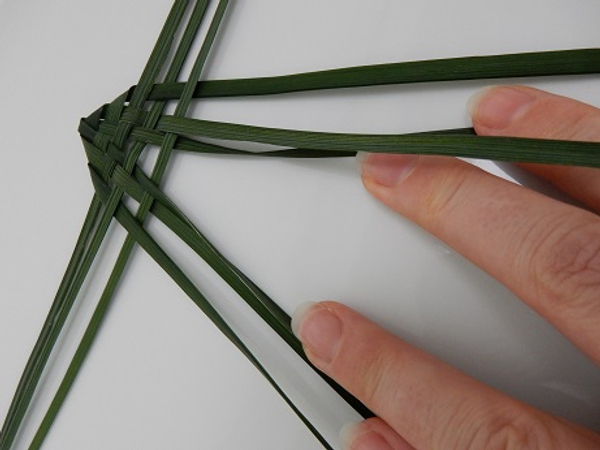
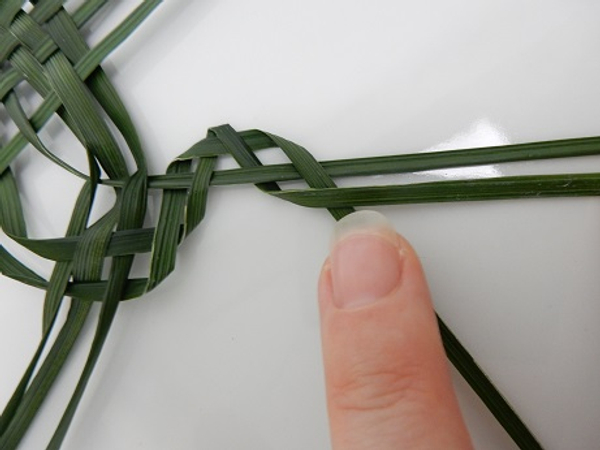
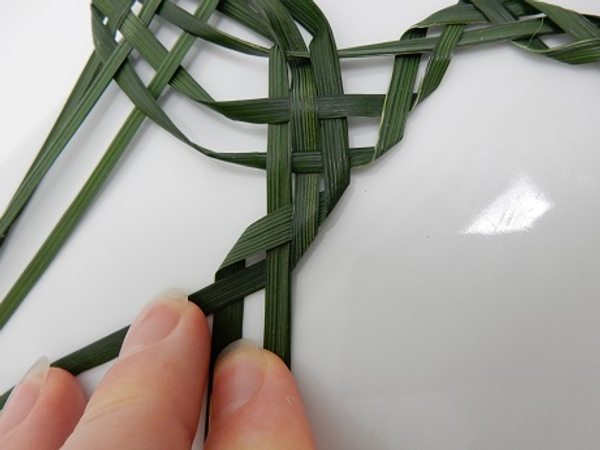
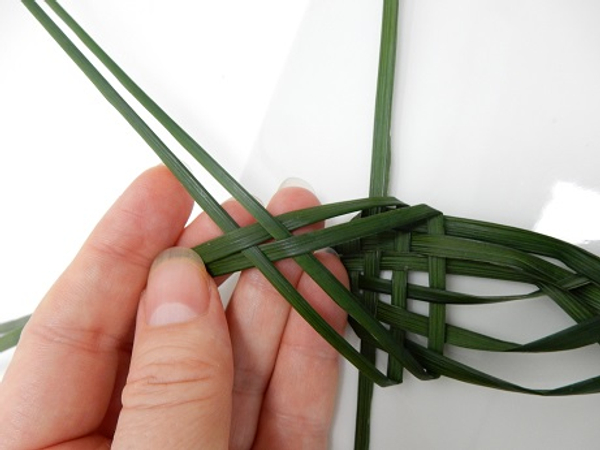
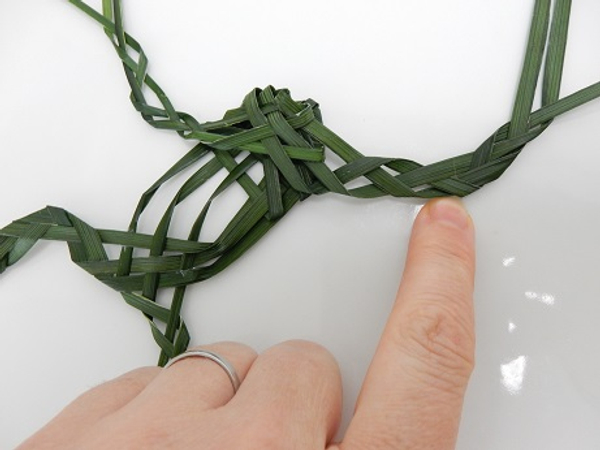
Fold and weave the third blades and pull the weave a little tighter
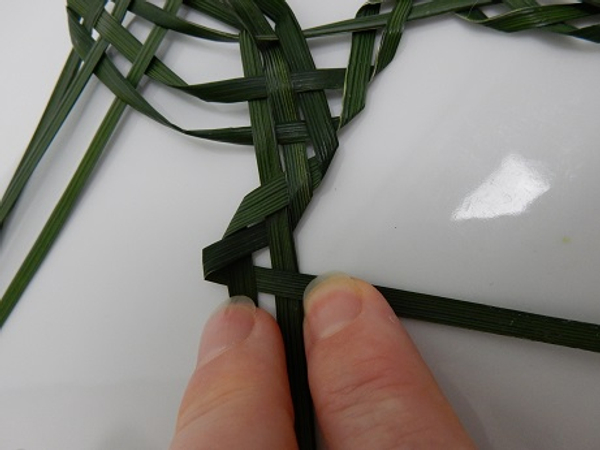
Keep the froggy flat on the working surface
Forelimbs:
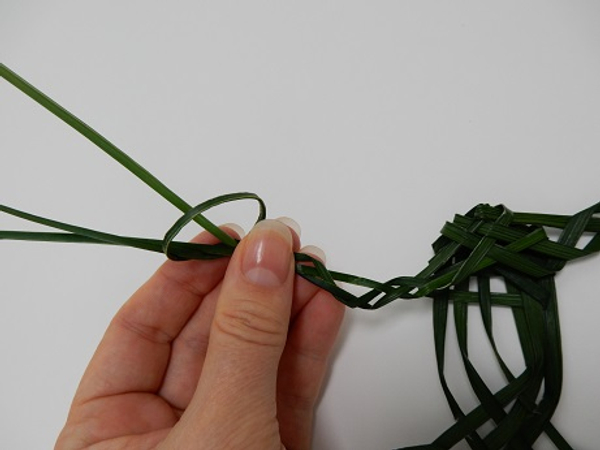
Fold the leg blade over and up
Fold the blade next to it over and under
Fold the top blade over the next blade.
And the next blade over and under to end the thigh
Fold the next blade over to create a downward pattern to bend the frog leg
Plait the blades of grass to complete the frog leg
If you are unsure of how to plait see the detailed Tutorial below
Press the plait flat to create angles rather than curves
Do the same on the other leg, just in mirror image
Weave the top half of the frog leg
Fold the top blade under and over to create the bend in the leg down to the pes.
And plait the grass
Frog legs!
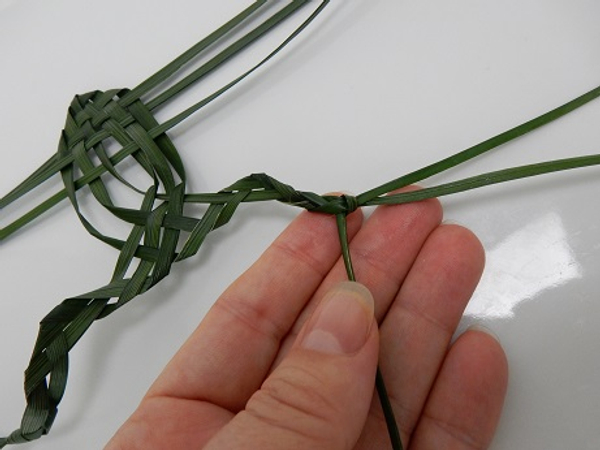
Knot the strands together to create the feet
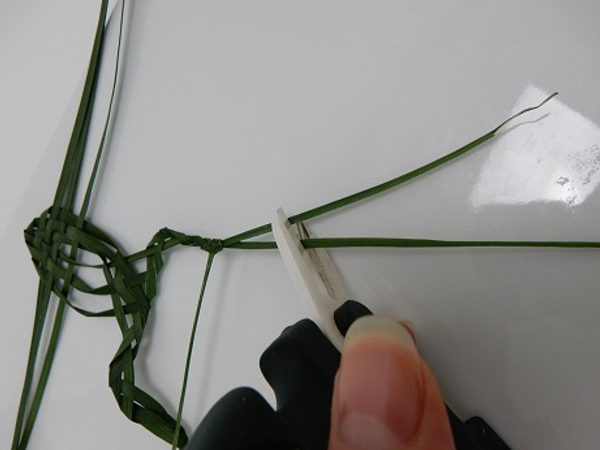
Cut the grass short
And spread the toes
To create a gaping froggy mouth, I bend the blades back and wove a mirror image pattern. Bend the bottom two blades over and up
With the right blade over the left
Bend and weave the next two blades
And bend and weave the last blades
Tighten the weave pattern
Start weaving the top of the frog head. Follow the exact same weaving pattern as before. The right blade folds to the left and the left blade over the right.
If you are unsure of a weaving pattern see the Tutorial below
Continue the weaving pattern
Gaping froggy mouth.
Start weaving the front leg by folding under the inside blade.
Fold the second blade under
Finish plaiting the legs just like you did with the other two
Continue plaiting
Make a knot in the grass

Cut the dangling bits short for digits
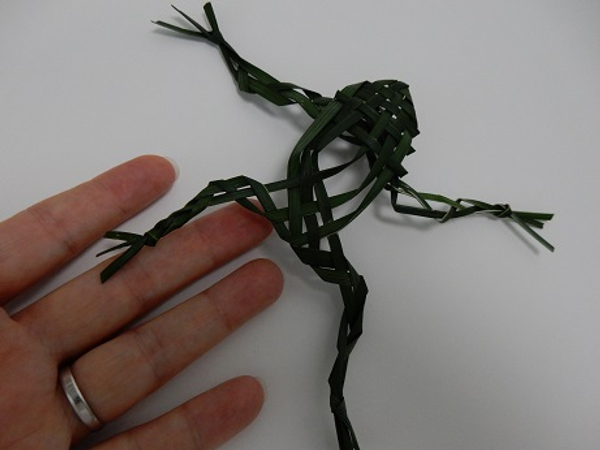
Grass froggy ready to design with
Sign up for my weekly newsletter
Every week I add a new design with related tutorials. Be sure to subscribe to receive an email notification with design inspiration.


")


