Christine de Beer - effortless floral craftsman
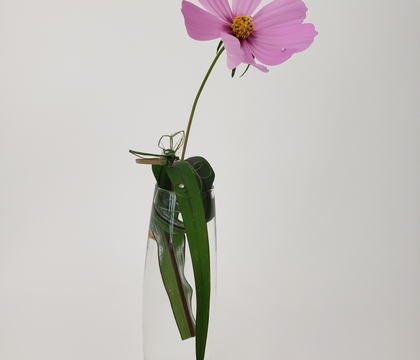
Knot a dragonfly
- 19 July 2023
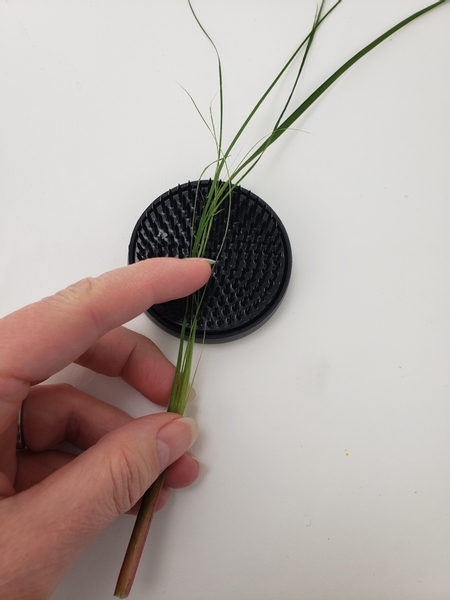
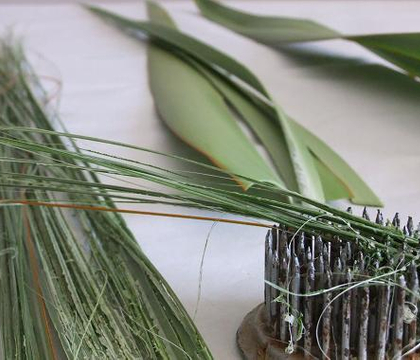
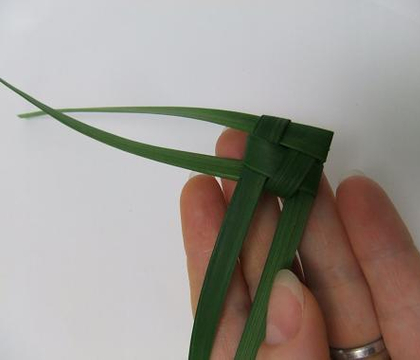
Rip a blade of grass with a pin or Kenzan right up to where the blade of grass is less pliable (close to the end where you cut it from the plant). I show you how in the Tutorial below.
Cut the unripped section of grass end to shape the abdominal segments.
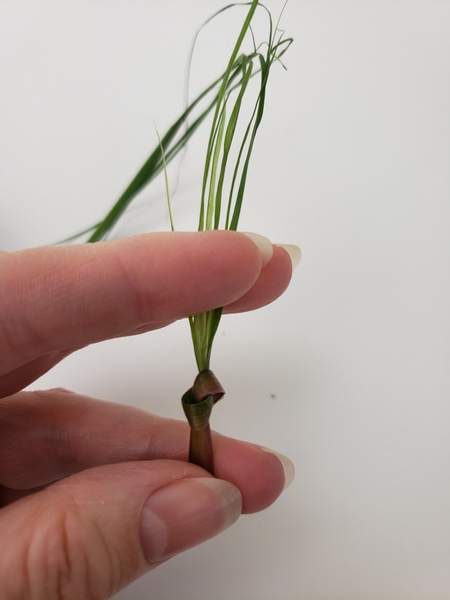
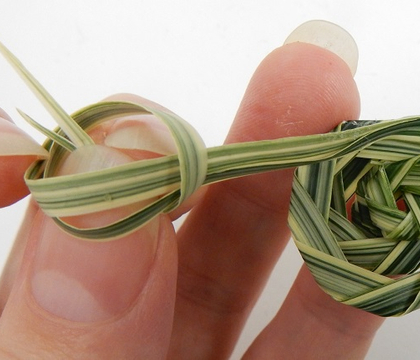
Gather the ripped ends and knot them there where the stem is still intact.
This knot shapes the Thorax of the dragonfly
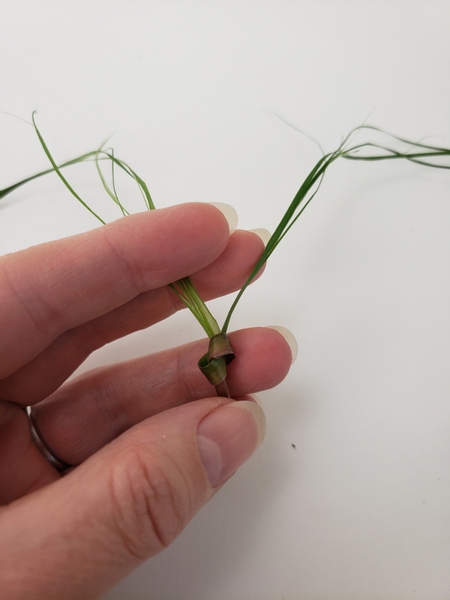
Divide the ripped grass section into two... but keep out the longest ripped grass section of each half...
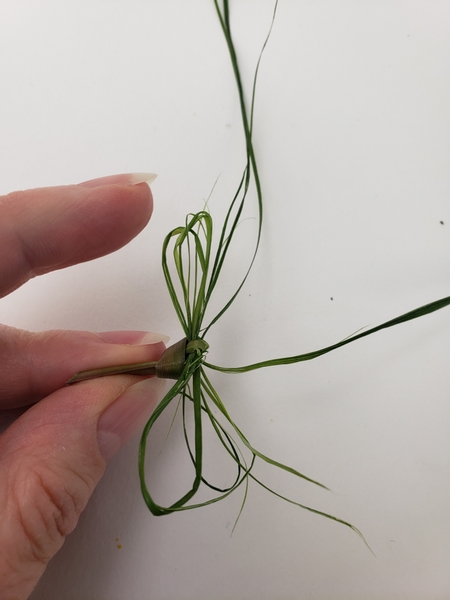
Tie the ripped grass into a bow leaving the two strands that you kept out dangling loose.
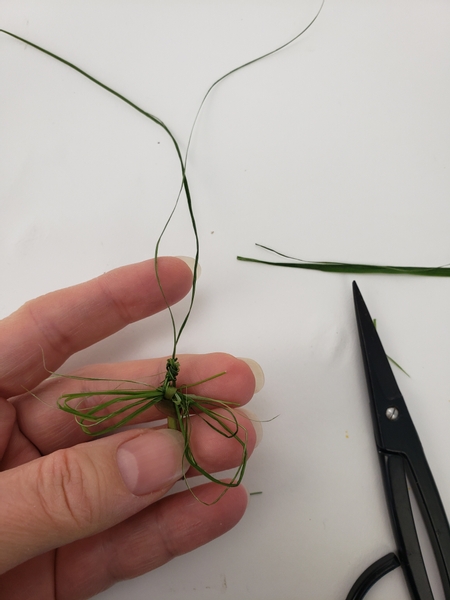
Tie the loose dangling strands into a knot to shape the head.
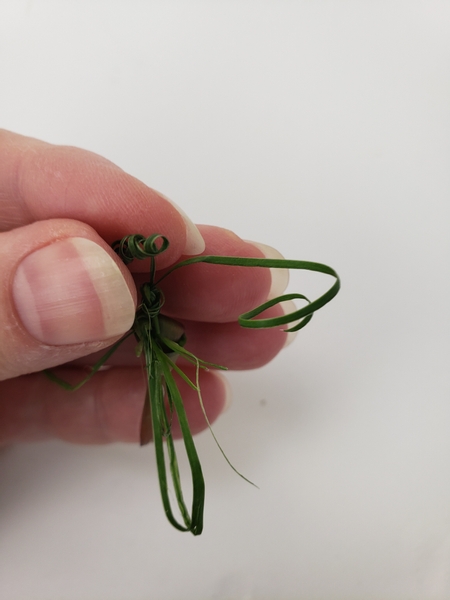
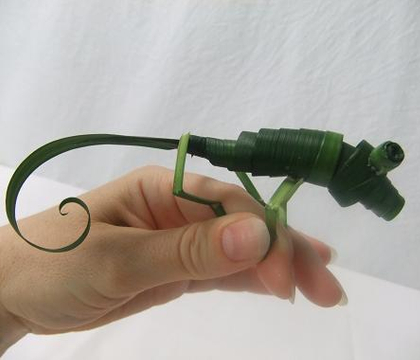
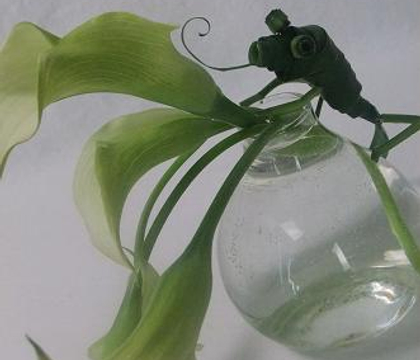
Curl the loose strands to finish the dragonfly. I wanted my dragonfly to look a bit... well... as if it can't be bothered too much on this lazy summer's day. You can (of course!) make the dragon fly more realistic by cutting the antenna short but I rolled the dangling grass sections for the antenna and then released the curls to look wind swept.
This part is actually the most important part. It is where you add the personality of your critter... and by doing so the whole personality of your design!
Book readers turn to page 369 where I tell you a bit more about these finishing touches in my book. You will also find a few more How-To's for critters that you might want to add instead of a dragon fly.
For more information about my book: The Effortless Floral Craftsman
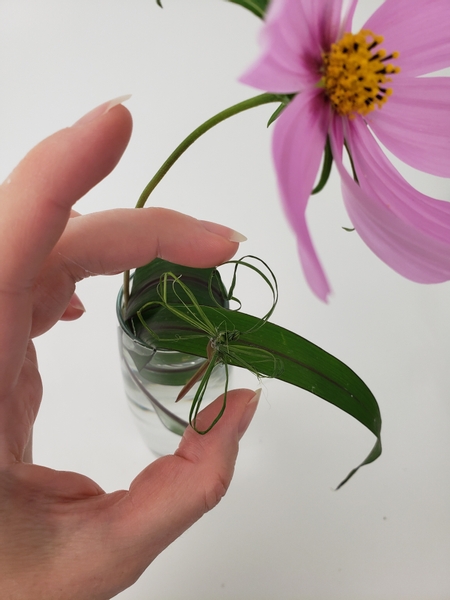
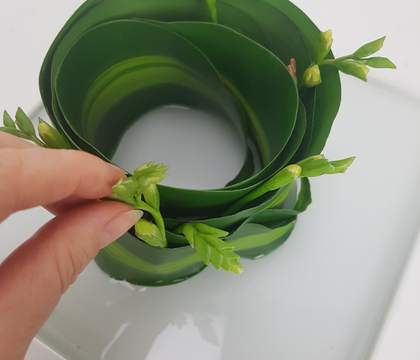
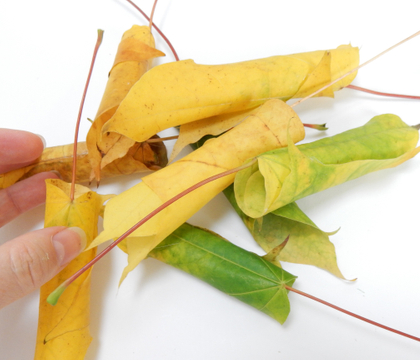
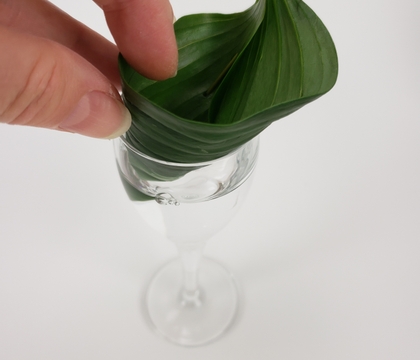
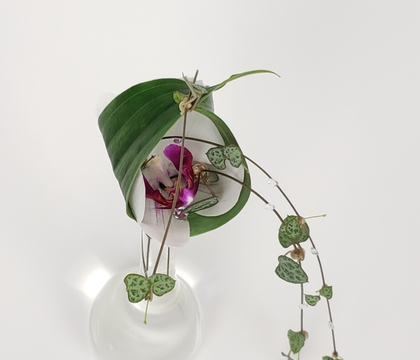
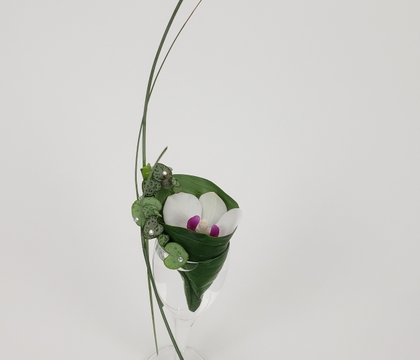
... but in contrast with the dragonfly looking a bit sleepy everything else needed to be as perky as possible. A rolled leaf support fits the vase perfectly.
For a closer look at the rolled leaf see our email for this week's tip. I wanted to show you how the leaf adds to the personality of the design and give you the opportunity to comment or ask questions. I really enjoy hearing from you. Reply to the email and say hi. The signup is below this post.
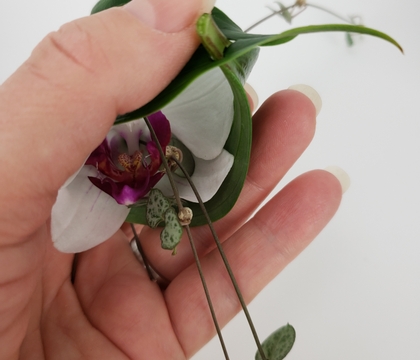
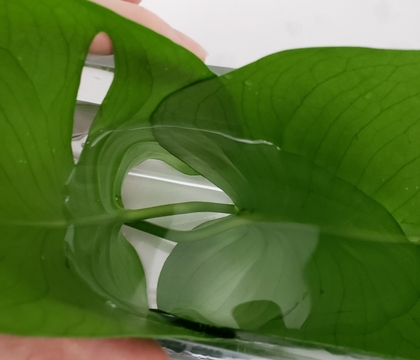
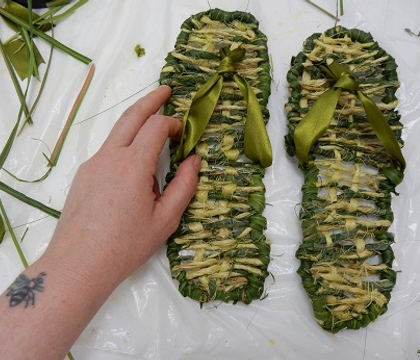
But to get you started I also have a few Tutorials below if you are looking for similar bud vase support inspiration.
Sign up for my weekly newsletter
Every week I add a new design with related tutorials. Be sure to subscribe to receive an email notification with design inspiration.
