Christine de Beer - effortless floral craftsman
Threaded rosette foliage frog… with a kick
- 15 May 2024
- and more

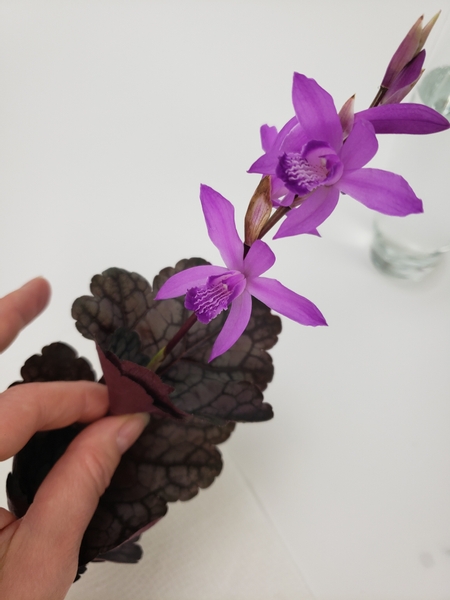
For this design I cut some Heuchera (Coral Bells) foliage to thread together to make an compact rosette
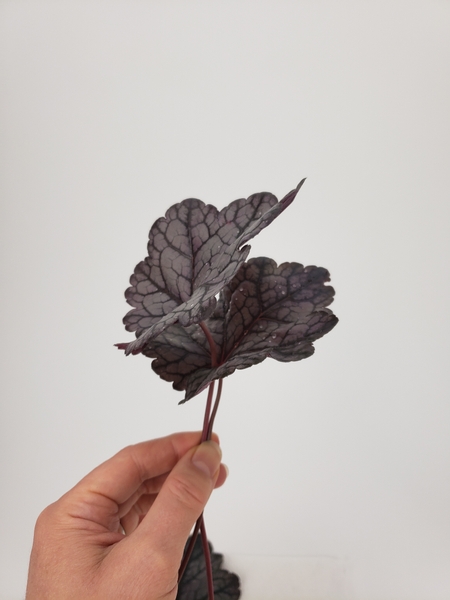
... they slot into each other so beautifully!
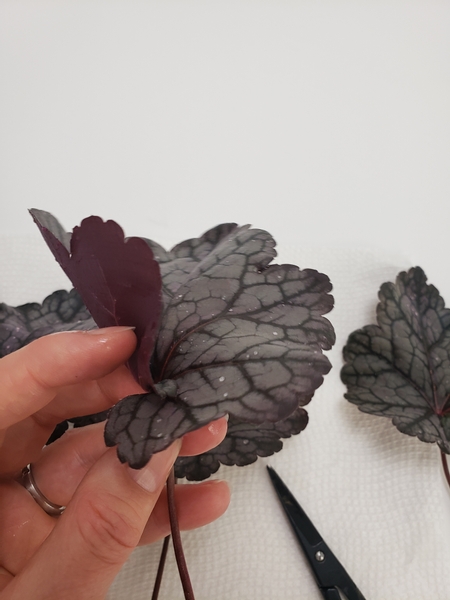
Roll the Heuchera leaf into a cone by curling in the corner...
Secure the leaf with a drop of floral glue.
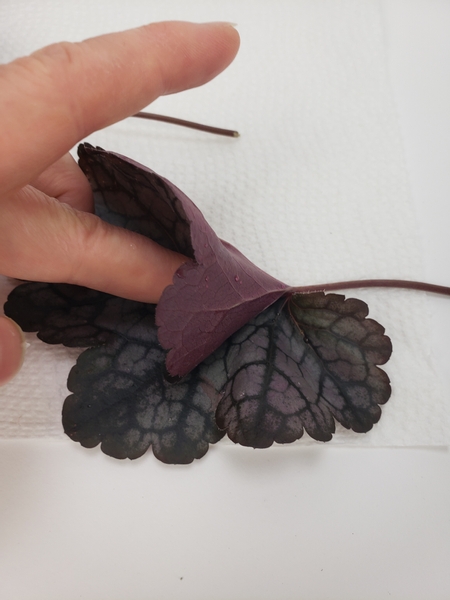
Place some glue on the remaining side of the leaf...
Smooth the glue down to secure it into the cone shape.
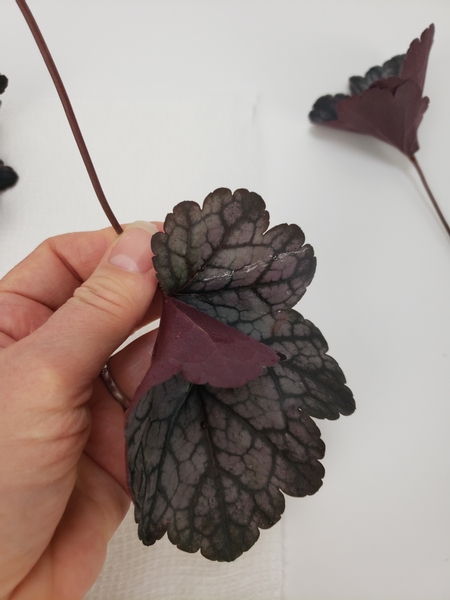
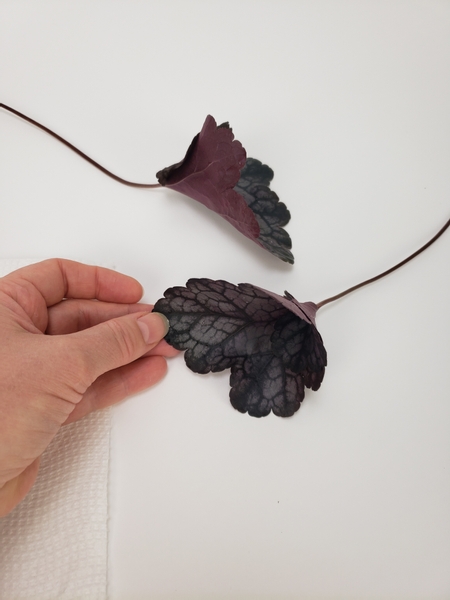
Look into the cone to find the natural gap left next to the stem. Thread one leaf cone through another.
Continue threading the leaves through one another.
Design note: do not worry too much about the placement of the leaves at this point. It can still be adjusted. Focus on carefully threading the leaves without ripping it or damaging it. I found it easier to work if the leaves are far apart so that I can see where to add the next leaf.
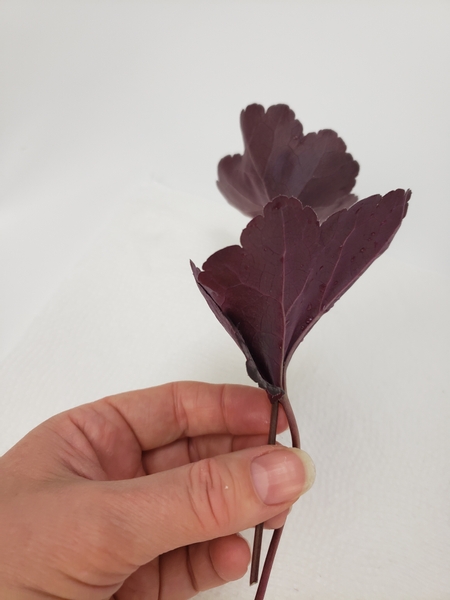
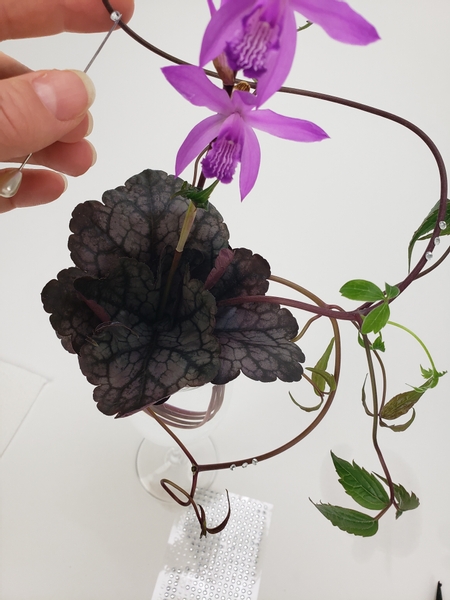
Thread through the Bletilla striata Orchid stem.
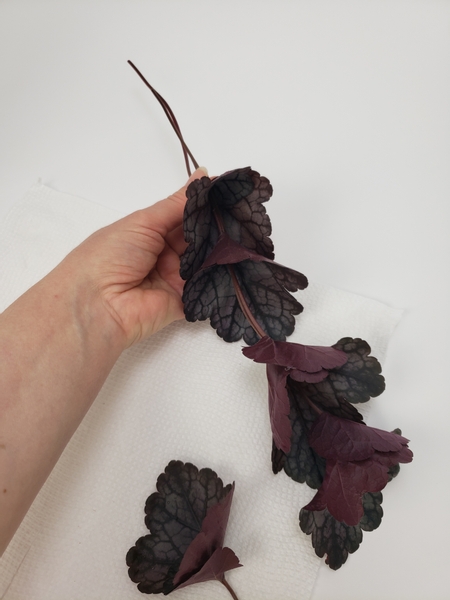
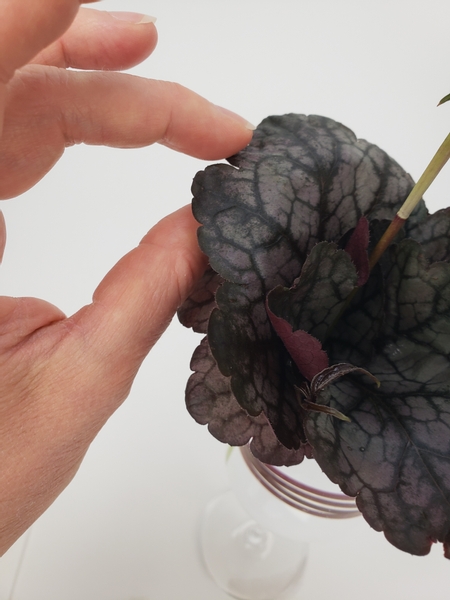
Start to adjust the leaves into a rosette...
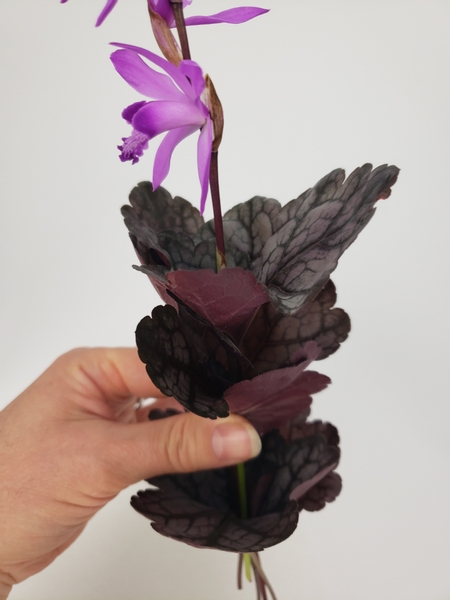
Work from the top down twisting the leaves to radiate out like rose petals.
This week in our email I show you a time (and frustration free) trick I used to keep track of the leaf positions while I craft the rest of the design. I send out an email every Wednesday morning (Vancouver time) the moment the design is ready with an insight that I thought might be interesting for us to look into before viewing the design. If you are not yet receiving your email you can sign up below this post. This is also a great way for us to connect. If you have questions or a comment or want to say hi, reply to the email. I answer all emails... although some weeks it takes me all week to get to everyone.
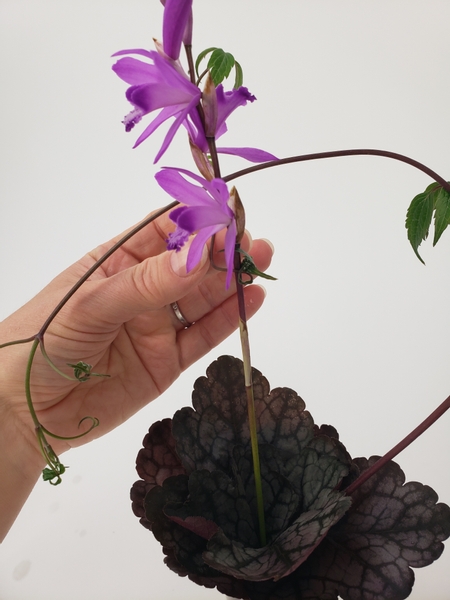
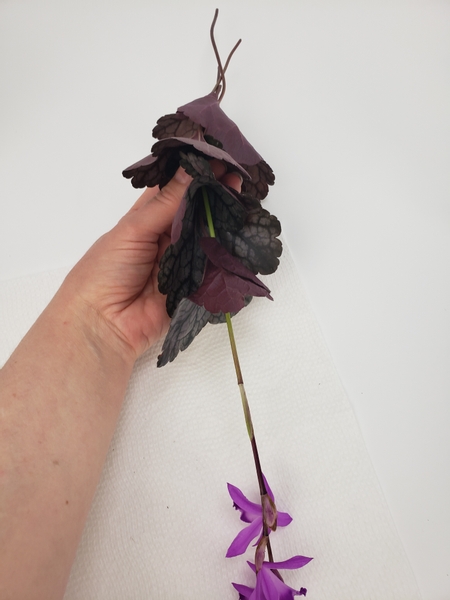
Thread a burgundy stemmed clematis vine through the rosette just below the top leaves so that it flares out the rosette.
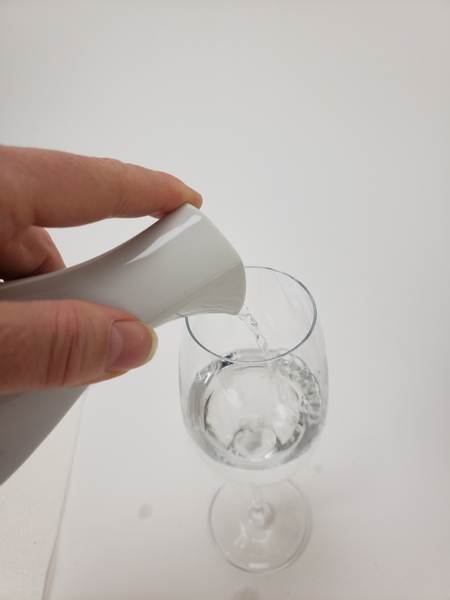
Fill your narrow-ish display container with water to place the rosette in.
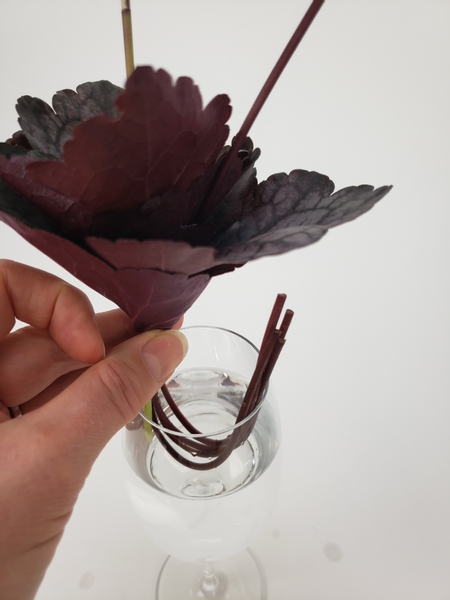
To make sure the orchid remains in position move it to the side and just work with the foliage stems. Curve the Heuchera leaf rosette stems and slip them into the display container.
See the Tutorials below for more examples of how I use this technique to keep design details in place.
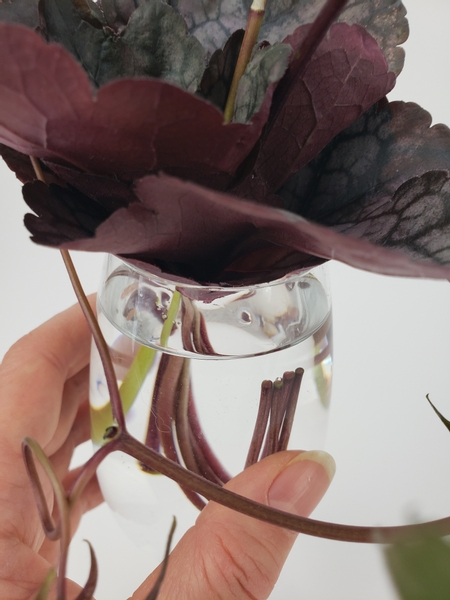
Reach into the container and press the cut end of the stems down below the water so that it firmly kicks against the sides of the container keeping the foliage rosette wedged into position. Once the foliage rosette is securely wedged into position it will support the tall orchid stem and the other design details.
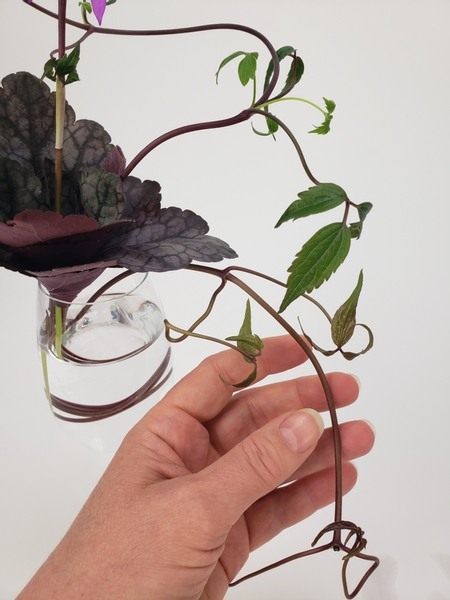
Add in another clematis vine using the curved stems to anchor it in place.
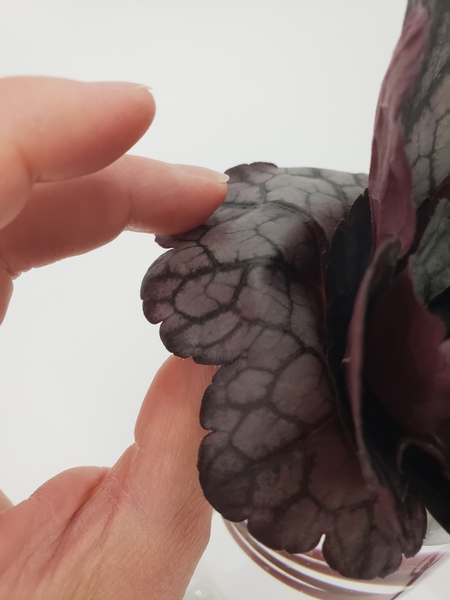
Reflex the lower Heuchera leaves to open the rosette up...
Book readers turn to page 304 where I tell you all about manipulating leaves, petals and foliage.
For more information about my book: The Effortless Floral Craftsman
And to get you started you can also find a Tutorial for reflexing tulip petals (very similar technique) below this post.
And create a pretty and natural rose shape.
And I finished my design with a few dew drop crystals.
For more information on how to add the crystals to your design see the Tutorial below.
Sign up for my weekly newsletter
Every week I add a new design with related tutorials. Be sure to subscribe to receive an email notification with design inspiration.


 to create a frilly design gap in bud vases")


 cap!")


