Christine de Beer - effortless floral craftsman
Flatten a Spring for a disk grid
- 5 March 2025
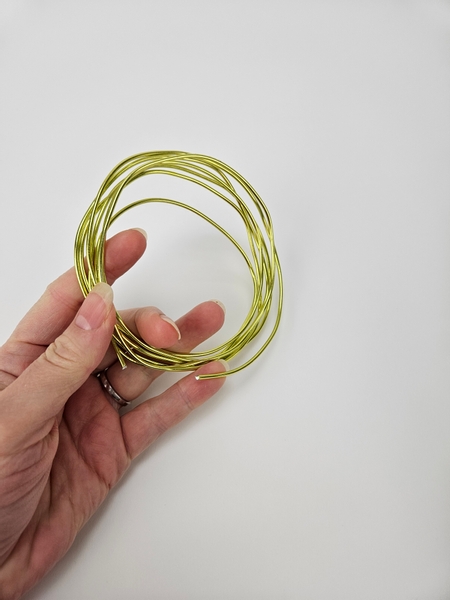
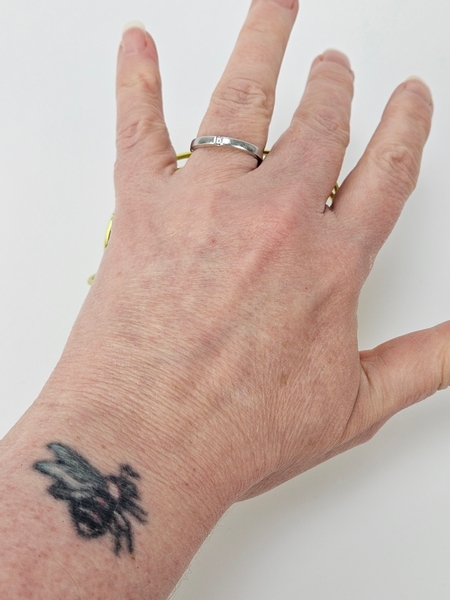
Cut a section of the spring rolled 12-gauge aluminum wire. Mine is the apple green.
These wires make fabulous grids. They are easy to manipulate, yet it holds the shape and can carry the weight of the flowers. It looks pretty if you happen to notice it peeking out from under the flowers and will not rust if it gets wet. Simply rinse the wire, reshape and reuse.
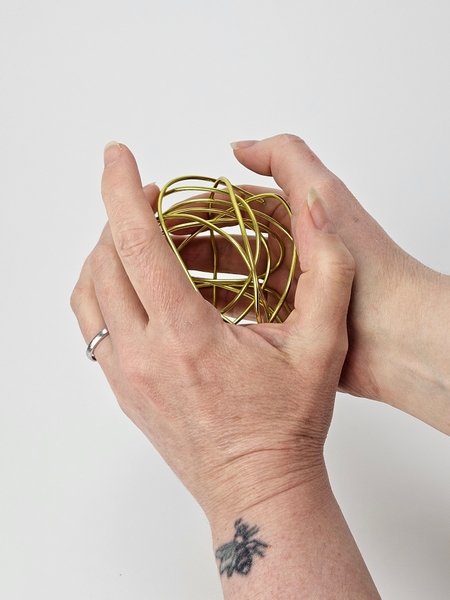
Start to roll the wire into a large ball between your hands...
Do not press too hard when rolling the ball you want wide gaps to accommodate the flower stems.
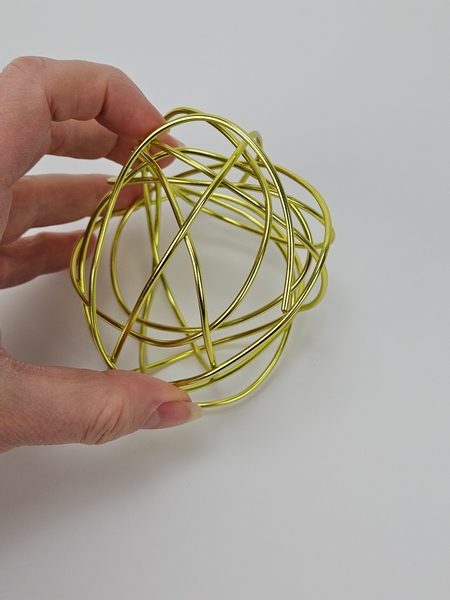
Next... and this is a very important step: tuck all the sharp wire ends into the ball...
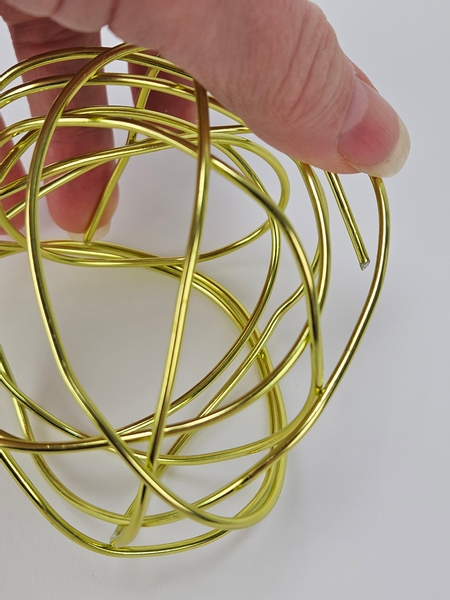
Place the ball on a working surface and squish it flat.
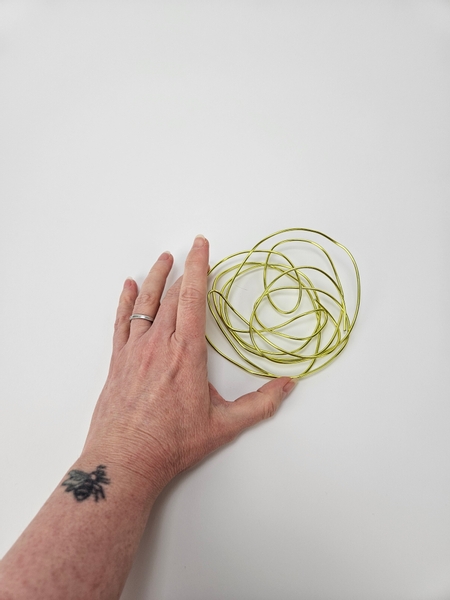
So that you have a perfectly flat grid to keep the flowers exactly where you want them, suspended above the water.
Book readers, if you would prefer to weave a grid from twigs rather than use wire turn to page 235 for a Tutorial.
For more information about my book: The Effortless Floral Craftsman
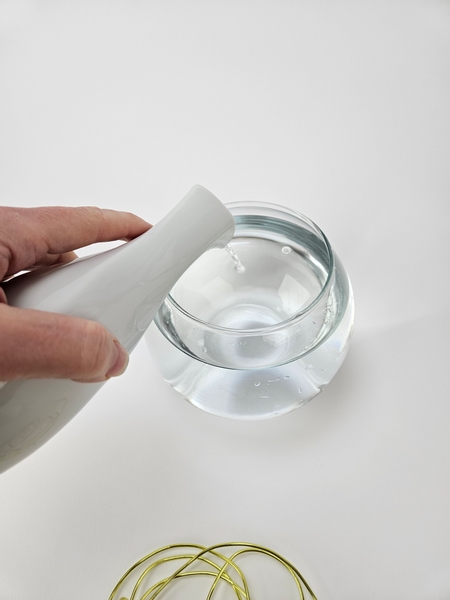
Fill a display container with an opening the size of the grid with water.
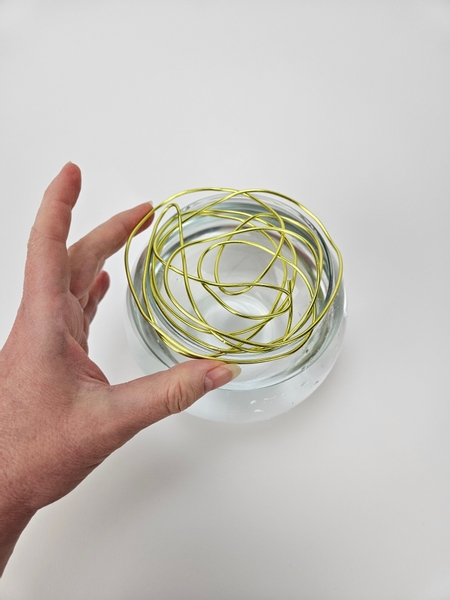
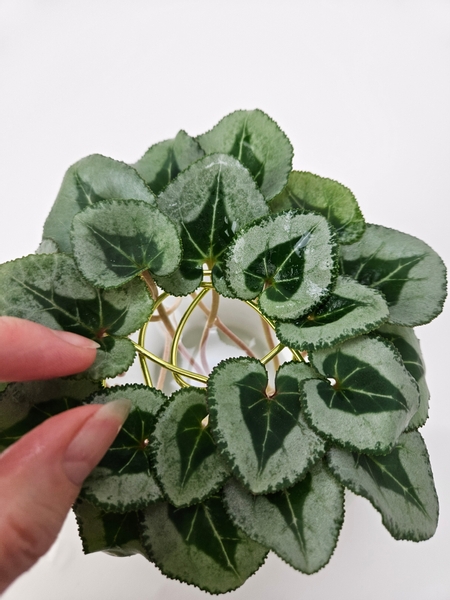
Place the grid over the opening in the vase... and bend the wire into the vase every here and there to make sure it is securely wedged into position.
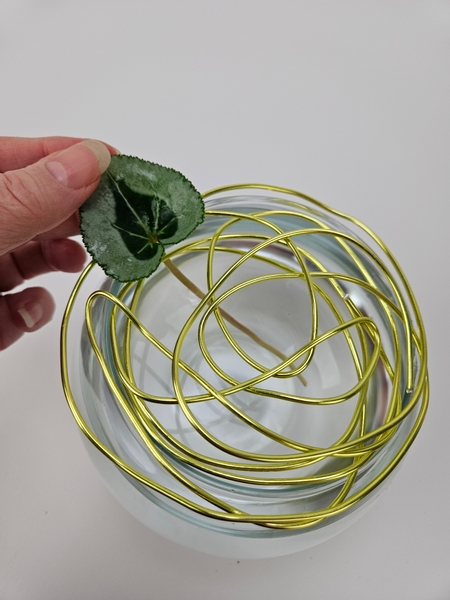
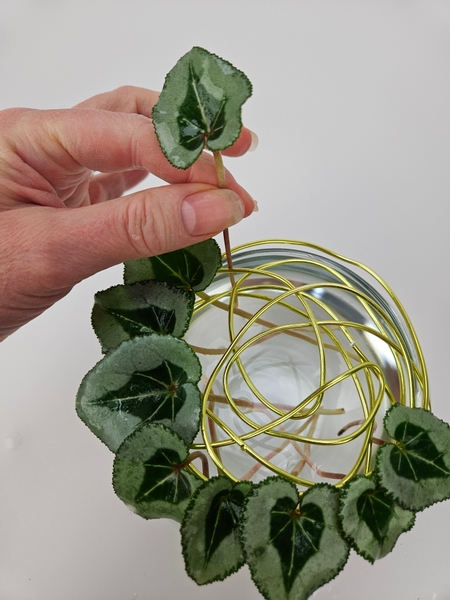
Slip the cyclamen foliage through the gap in the grid to nestle it into place...

Adding in one after the other to overlap slightly like roof tiles.
Absolutely, these leaves are so stunning and deserve to be shown off in a rosette all of their own. But you know what I fell in love with? This dusty pink tinge on their stems!
This week in our email I tell you more about how I decided to highlight the pink stems and I show you how I create a design buffet for me to pick and choose the foliage I want to place next. I send out an email every Wednesday morning (Vancouver time) the moment the new design is ready for you to view. And I include a few notes that is handy to know even before viewing the design that will ensure you make the most of this week's inspiration. The sign up to the email is below this post if you want to join in.
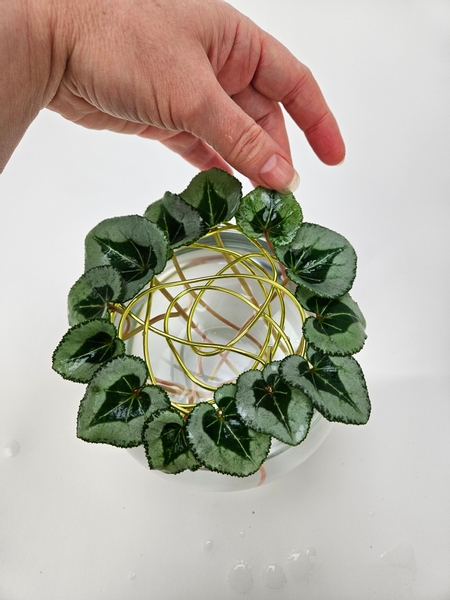
Overlap the foliage ever so slightly to cover the wire before...
... Starting with the next row of foliage...
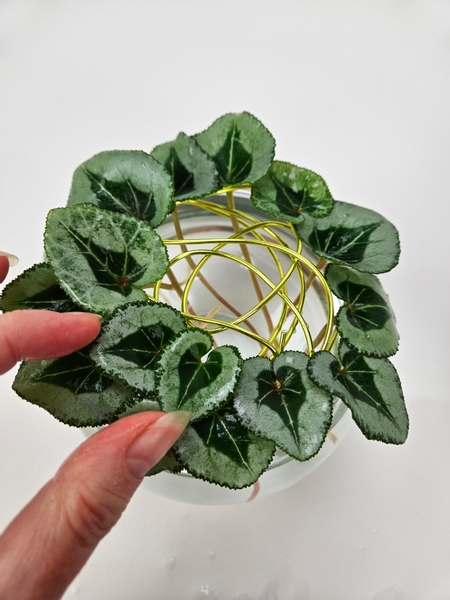
Around and around and around...
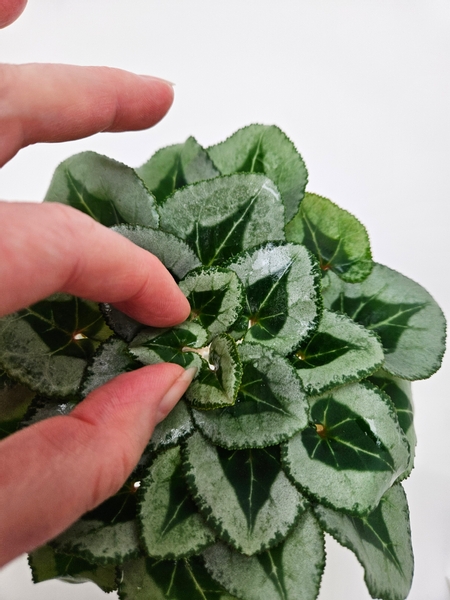
Until you slip in the last leaf into position in the middle.
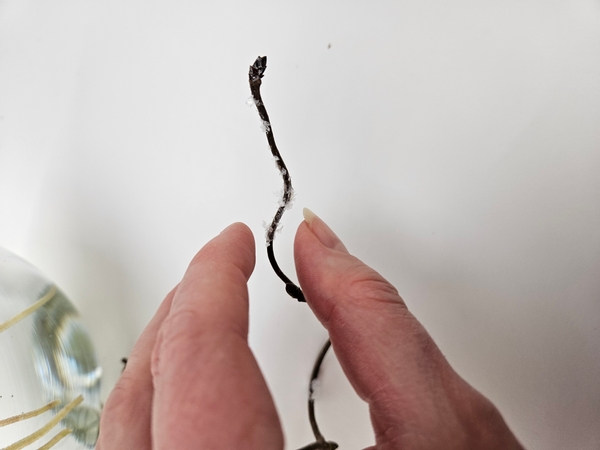
Add the last dusting of snow of the season to some hazel twigs.
See the Tutorial below for more detailed instructions on how I add artificial snow to twigs.
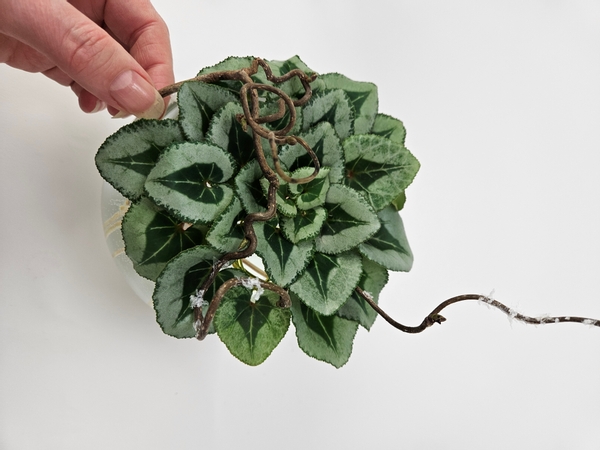
And rest the snow covered twigs through and over the foliage rosette.
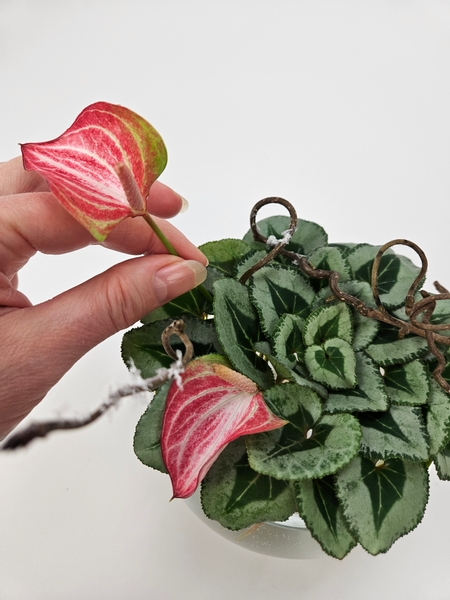
Slip in a few anthurium flowers.
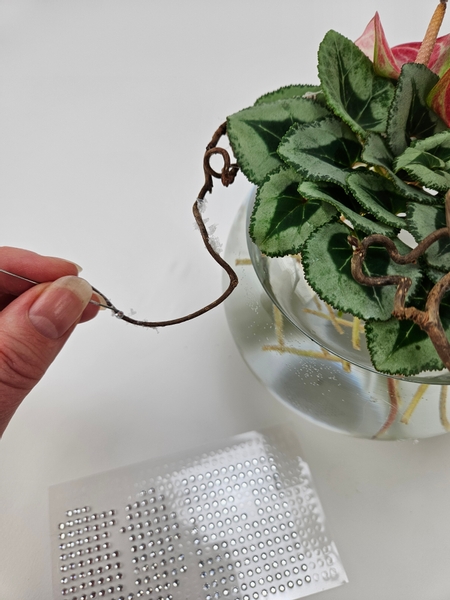
And I am finishing my design off with a few sparkling dew drop crystals on the snow covered twigs...
See the Tutorial below for detailed instructions on how (and why) I add the crystals with a pin.
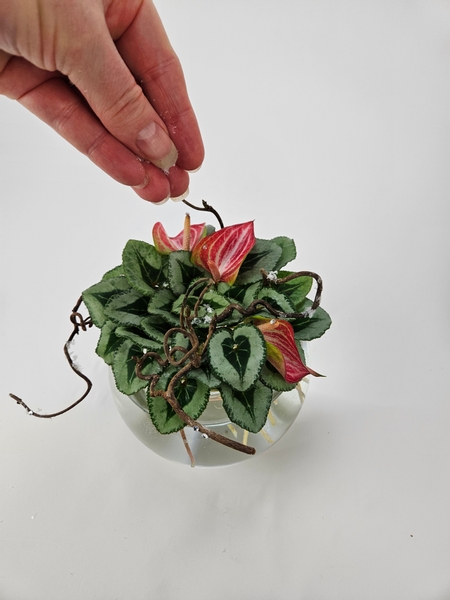
And a final dusting of snow to tie the details together
Sign up for my weekly newsletter
Every week I add a new design with related tutorials. Be sure to subscribe to receive an email notification with design inspiration.


 to create a frilly design gap in bud vases")
 frosted twig frog to balance your anthurium stems just so")


