Christine de Beer - effortless floral craftsman
Snowy Magnolia forest floor armature
- 25 January 2023
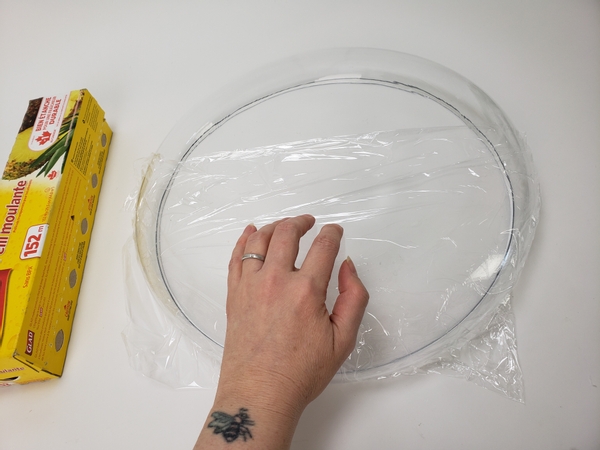
Cover a round shape with plastic wrap... this is going to get messy!
Design note: I used a upturned bowl but you can even just draw a circle on the plastic, any round shape to guide the leaf placement will do.
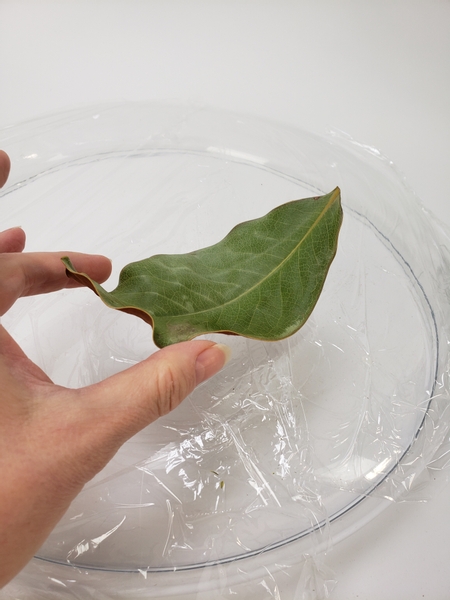
Place a dried magnolia leaf on the shape.
Book readers turn to page 110 to read more about preserving plant material. There are a few ways to dry your foliage and flowers, each gives you a different result that will change the way you design with it. I wanted to let the leaf curl up slightly to reveal the gorgeous velvety underside of the Magnolia leaf. If I simply pressed the leaf it would have been too flat.
For more information about my book: The Effortless Floral Craftsman
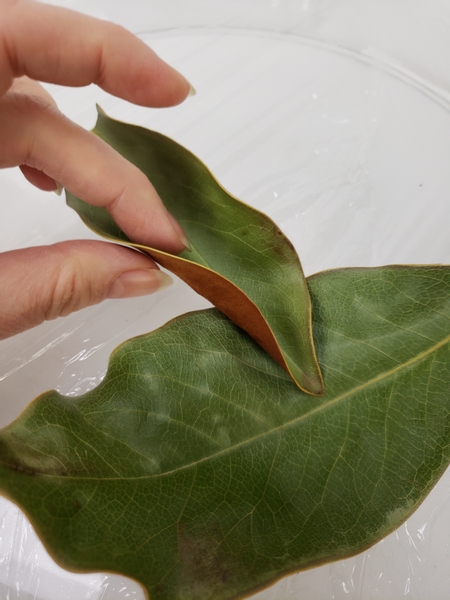
Use hot glue to secure a second leaf to overlap slightly.

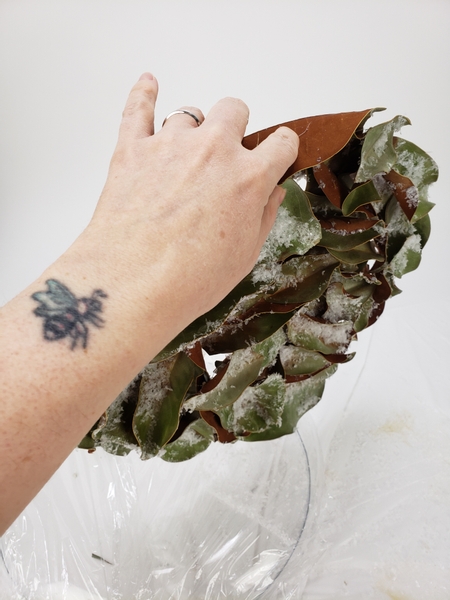
Build up the circular shape. Position the leaves in a way that it creates pockets that will hold a lot of artificial snow.

Every now and again lift the leaves from the round shape to make sure it is not stuck to the plastic wrap. Also make sure the leaves are secure. The armature will support all the design details (including a lot of glue and snow) while being suspended over a vase.
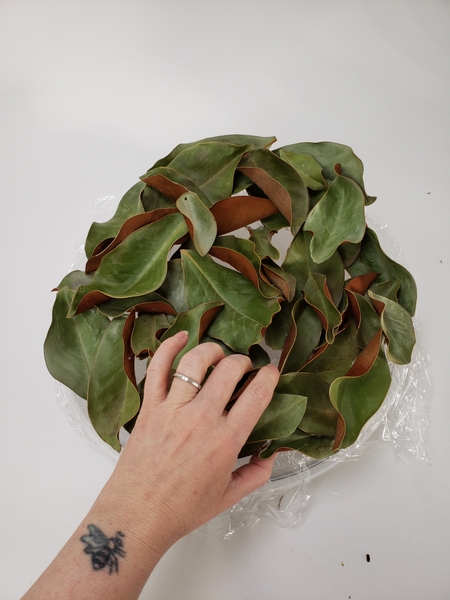
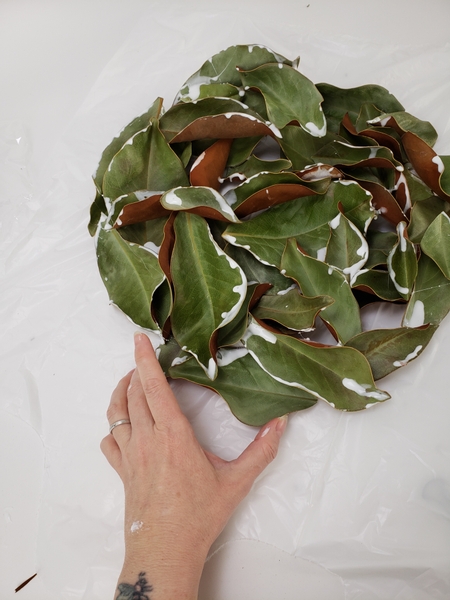
Glue in leaves until you have a pretty circular shape.
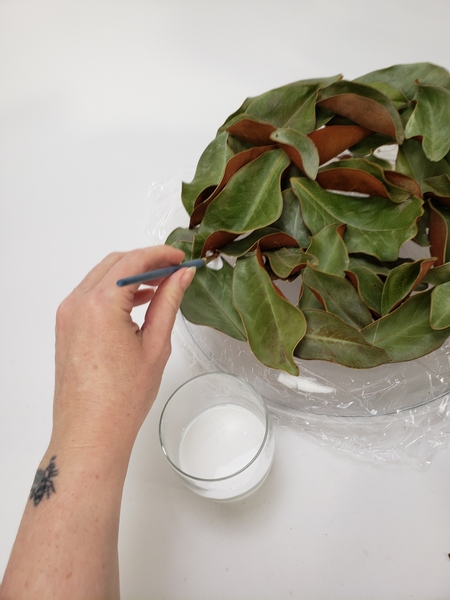
Paint a puddle of wood glue into all the pockets.
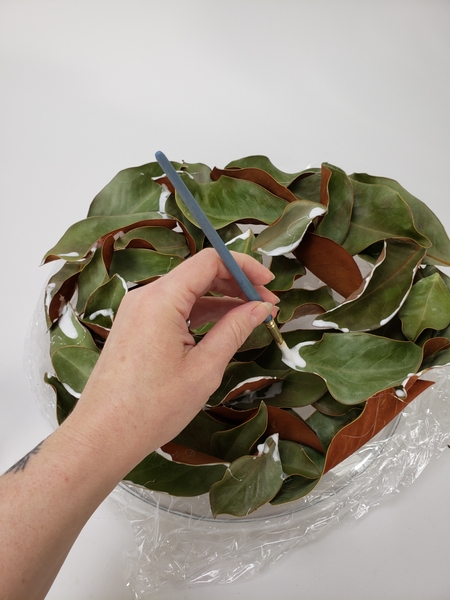
Paint a thin line of glue around the edges of the leaves to make them stand out.
While painting the glue make sure the armature is still secure and add glue wherever you are concerned that it might not be strong enough.
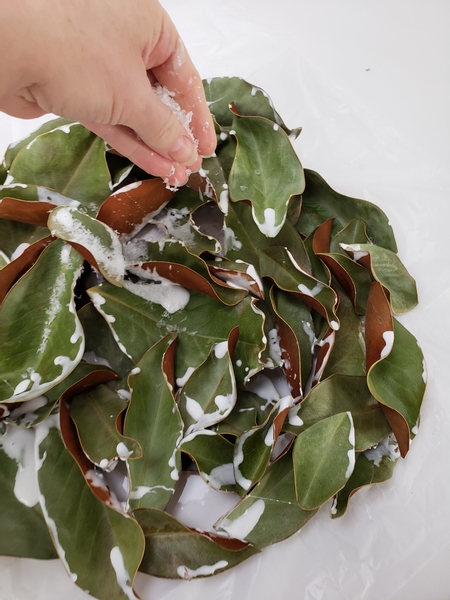
Sprinkle on some artificial snow.
So that it gets soaked in the puddles of glue.
Set the armature aside so that the glue sets completely. This will take a while. Mine took about three days.
Once dry, tip out any artificial snow that is not secure.
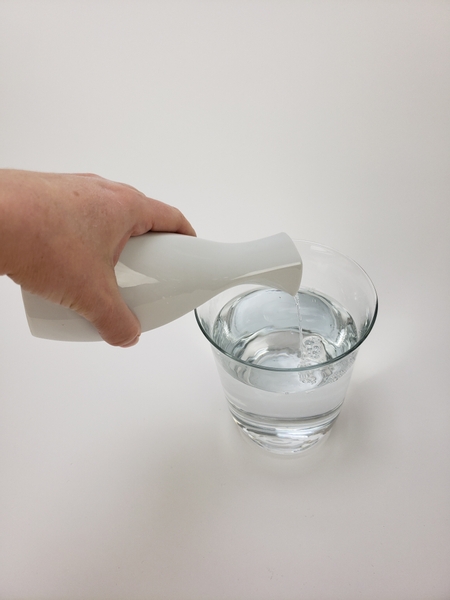
Fill a vase with a wide opening with water.
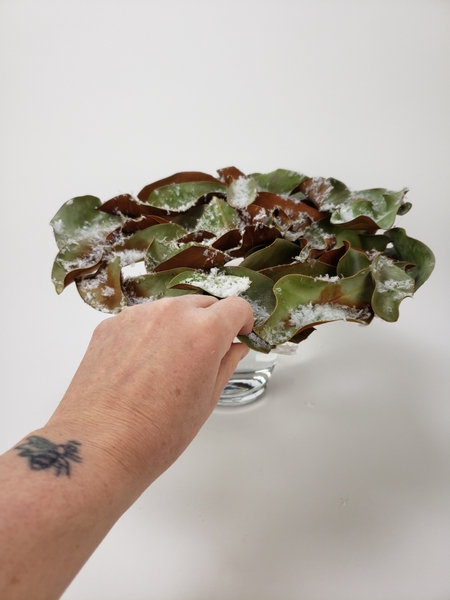
And settle the Magnolia leaf armature on the container.
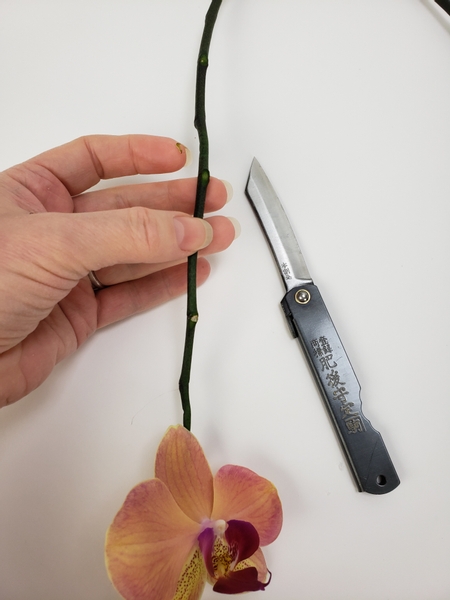
Groom the orchid spike with a sharp knife so that you have stem to insert into the armature.
Design note: This orchid was a lovely surprise that formed just as the other flowers on the spike was fading leaving me with a generous and elegant curved stem to design with!
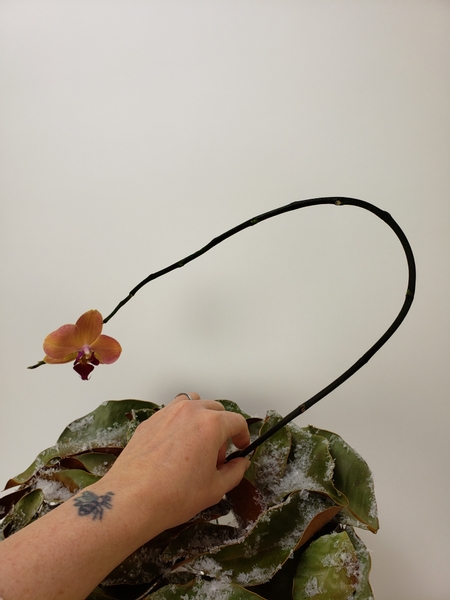
Thread the orchid stem though the leaves so that the cut end rests in the water below.
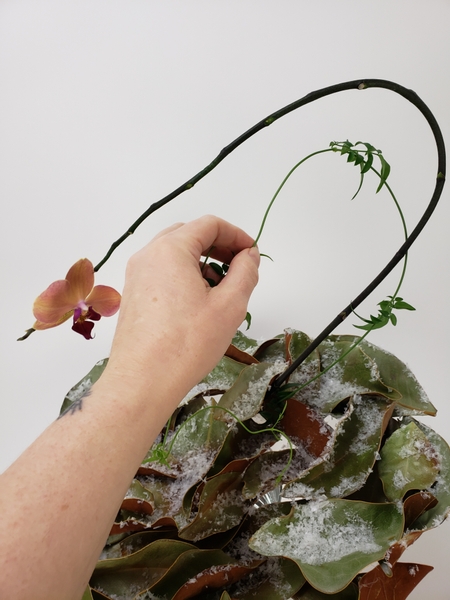
Add in a few jasmine vines to curve around the stem...

And in and around the armature.
Those little tips are so delicate... be careful not to snap them! I show you my trick for threading delicate tips through an armature in our email this week. The sign up is below this post if you are not yet receiving your notification email on Wednesday mornings.
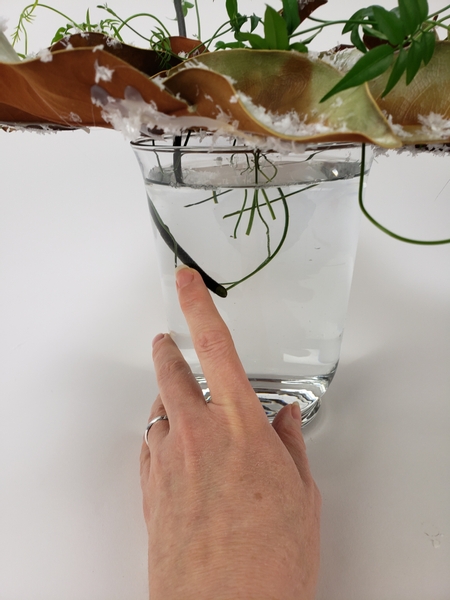
Make sure all the stem ends are below the water line in the vase below...
And finish the design with a few dew drop crystals.
One of my design rules that I set for myself for my website is not to use any tools and equipment that you don’t already have or can easily find but sometimes I discover something new that is too good to not share. You will find a link to the little turn table in this week's email. You can also read more about my design rules for all the designs I share here on the My Creative Workbook website in the email this week.
Sign up for my weekly newsletter
Every week I add a new design with related tutorials. Be sure to subscribe to receive an email notification with design inspiration.


 second layer")


: Another perspective")


