Christine de Beer - effortless floral craftsman
Grass snippet globe with T-connections for a (shaded) second layer
- 27 April 2022
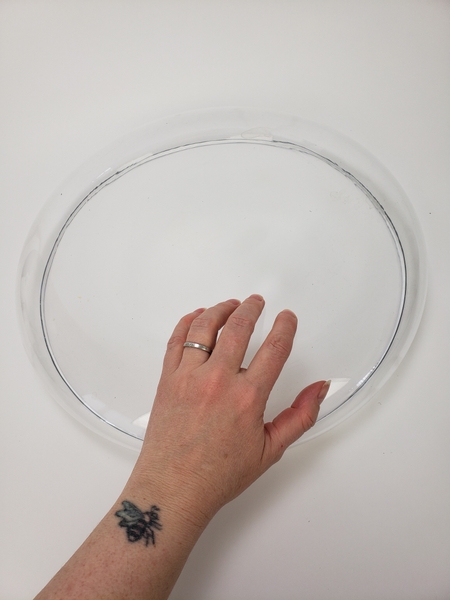
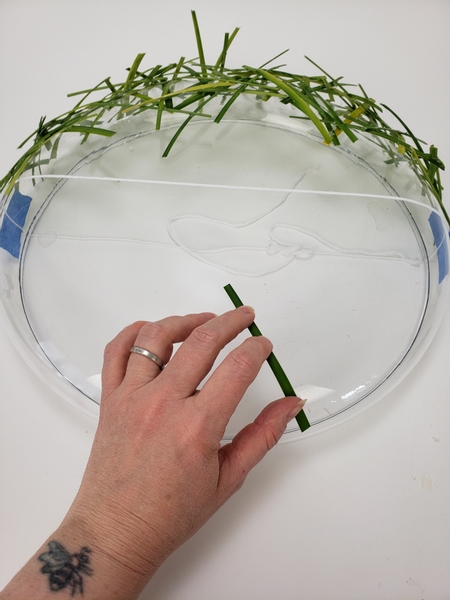
Place a low container so that the opening faces down on your design table
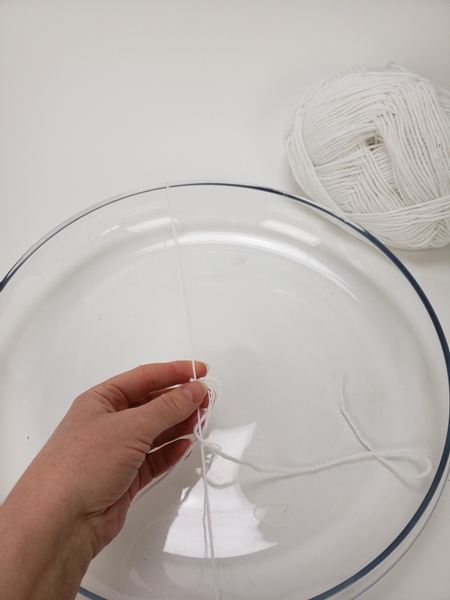
Mark out the halves with string.
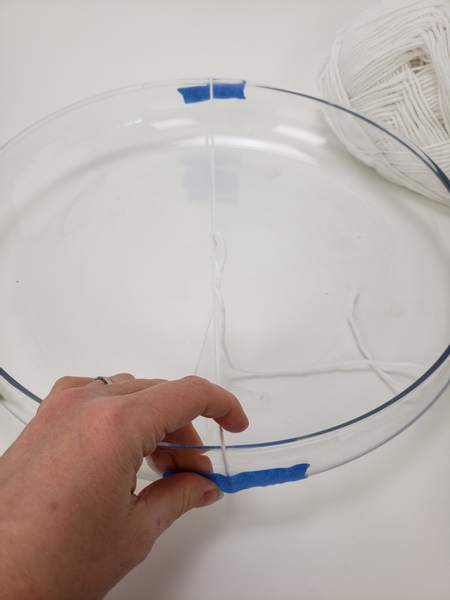
To avoid frustration while working, secure the string to the slippery container with painters tape.

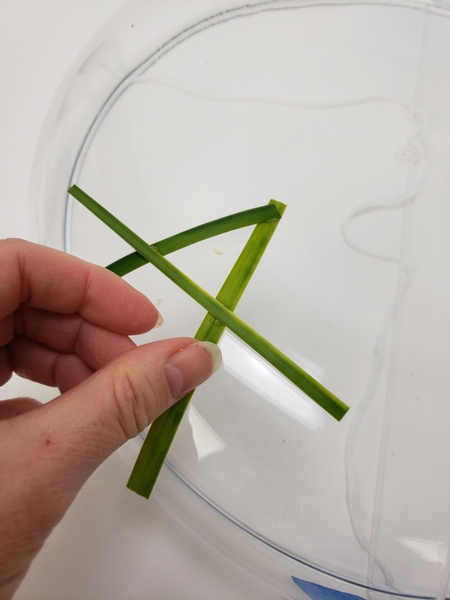
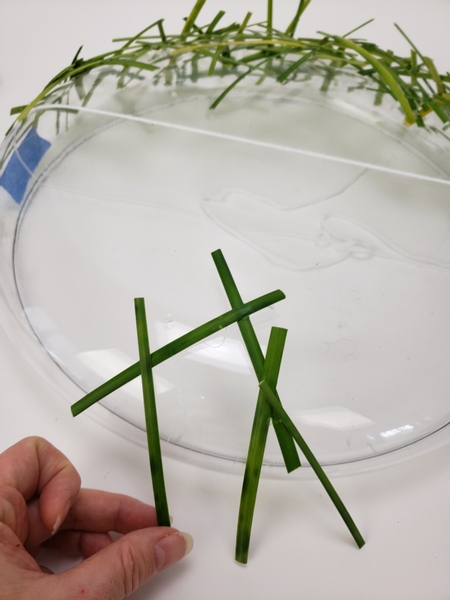
Cut the firm, cut side of the grass into snippets.
This is a great way to craft two designs from the same bundle of grass. You can use the more pliable end for weaving.
Book readers you will find loads of inspiration on weaving with grass in my book. Also turn to page 166 for the exact opposite of this design. I used the grass tips to weave the globe and placed the roses inside the shelter.
For more information about my book: The Effortless Floral Craftsman
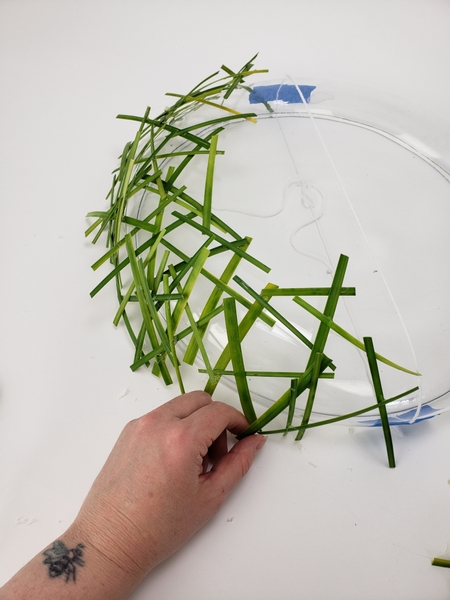
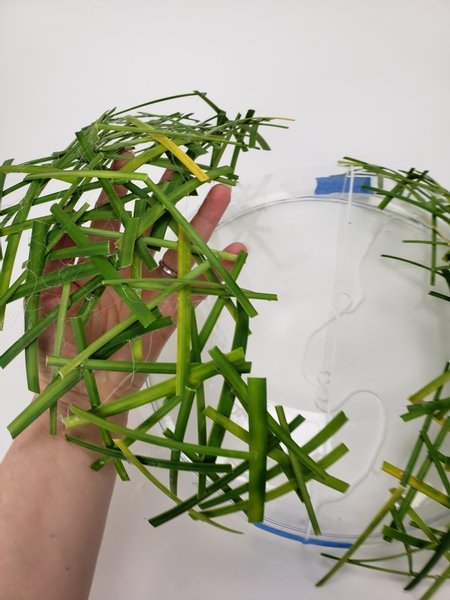
Use the container to shape the globe by gluing snippets around the half shapes.
Design tips: always make sure to glue each blade of grass that will carry weight or make up the shape at three places. This way it is really sturdy and you can add more grass to this armature to create a lighter effect.
And make sure you glue the grass pieces to other grass pieces and not the container.
... and, and glue the snippets with floral glue. Hot glue will burn the plant material and it will discolour.

Glue the snippets from string to string...
To build up a half moon shape around the edge of the container.
Start on the other side.
And again build up the shape with grass snippets...
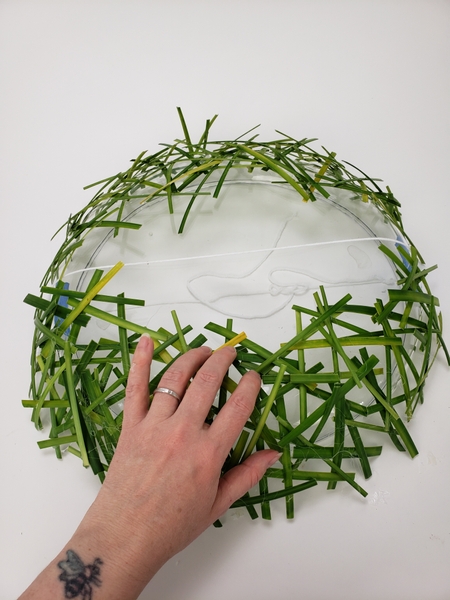
To cover the edge of the shape.
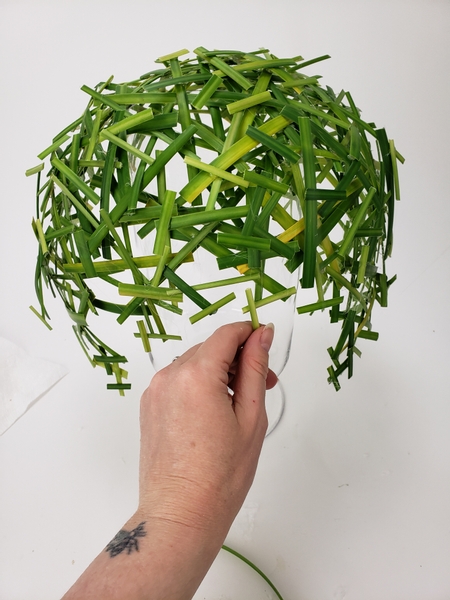
Gently remove the grass snippets from the container.
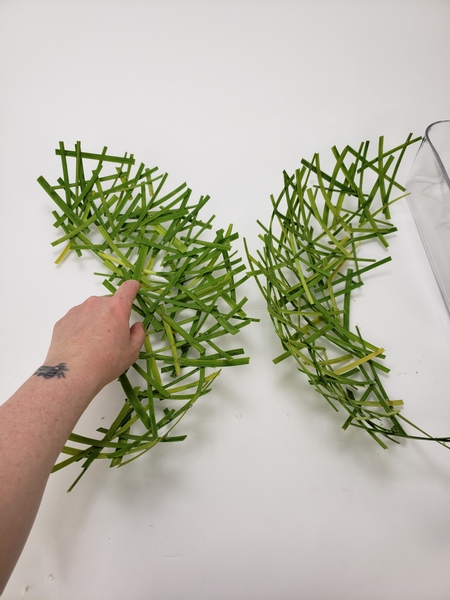
Match the two halves on your design table so that you can glue it together.
And also: these would have been such pretty butterfly wings... maybe next time...
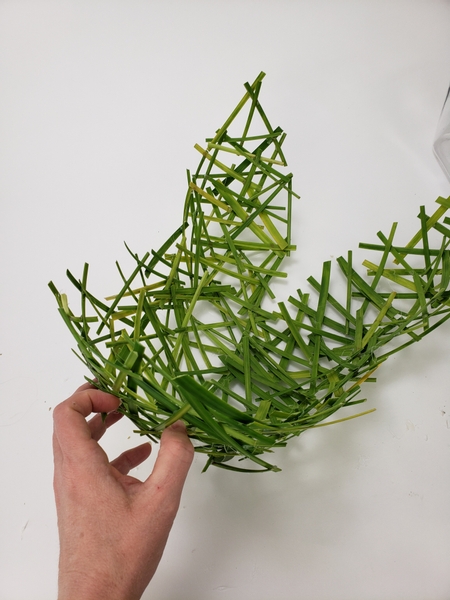
Overlap the snippet edges and glue them to secure.
Add in more grass snippets to make sure the armature is sturdy.

Place the grass snippet armature to drape over a tall vase.
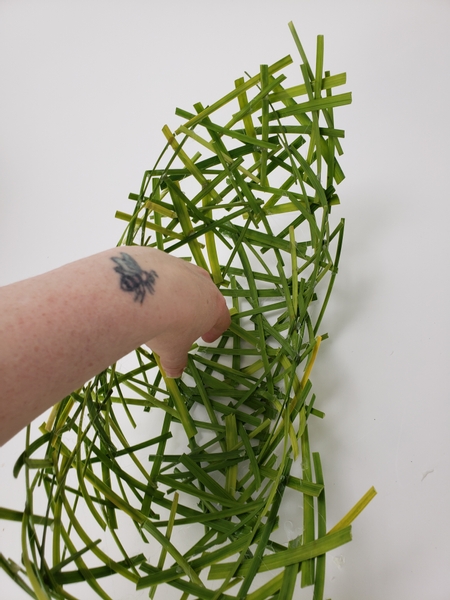
Glue in a few snippets to make the armature appear loosely stacked rather than sturdy and secure...
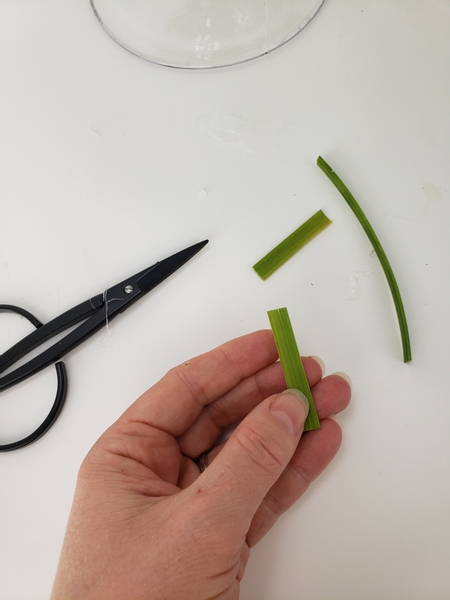
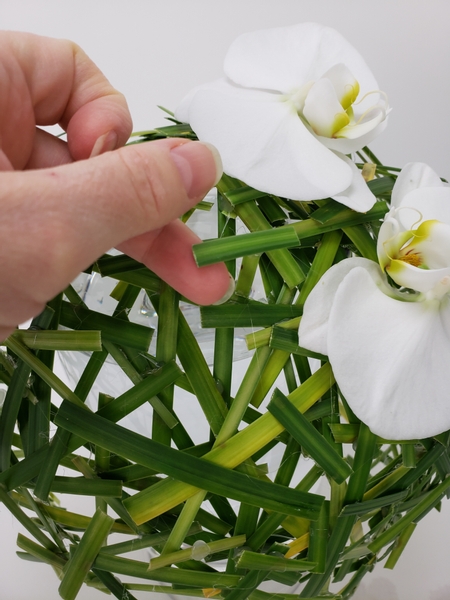
I did this by cutting the firmest snippets shorter... and securing them as T-Connections rather than glued in three places.
These also work well to add to the bottom to a pretty edge to the sphere.
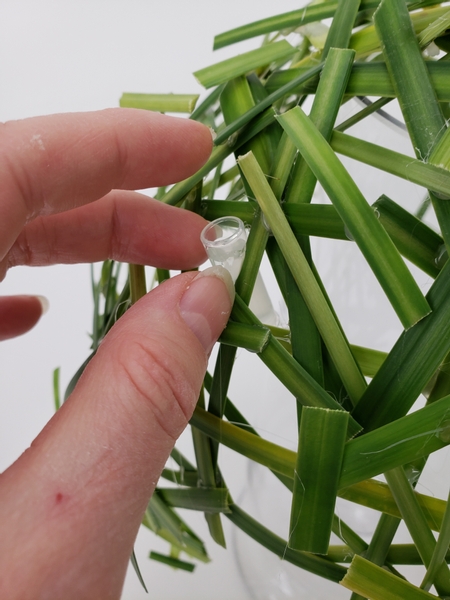
Add in a few water tubes for the orchids.
See the Tutorial below for more detailed instructions on how I make these.
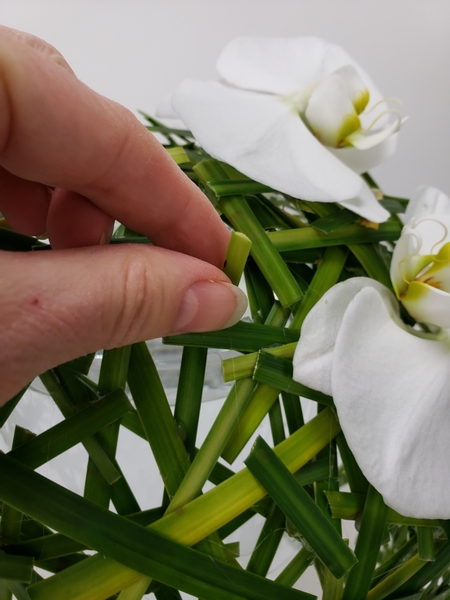
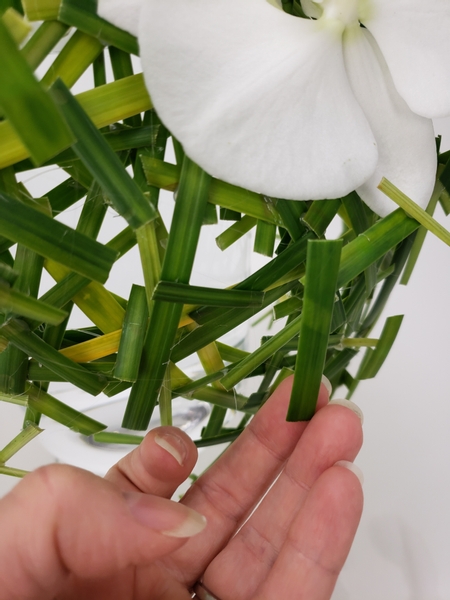
Then another layer of snippets here and there, again using the T-Connection technique. Glue in another grass snippet to extend as far as you want the sphere shape to be.
Then finish the t by gluing another snippet to rest on the extended snippet.
I have another version of this technique linked for you below if you want to make it from twigs.
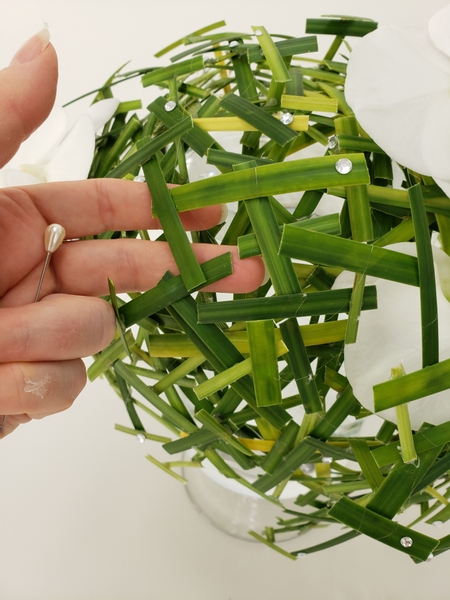
Add T-Connections around the sphere to keep the shape tidy.
Stand back and have a look. You will immediately see where you need to lift the snippets to adjust the height.
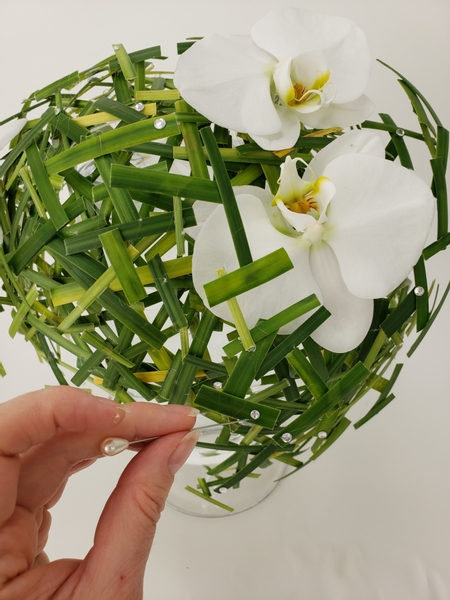
Remember to add snippets to shade the flowers and highlight those with some sparkling dew drop crystals.
The last part of finishing the design was... adding water to the tall container. Nope, it has very little to do with the mechanics other than maybe raising the humidity for the orchids. But it has everything to do with the look of the design. By just adding the water you will have your viewers gently swaying to look through the water. I explain more in this week's email. Make sure you are signed up to receive your once a week bonus tip the moment the new design is ready for you to view. The sign up button is below this post.
I rather liked the glue strands draped ever so thinly over the design. I even added a few more, to be honest.
See the Tutorials below for more detailed instructions on how to add glue strands to a design... and also a Tutorial for how to remove them if you prefer.
Sign up for my weekly newsletter
Every week I add a new design with related tutorials. Be sure to subscribe to receive an email notification with design inspiration.


