Christine de Beer - effortless floral craftsman
Snippet grid
- 30 May 2018
- and more
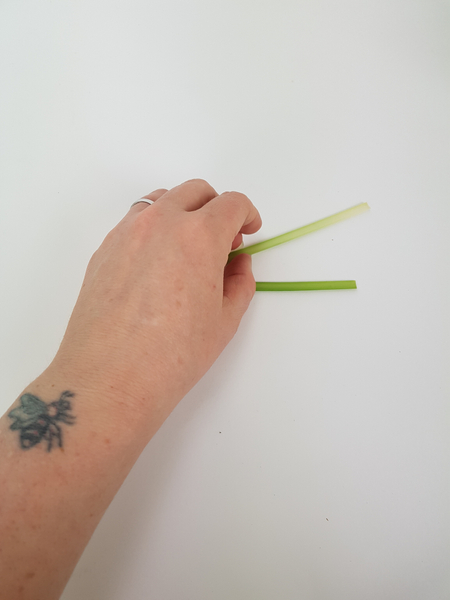
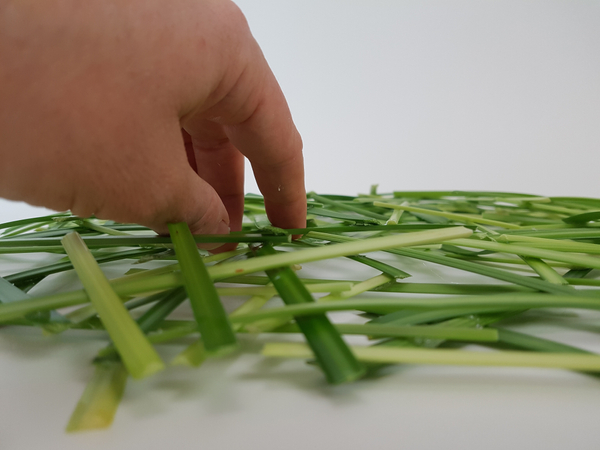
Cut away the harder stem ends of lily grass.
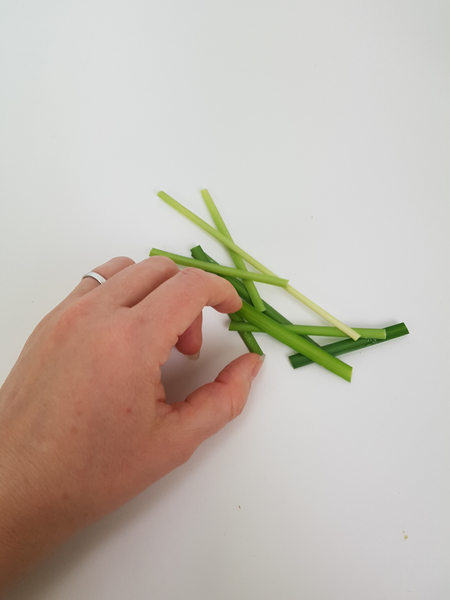
Place the snippets on a flat working surface. Start to connect the snippets with a small drop of floral glue.
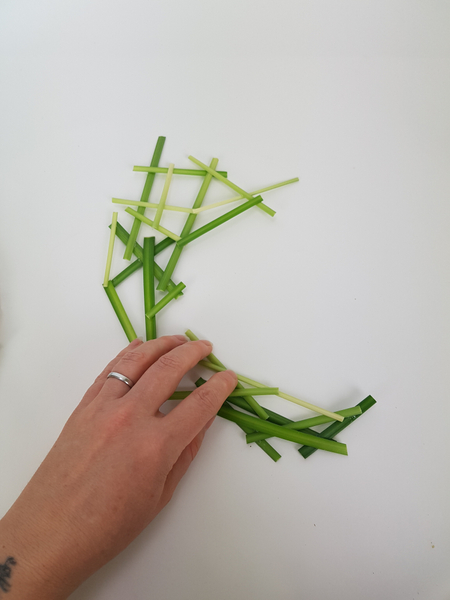
For a secure armature each blade of grass needs to connect with another blade of grass at at least three places.
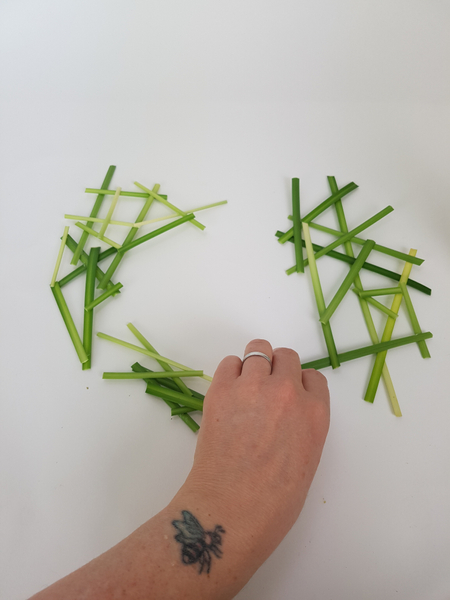
Glue the snippets into a circle.
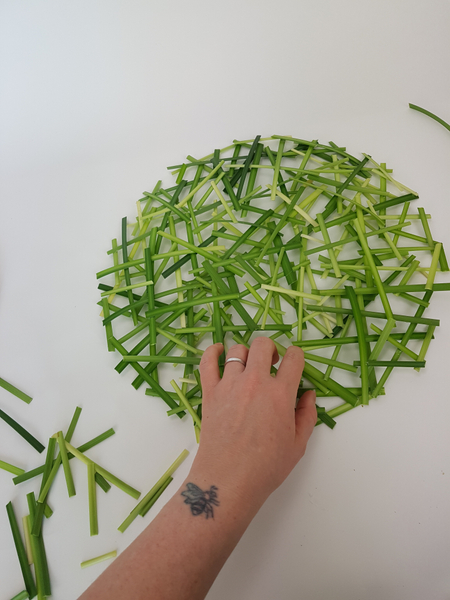
Slowly build up the shape.
Wiggle the snippet shape to make sure it is secure. Add more grass snippets where needed.
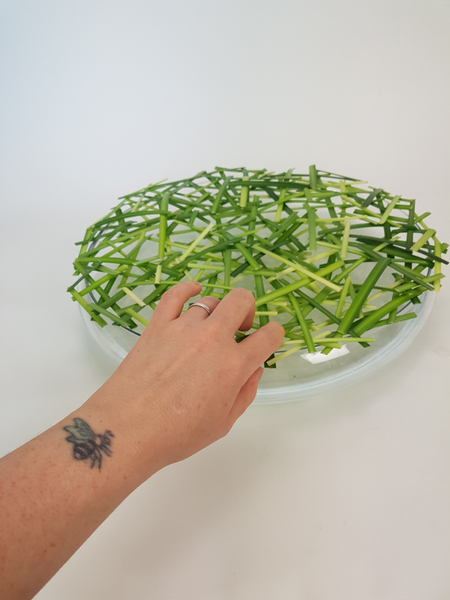
Set the grass snippet grid on a shallow container and fill it with water.
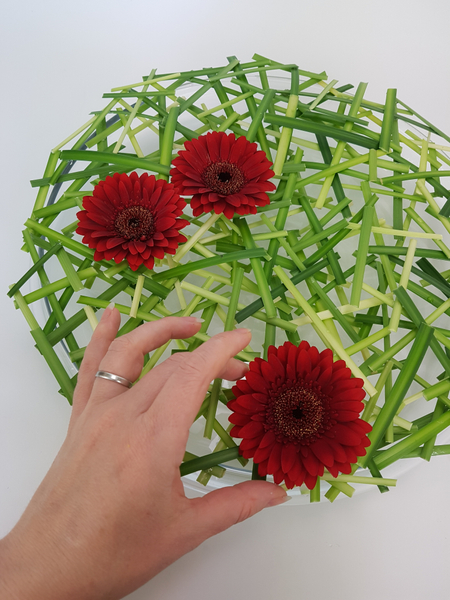
Cut the flower stems short and set it in the water the grass grid will keep it in place.
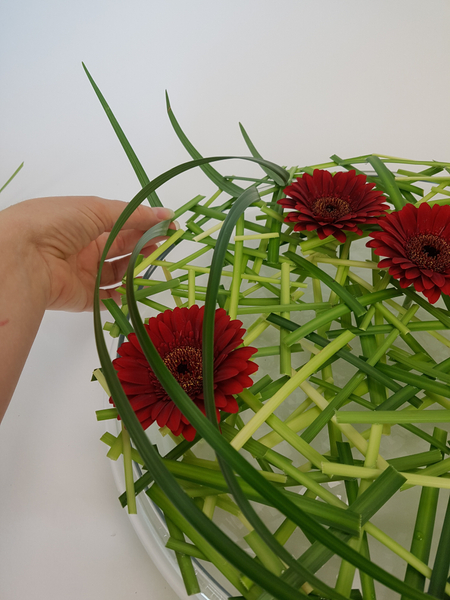
Add a few curving blades of grass.
Sign up for my weekly newsletter
Every week I add a new design with related tutorials. Be sure to subscribe to receive an email notification with design inspiration.


 second layer")


