Christine de Beer - effortless floral craftsman
Popsicle Stick Square Armature
- 8 June 2016
- click to send Christine a smile
- and more
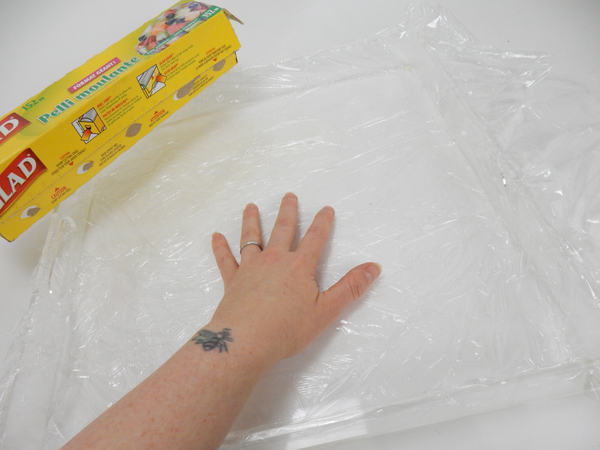
Line a deep square tray with plastic wrap
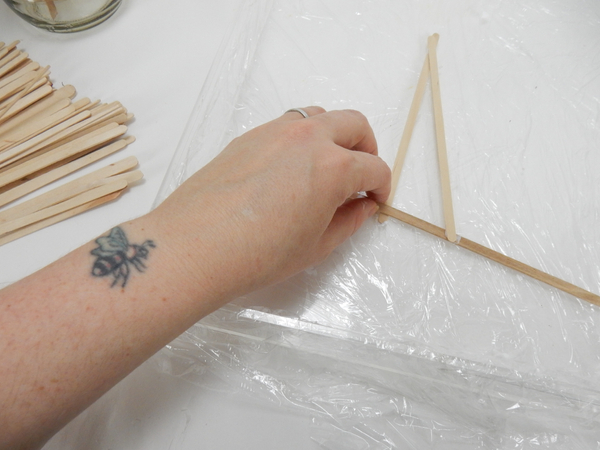
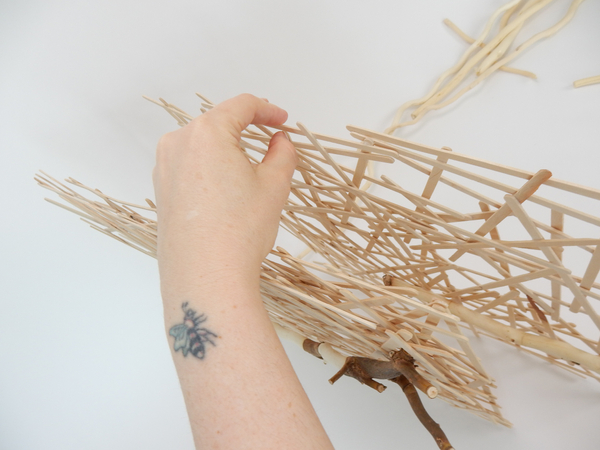
Set the Popsicle sticks in the tray and secure with wood glue in a random overlapping pattern
Build up the shape making sure every connection point is secured with wood glue
As a rule of thumb, I try to glue each stick at three points to the neighbouring sticks
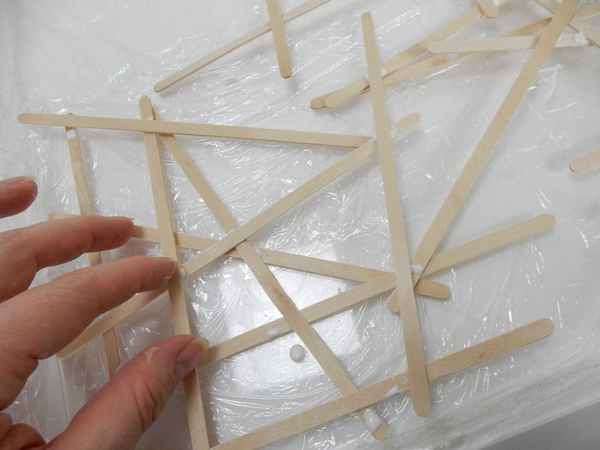
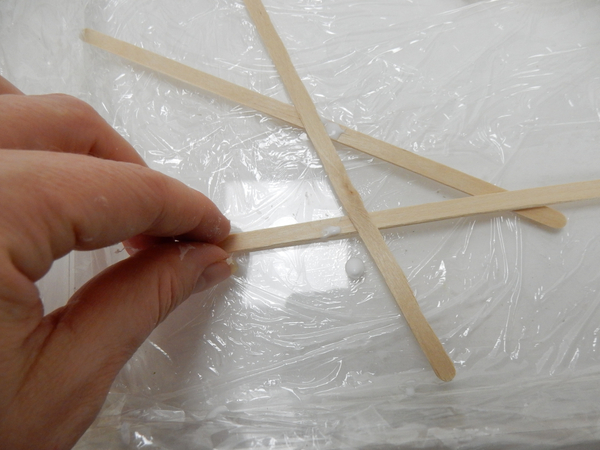
To create dimension built the sticks so that it rests both over and under the other sticks
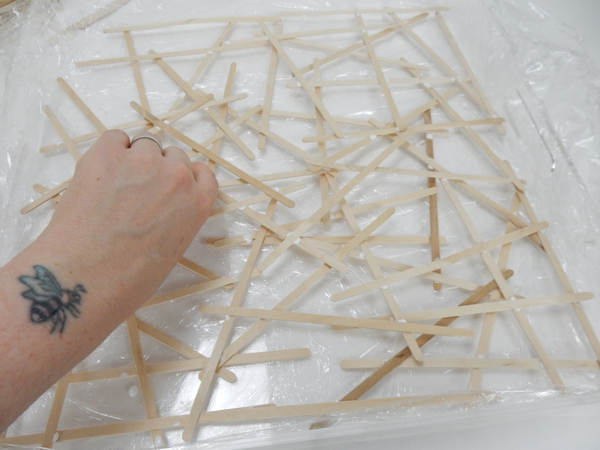
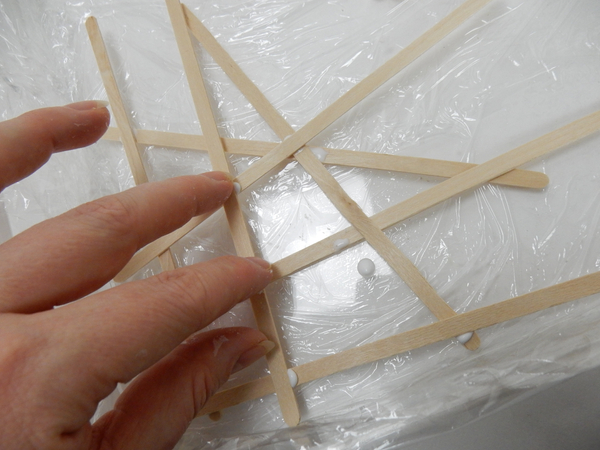
Once you have the first layer move on to add the next layer
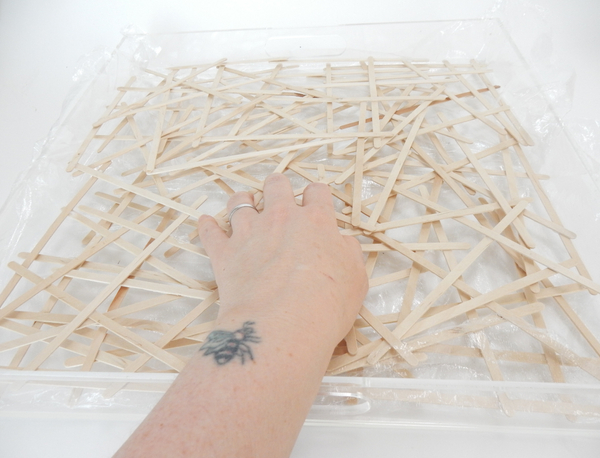
Keep adding layer after layer.
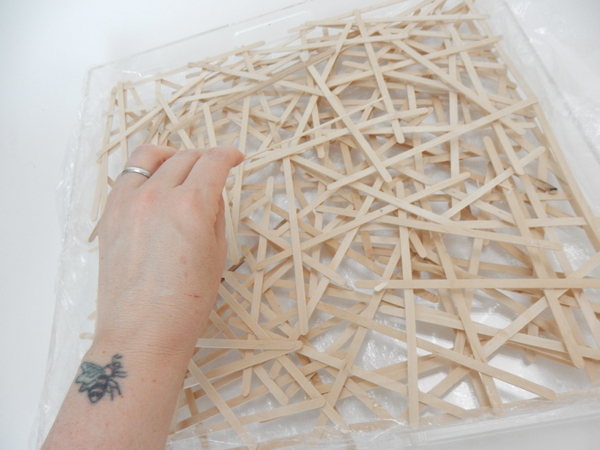
When you have a solid armature set it aside to dry
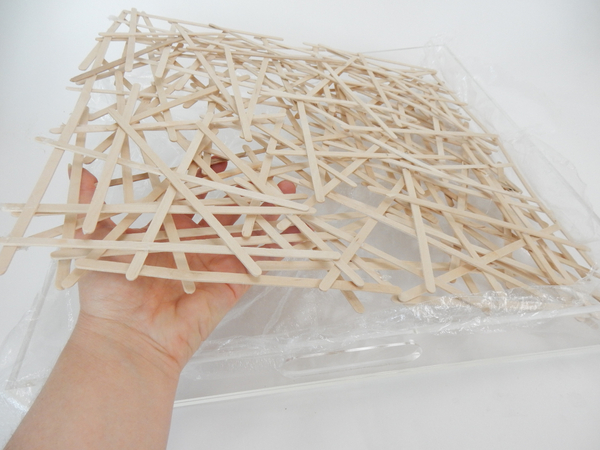
Lift the armature from the tray
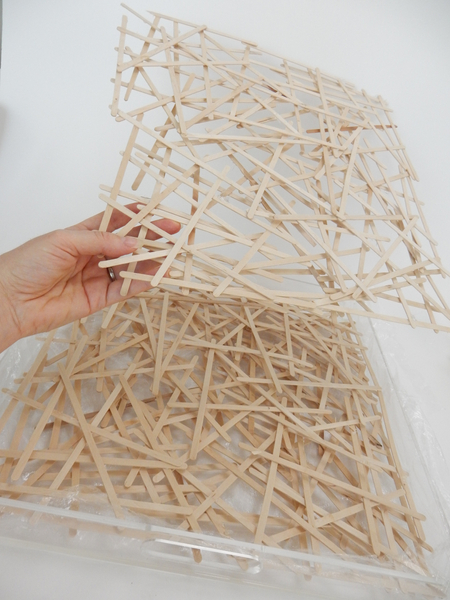
Glue the second Popsicle square in the same way
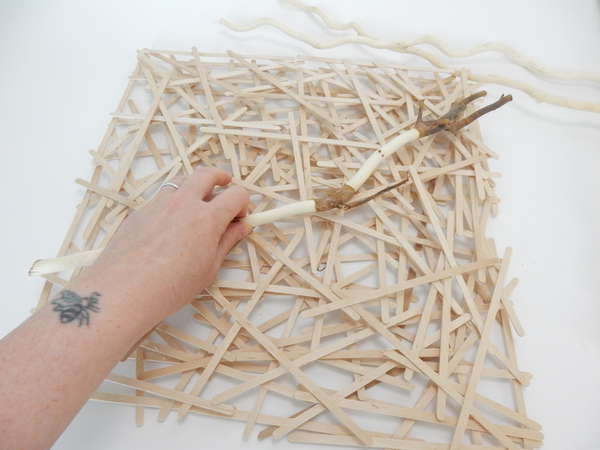
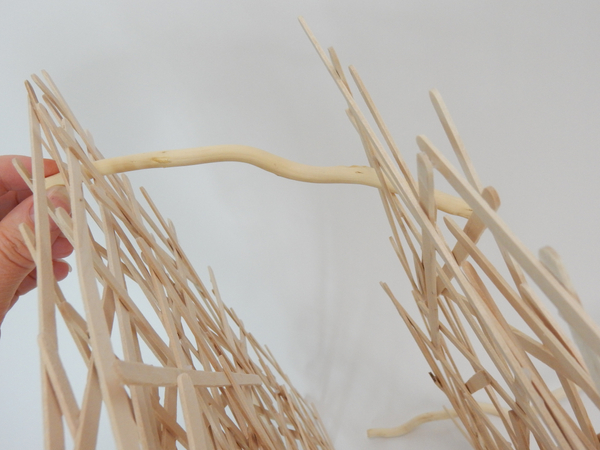
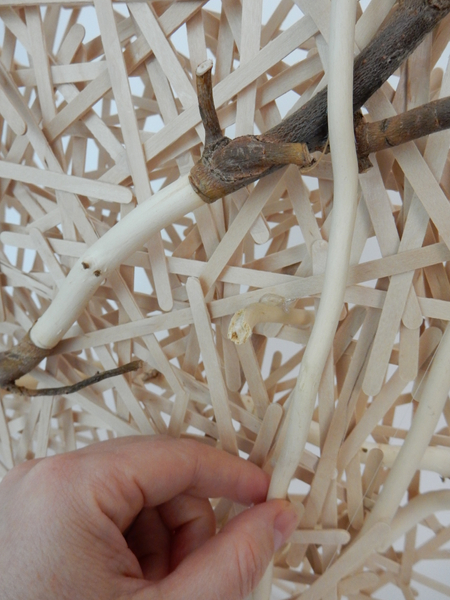
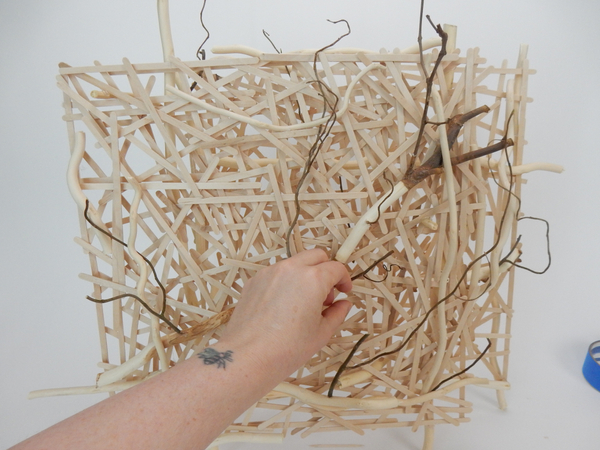
Set the armature on a flat working surface and glue in a partially stripped willow stick
See the Tutorial below for detailed instructions on how to strip the bark from willow sticks
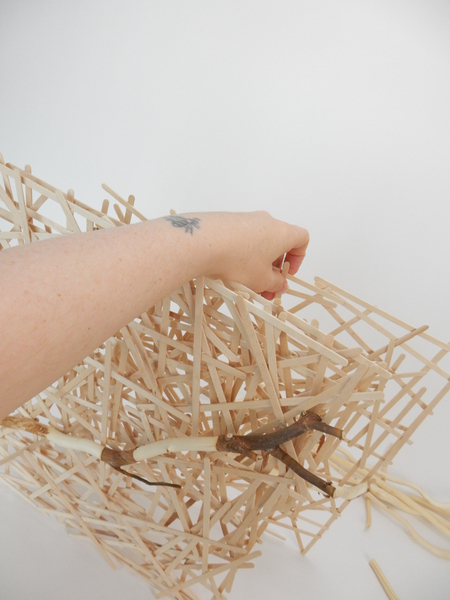
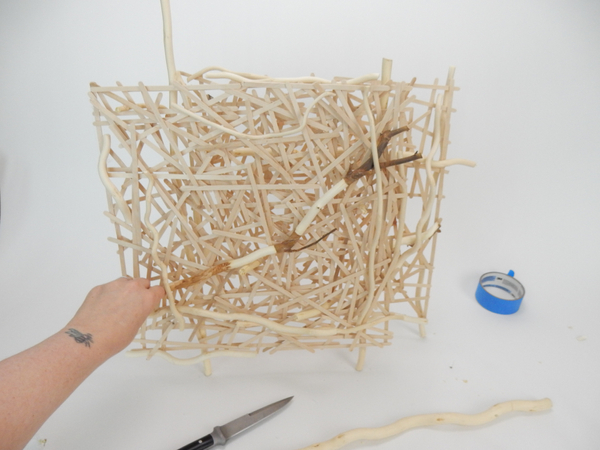
Set the two armatures upright with a gap between the two
Let the armatures balance on the working surface
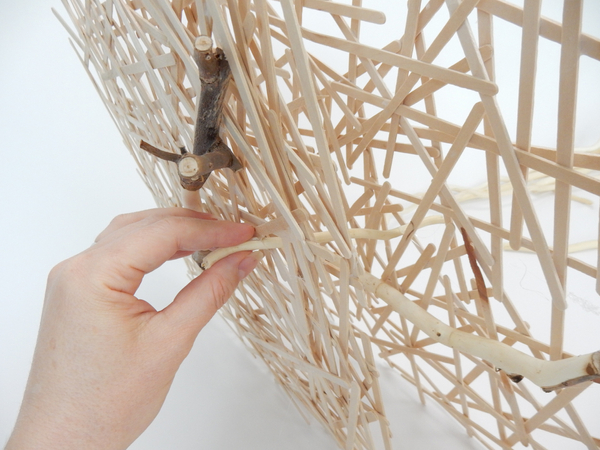
Press a willow twig from one side of the armature straight through to the other side and glue to secure.
Keep adding sticks to secure the two armatures
Add in some more decorative willow sticks
Wrap painters tape around the bottom of four willow sticks as spacers for the armature feet
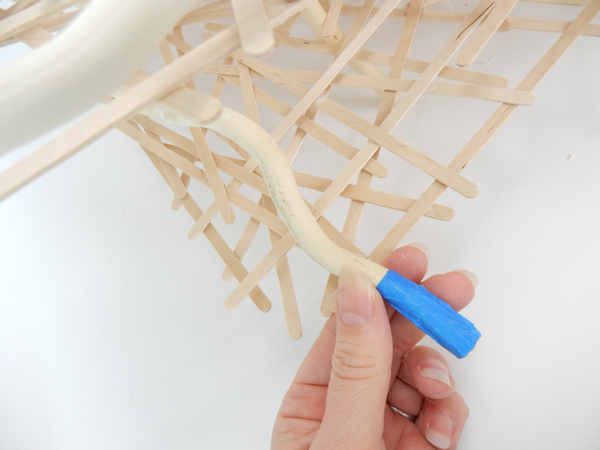
Glue in the stick so that only the blue tape sticks out from the bottom of the armature
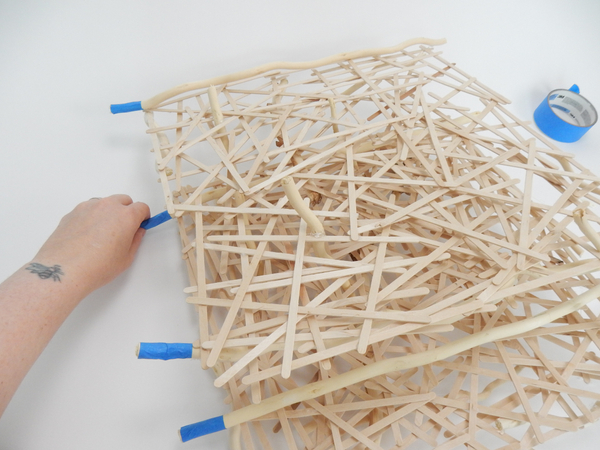
Glue in all four feet.
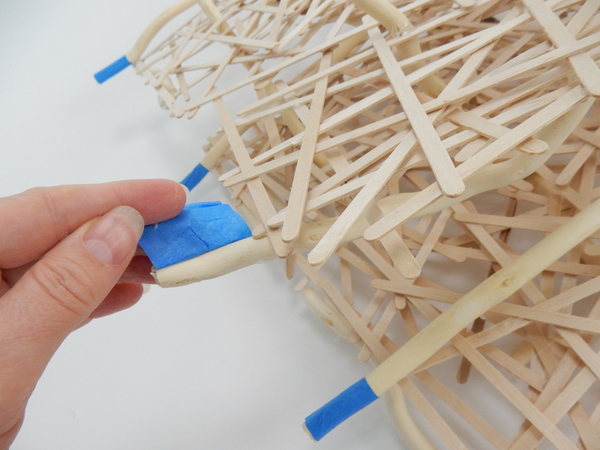
Remove the tape
The armature is now ready to design with
Glue in a few willow tips, ivy leaves and grape vine tendrils
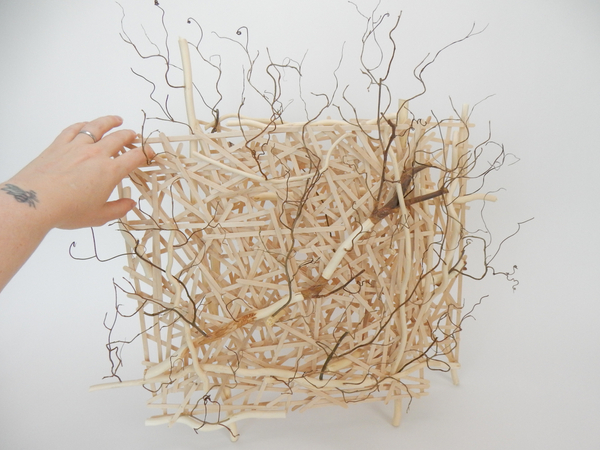
Popsicle stick armature ready to add flowers
Sign up for my weekly newsletter
Every week I add a new design with related tutorials. Be sure to subscribe to receive an email notification with design inspiration.
Tutorials
Butterfly hair clips are the perfect little claws to help you hold tiny items in place while you wait for glue to dry
When you need to keep a tiny stem hydrated this is just what you need. If you can't find a suitable drinking straw... I also have an upgrade: tiny food grade pipe water tubes.
Strip the green bark from the stems to expose the smooth wood
I glued wooden slats into a frame and then wove flax string to create the floral parasol
I wanted to make a thin and delicate fan with open spaced slats for weaving plant material through.
This design can easily scale up or down by using larger or smaller pieces of wood to create a larger wall panel or make a few of these panels to stack as tiles to create a more...
Favourite Flowers
Curly Willow, Chinese Willow, Tortured Willow, Globe Willow, Dragon's Claw, Hankow Willow
Related Designs
Glue a fantasy forest from Popsicle sticks, grape vine tendrils and willow tips
Glue a bunch of twigs inside a container to create a round stack
A delicate winter twig armature to show off the delicate beauty of these early spring coloured tulips.
Soft minimal... this is exactly the kind of design I place in our apartment. Use a few fall treasures picked up on a walk and add a copper leaf to up the effort and love you add...
The dry wheat stems are suspended from the outside of the container so that they remain dry and the flower stems can gently rest inside to remain hydrated.
Glue snippets of grass into a double layer sphere to create a sheltered floral globe.
I wove my Zipper from just over 300 short, dried rose twigs with tiny thorns on them. The delicate "fabric" at the back of the design is woven rose bush roots. Aranthera and...
The fan is made from 18 coffee stir sticks and dressed with a veil of grass, fall leaves and Viburnum berries
An Autumn Equinox design that captures the moment before the spectacular colour burst of autumn floats around again
My article and a floral panel design featured in DIY Weddings Magazine