My Creative Workbook

Christine de Beer - effortless floral craftsman

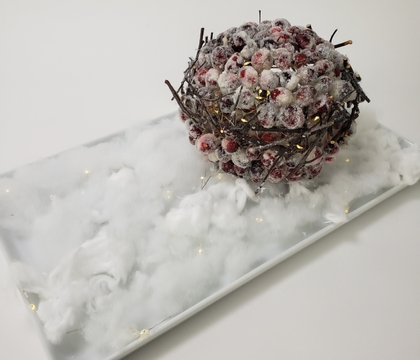
Cranberry snow glow lantern

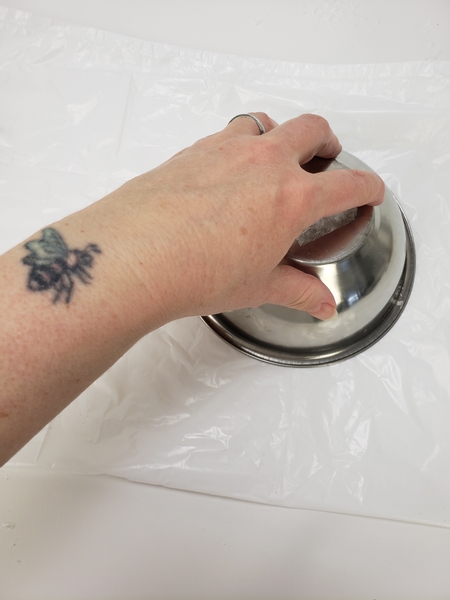
Place an upturned round bowl on your working surface

Place an upturned round bowl on your working surface.
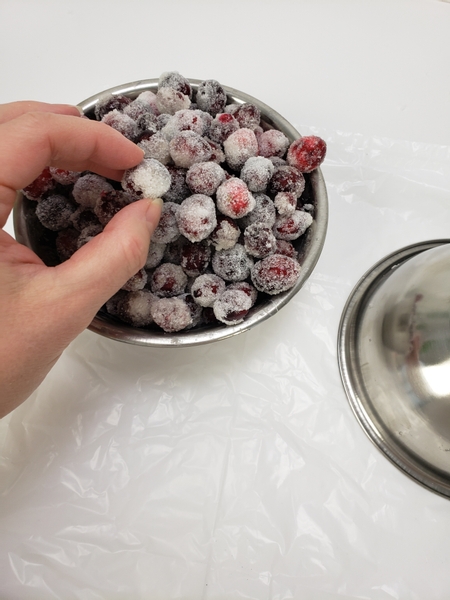
Frost a bowl of cranberries with egg and sugar

Frost a bowl of cranberries with egg and sugar and let it set completely.

If you are unsure of how to frost fruits and flowers with sugar see the Tutorial below. I also have a tip or two on preparing the berries for a longer lasting display in my notification email this week. I send out the email every Wednesday morning to let you know the moment the new design is ready to view. I also add a tip each week that I think you would find interesting to the email so that we can discuss it if you have comments or questions. The sign up is below this post. Join in, I would love to meet you.
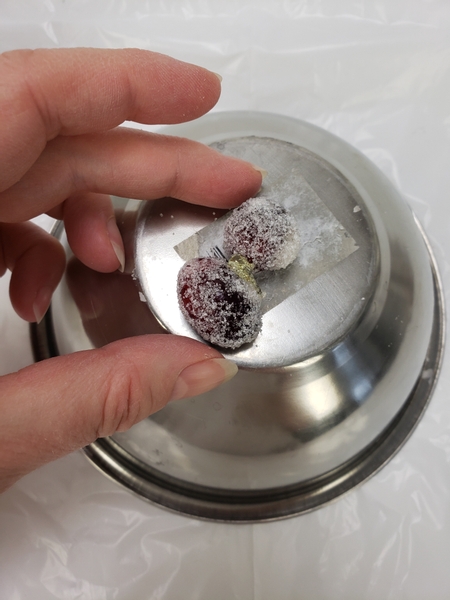
Start to glue the berries to each other

Start to glue the berries to each other

Be careful not to glue the berries to the bowl so that it is easy to remove.
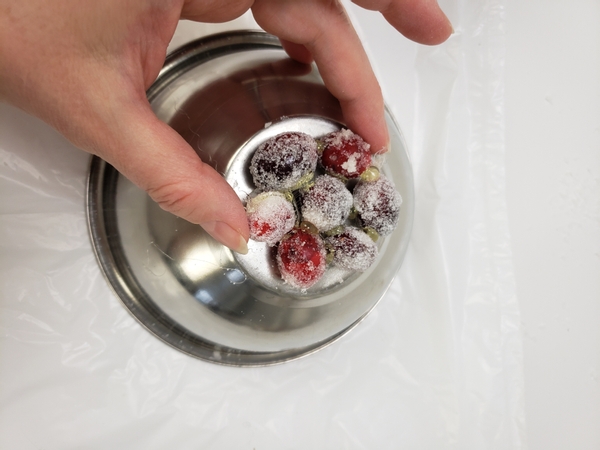
Glue the berries around the first berry to create a neat base

Glue the berries around the first berry to create a neat base.

This is fairly straightforward to do. The only thing to be mindful of is to glue each berry at, at least three places. This way the berry ball is secure and less likely to break.
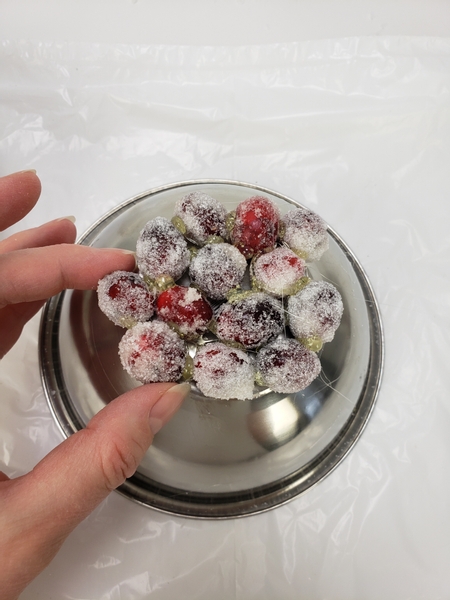
Follow the shape of the ball and add berries to the base

Follow the shape of the ball and add berries to the base.
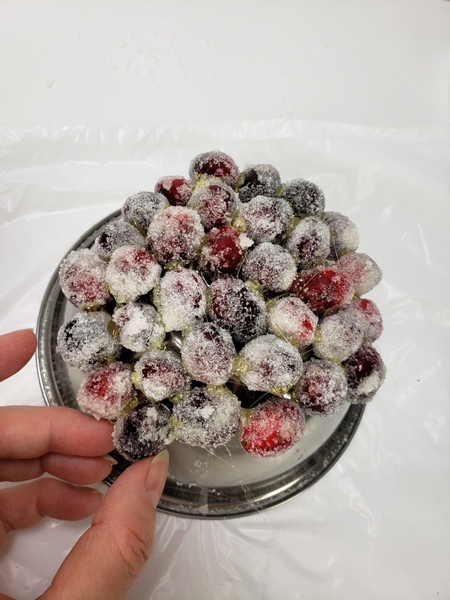
To make it easier to check that no berries are stuck to the bowl spin the berries around as you glue

To make it easier to check that no berries are stuck to the bowl spin the berries around as you glue rather than twisting the bowl to add the next berry.

Make sure the berries move as a unit at all times. If you discover a berry that is not yet secure add a bit more glue or settle it in place by adding more berries around it.
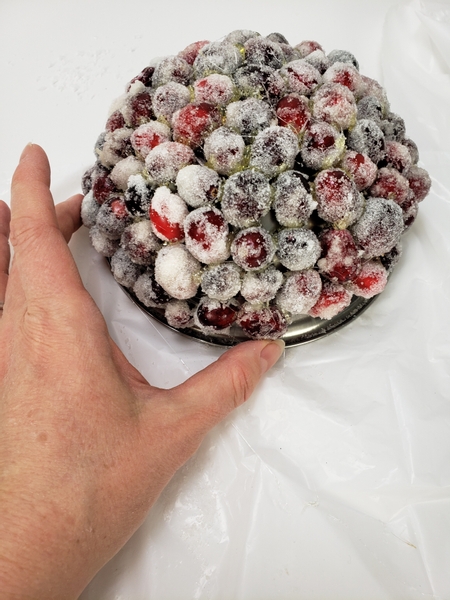
Cover the entire bowl with berries

Cover the entire bowl with berries. Make sure it is really secure. This half of the ball will carry the weight and it is best to overdo it on the glue so that it won't collapse.
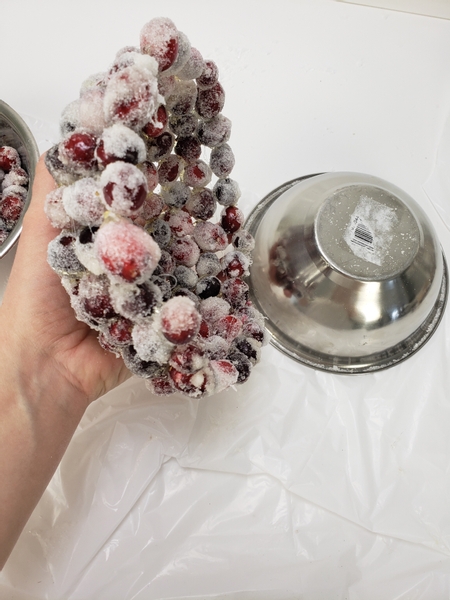
Lift the berries from the bowl

Lift the berries from the bowl and set it aside.
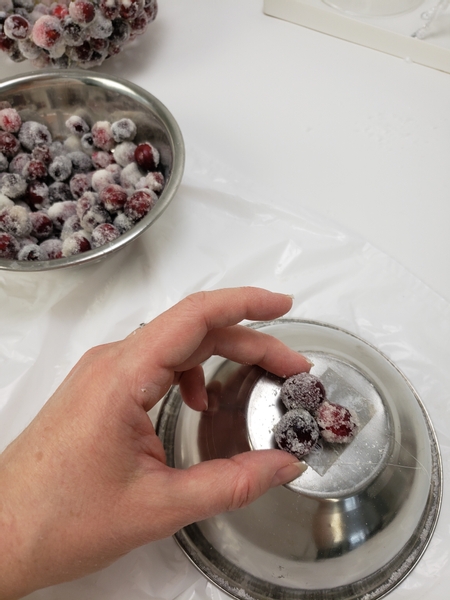
Start with the other half of the bowl

Start with the other half of the bowl.
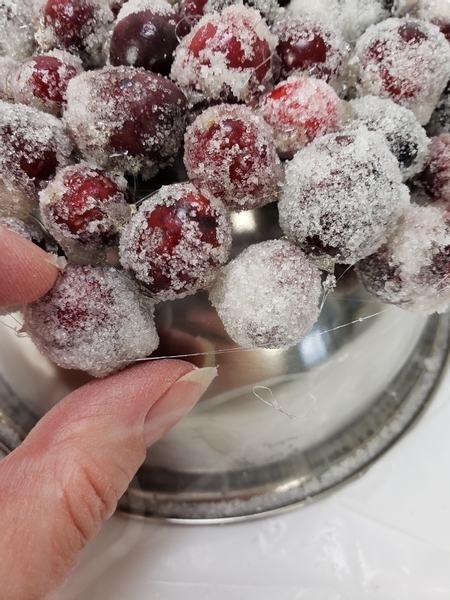
This time leaving a few gaps between the berries for the light to shine through

This time leaving a few gaps between the berries for the light to shine through.
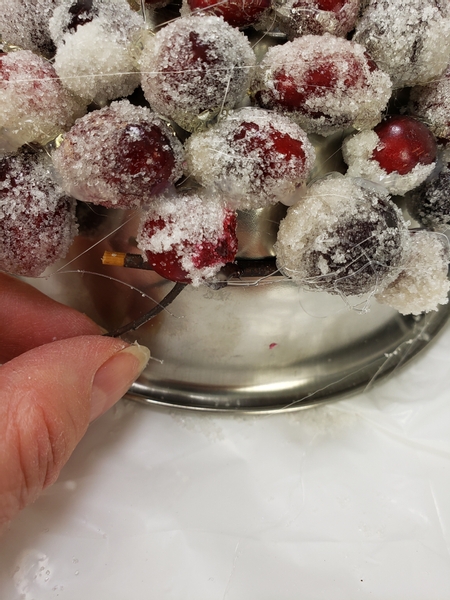
Stop short of covering the entire bowl shape with berries to leave a gap for a twig band all around

Stop short of covering the entire bowl shape with berries to leave a gap for a twig band all around.
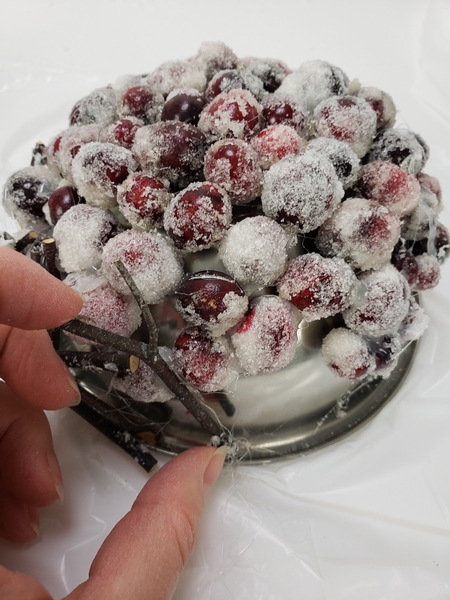
Glue in twigs to extend between and over the berries

Glue in twigs to extend between and over the berries.
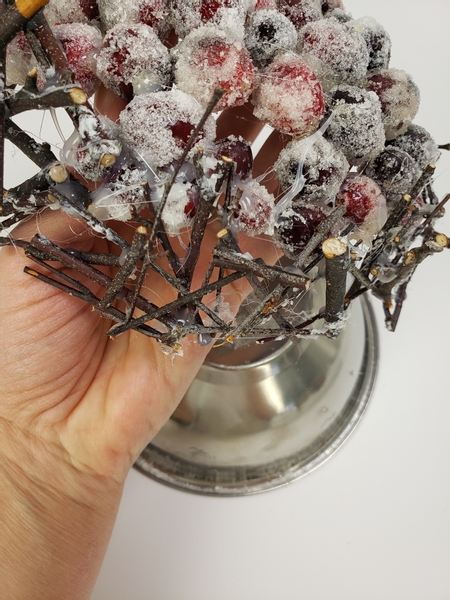
With twigs all the way around.

With twigs all the way around. Carefully lift the cranberry shape from the bowl.

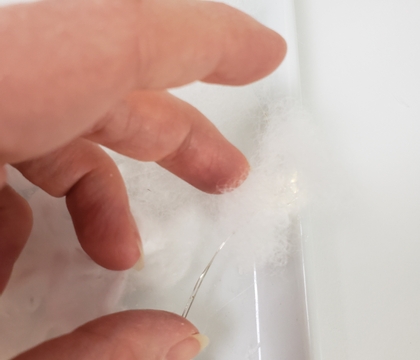
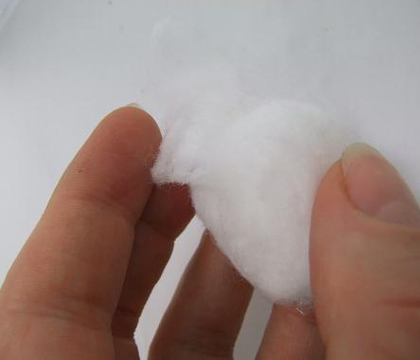
Set a display container on your design surface. For this design I fluffed cotton to create a snow bed for my cranberry ball. See the detailed Tutorial below.
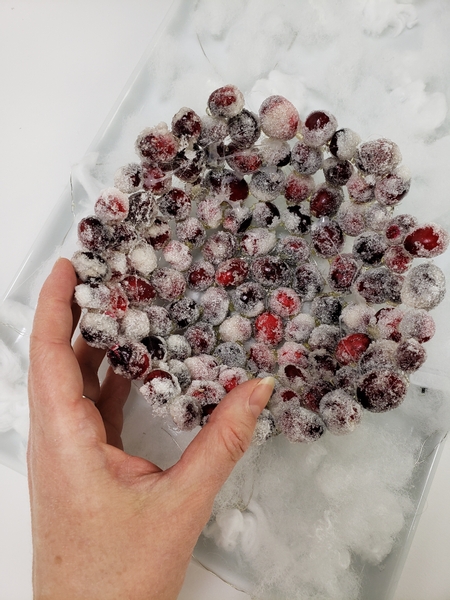
Set the first cranberry ball half on the display container

Set the first cranberry ball half on the display container.
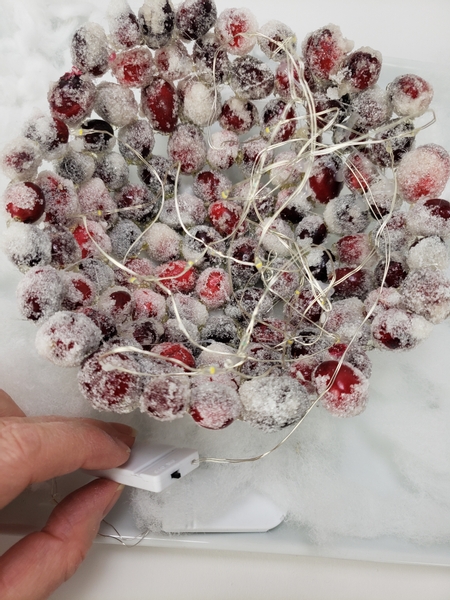
Roll the fairy lights into a ball and place it in the cranberry bowl

Roll the fairy lights into a ball and place it in the cranberry bowl. Place the battery so that it is easy to switch the lantern on or off, somewhere at the back.
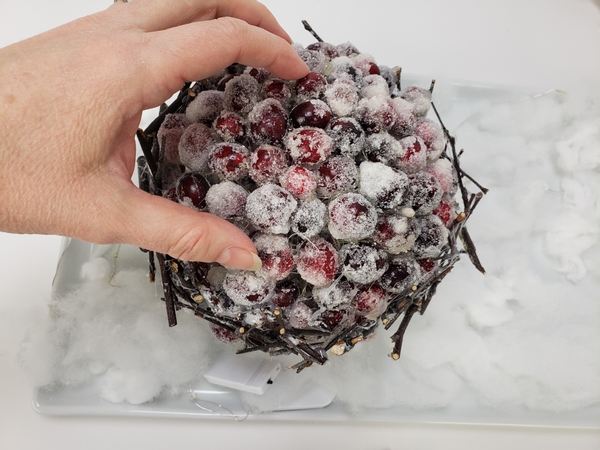
Carefully place the two halves to shape a perfect ball

Carefully place the two halves to shape a perfect ball.
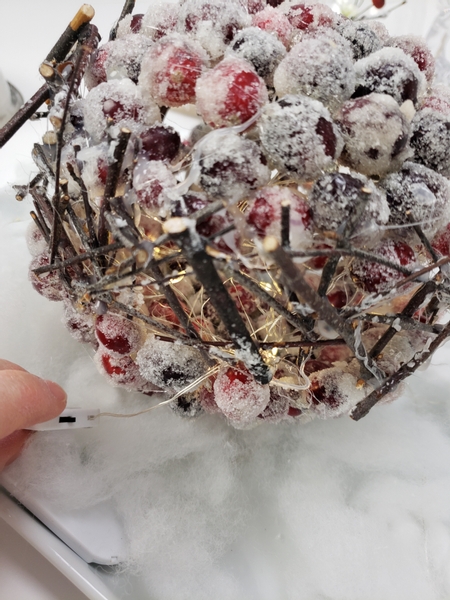
So that the best side is displayed to the front and the light switch is still at the back

So that the best side is displayed to the front and the light switch is still at the back.

Book readers: for a summer version of this how about the design on page 171? It would look really cute with fairy lights inside!
For more information about my book: The Effortless Floral Craftsman

Every week I add a new design with related tutorials. Be sure to subscribe to receive an email notification with design inspiration.
Tutorials

4 January 2023 Snow glow fluffy display bed for your design details

A cranberry lantern to cozy up a white winter's evening.

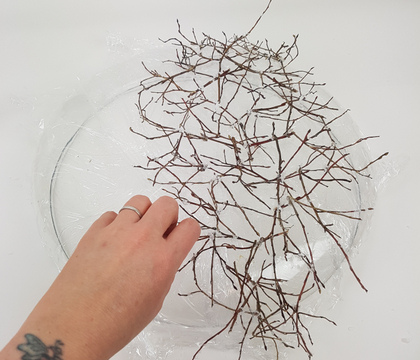
27 November 2012 Fluff cotton wool for snow

Cotton balls can be unrolled and fluffed to create long garlands of "snow"

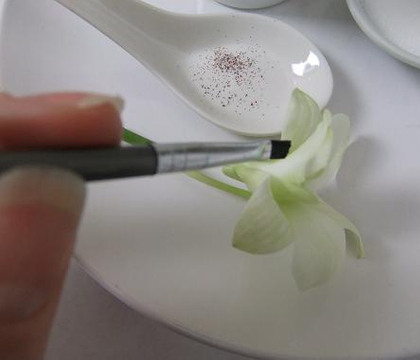
15 December 2011 Sugar Frosted flowers, fruit or foliage

Egg white and sugar creates a natural frost effect

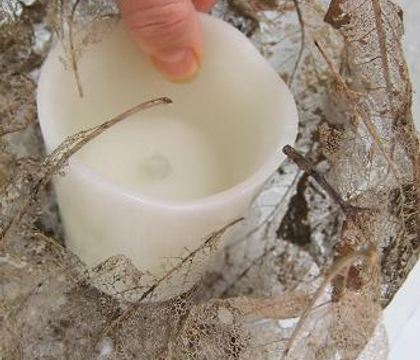
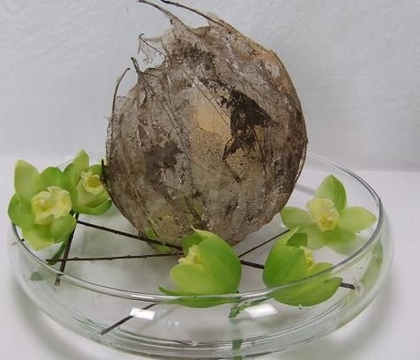
17 April 2013 Skeleton Leaf Flameless Candle Cocoon

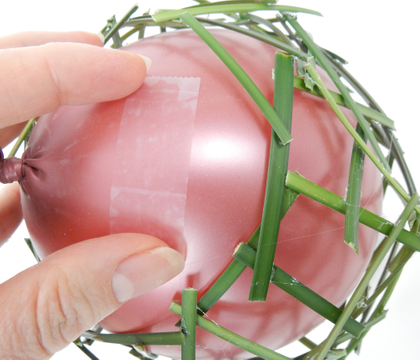
Cover a balloon with skeleton leaves to create a cocoon

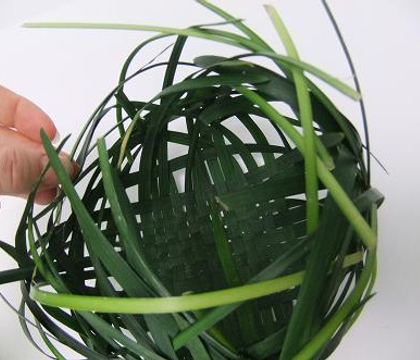
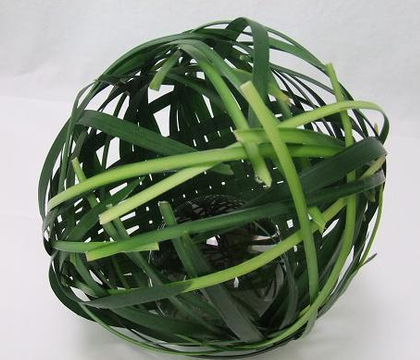
1 October 2012 Weaving a ball shaped Dew-drop Catcher from grass

Weave a sphere from grass

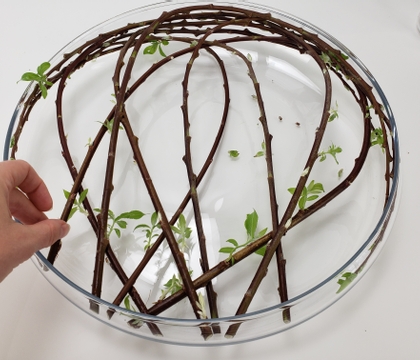
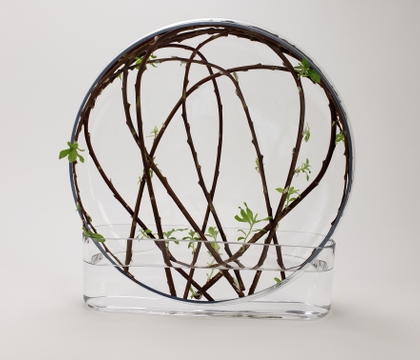
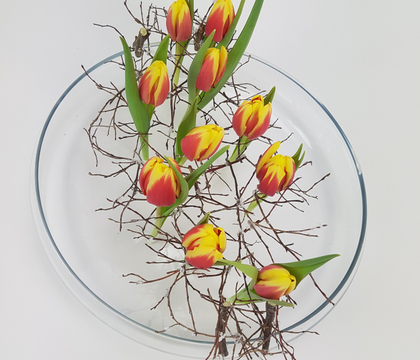
28 April 2021 A contained design for watching those pretty twigs get their leaves

Careful manipulation of twigs in a shallow container. With a special note on how to use new growth.

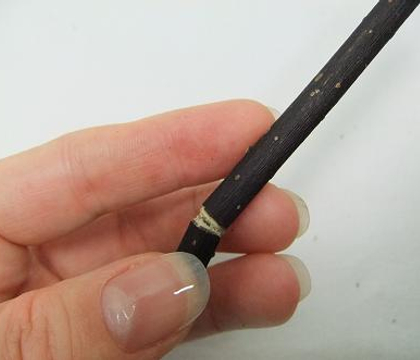
22 May 2012 Bite and snap a sturdy twig

Break the sturdy twig on the scribe line.

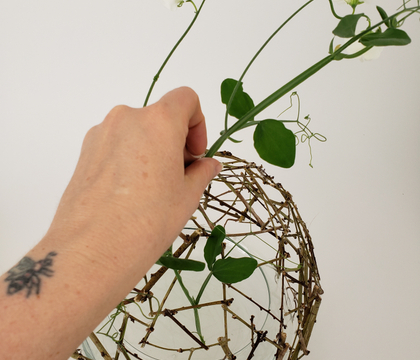
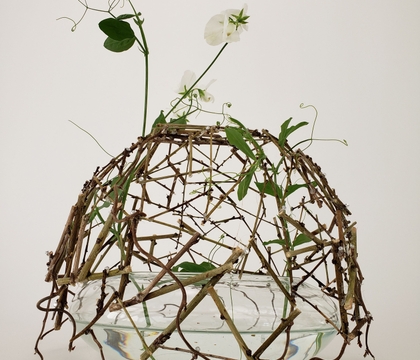
17 July 2019 Twig Dome Armature

Crafted from a hand full of twigs to give you a large design... even though you add only two stems of sweet peas.

16 January 2019 Delicate Twig Hammock Armature to keep tulips upright in a shallow container

Craft a suspended armature to create a clear winter design.

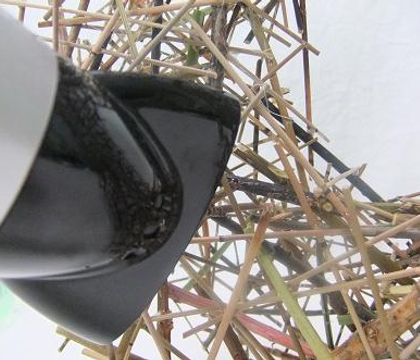
24 July 2012 Blow away hot glue strands

When you glue a structure with hot glue there are always a few stray strands of glue stuck all over the design. Blow it away with a hairdryer.

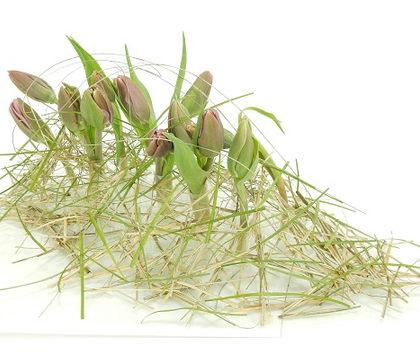
30 April 2014 Scattered grass armature

An grass armature that looks scattered but is actually very secure

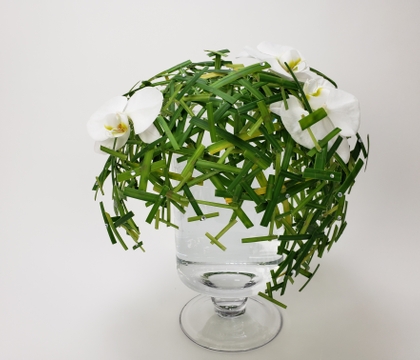
27 April 2022 Grass snippet globe with T-connections for a (shaded) second layer

Craft two snippet half moons to connect... and... then add a second layer of grass snippets here and there to shade the flowers.

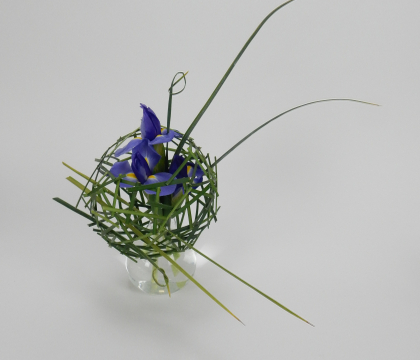
3 February 2016 Connect the dot grass Armature

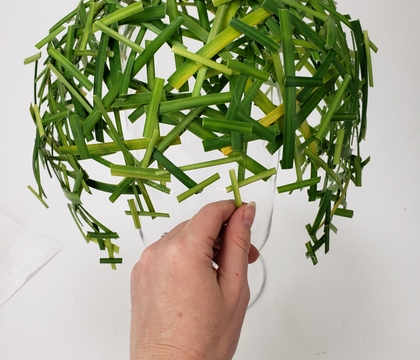
Connect the ends of grass snippets to create a spherical grass armature

Related Designs

4 January 2023 Around and about the new year

A glowing cranberry ball for frosty evening decorating.

17 April 2013 Hide-and-go-peek

Create a soft light by making a leaf cocoon for a flameless candle

1 October 2012 How to catch a dew drop:

Weave a sphere from grass to catch a precious and exquisite and perfect glistening early autumn dew drop

28 April 2021 Here comes the sun...

A minimal design celebrating the new growth on twigs

17 July 2019 … and... a bit more... effort… to make it special

Instead of just placing a handful of twigs and two stems of sweet peas in a vase... why not...?

16 January 2019 Every. Single. Week.

Stand tulips upright in a shallow container with a suspended twig armature.

30 April 2014 Scattered

Scatter some dried grass to make a floral armature

27 April 2022 Shine Shade

Glue snippets of grass into a double layer sphere to create a sheltered floral globe.

3 February 2016 Connect the dot

Connect snippets of grass to create a shelter for your flowers