Christine de Beer - effortless floral craftsman
Barely there Mad Hatter's Top Hat
- 28 August 2013
The Mad Hatter's quirky hat is narrower at the brim than the crown. Taper the band slightly to create the perfect fit.
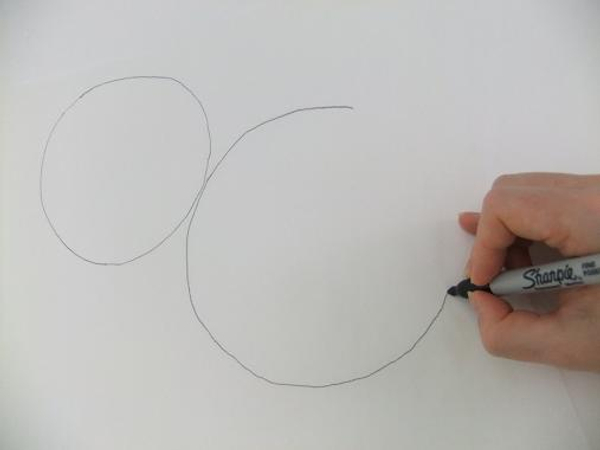
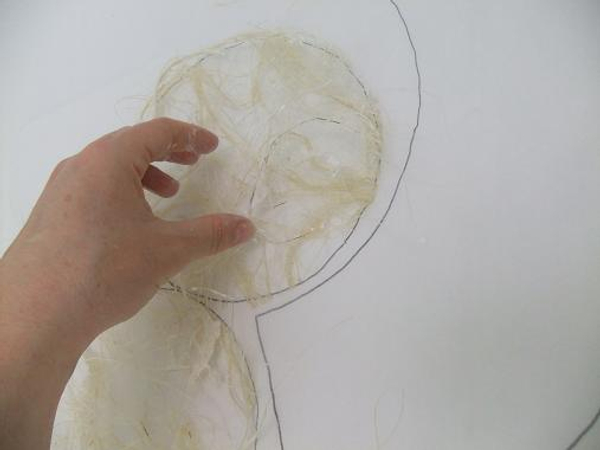
Draw two circles on wax paper, one big and one slightly smaller
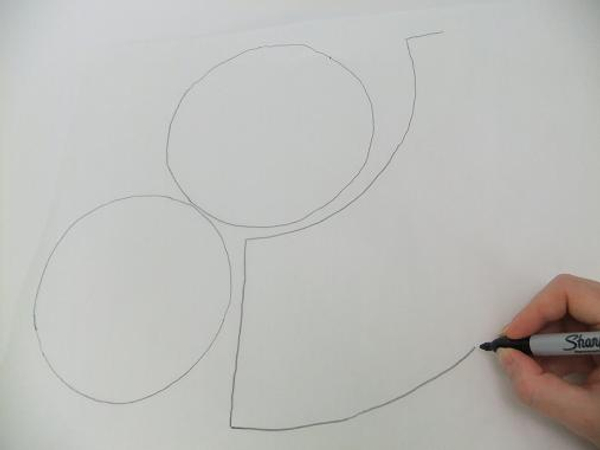
Draw a half moon shape for the band

This is the basic template for the floral top hat.
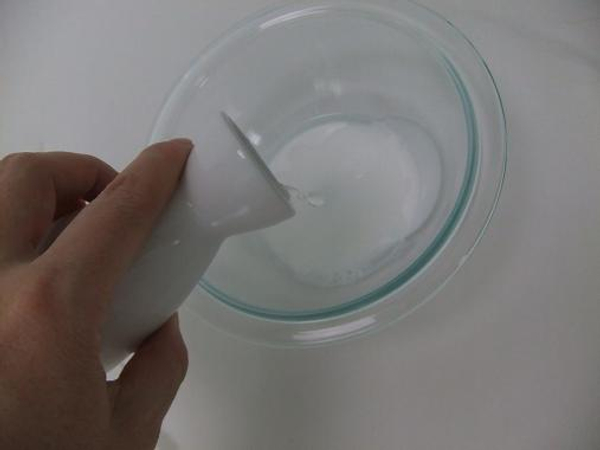
Pour some wood glue in a bowl and thin with warm water

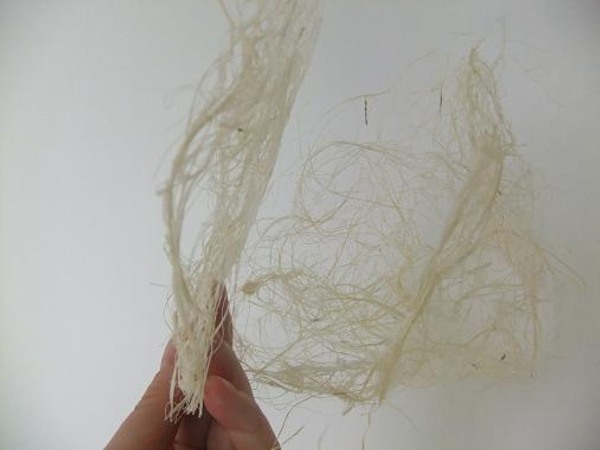
Soak some sisal fibers in the thinned glue mixture.
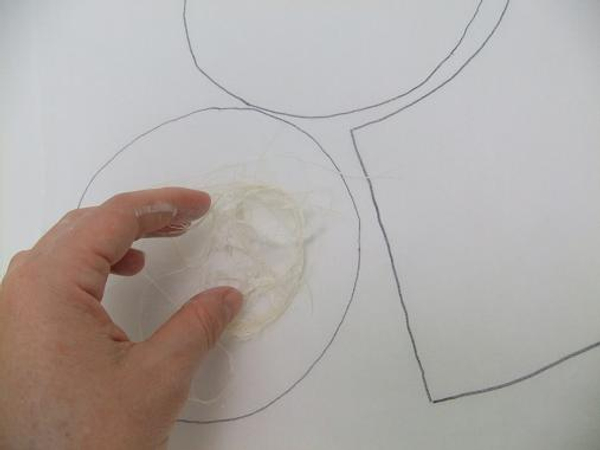
Stack a thin layer of fibers on the smallest circle

Follow the template outlines
Stack the fibers on the larger circle
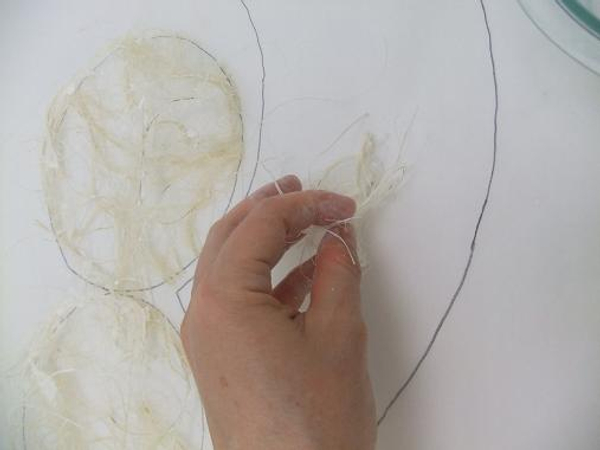
... and on the half moon
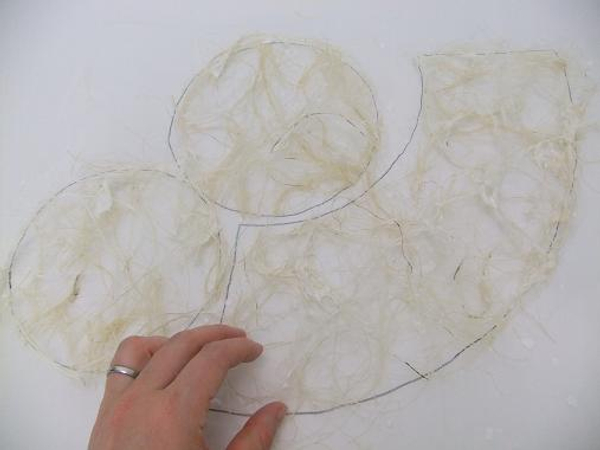
Set aside to dry completely.
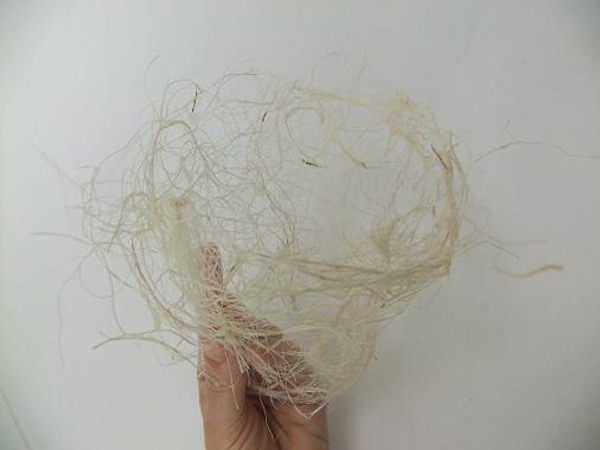
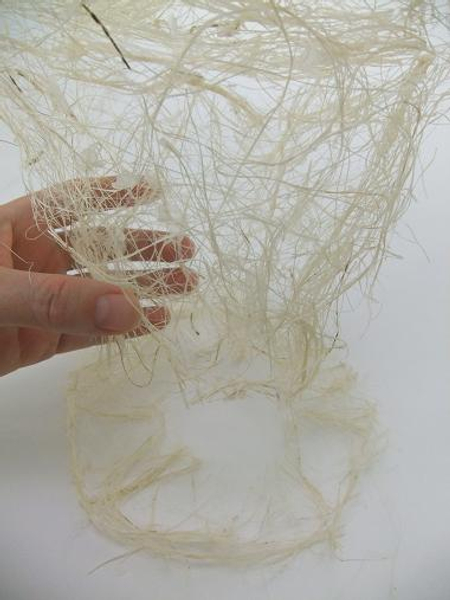
Wiggle the dry sisal from the wax paper. Roll the half moon shape to create a tube for the band. One side will be slightly smaller than the other. The larger opening is the top of the hat and the smaller will be glued to the brim
Place the largest circle on top of the band.
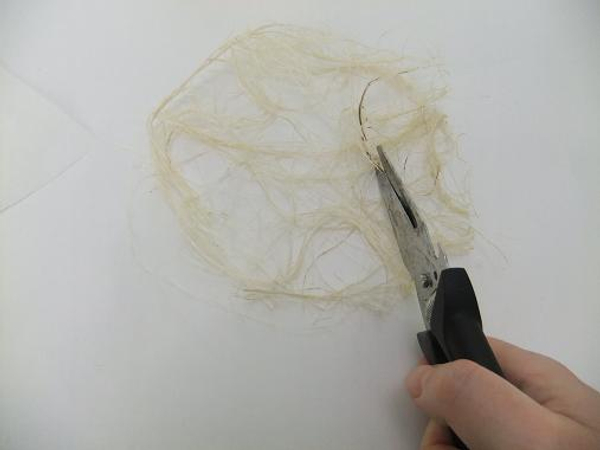
Cut away the middle of the smaller circle to create the small brim
Fit the crown and band on the brim.
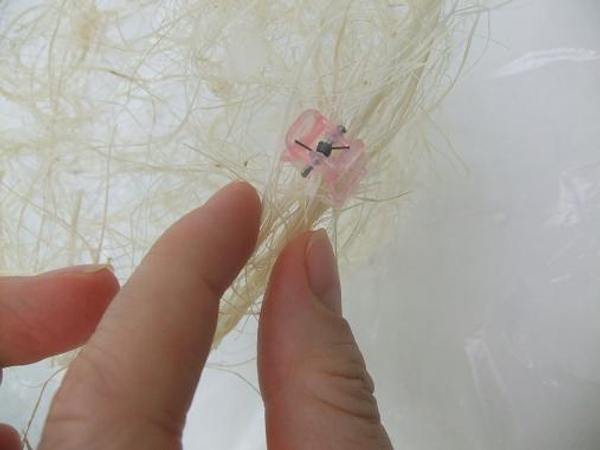
Glue the bits together with wood glue and secure with a butterfly clip.
See Tutorial below for more information about the butterfly clips
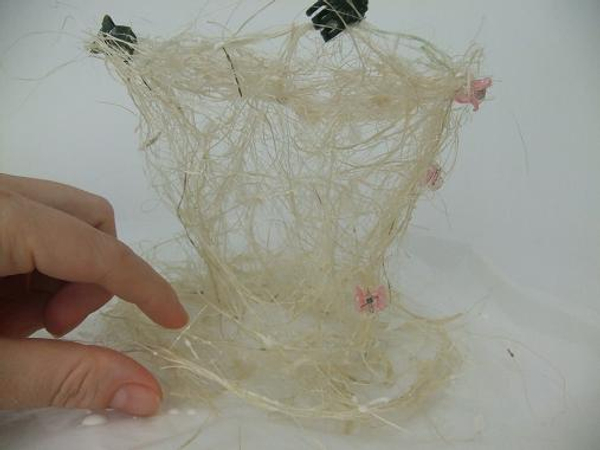
Add a few bits of glue soaked sisal fibers where needed and set aside to dry.
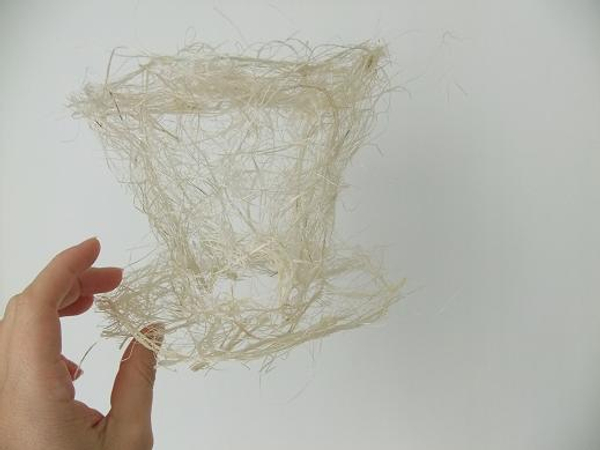
Sisal top hat ready to design with.
Sign up for my weekly newsletter
Every week I add a new design with related tutorials. Be sure to subscribe to receive an email notification with design inspiration.


 second layer")
")


 Way")


