Christine de Beer - effortless floral craftsman
Glue soaked stems cheeky angled grid for those first autumn leaves (with a dye soak up tip)
- 8 September 2021
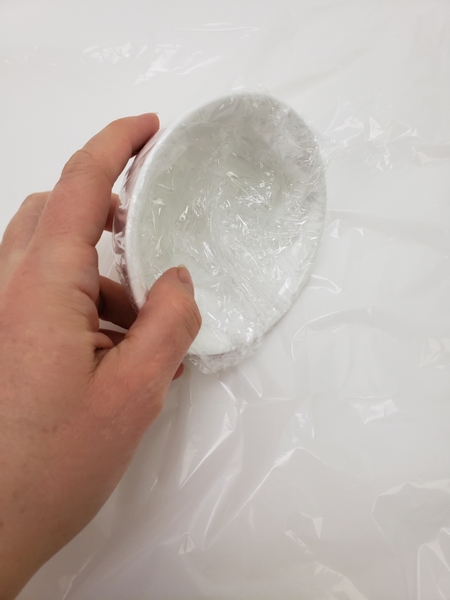
Cover a small bowl with plastic wrap.
This is a great way to reuse wrap. Simply rinse and keep it for future projects.
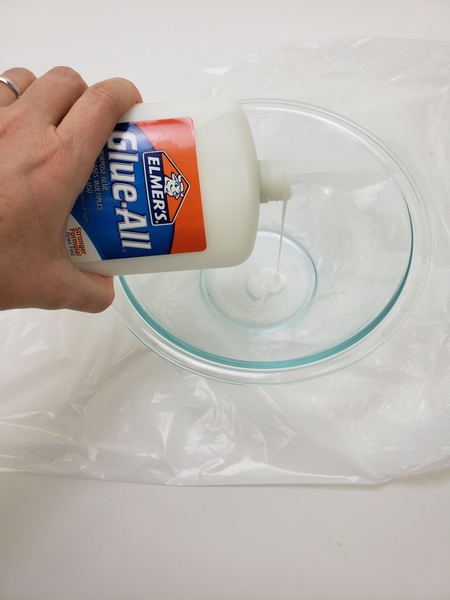
Pour wood glue into a bowl.
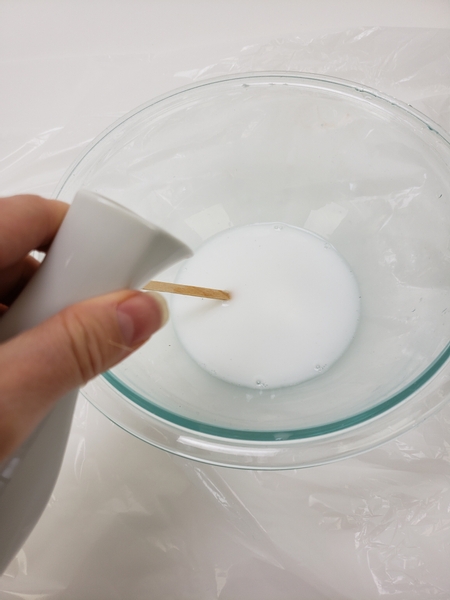
Thin the glue with warm water.
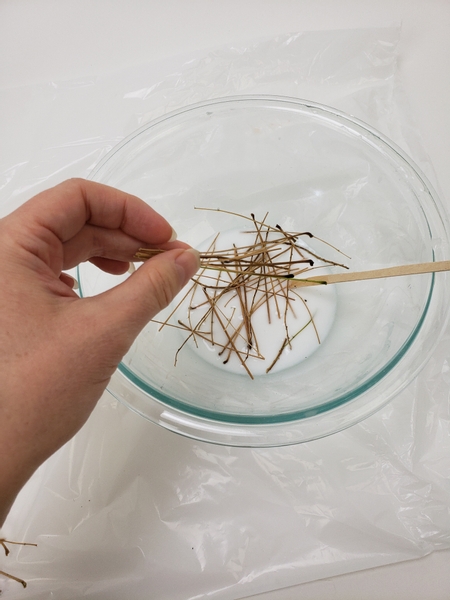
Soak dried stems in the glue mixture. For my design I used both dried and green wisteria stems.
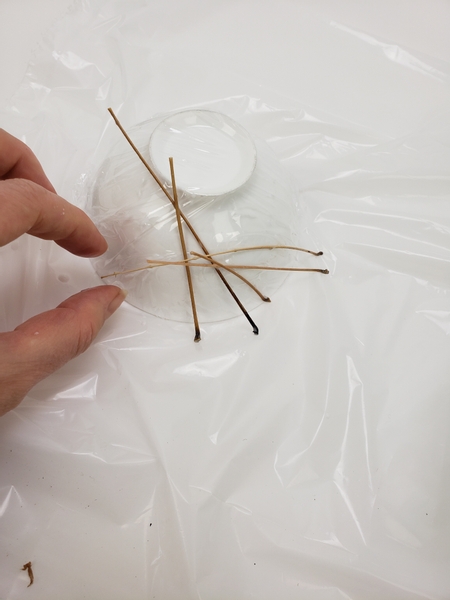
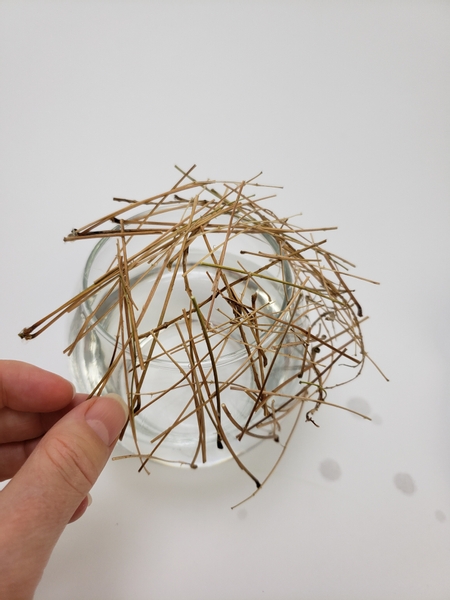
Place the glue soaked stems around the upturned bowl.
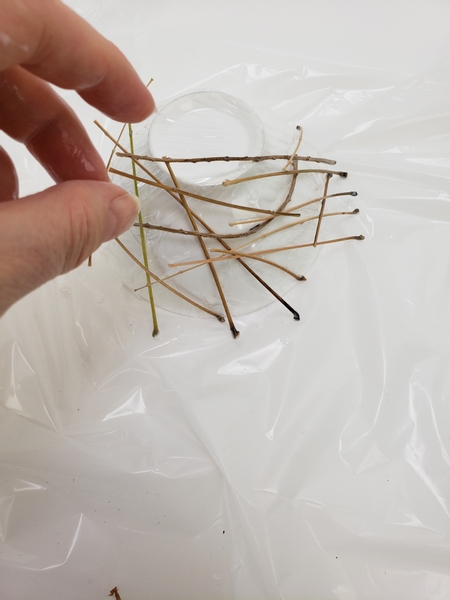
Make sure the stems are connected to another stem so that it is secure. The easiest way is to angle the stems so that they spiral around the bowl. Also I have another tip for you if you find the stems slip down and you struggle to keep it upright in this week's email.
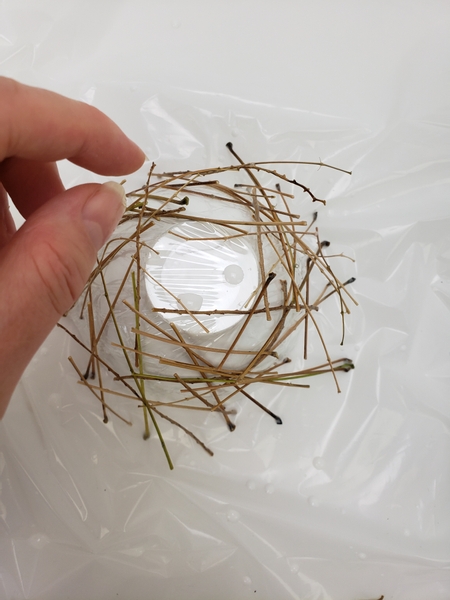
Place the stems all the way around the bowl.
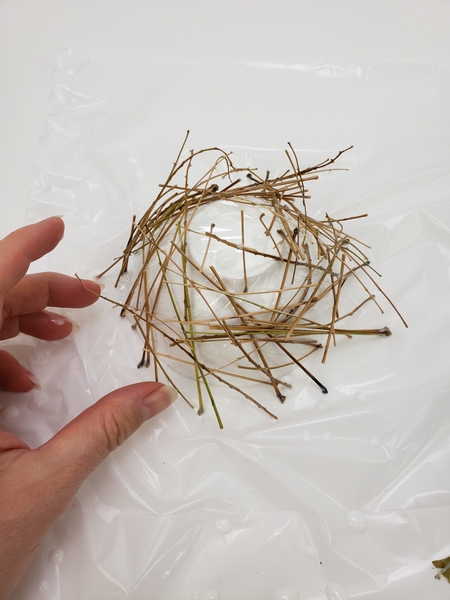
Set the bowl aside to dry completely. Once dry wiggle the stems carefully and see if you need a few drops of glue here or there to secure any stems that are not glued in place.
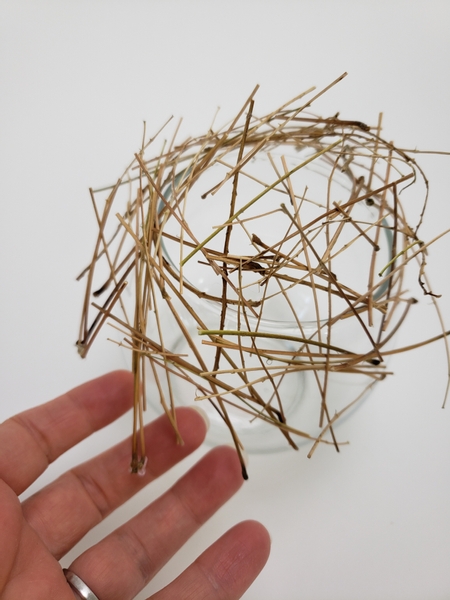
Carefully remove the stem snippet grid from the bowl and place it on the vase.
Let the stem snipped grid slip down one side of the vase so that it curves at a cheeky angle but still cover the opening.
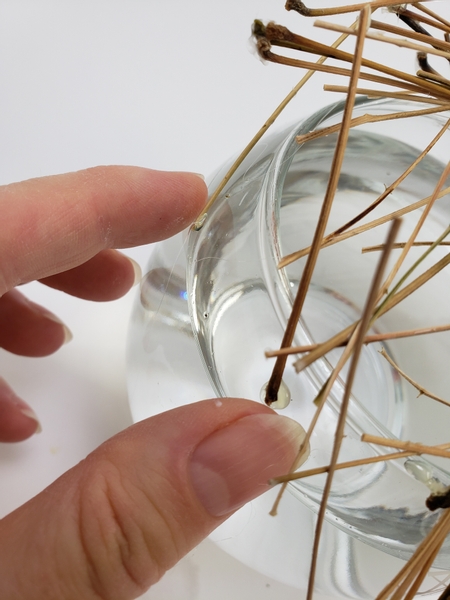
Add in two more stems but this time use hot glue to secure the stems to the grid and the vase.
Design note: I usually use hot glue when I glue material to any container because it remain secure... but is really easy to remove by soaking it in water when it's time to clean up.
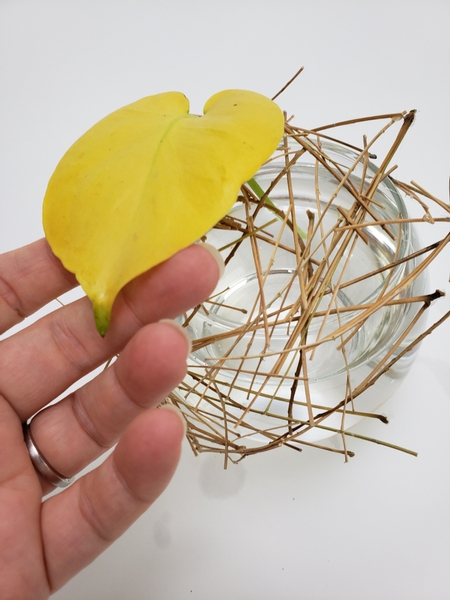
Slip the plant material through the grid so that the stems rest in the water.
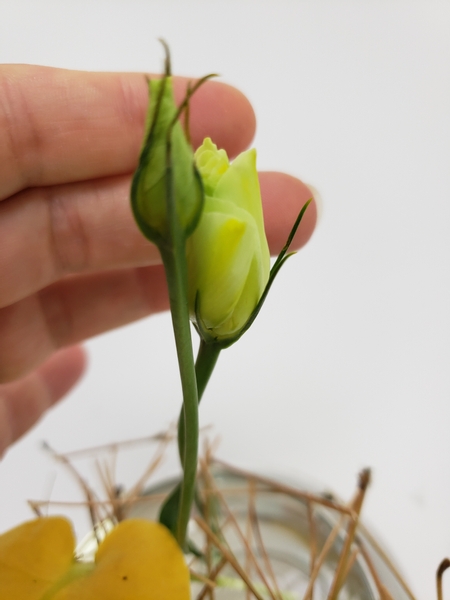
Design note: I wanted my green lisianthus flowers to mirror...
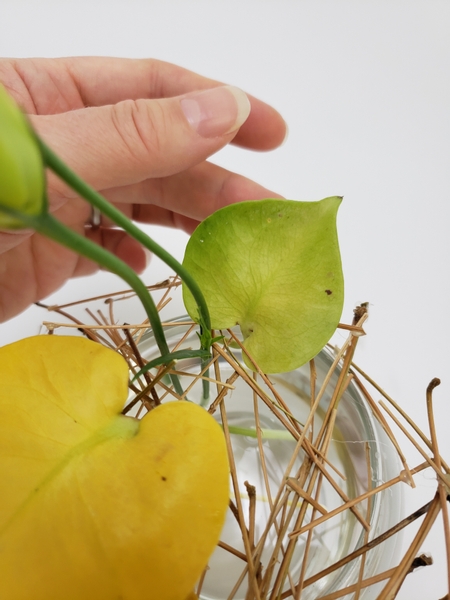
... the great colour of the yellow and green monsterea leaves. To add a brighter than bright yellow streak to the flowers I placed them in a yellow dye so that the flower soaks up the pigments.
If you want more information on the how (and why) it is all explained in my book on page 71 where I talk about using the creative potential discovered when conditioning your flowers. But to get you started I have also added a bonus tip to the email I send out every Wednesday. The subscribe button is below this post.
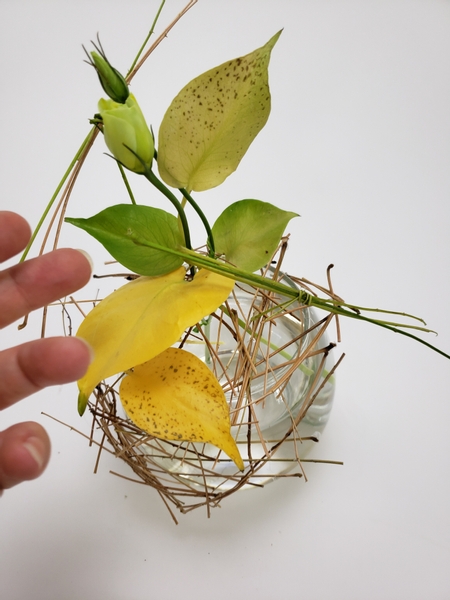
Bind a few stems to add to finish off the grid.
Book readers turn to page 234 for a detailed Tutorial and another design example of using a twig grid.
For more information about my book: The Effortless Floral Craftsman
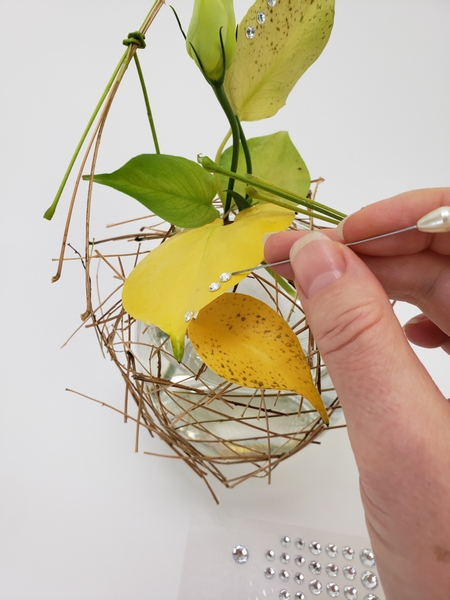
And add in a few dew drop crystals.
See the Tutorial below for how I add the crystals without damaging or disturbing the delicate plant material.
Sign up for my weekly newsletter
Every week I add a new design with related tutorials. Be sure to subscribe to receive an email notification with design inspiration.


