Christine de Beer - effortless floral craftsman
Twig snippet pillar armature
- 19 February 2020
- and more
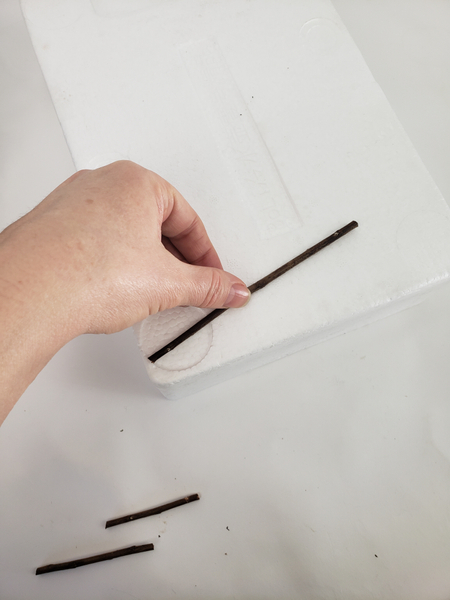
Use a box or a Styrofoam shape as a template for your design size. Cut a large bunch of twigs into snippets to create a cage around the shape. You will need to glue two shapes to combine to create the design.
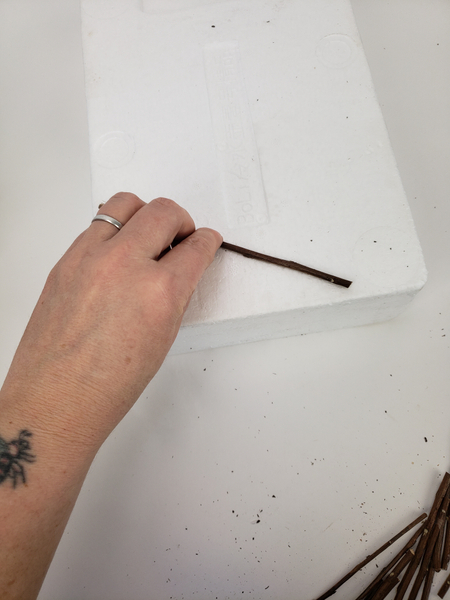
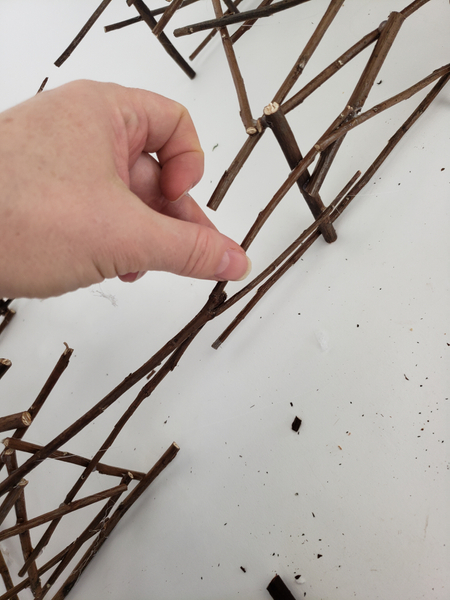
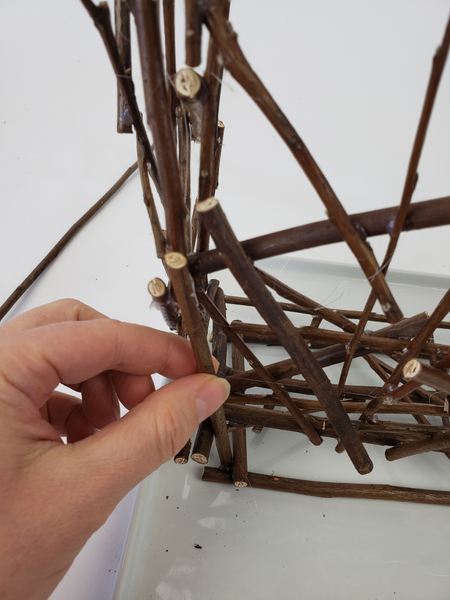
See the Tutorial below for detailed instructions on a really easy way to snap twigs without struggling to make the cut.
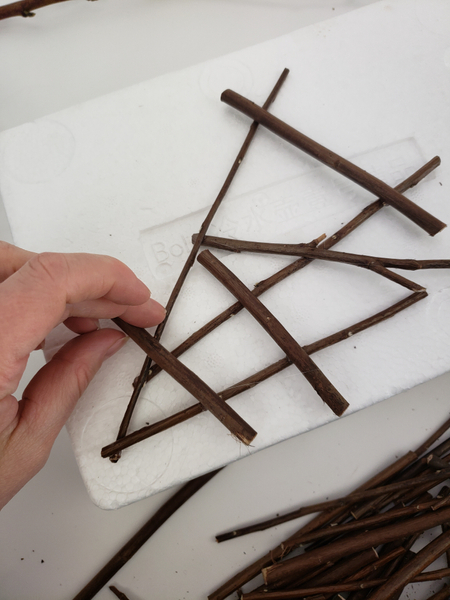
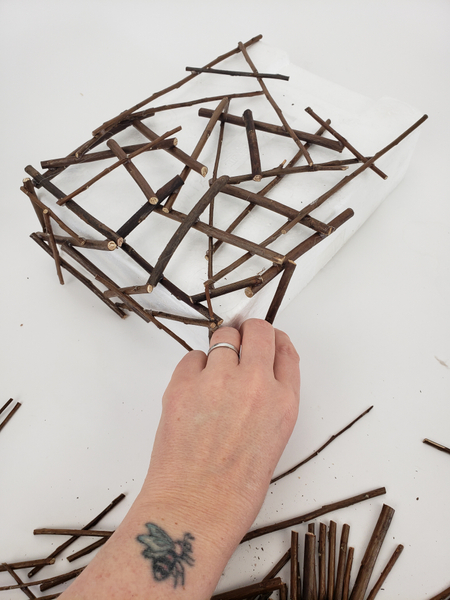
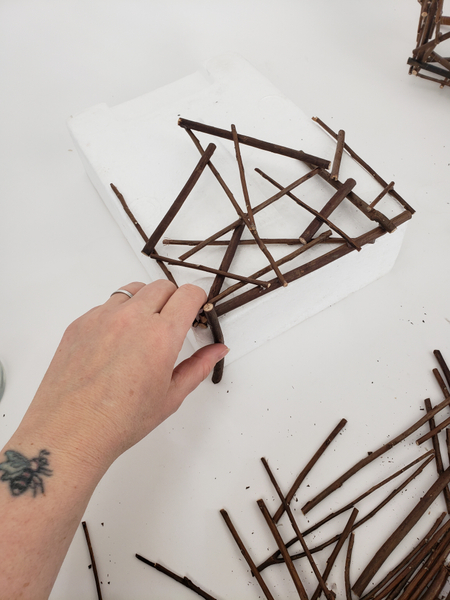
The idea is to follow the shape closely. Build it up by gluing twigs to other twigs at, at least three points to make sure it is strong enough to keep the shape and carry weight once the flowers are added.
Design Note: Glue the twigs to other twigs. Make sure not to get any glue on the shape so that you can lift away the shape easily without damaging the armature.
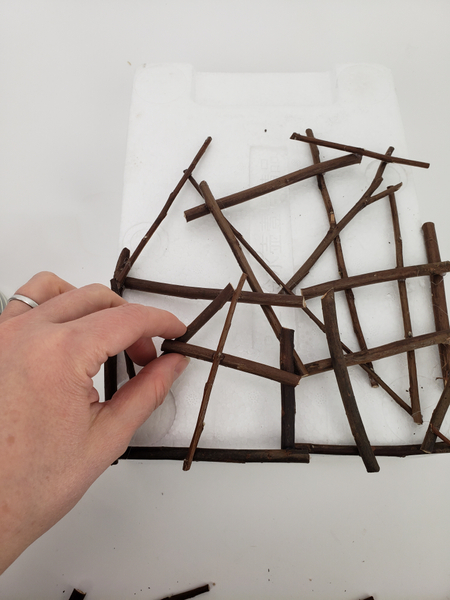
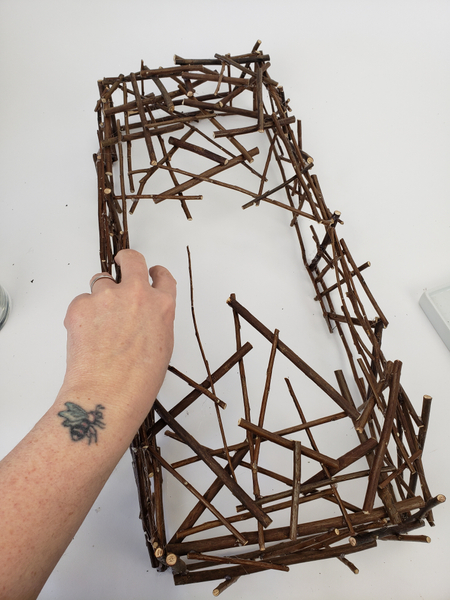
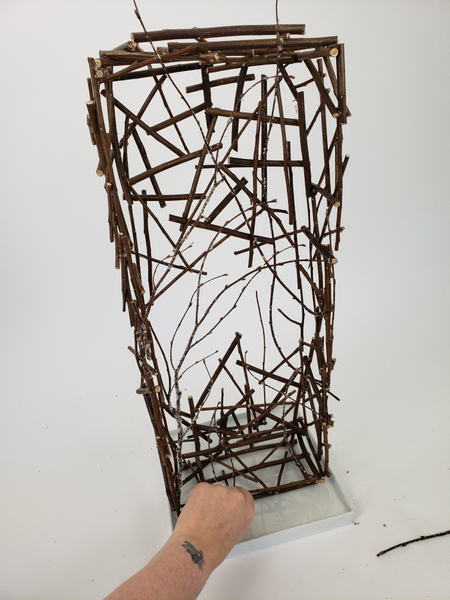
Glue more twigs to the one half of the shape and let it open up towards the other side. This is purely decorative. I wanted my pillar to have a visual gap in the middle.
Start to glue twigs to the bottom edge of the shape...
Design note: I am using these twigs to glue only 3 sides of each shape. Towards the end of the Tutorial I will glue in snow covered twigs to design the front of the shape.
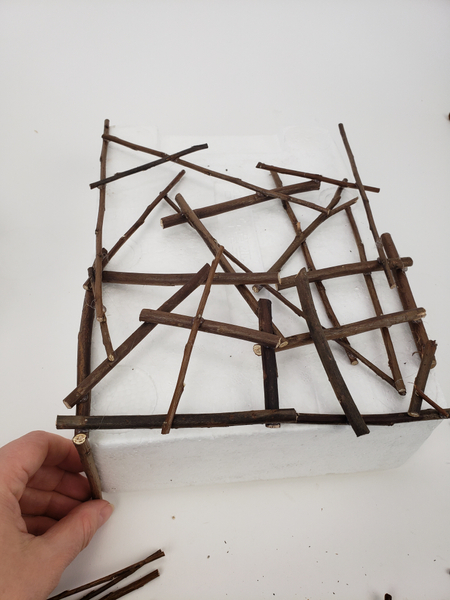
Once the shape is filled in with twigs move on to the sides...
Again add less twigs as you glue them to the top part of the shape.
Remove the twigs from the shape and set aside so that you can start on the other half.
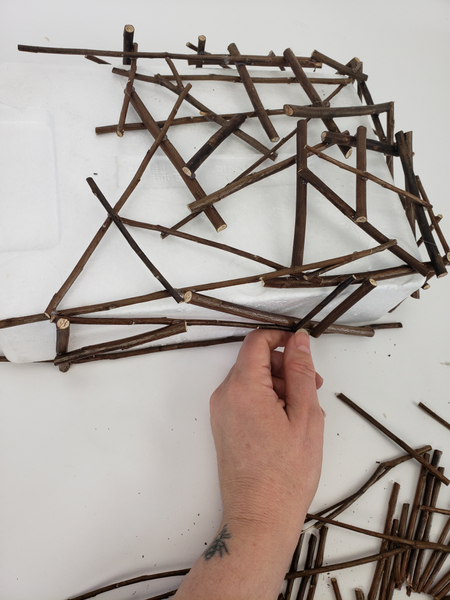
Pack and glue the twigs around the shape...
Following the edges carefully...
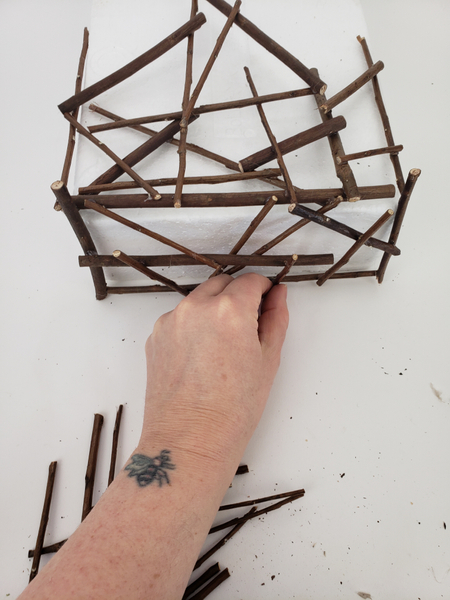
So that the shape is a neat box once you remove the twigs.
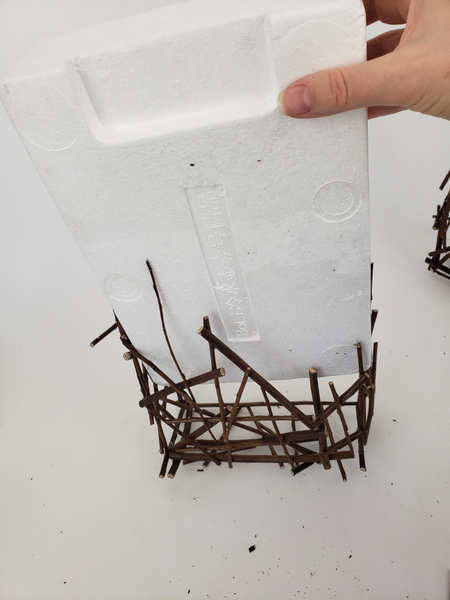
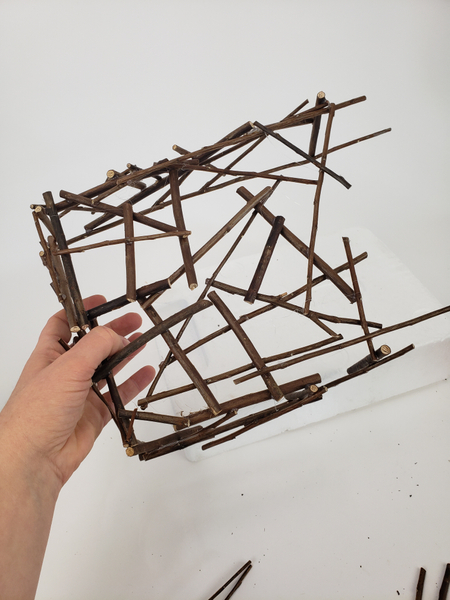
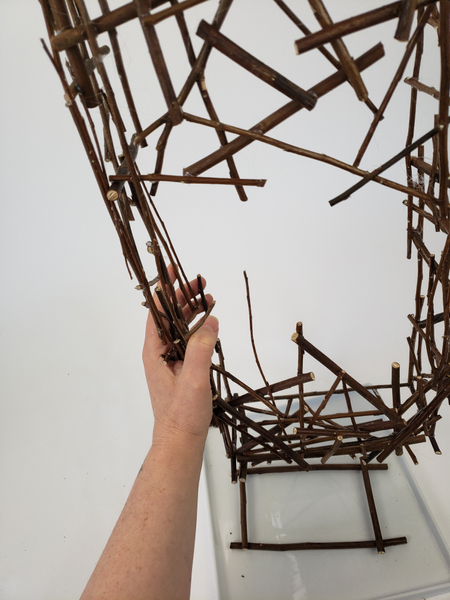
Lift the shape away...
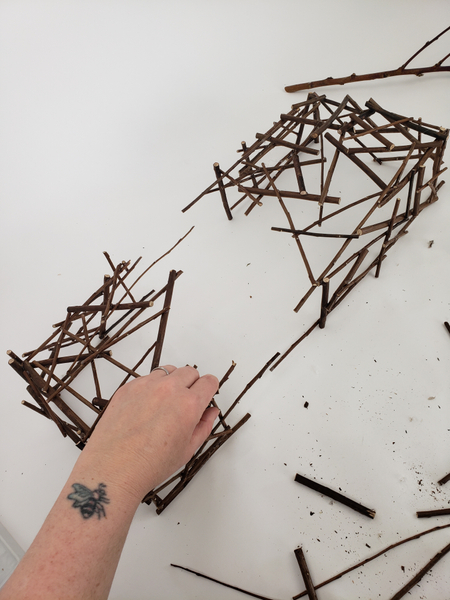
To combine the two sides.
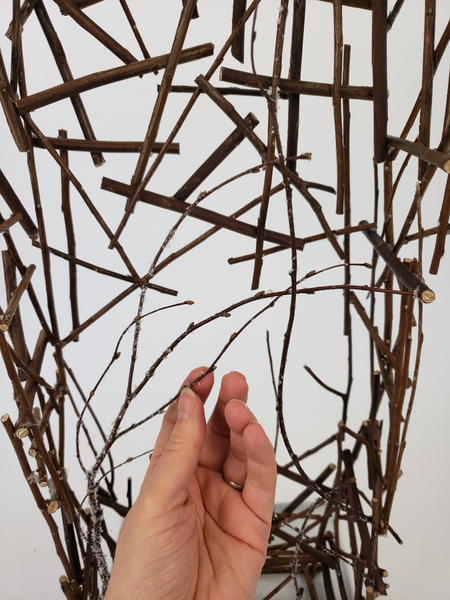
Glue in twigs that reaches over the gap... but only on the sides.
Make sure each twig is connected at three places to another twig to create a really strong armature.
Newsletter subscribers: I have a bonus tip for you this week about choosing the position of these twigs. It's one of those... "oh that makes a huge difference!" tips that disappears when you do it right but really distracts when you get it wrong. Make sure to subscribe if you are not yet receiving your weekly email.
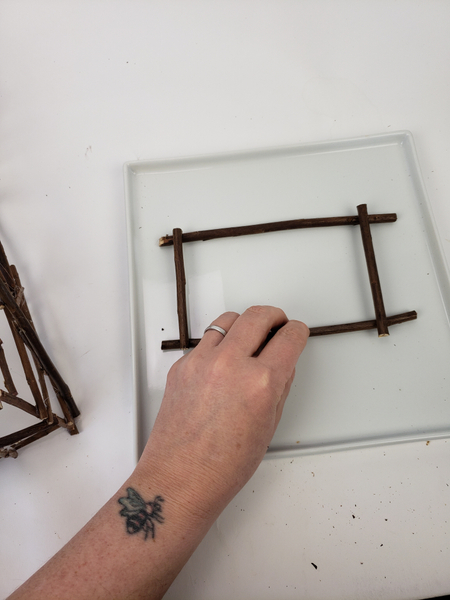
Place twigs on the display container to create a platform for the pillar to stand on.
Again... remember to glue the twigs to the twigs and not to the container so that you can move it if need be.
Now that you have a solid platform it is easy to fit the pillar armature on the four twigs so that it stands upright on its own.
Slowly lower the twig pillar onto the four twigs and glue it where it naturally connects.
Glue in a few twigs to conceal the platform so that it forms a unit with the pillar.
Now the fun starts... it is time to put your stamp on your design. These are the tiny little details that matters the most. Book readers... this is your moment to shine. How do you show off your effortless style?
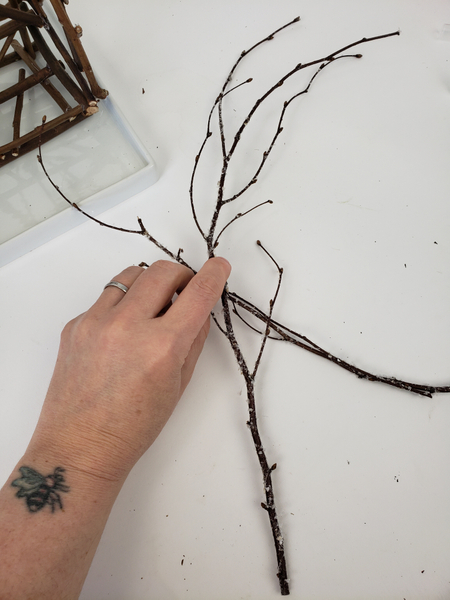
For my design I added more delicate branches to the front of my design... made even more delicate with a light dusting of snow.
See the Tutorial section below for more detailed instructions on how I add snow to the twigs.
Glue in the snow covered twigs to the front opening of the pillar shape.
Place the first few larger snow covered twigs to look like blossom branches leaving some gaps for you to add the orchids. You can again add twigs over the orchids to complete the design.
Book readers: Turn to page 276 where I mention how to really observe nature for a design example. This will help you see where to place these twigs.
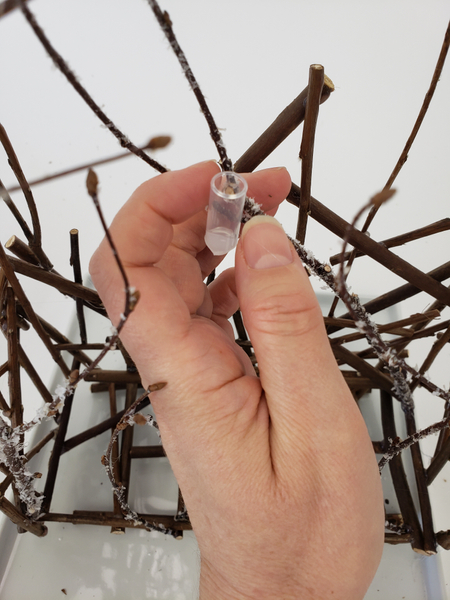
Glue in water tubes to keep the orchids hydrated. I make these from drinking straws. See the Tutorial below for detailed instructions on how to make your own.
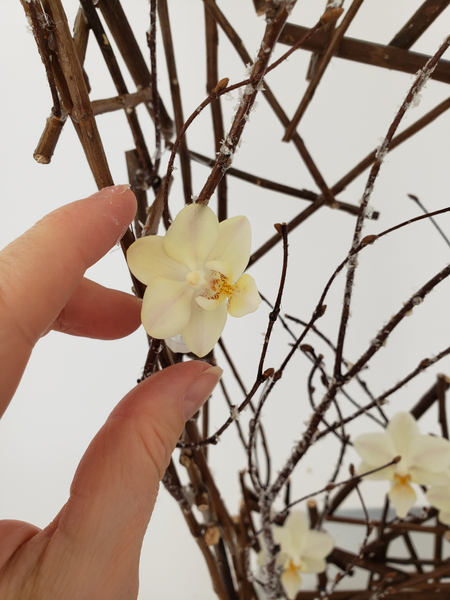
Finish the design by adding the flowers.
Make sure you position flowers to sit to the front, some way to the back and some floating in the middle of the pillar to make full use of the dimension you create by boxing in the twigs like this. Glue a few snow covered twigs to shape around and over the orchids and add a few crystals (if it suits your design taste)
Sign up for my weekly newsletter
Every week I add a new design with related tutorials. Be sure to subscribe to receive an email notification with design inspiration.


")


 I can see you")


