Christine de Beer - effortless floral craftsman
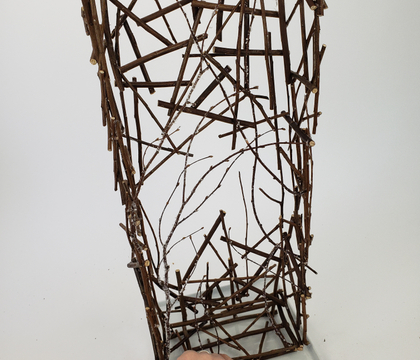
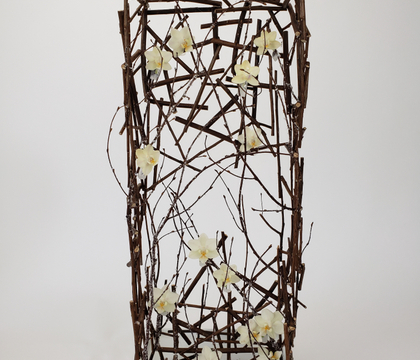
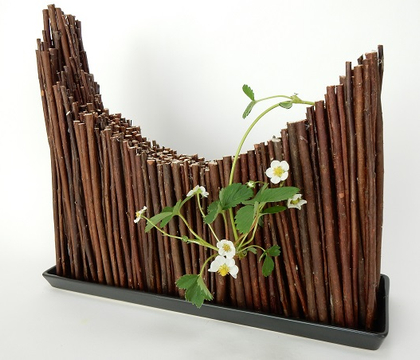
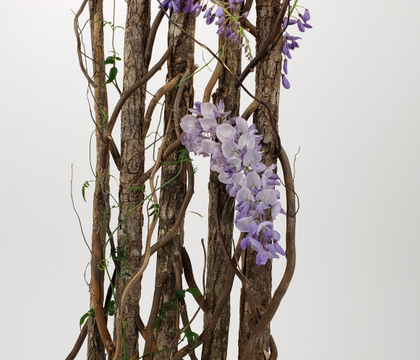
a Just-Replace-The-Flowers-When-They-Wilt freestanding bark armature
- 6 May 2020
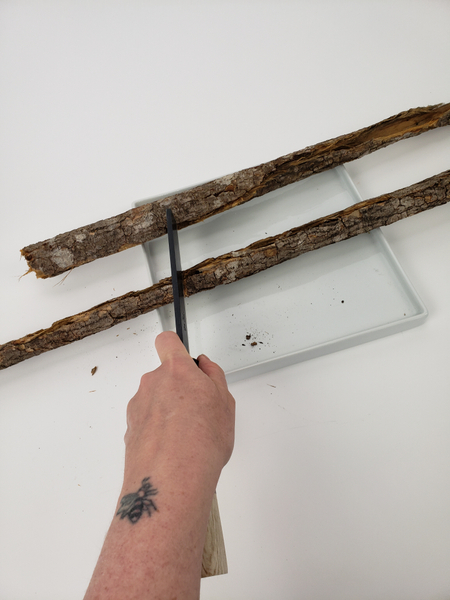
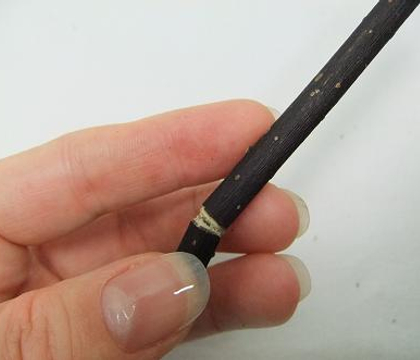
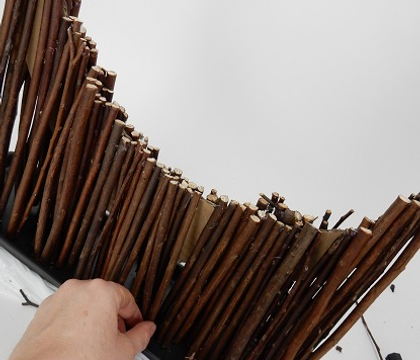
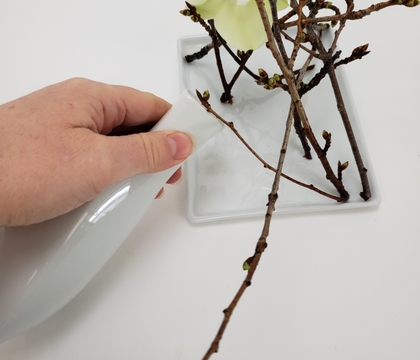
Score bark rolls to snap it to size. I like the more rugged edge that you get when breaking the bark rather than cutting it cleanly for this design. See the Tutorial below for more detailed Instructions on how to break a twig (or in this case bark) exactly where you want to.
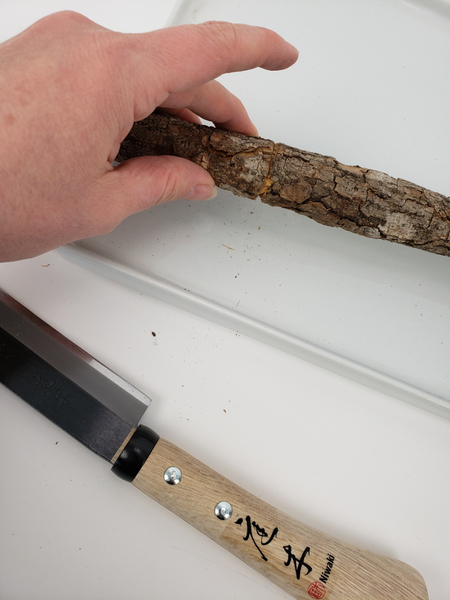
When you have a deep score line all around the bark...
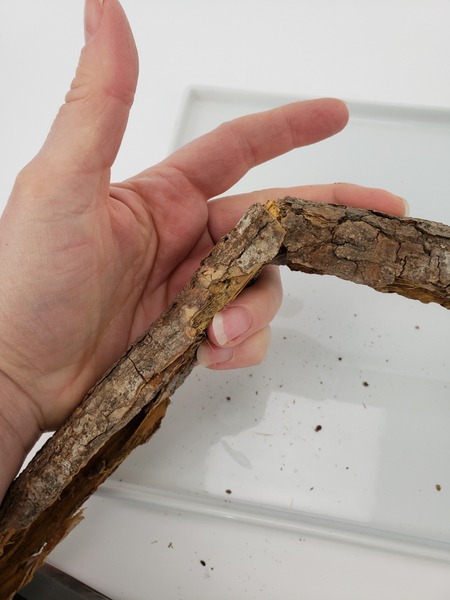
Snap the bark.
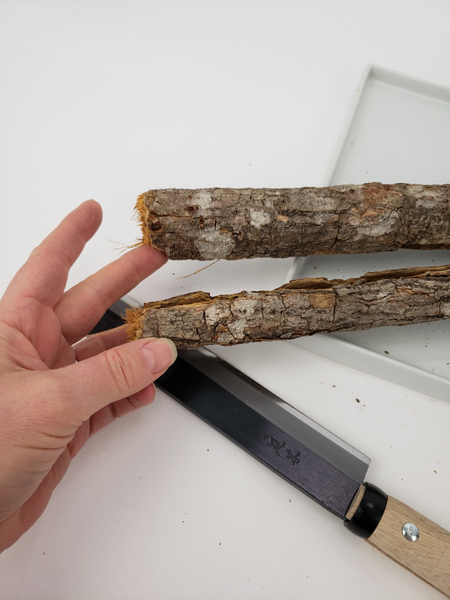
Design note: the deeper the score line the neater the snap. To give my "snap" a bit more of a rugged look I only scored the bark.
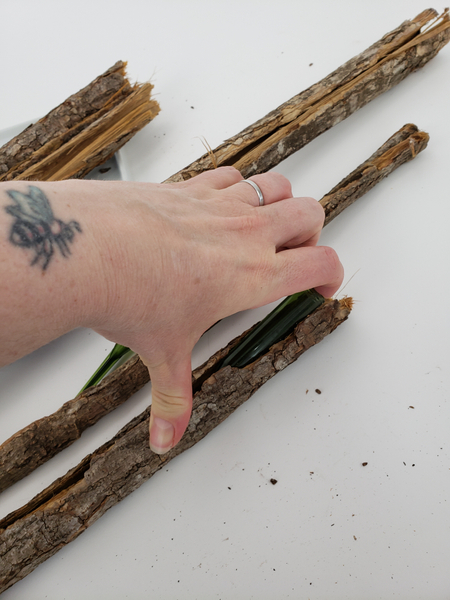
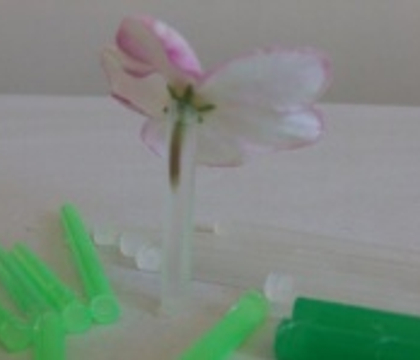
Fit water tubes into the rolled bark.
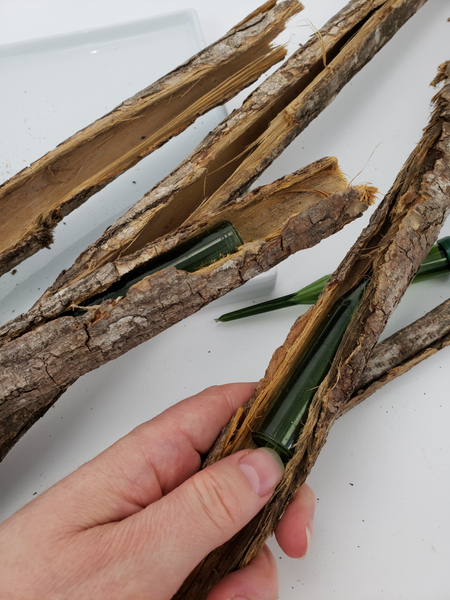
If you are designing the armature to re use it be mindful of where you place the tubes so that you can replace the flowers easily.
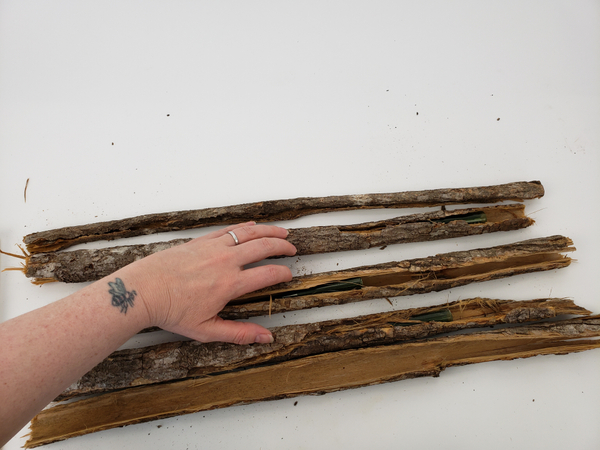
Place the bark rolls on a flat surface roll side facing up. Try to imagine how the tubes would look with flowers in and rearrange the bark to create a fun display.
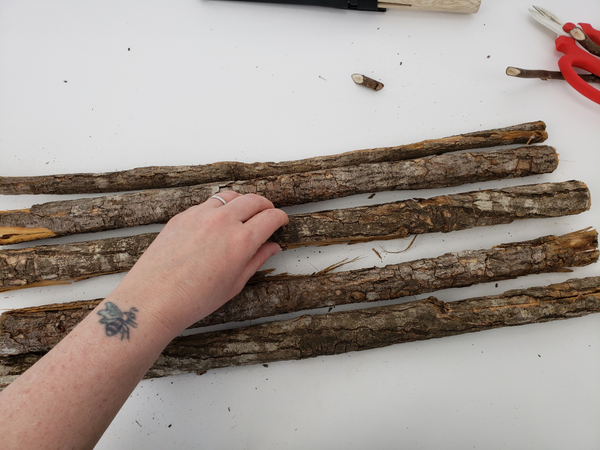
Design note: remember you are going to flip the design around so you are viewing it from the back now. When you are happy with the position turn the bark around.
Newsletter subscribers: I have a special tip for you this week when it comes to turning the bark. Make sure you are subscribed so that you do not miss out on the design specific tip each week.
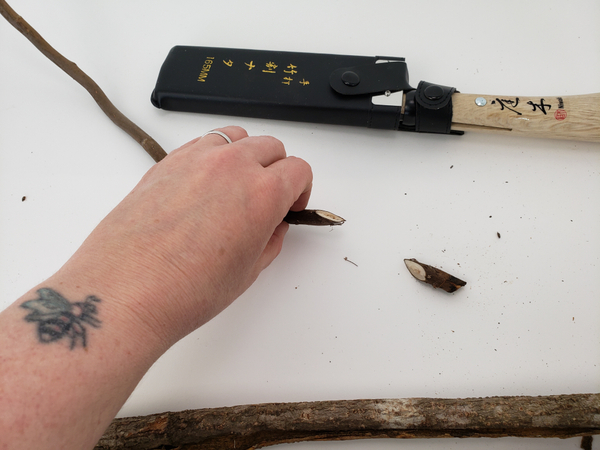
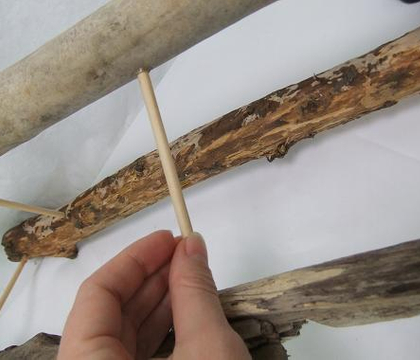
Cut dried twigs at a sharp angle to connect the bark rolls...
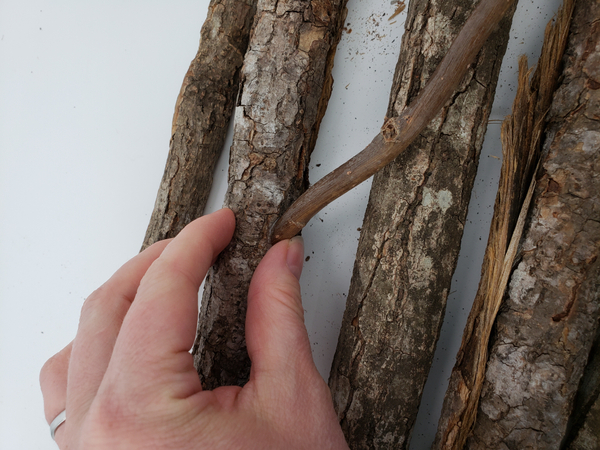
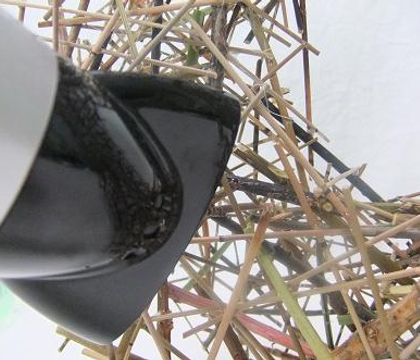
This gives the connection twigs a "just grew this way" look. Use a small drop of hot glue to secure the twig from one bark roll to the next.
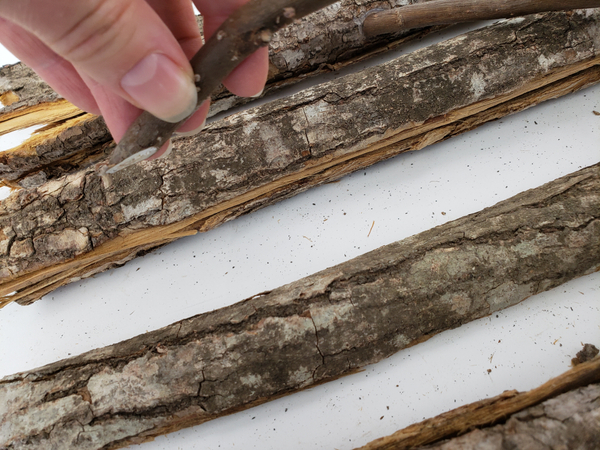
Simply match the angle of the twig...
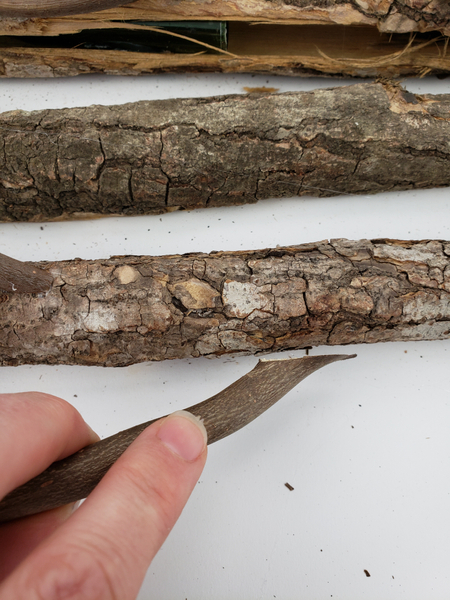
... To the angle of the bark roll.

Making it look like a natural side branch.
Book readers: turn to page 273 where I discuss the how's and why's of making the effort and paying attention to these tiny details. It makes a huge difference in the overall look and quality of your work. This is especially valuable if you are an experienced traditional designer who wants to add a contemporary touch to your work or want to transition from traditional (even floral foam based) designing to contemporary sustainable designs.
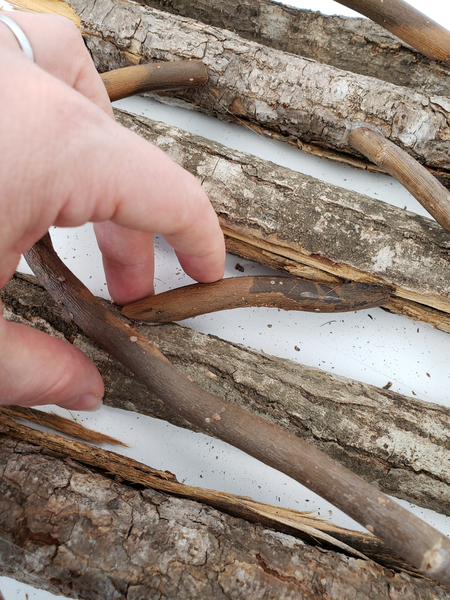
Attach side branches throughout the armature. As a rule I make sure that each bark roll is attached to at least three other rolls. This way you get a really durable armature.
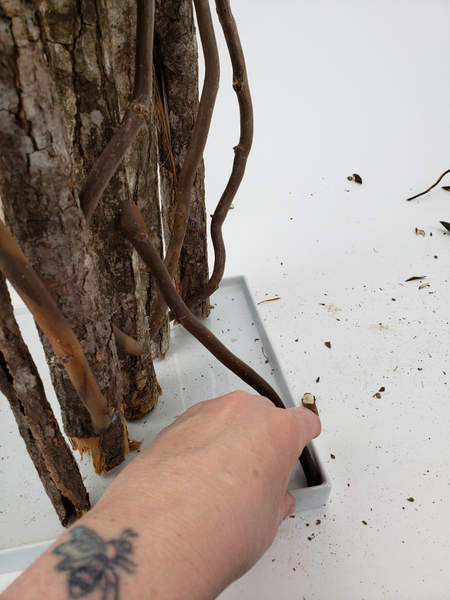
Set the armature upright in a display container and add a few twigs to support the armature.
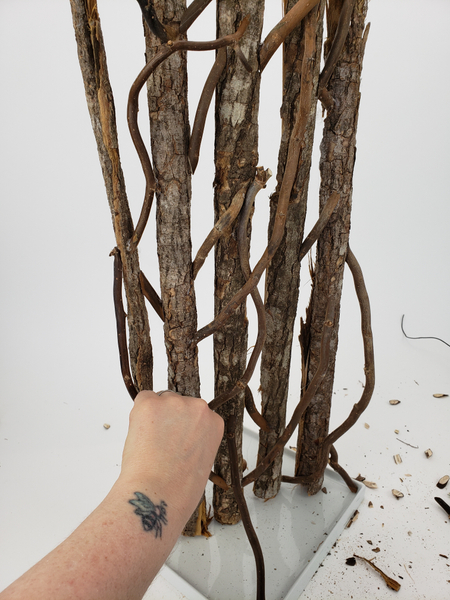
Simply glue in side twigs to kick against the corners of the display container. Make sure to glue the twigs only to the bark and not the container so that you can easily remove the armature and clean the container without damaging the armature.
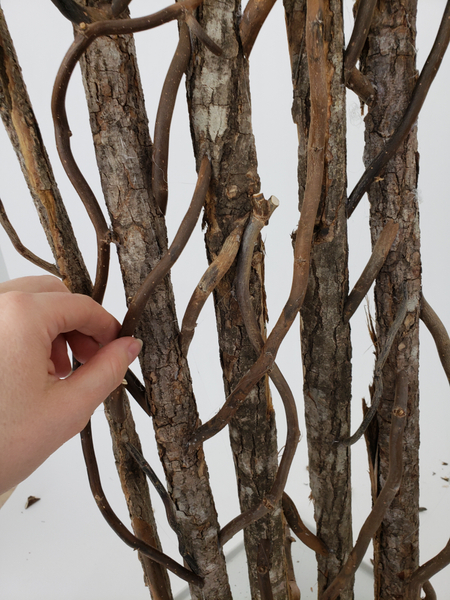
Add in more side branches to complete your the look of your design.
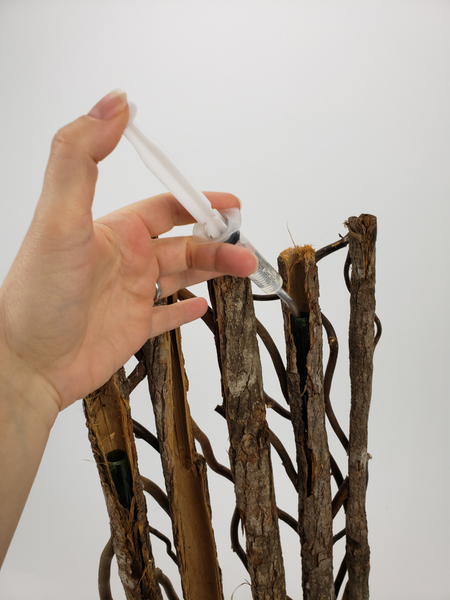
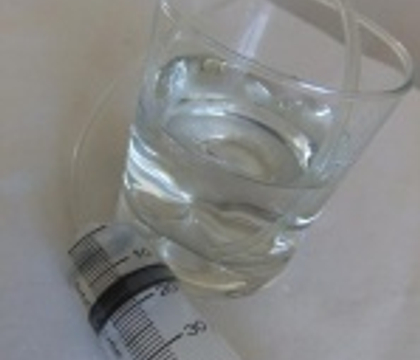
Fill the water tubes. For detailed instructions on how I make this syringe with tube see the Tutorial below.
For a bigger scale version see the How To in my book.
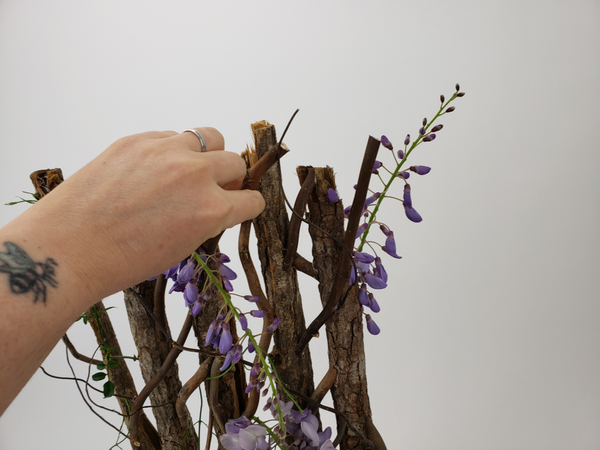
Place the flowers in the tubes so that is remains hydrated and fresh for as long as possible.
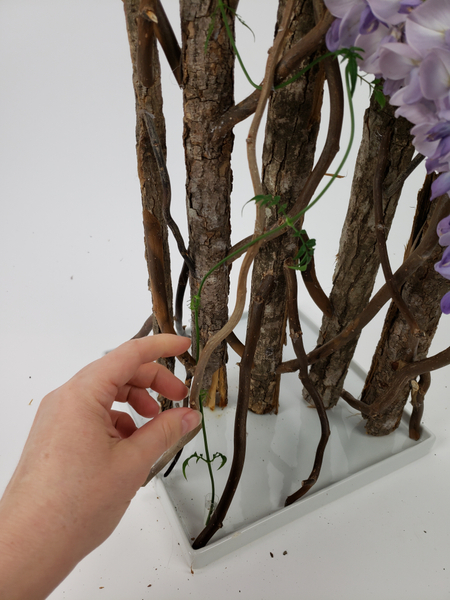
As a final touch I added a few stems of jasmine... yes you can fill the display container with water and simply set the jasmine in the water but then the bark rolls are also in water. I want to reuse the bark rolls so to prevent it from spoiling I added tiny little water tubes to the side branches and set the Jasmine stems into those so that they remain hydrated. This not only protects the bark but also makes the design more versatile because you can easily re position the tiny water tubes and completely change the look of the design as you change the flower.
For more detailed instructions on how I make these water tubes see the Tutorial below.
Sign up for my weekly newsletter
Every week I add a new design with related tutorials. Be sure to subscribe to receive an email notification with design inspiration.
