Christine de Beer - effortless floral craftsman
A new twist on the cellophane in a submerged design trick to make space for a stem
- 11 May 2022
Oh yes, using cellophane or acetate to keep flowers submerged under water in a design is a tried and tested staple in our technique toolbox. But it is rather limiting because you basically fill the entire container with a cellophane lasagne leaving you no space to add longer stems... here's an update around (yes quite literally around) that.
To get you started I have added a few links to submerged designs below this Tutorial and book readers turn to page 139 for yet another update on this technique.
For more information about my book: The Effortless Floral Craftsman
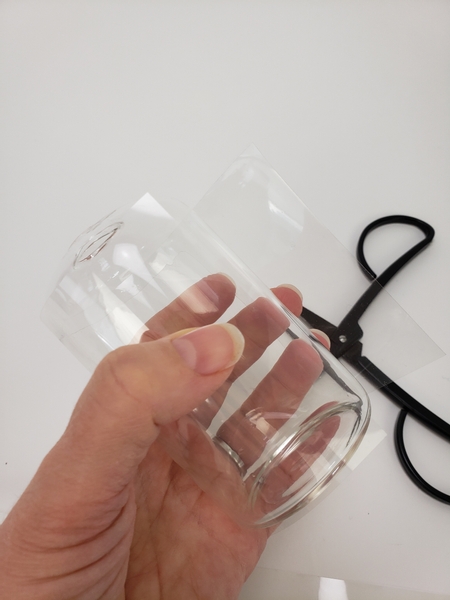
Measure and cut a section of cellophane to fit around a glass container.
Pour a bit of water into a glass container.
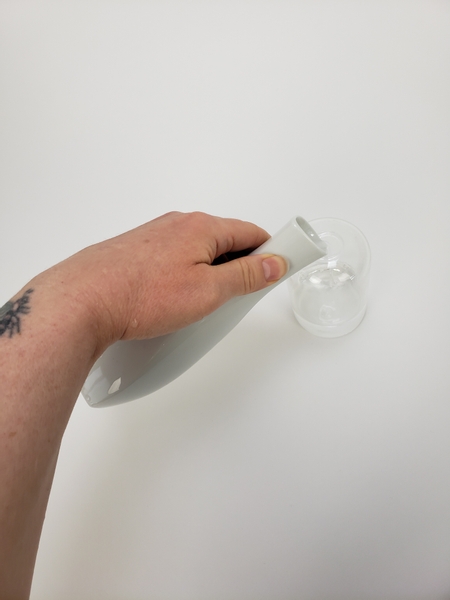
Close up the opening and swish the water around.
To make sure the sides are wet. Pour out the water.
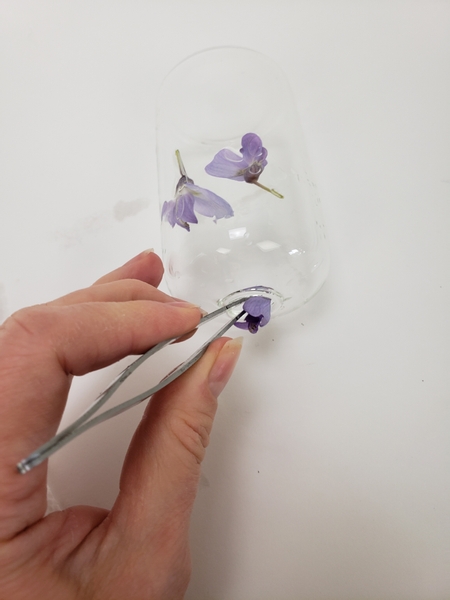
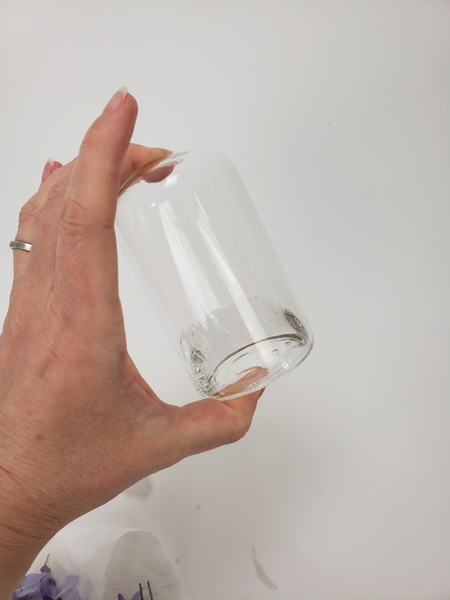
Turn the container on its side and place the florets, flowers or petals that you want to submerge carefully into the wet container.
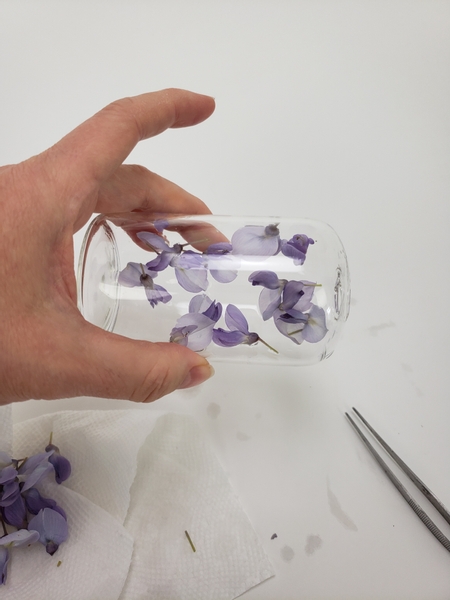
Roll the container while you add the flowers so that they can be placed all round.
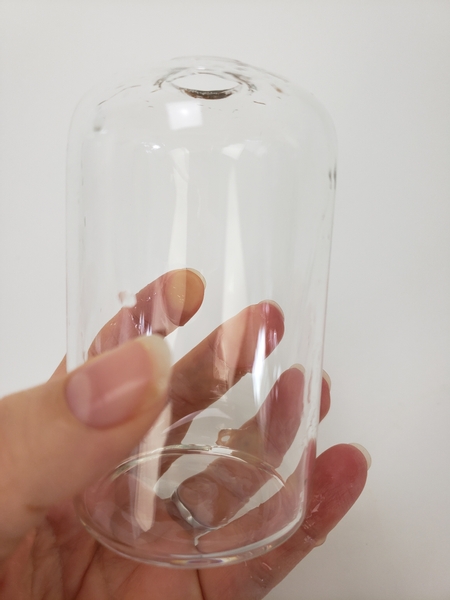
Because the container is still moist inside the flowers stick to the sides just long enough for you to finish the design.
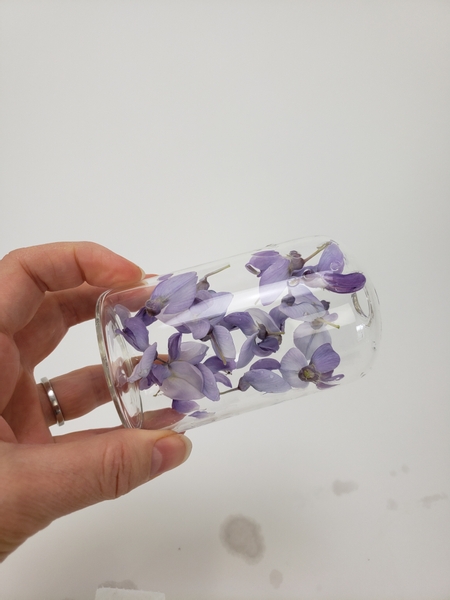
Fill the entire container or just place a few flowers here or there... whatever suits your design idea.
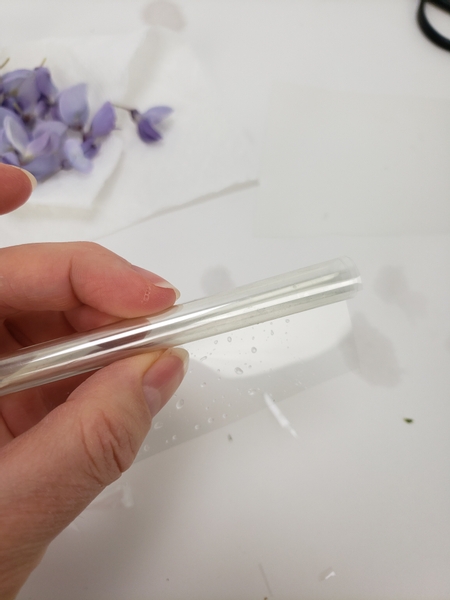
Roll the cellophane so that it can fit into the opening of the container.
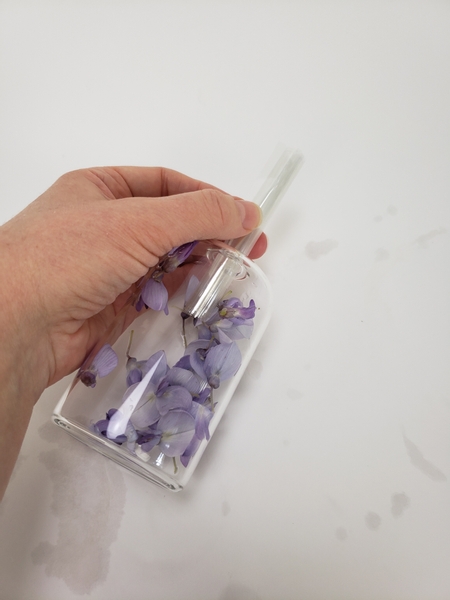
Slip the rolled cellophane into the container...
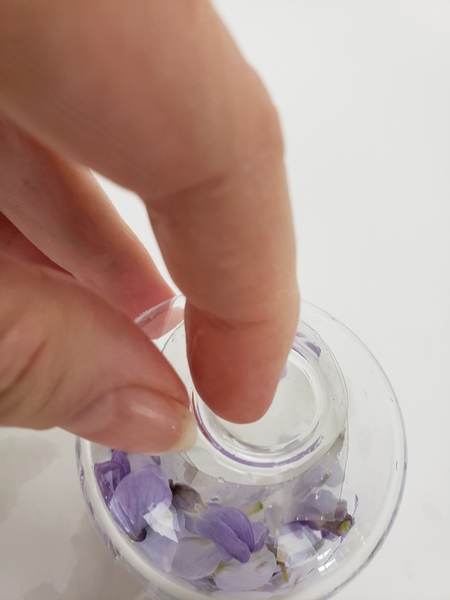
And allow it to unroll inside the container to keep the flowers against the wall of the vase.
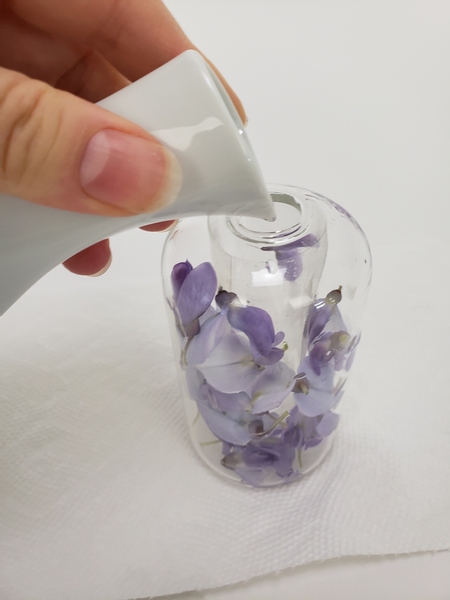
Fill the vase with water...
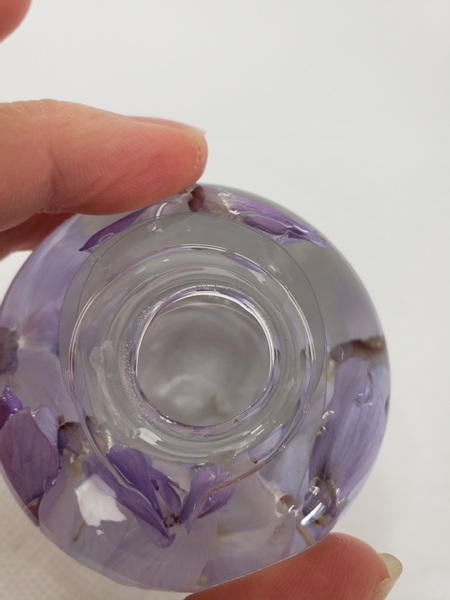
Leaving all the flowers on the outside of the cellophane with a large gap to even angle a stem in the middle.
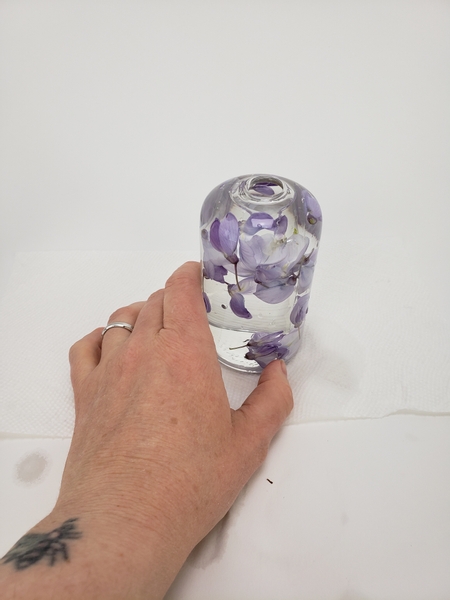
Perfectly pretty just like this... but wait... there's more...
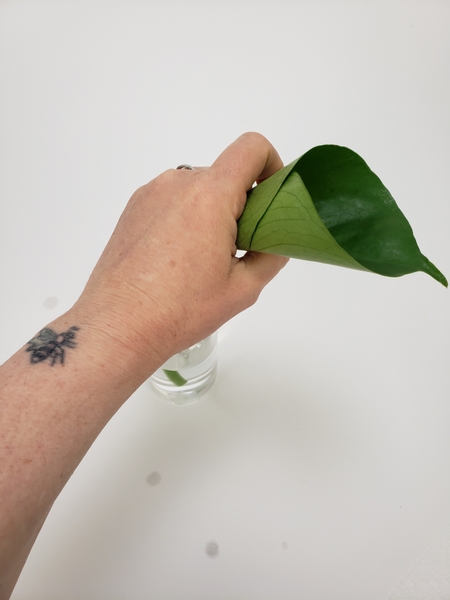
Roll a monstera leaf into a cone and secure with floral glue.
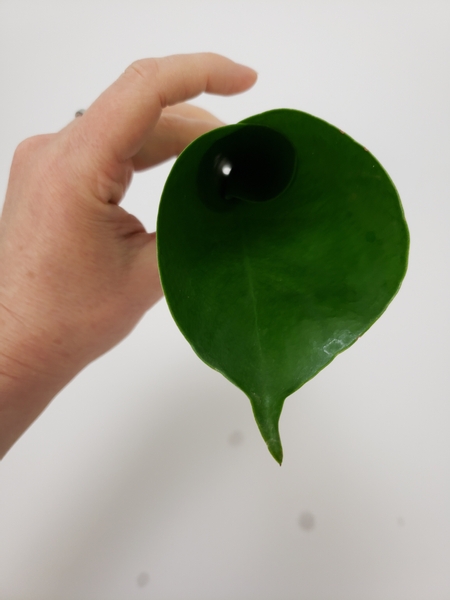
Leaving a stem sized hole in the stem side of the leaf.

Slip a wisteria flower spike through the hole so that the buds drape inside the cone.
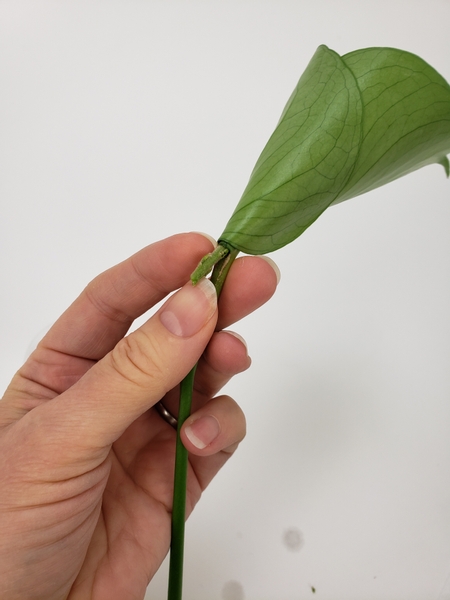
Make sure the flower stem in long enough to be in the water once in the vase so that it remains hydrated.
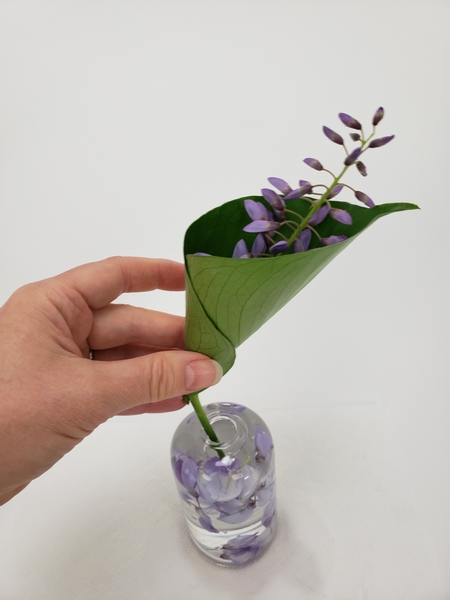
Place the stem into the flower filled vase.
My favourite thing about using this technique... well apart from being able to show off a longer stem... is that it is so secure. The flowers are not crushed against the sides but you can easily carry or transport the design without the flowers sloshing about and getting damaged. In this week's email I tell you a few other benefits of using this technique. make sure you are signed up to get your weekly tip. The signup is below this post.
Sign up for my weekly newsletter
Every week I add a new design with related tutorials. Be sure to subscribe to receive an email notification with design inspiration.


 cap!")


