Christine de Beer - effortless floral craftsman
Trapped Bubble Double Shallow Vase Design
- 20 January 2021
By using two vases you can create two completely different design surfaces. One dry and one water filled. This time I added a twist- a bubble that makes the onlooker lean in for a closer look.
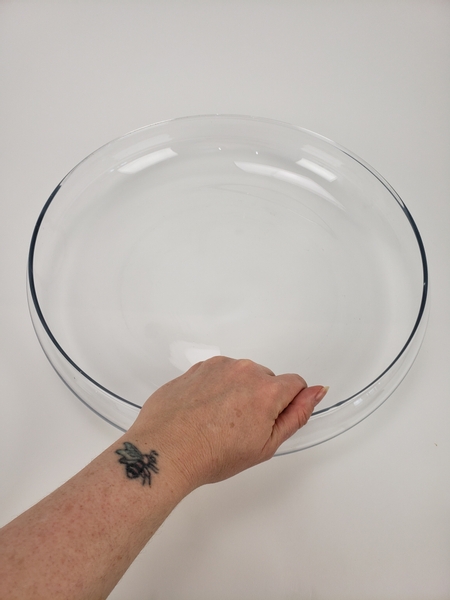
Place a large glass container on a flat surface.
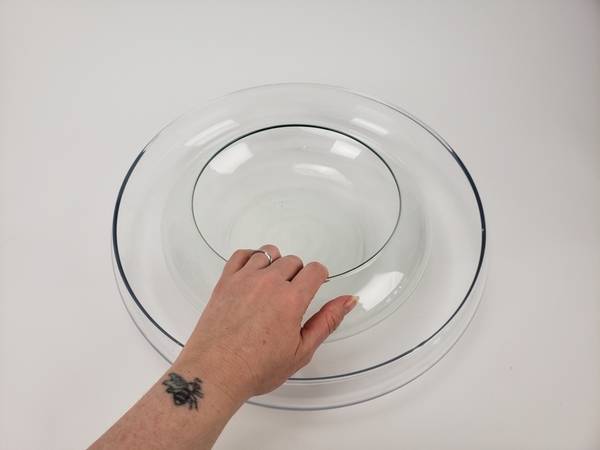
Place a smaller container inside the larger container.
This trick works so, so well! If you want more inspiration turn to page 169 of my book. Book readers also turn to page 137 for more notes on using glass containers.

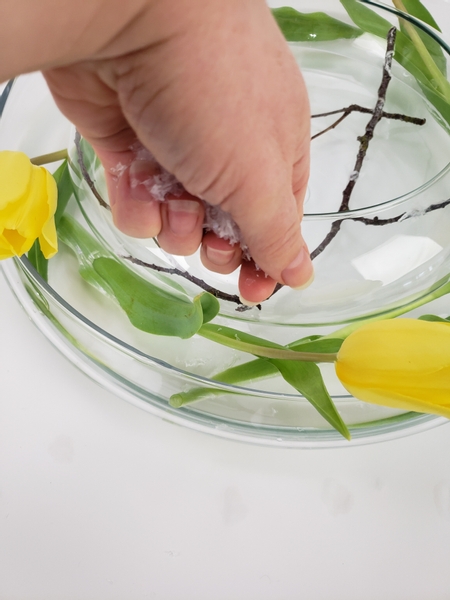
Add a few bits of artificial snow to a fresh winter twig.
See the Tutorial below for detailed instructions on how to add artificial snow to twigs.
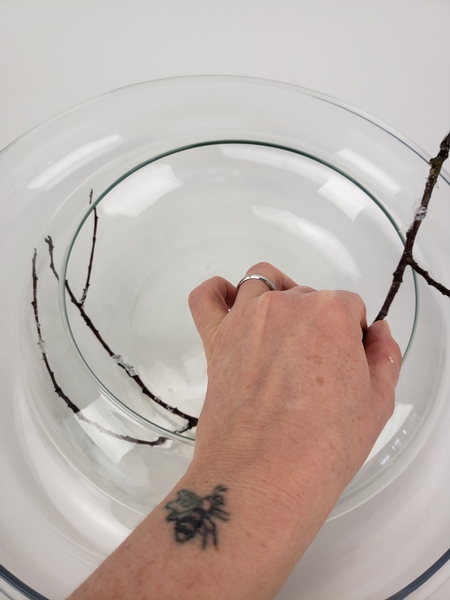
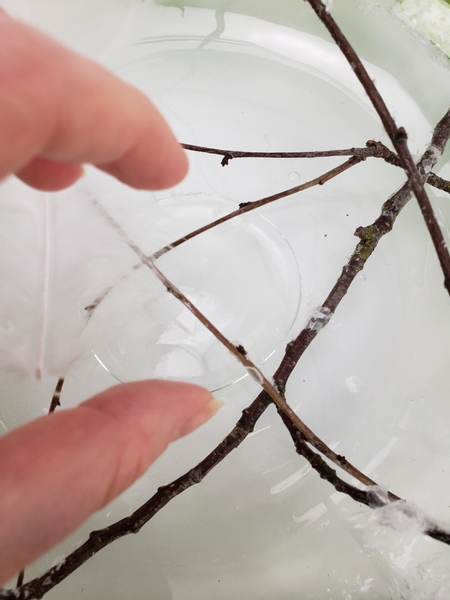
Curve the twig into the smaller vase.
If you feel unsure of how to manipulate twigs so that they don't snap see the Tutorial below. I also have a section in my book about this is you want to level up on this.
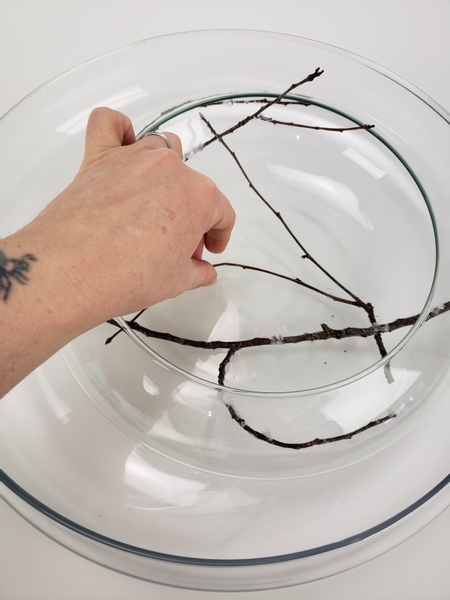
Create a dry twig design inside the vase.

Slowly fill the outside vase with water.

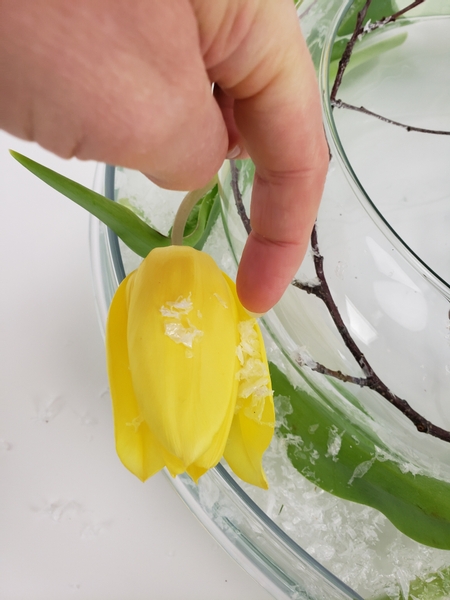
Hold up the flower to see which way it curves.
Design note: I fell in love with this green bit in the flower so this is my front facing side. So my curve will follow anti clockwise.
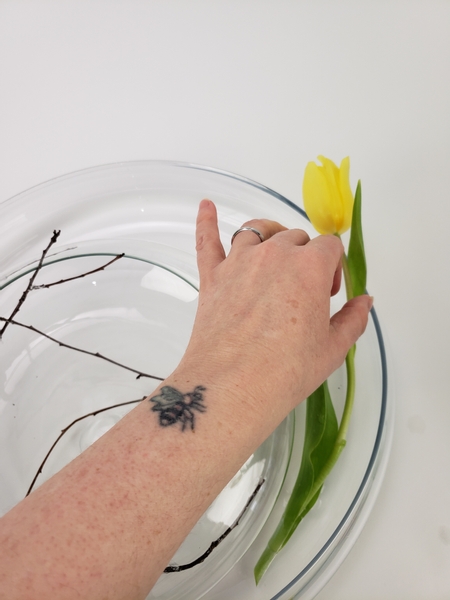
Place the flower to follow that natural curve around the vase.
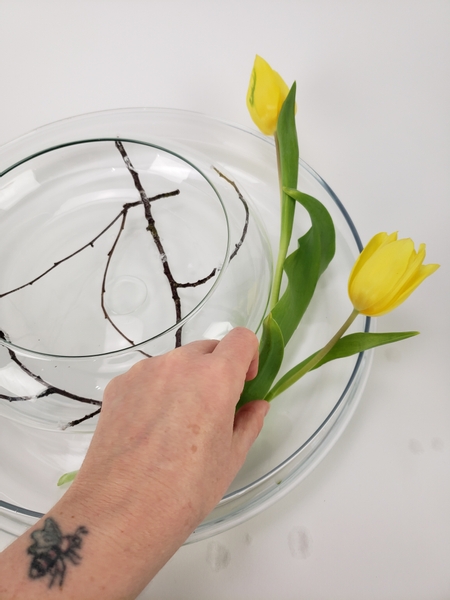
Tuck the next tulip stem end below the previous flower.
I have two tips that I wanted to discuss with you this week so I added it to our weekly notification email to make it easier for you to respond or ask questions. Make sure you are subscribed (see the link below) to get advance notice the moment the design is ready for you to read... and to join the behind the scenes conversation about something that inspired me or makes the design special.
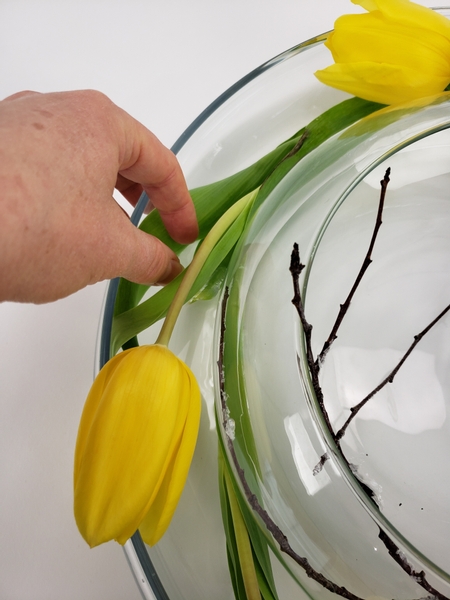
Move all the way around and tuck in the tulips.
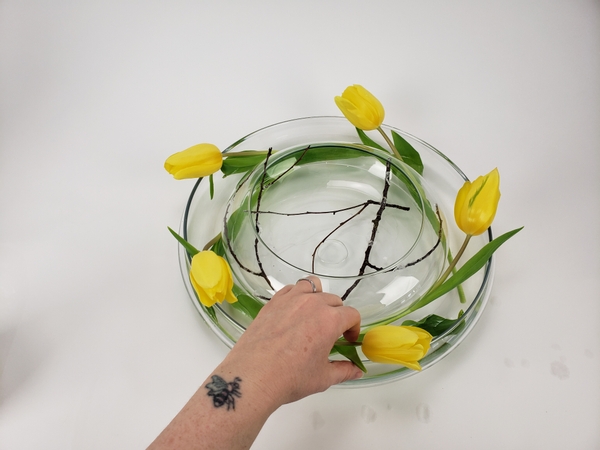
Spacing out the flowers to create a table top- in a vase wreath.
Sprinkle a bit of floating artificial snow on the surface of the water...
... With a light dusting of snow on the flowers.
Curve a feather (see the Tutorial below for detailed instructions) and add it into the dry section of the design.
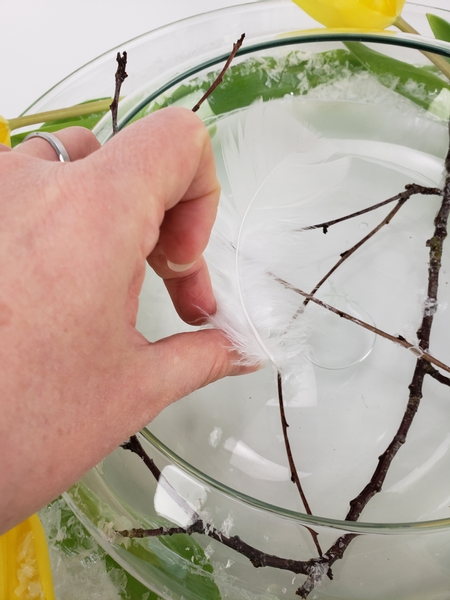
Fluffy feathers are rather tricky to glue to twigs... they wobble and move if you don't get it just right. I have a easy to do hint for you on how to glue the feather in the Tutorial below.
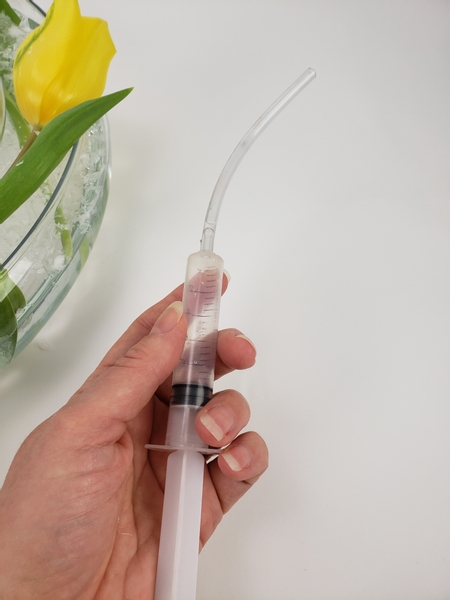
To create the bubble fill a syringe with air.
I add a tube to a syringe to make it easy to add water in even the most awkward of vases... but it also works for sucking up water to adjust water levels... and adding bubble. See the Tutorial below for detailed instructions to make your own.
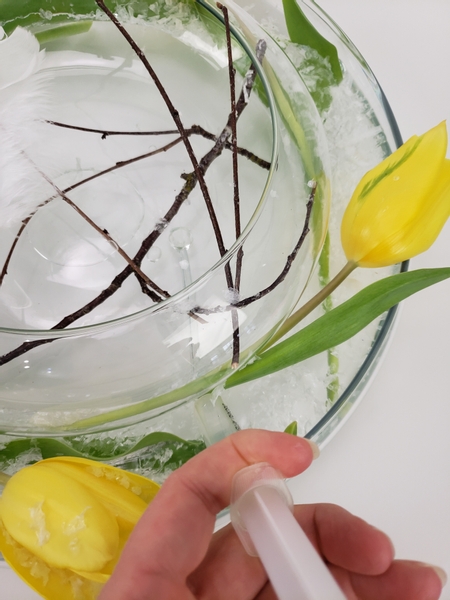
Press the syringe to make bubbles between the two vases. Be careful not to disturb the design details.
Adjust the bubble so that it creates a pretty frame to highlight the feather.
Sign up for my weekly newsletter
Every week I add a new design with related tutorials. Be sure to subscribe to receive an email notification with design inspiration.


