Christine de Beer - effortless floral craftsman
Braiding three Tulip stems
- 21 January 2015
- and more
This, again, is something I did as a child in our garden.
Of course, as a child, I didn't think much about "craftsmanship." Stamens were simply pinched out with my nails. Sun baked mature tulips did not need to be dehydrated, and I just latched the tulips together with grass, but the technique remains the same.
For another example look at my I've got my head in the clouds design from my Fusion Flowers Magazine Designer Portfolio 2010.
I also used this technique to braid lilies together for my One Singular Sensation competition design in 2011. See the links of these designs examples below

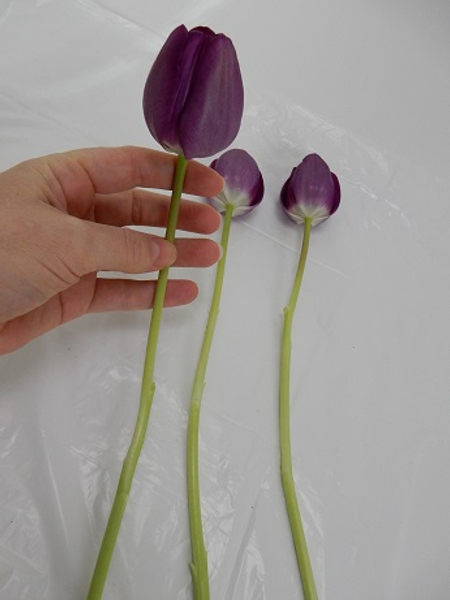
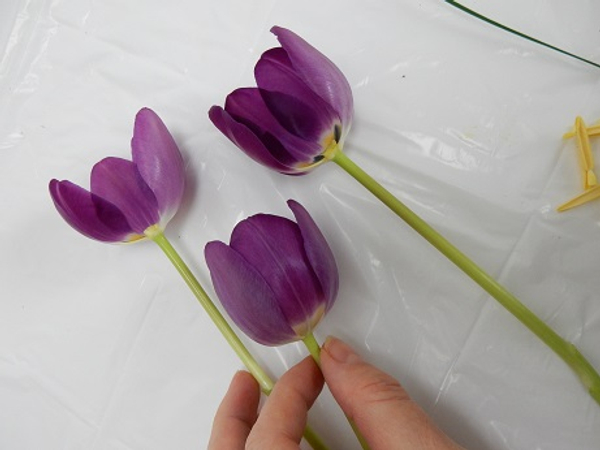
Choose three fully developed Tulip stems.
Tulips are harvested long before they show any colour. It is one of the few flowers that continue to grow once cut. Each flower grow about the length of their flower heads every day. Keep the Tulips well hydrated until the flower head is plump and open.
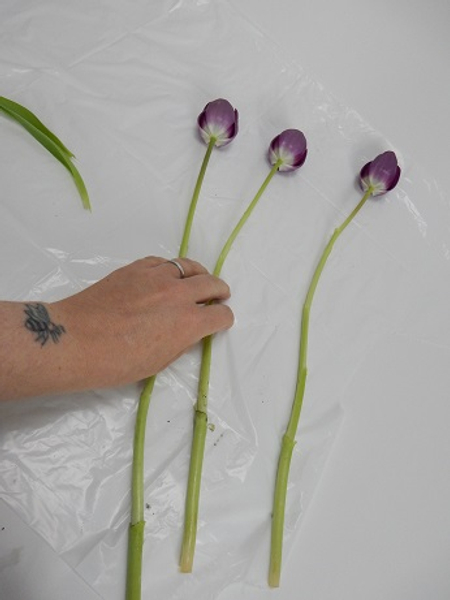
Remove all the foliage from the stems
Set the cleaned stems on a flat working surface
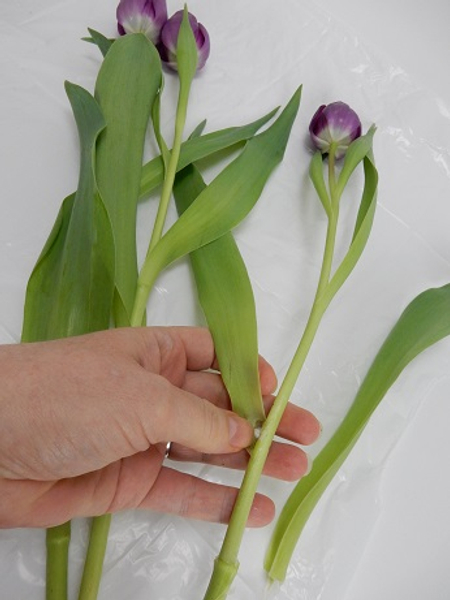
Do not set the flowers in water. The stems need to dehydrate to become more flexible for plaiting
As the cellular structure of the stems weaken it will become more pliable making it possible to braid the stems together without snapping it. No need to be concerned, because the moment you set the stems in water it re-hydrates and will still look fresh for days in the vase.
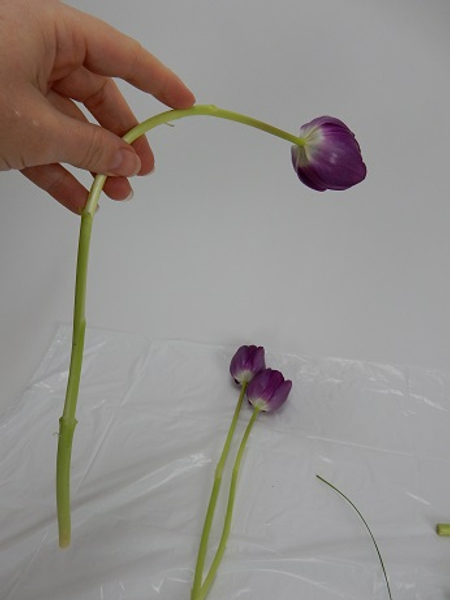
After about 30 minutes the stem will flop over when you pick it up. Carefully watch the flowers, though. You want the stem to be pliable but there should be no visible sign of stress on the flower petals
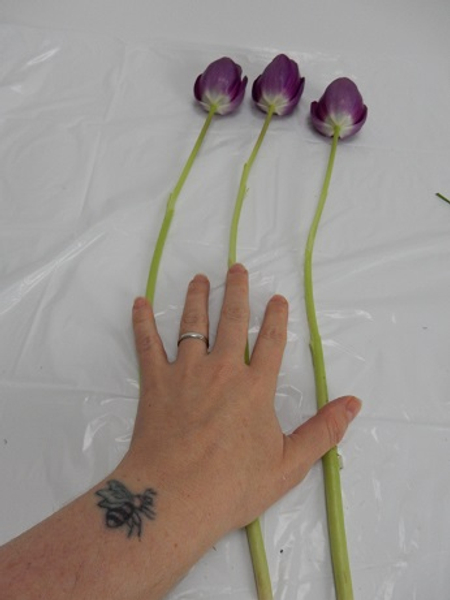
Place the stems on a working surface to match in length. Cut to be exactly the same.
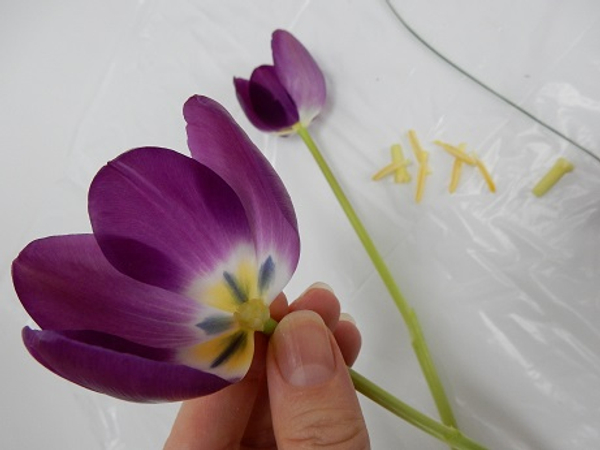
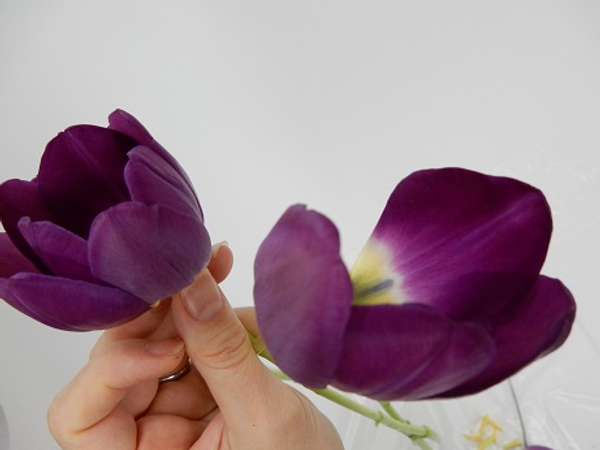
Look carefully at the flower head. Each flower is closed in two crowns and three perianth petals.
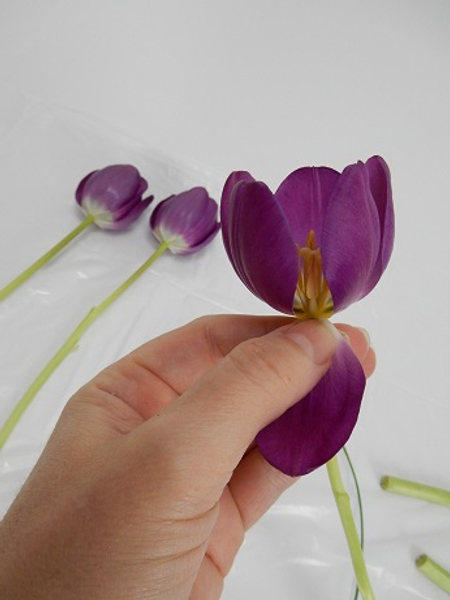
Carefully remove two petals from the first tulip
This opens up the cup
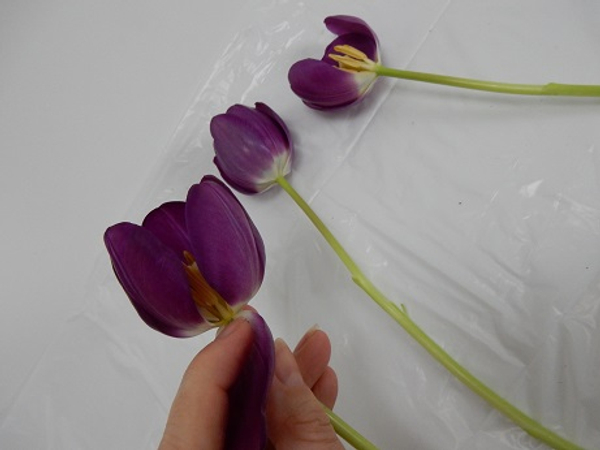
Carefully remove two petals from a second tulip to open up that flower cup
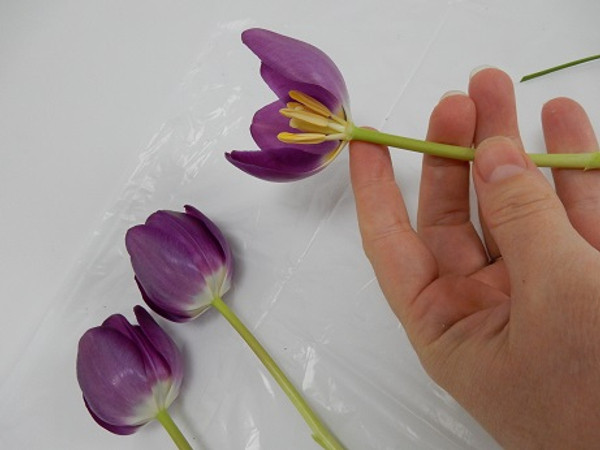
I used to just reach into the flower and pinch away the pistal and stamen as a little girl...

But you really do get better results to use a knife and cut the stamen away...
... to create a flat surface
Do the same with the other open cup Tulip
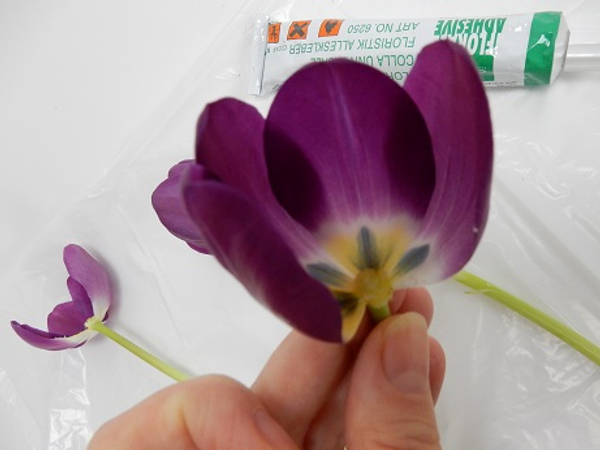
Place a tiny drop of glue on the wound. This not only seals the wound preventing further moisture loss but also keeps the flower cups in place
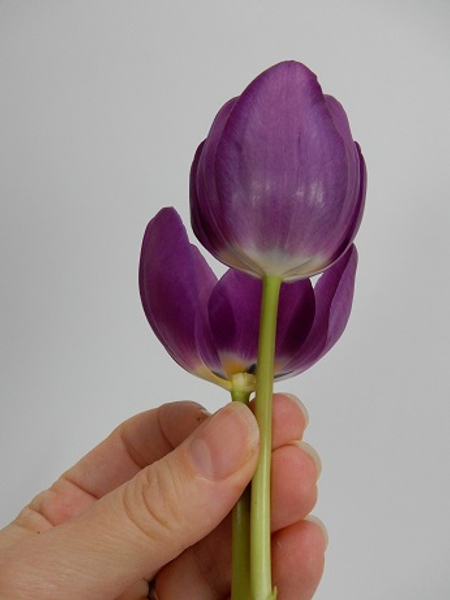
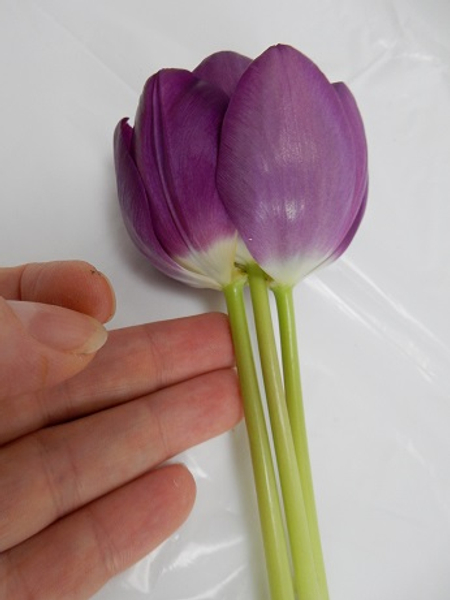
Slip the full tulip into the tulip with the open cup
Slip those two tulips into the second open cup of the flower head
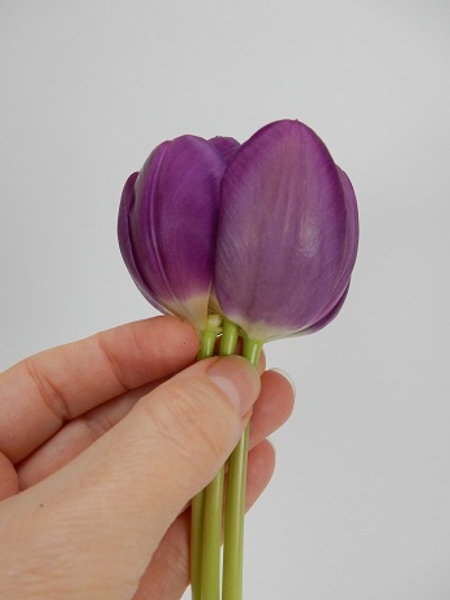
Three Tulip flower heads connected
When I did this as a child I just latched the flowers together with a thin blade of grass... no glue required

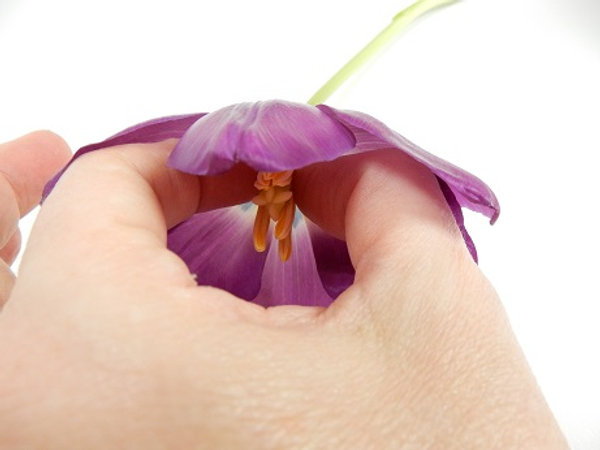
Of course with floral glue the connection becomes completely invisible. Loosely rest the flower heads in your hand...
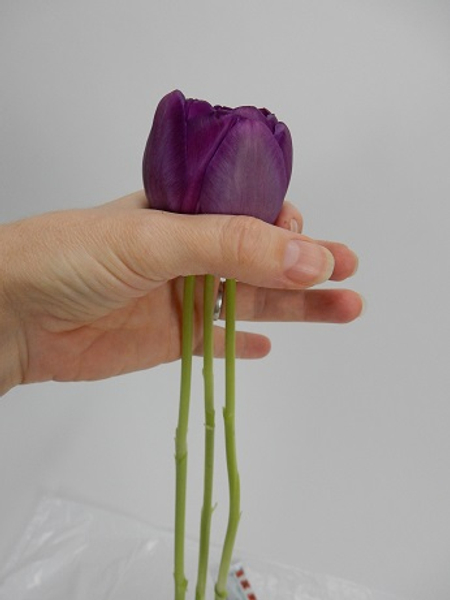
... Just let the stems dangle down freely to set the glue perfectly
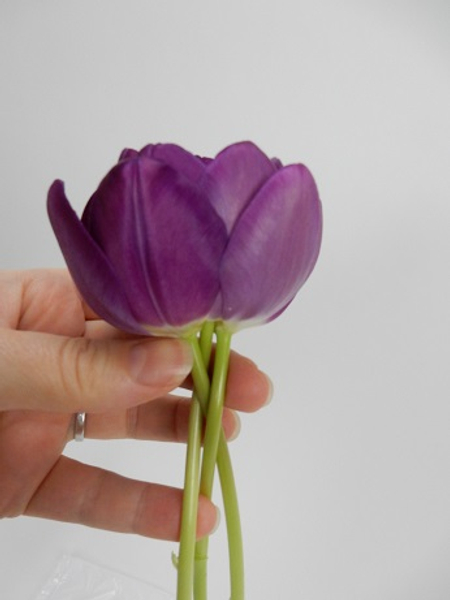
The three stems are now ready to be braided together
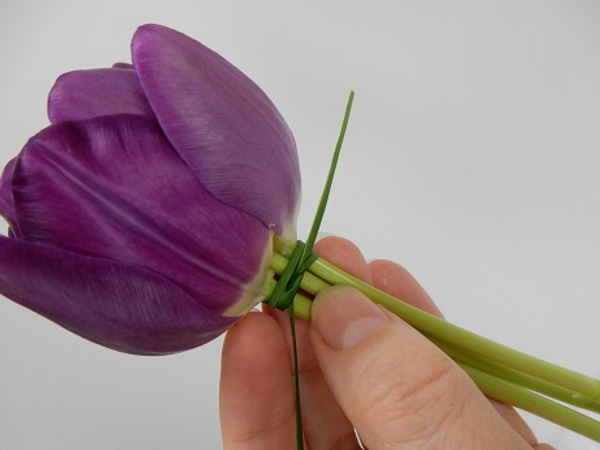
Carefully start to braid the stems together. Set them aside for a few more minutes if the stems start to snap, but they should be quite dehydrated by now and fairly easy to braid
For more details on braiding (or plaiting or a French knot) see the Tutorial below
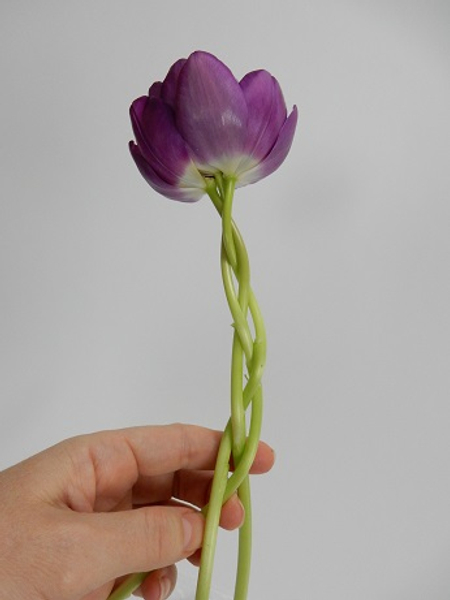
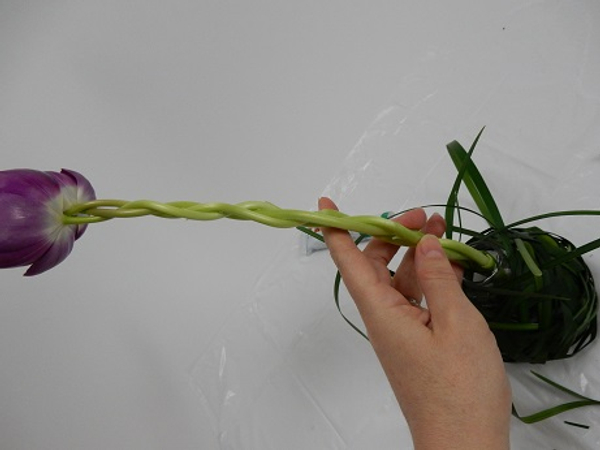
Move down the lenght of the stem and braid as you go along
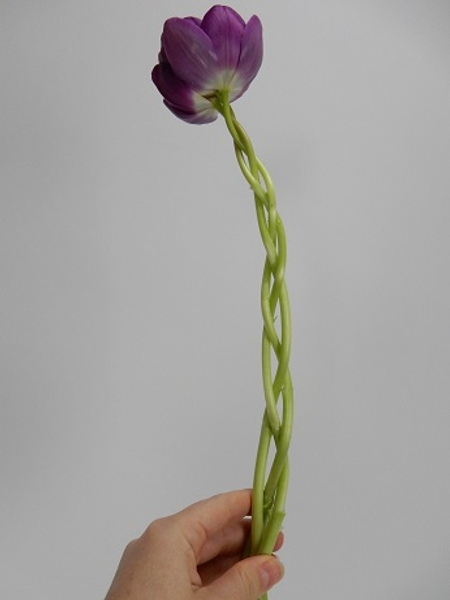
Braided Tulip stems

Latch the stems together with a thin blade of grass
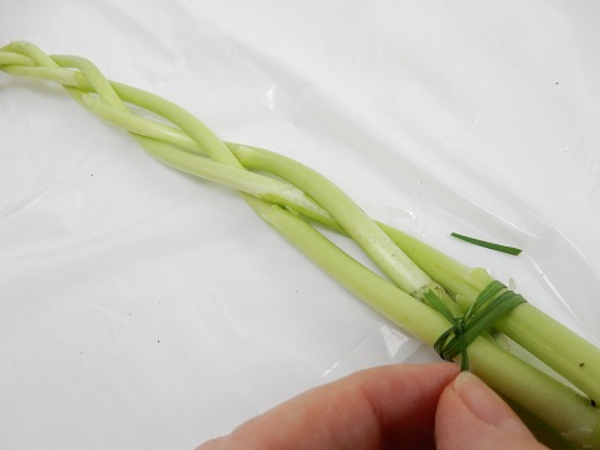
And secure the grass with a double knot
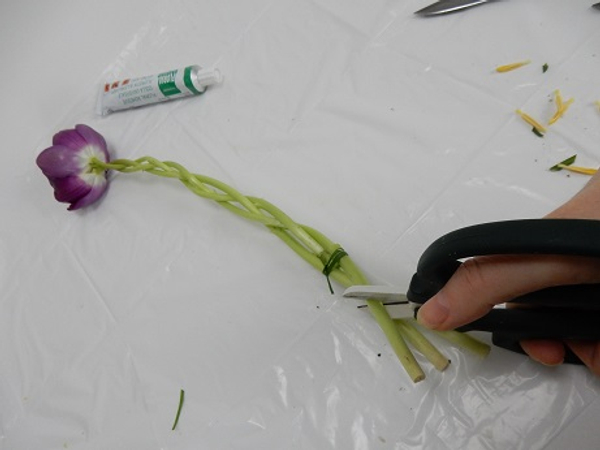
Give each stem a fresh cut, just above the white area on the stem, at an angle to increase the surface that will be exposed to water.
Place the stems deeply into a water filled container to recondition
Design Note:
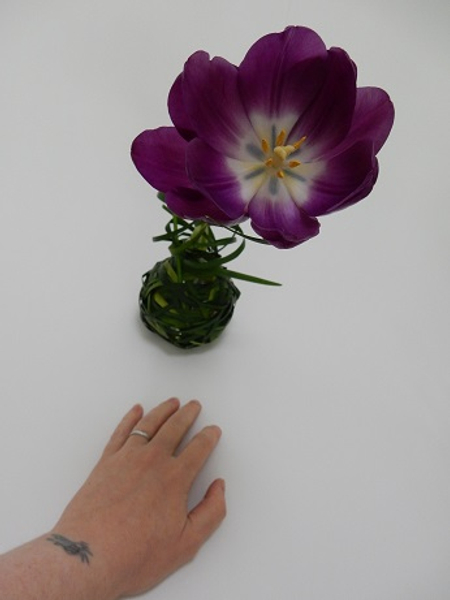
This is what the plaited Tulip flower heads looked like five days later. Fully opened and still hydrated.
Sign up for my weekly newsletter
Every week I add a new design with related tutorials. Be sure to subscribe to receive an email notification with design inspiration.


