Christine de Beer - effortless floral craftsman
A Spring Sprout Wreath Flower Frog
- 24 March 2021
For more information on how to design with Tulips turn to page 298 of my book. The How-To at the top of the page is especially helpful if you need some of the tulips to look a bit fuller.
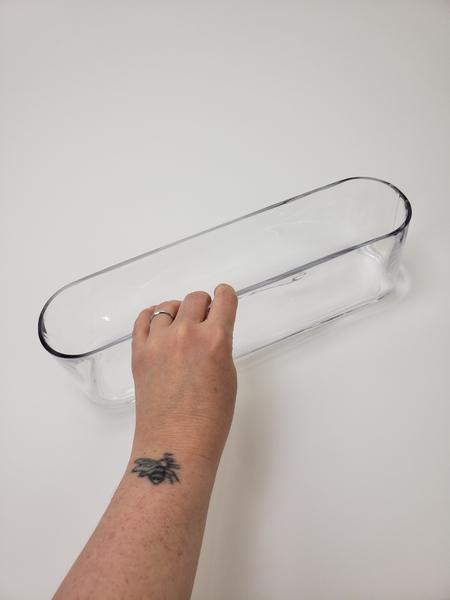
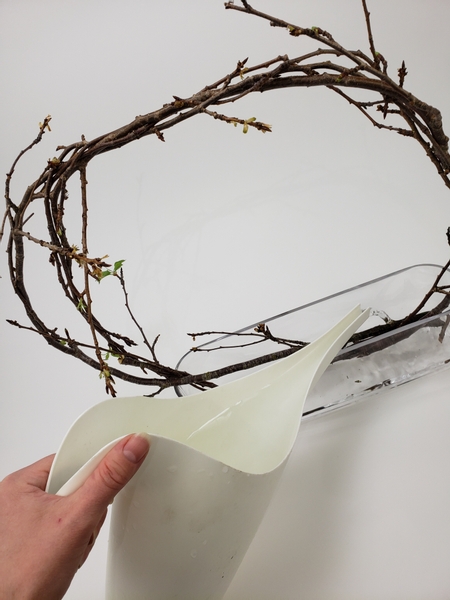
Place a long, narrow container on a working surface...
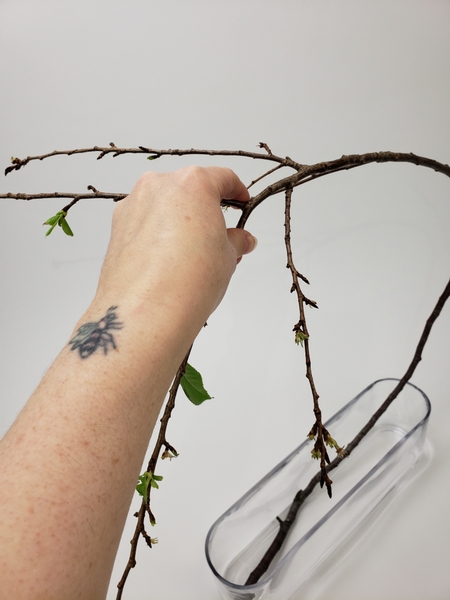
Place a fresh branch with the thickest end into the container... bend it over...
Book readers: see the new growth? Yes, new growth is notoriously difficult to condition and even though it looks amazing in a design the cellular structure is not developed enough to remain fresh for long. I have a work-around for you! See page 75 - it works really well and looks amazing.
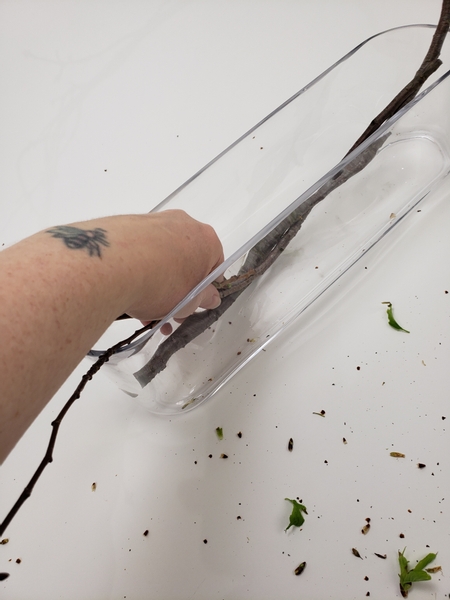
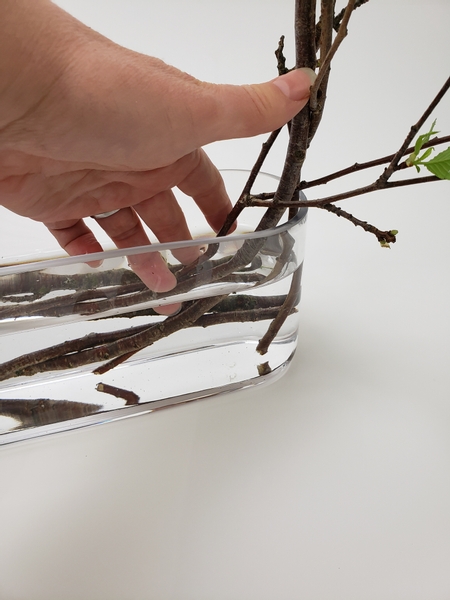
Add in another branch, this time from the other side. Twist the branches so that they are entertwined.

Curve the branches to connect at the top...
Shape the branches into a wreath. For more information on how to weave a wreath see the Tutorial below.
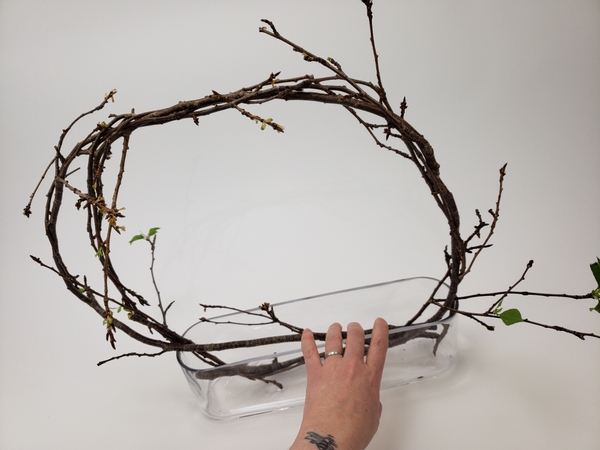
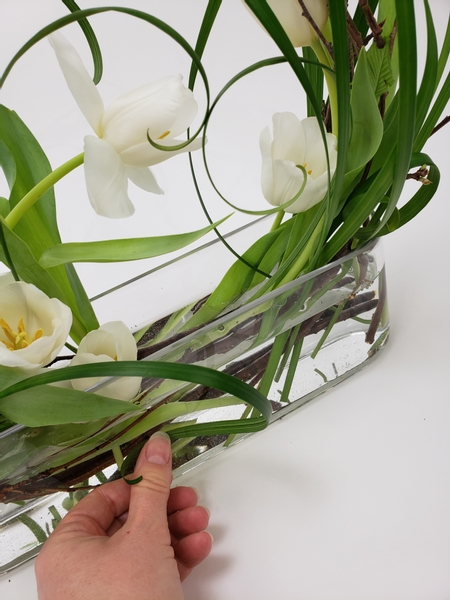
Make sure the cut ends of the branches are securely wedged into the container...
Fill the container with water...
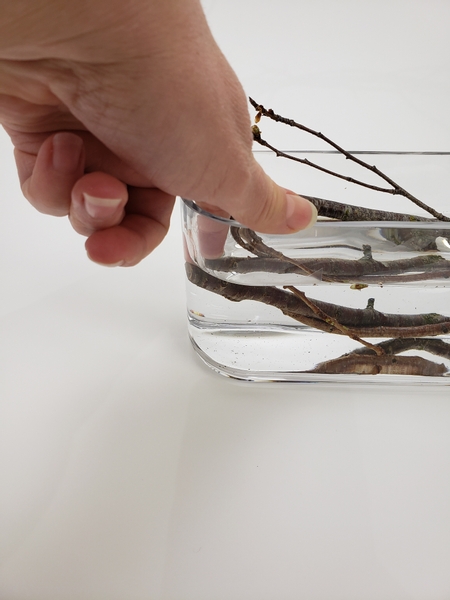
Make sure the cut end of the branches are under water...
... So that it can continue to sprout the gorgeous new growth and remain hydrated.

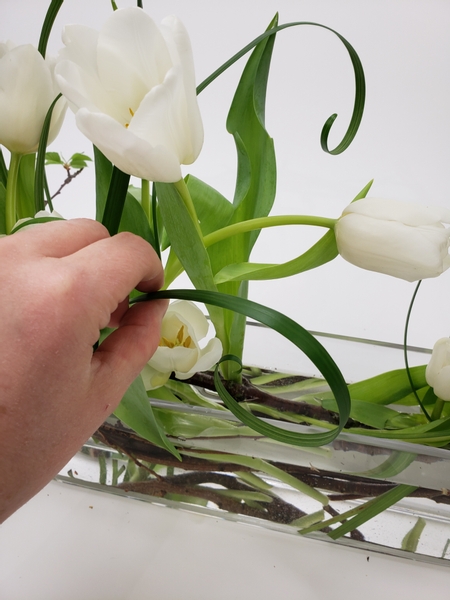
Add the tulips so that they stand upright with the help of the wreath.
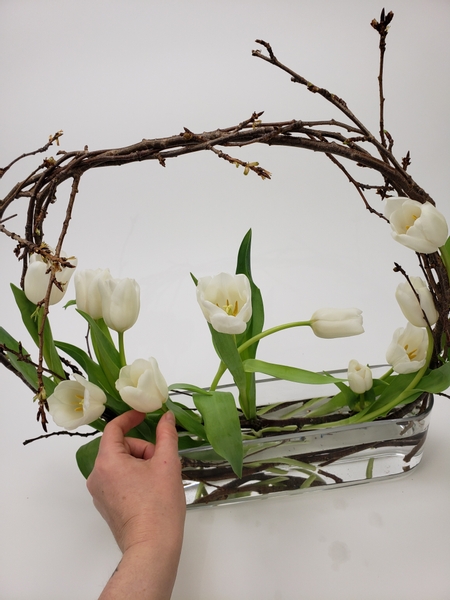
I divided my design into two... one half curving up the one side and the other curving up the other.
...and a tulip to bridge the gap. But this design relies on positive and negative space to convey my message. See this week's notification email where I discuss a way to do this with your plant material. And for a hint to my message. If you are not yet signed up to receive your weekly notification email with a bit more information on what makes each particular design work you can do so with the button below this post.
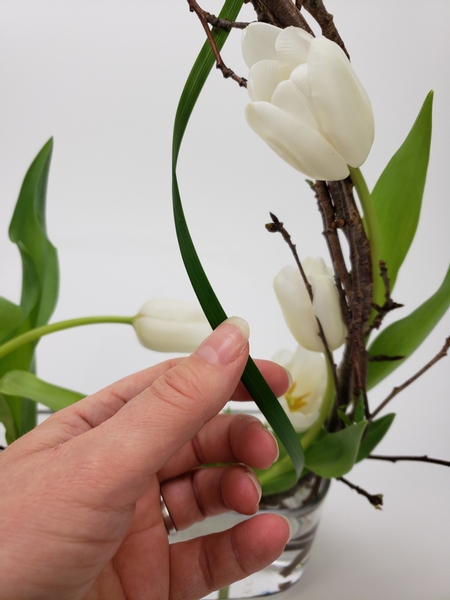
Curve in grasses.
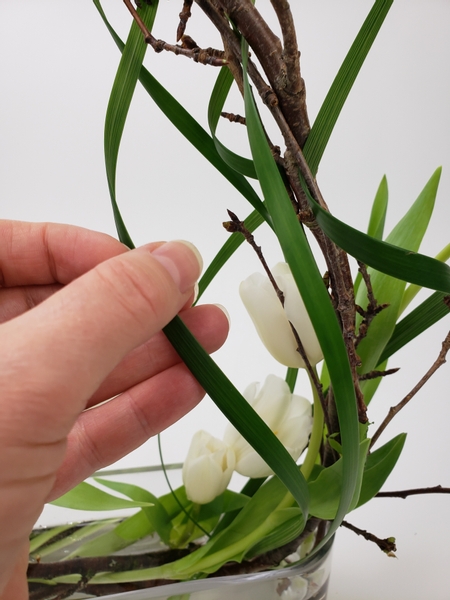
Anchor the grass with the help of the wreath below the water line...
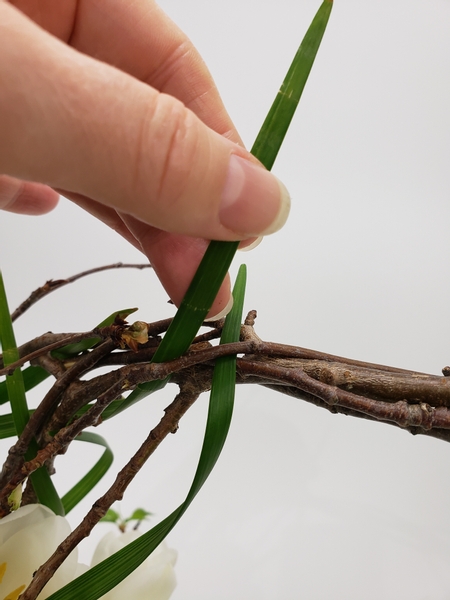
... And through the wreath to secure it at the top.
Curl a few grasses to curve pointing to the gap... with two curved grasses joining in the middle to become the focal point.
Design note: for more information on curling grasses see the Tutorial below... or refer to the section in my book where I discuss manipulating grasses.
Add a few more grasses to complete the message.
Sign up for my weekly newsletter
Every week I add a new design with related tutorials. Be sure to subscribe to receive an email notification with design inspiration.


")


 I can see you")


