Christine de Beer - effortless floral craftsman
Easy twist to a tulip spiral to nestle a “we are still building this” bird’s nest in
- 22 March 2023
Whether you are digging over a few beds, now that the ground is warm enough, or repotting a few pot plants, you will probably find a few roots... perfect to craft this dainty little nest.

Line a ball shaped bowl with kitchen paper.
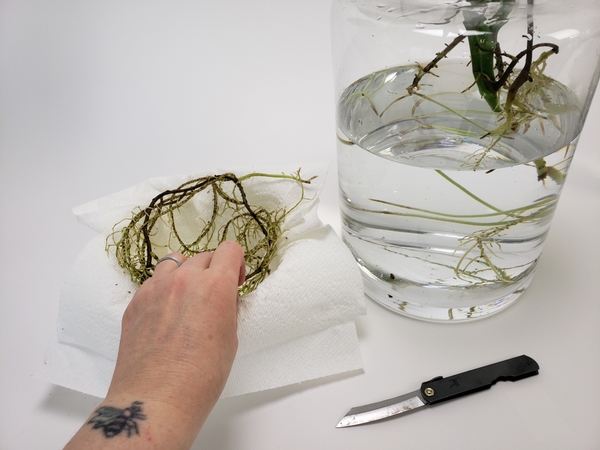
Place a few roots to follow the shape of the bowl. Mine is cut from my Monstera plant that I am growing hydroponically. But you can use any roots. Simply rinse them and shape the nest inside the bowl.
Book readers: If you are not growing anything with a few roots to spare, you can find an alternative on page 350 of my book. This is also a good alternative if the nest might get wet.
For more information about my book: The Effortless Floral Craftsman
Set the roots aside until dry. It will dry perfectly to follow the shape.
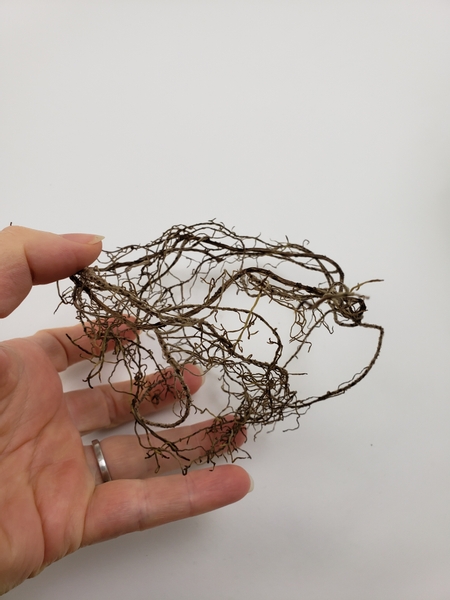
Design note: you can add as few or as many roots as you want. I wanted a nest that looks like the birds are still busy building their nest... so I made it slightly unfinished. Once the roots are dry, they can be lifted from the bowl and will hold this shape.
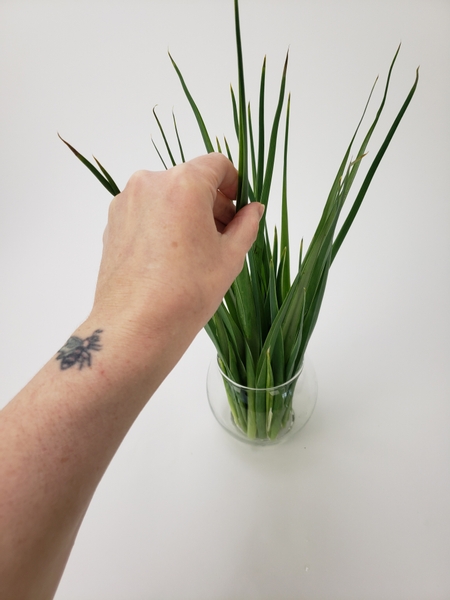
Place a handful of grass or iris leaves into a small container.
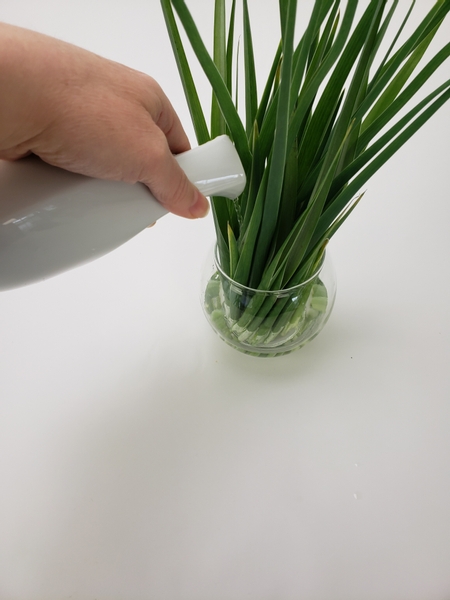
Fill the container with water.
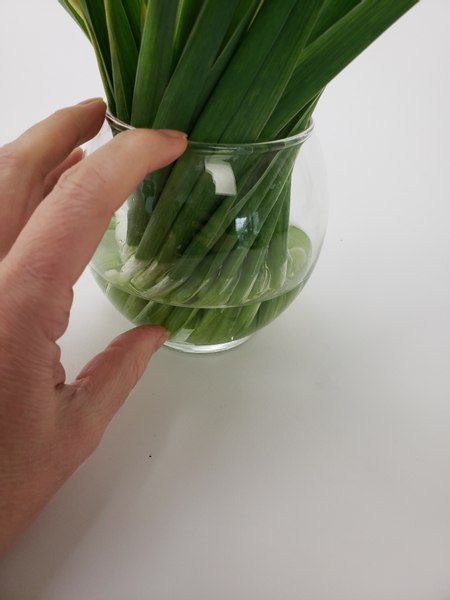
To create the spiral and the opening for the nest gently tickle the leaves to move them to lean slightly to one side...
Turn the vase (you do not need a turntable- simply move the vase) and continue to tickle and tap the leaves lightly. It will start to spiral, perfectly opening up in the middle as they fall.
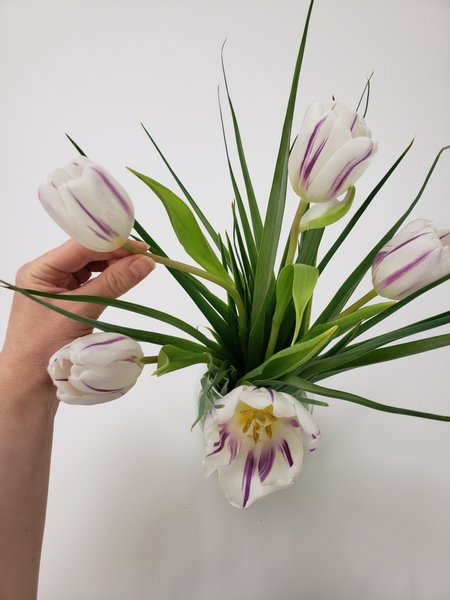
Add the tulips to spiral with the leaves.
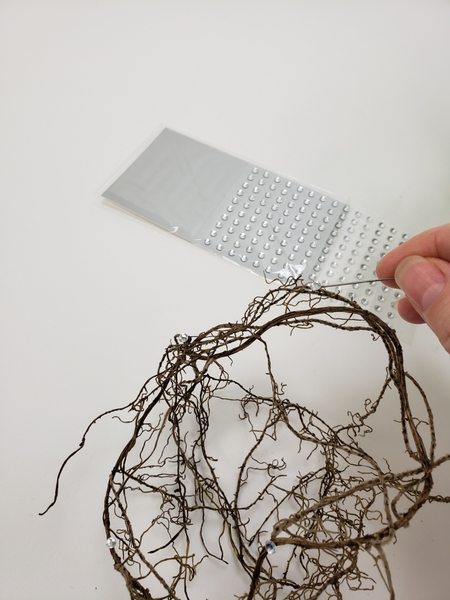
Add a few dew drop crystals to the root nest.
See the Tutorial below for more detailed instructions on how to add the crystals to the delicate root nest.

Set the delicate root nest into the gap in the middle of the design.
If you look carefully at the design you will notice that it is not quite at the middle and not quite leaning the same all the way around. Add a bit of interest by creating a bit of height to one side of the spiral. I tell you more about this in this week's email. You can sign up below if you are not yet receiving your email every Wednesday morning.
Sign up for my weekly newsletter
Every week I add a new design with related tutorials. Be sure to subscribe to receive an email notification with design inspiration.


