Christine de Beer - effortless floral craftsman
Spiral twig frog
- 22 May 2012
- and more
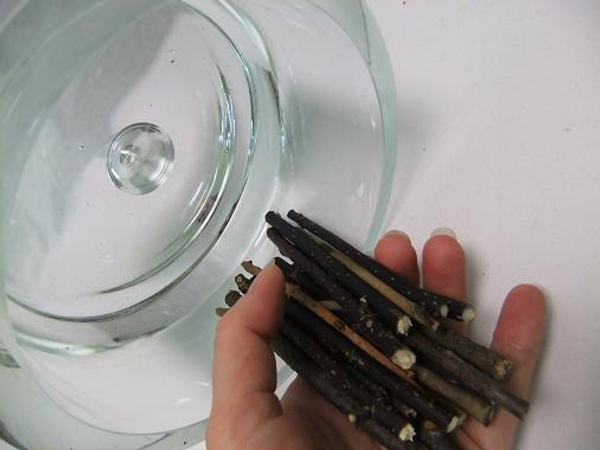
Place the vase on its side. Start adding dried twigs.
Add another handful of twigs
and more twigs...
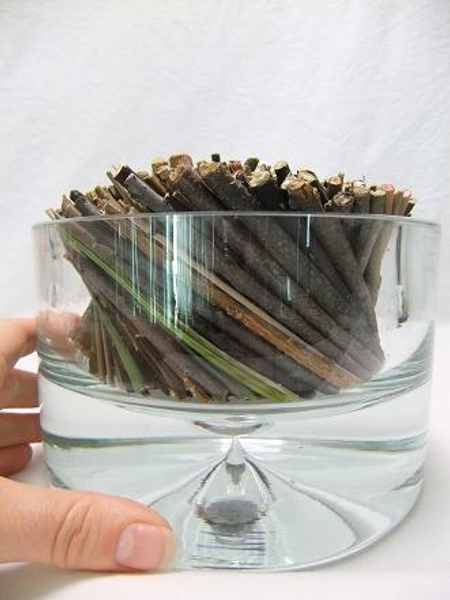
and more twigs. I used willow, dogwood, rose, hydrangea stems, dried chrysanthemum (dyed pink) and Mikado Reeds
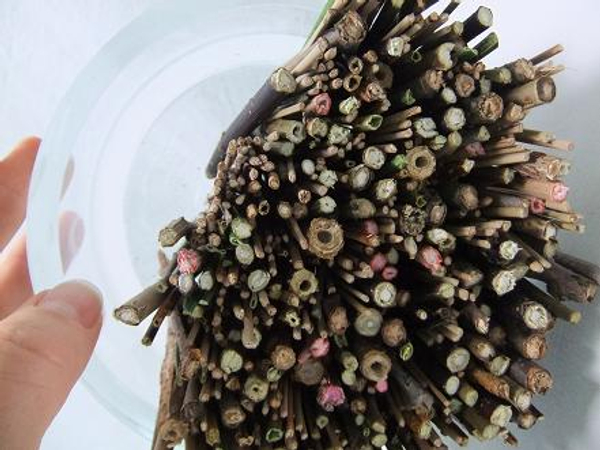
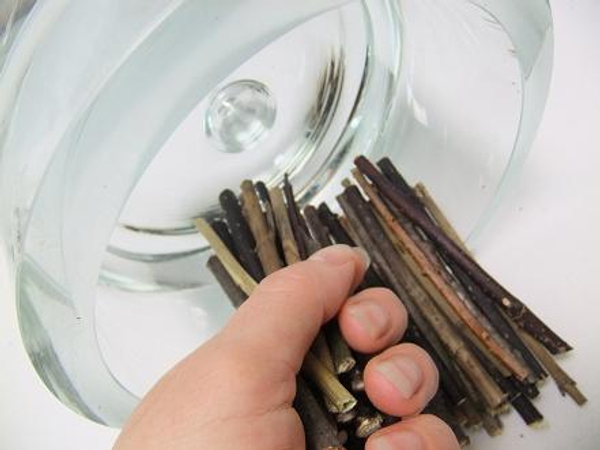
Fill just over 3/4 of the vase with twigs
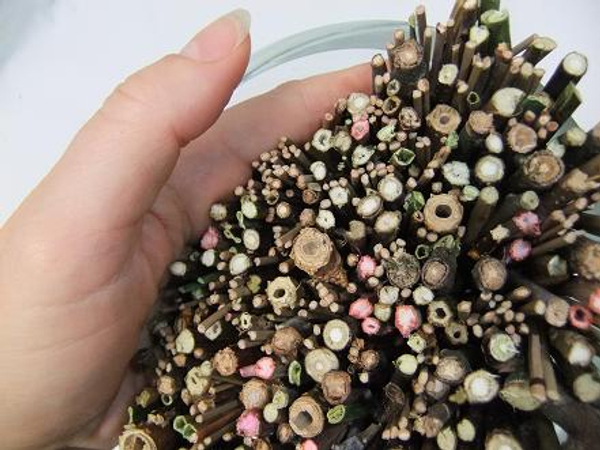
Keep the twigs in place with your hand and set the vase upright.
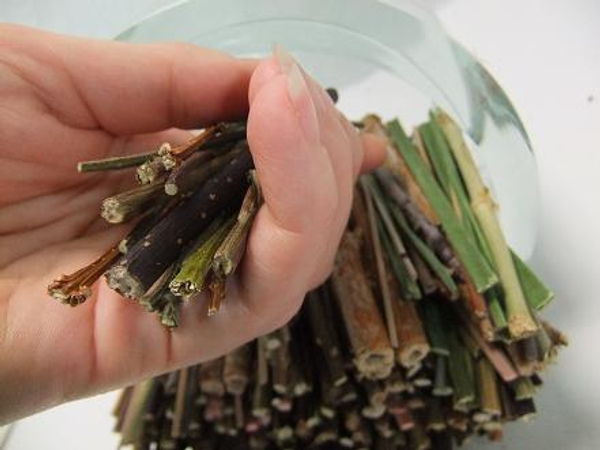
Let the twigs settle but not fall over. Gently brush the twigs with your hand guiding them to fall into the spiral shape.

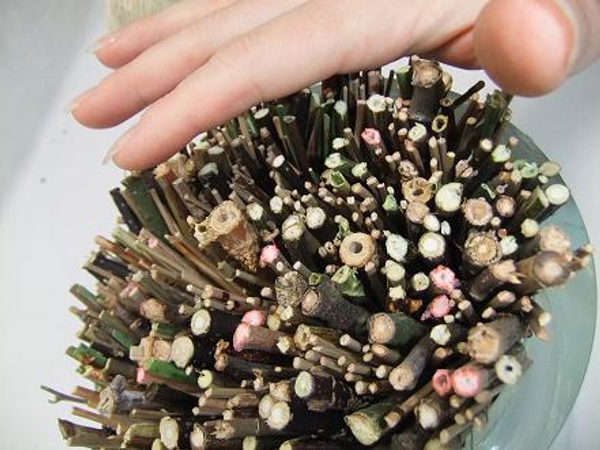
Softly pat the twigs to settle in a spiral. Pat the outer twigs first to press them deeper than the twigs in the middle to create a slight dome.
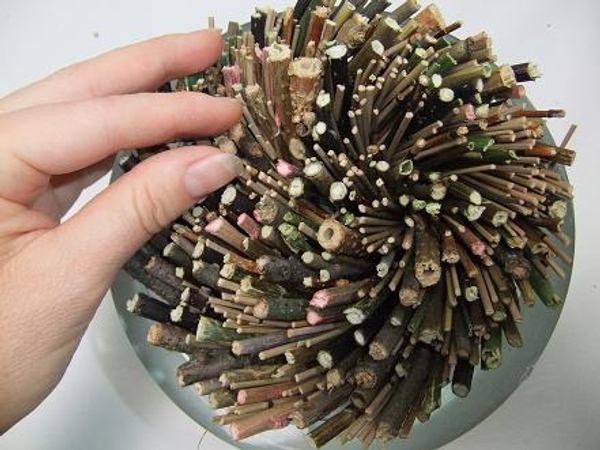
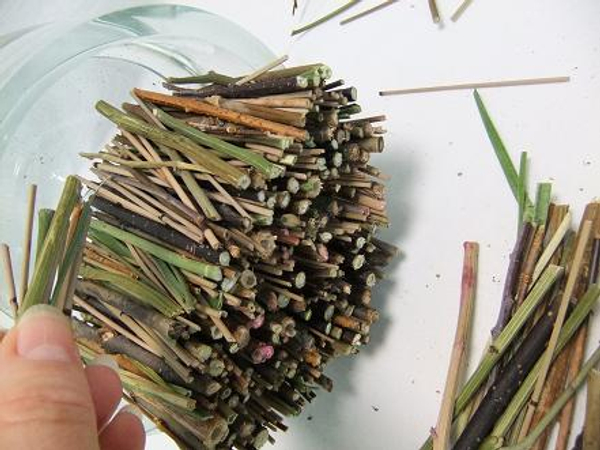
When perfect, pour in a bit of warm water to let the twigs swell into place.
Add a bit more water for the leaves and flower buds after the warm water is absorbed.
Sign up for my weekly newsletter
Every week I add a new design with related tutorials. Be sure to subscribe to receive an email notification with design inspiration.


