Christine de Beer - effortless floral craftsman
Racked up dried Twig Snippets to display a few flower buds
- 18 August 2021
- and more
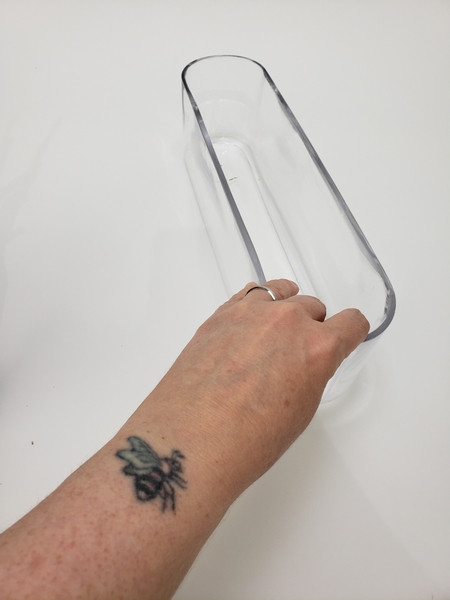
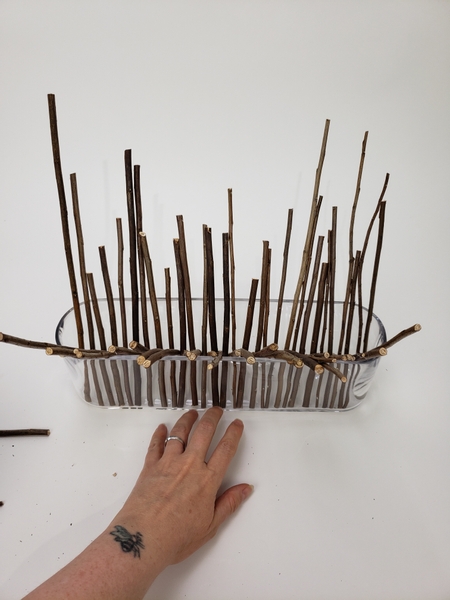
Place a long and deep container on your design table.
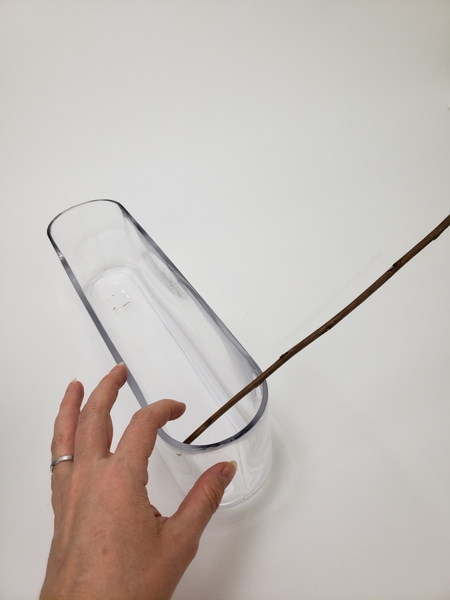
Place a twig at an angle in the container.
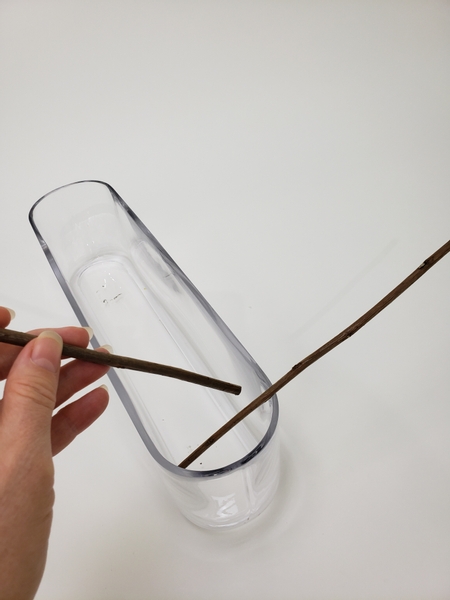
Place the next twig to face the opposite way.
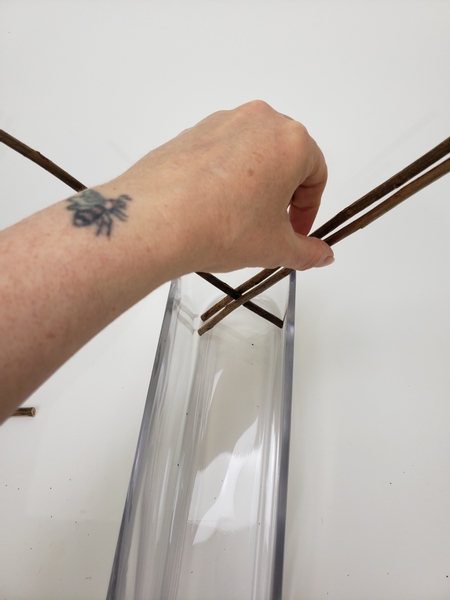
And the next one facing the other way.
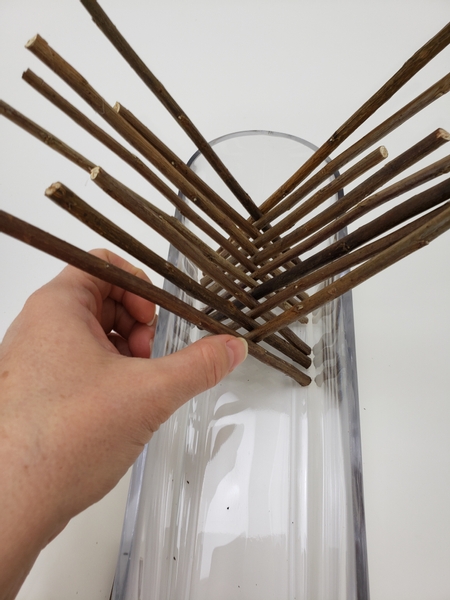
Keep adding twigs to build up the armature.
Keeping the angle to create a neat line that runs through the middle.
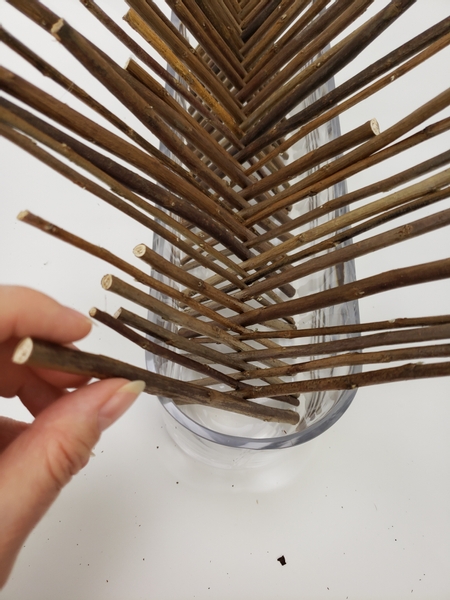
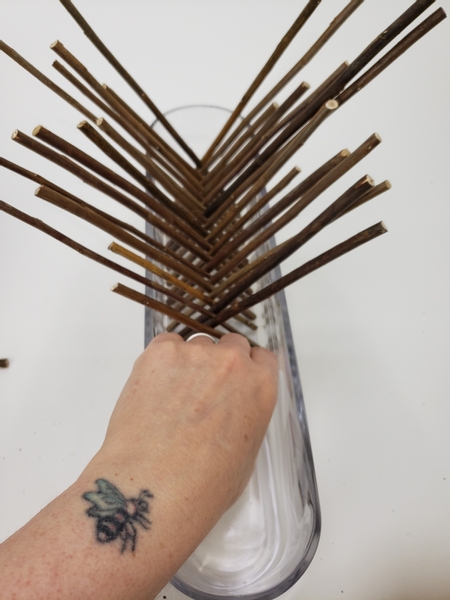
Rack up the twigs right up from one end to the other.
Creating a fun armature to design with...

Fill the container with water.
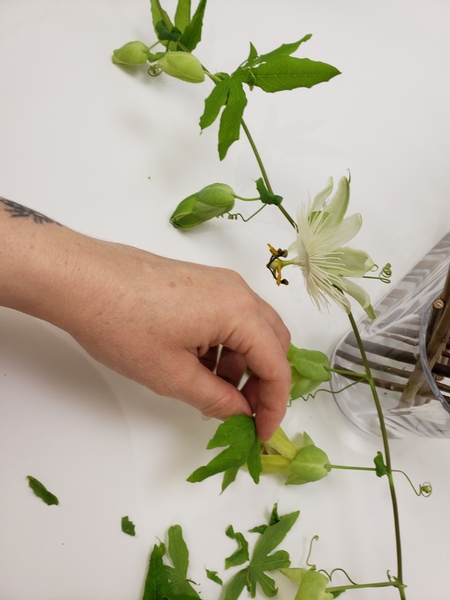
Remove the foliage from the vine
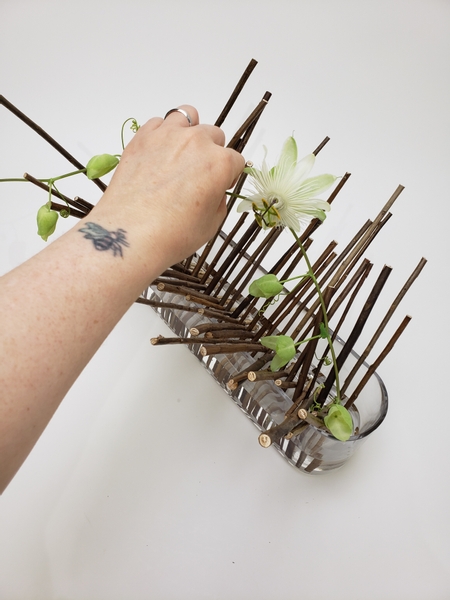
Drape the vine over the twigs.
... oh... urhm... well... vines grow rather aggressively even after it has been severed from the plant. to keep the armature neatly stacked they will need a bit of support.
My solution is to add a tiny drop of glue to secure the twig to the vase where the vine might move.
I wanted to explain in a bit more detail so I moved the conversation to our email this week. Especially an easy way to make the glue less visible when you display the design. Make sure you are signed up to receive a bonus, design specific tip email every Wednesday- the moment the design is ready for you. The sign up button is below this post.
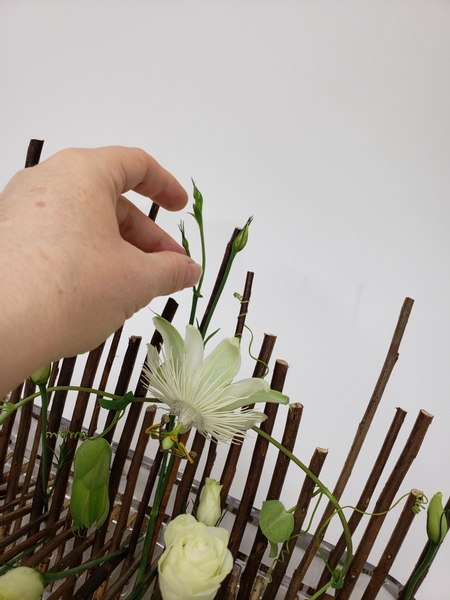
Add in the lisianthus buds.
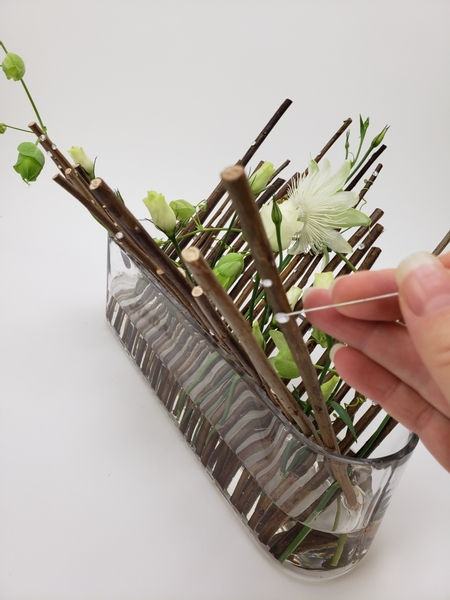
Glue in a few dew drop crystals.
There is a Tutorial below if you are curious as to why I use a pin to add the crystals.
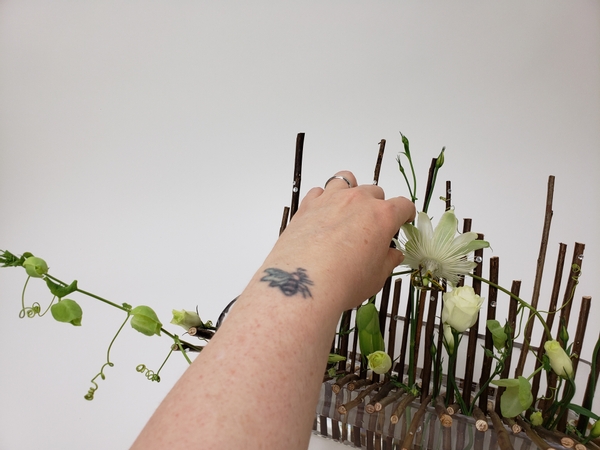
And make sure the flowers drape along in an upright direction with the armature lines to keep it tidy.
Following the basic rules of how flowers grow in your design makes the work look a bit more natural. To read more about this turn to page 273 in my book where I talk about crafting an illusion.
For more information about my book The Effortless Floral Craftsman
Sign up for my weekly newsletter
Every week I add a new design with related tutorials. Be sure to subscribe to receive an email notification with design inspiration.


 in place")


