Christine de Beer - effortless floral craftsman
Spiny Twig Porcupine Armature
- 2 October 2013

Cut a large cardboard circle
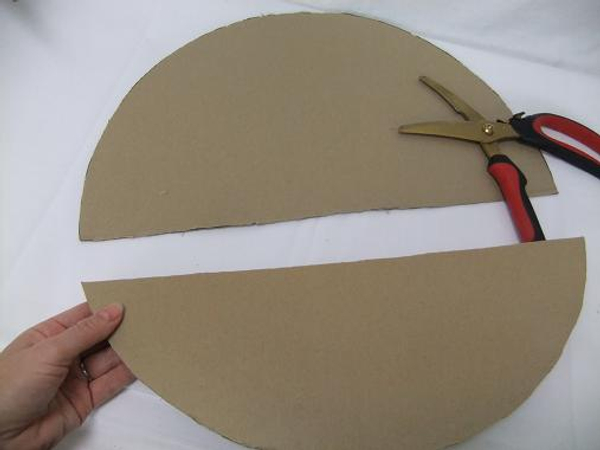
Cut the cardboard circle in half
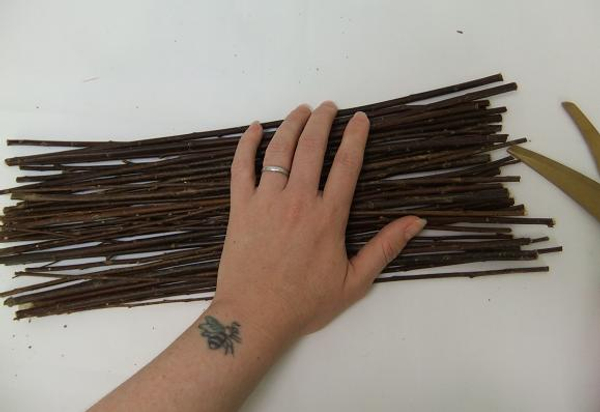
Cut a few twigs...
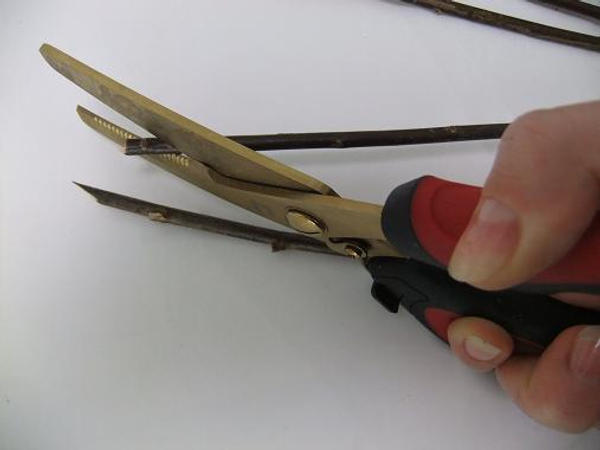
Cut the one end at a very sharp angle
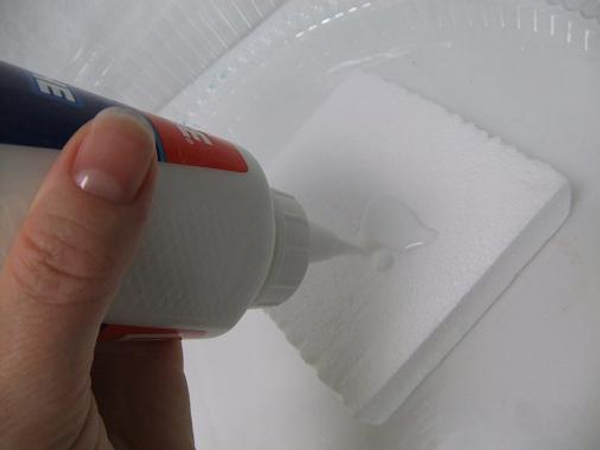
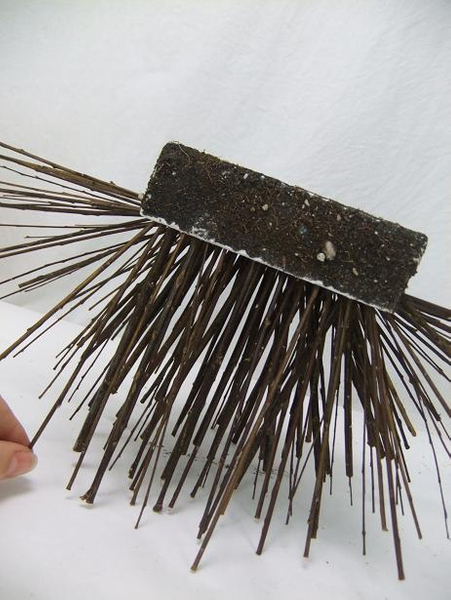
Pour out some wood glue to cover a Styrofoam block.
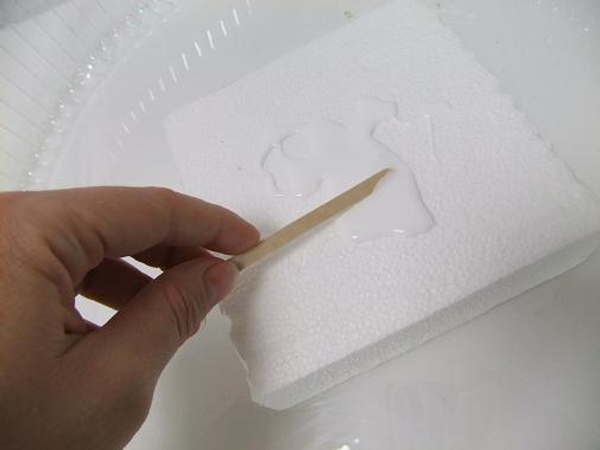
Spread the glue evenly on all four sides
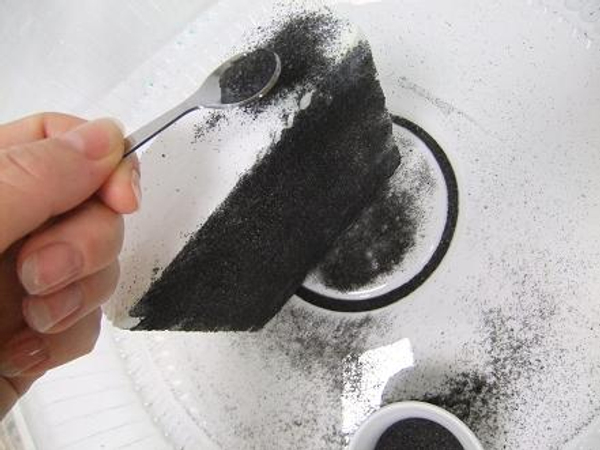
Sprinkle an even layer of black sand on the block while the glue is still wet
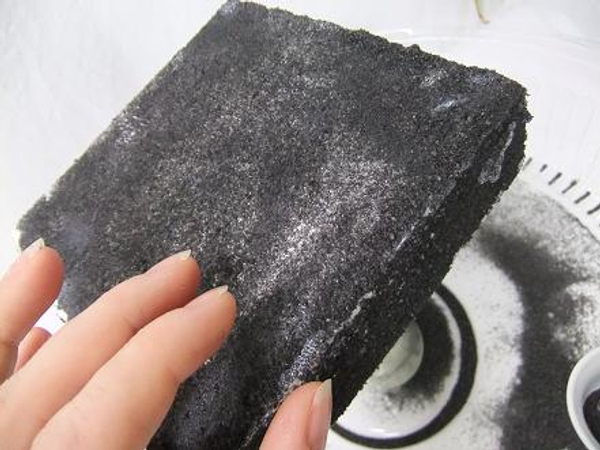
Set the block aside for the glue to dry.
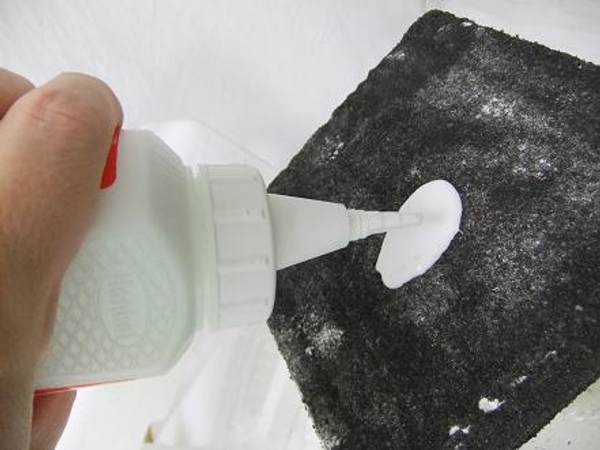
Pour out some more glue...
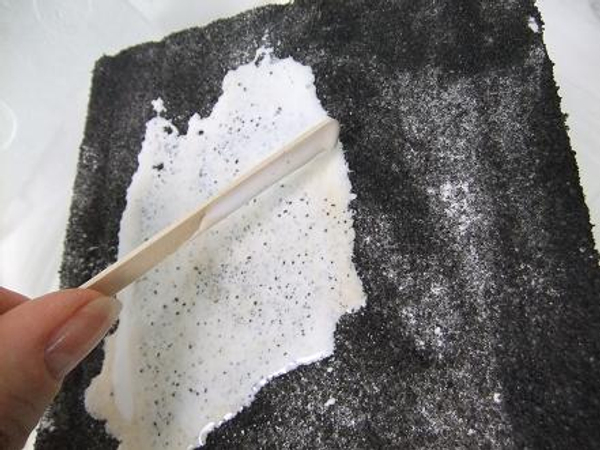
... and spread it evenly over the block.
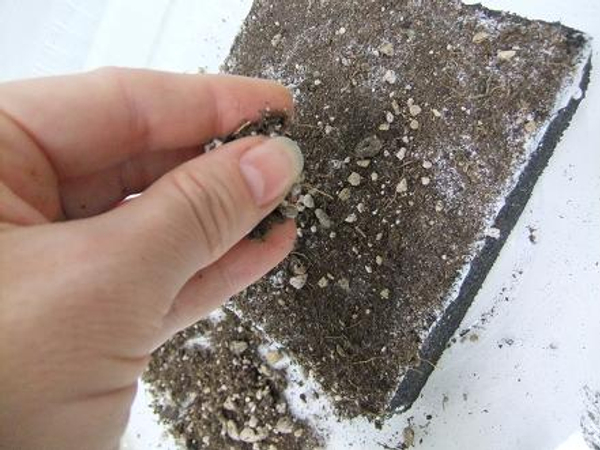
Sprinkle all four sides with potting soil and set aside to dry completely.
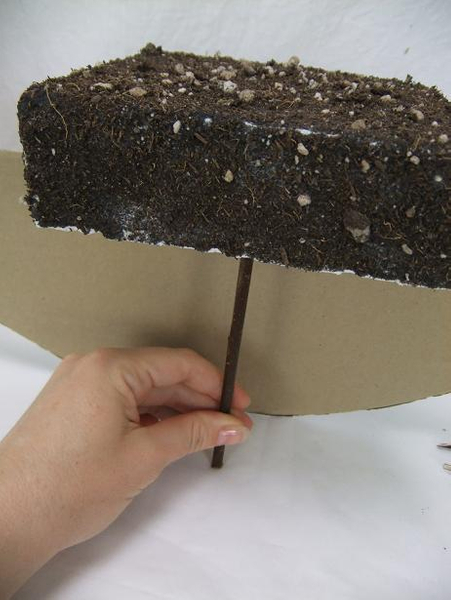
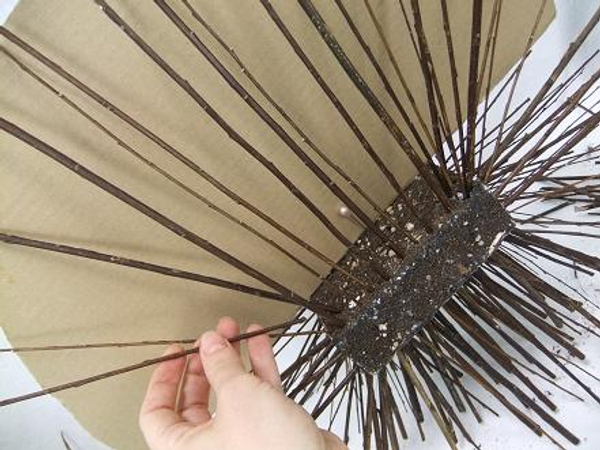
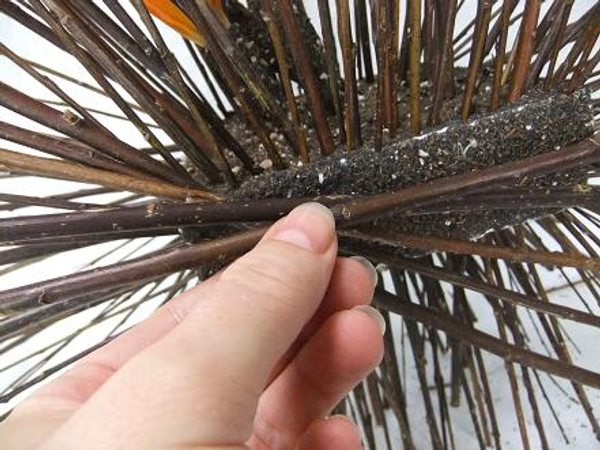
Fit the one half of the cardboard under the block. Spear the first twig into the Styrofoam block.
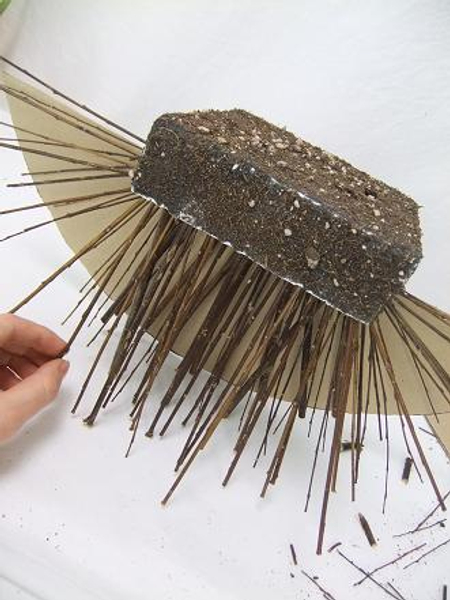
Add a few more twigs. Continue to follow the outlines of the cardboard circle.
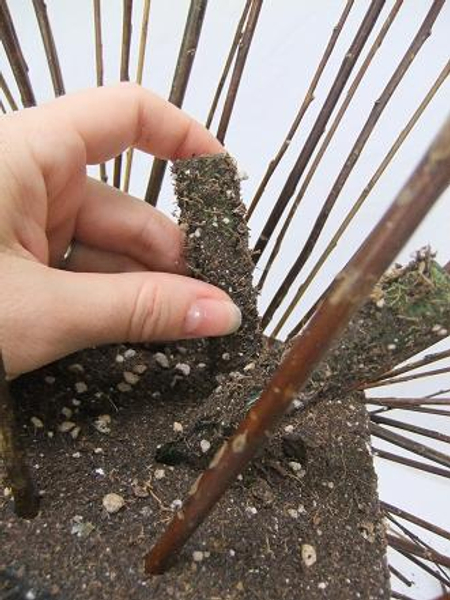
Remove the cardboard and add or adjust the twigs to make sure the armature is secure
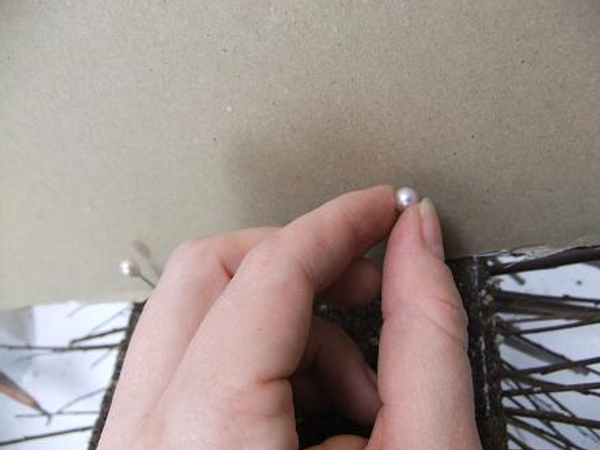
Place the cardboard on the foam block and secure with four pins
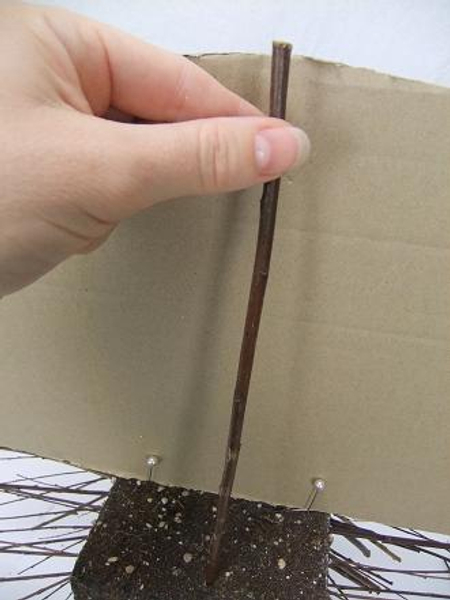
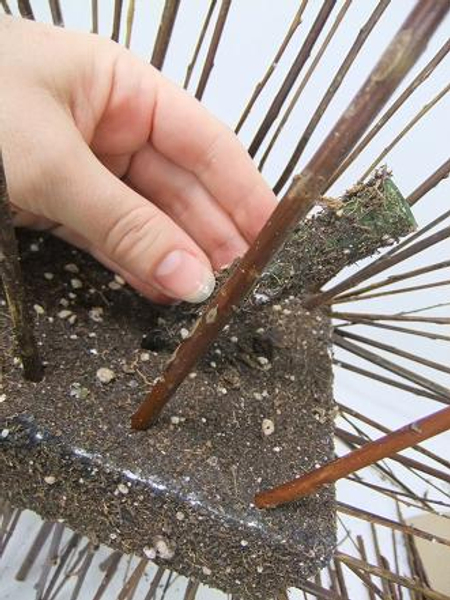
Spear in the first twig...
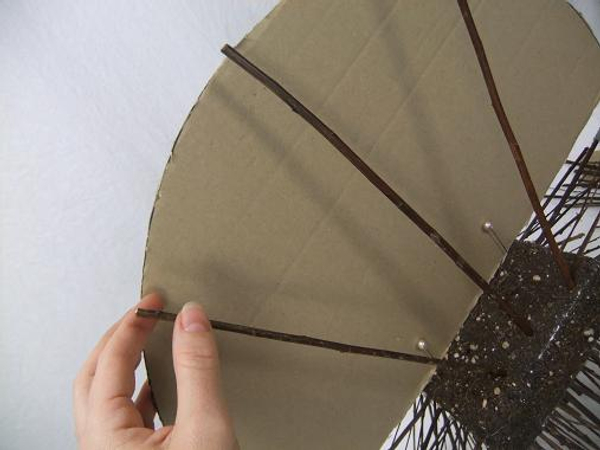
Spear in two more twigs...

Spear in a few more twigs...
And a few more twigs...
Spear in a test tube. I covered the three test tubes with potting soil (see Tutorial below)so that they are almost invisible against the Styrofoam block
Add a few more test tubes
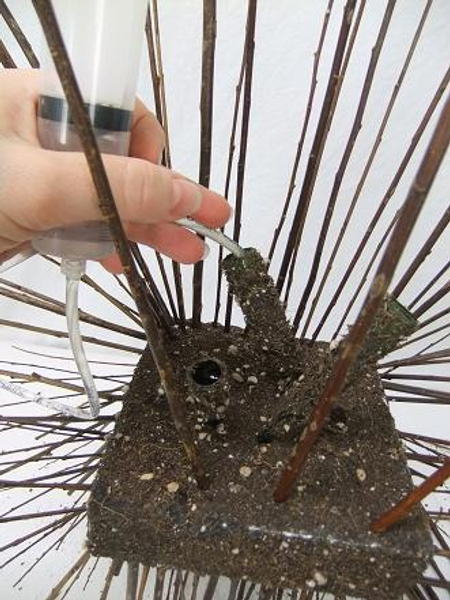
Fill the test tubes with water
See Tutorial below for information on how to make your own "syringe with tube"
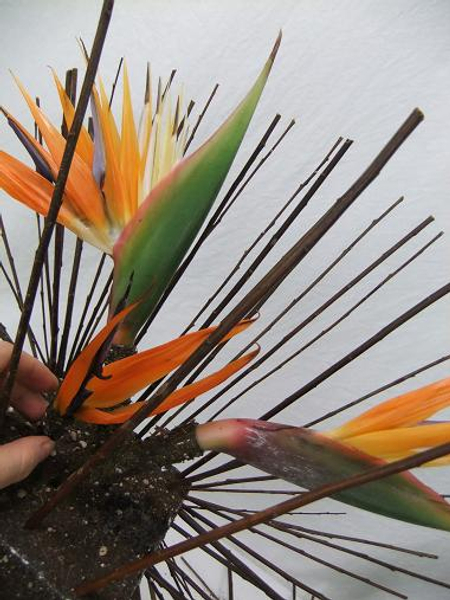
Add the fresh flowers
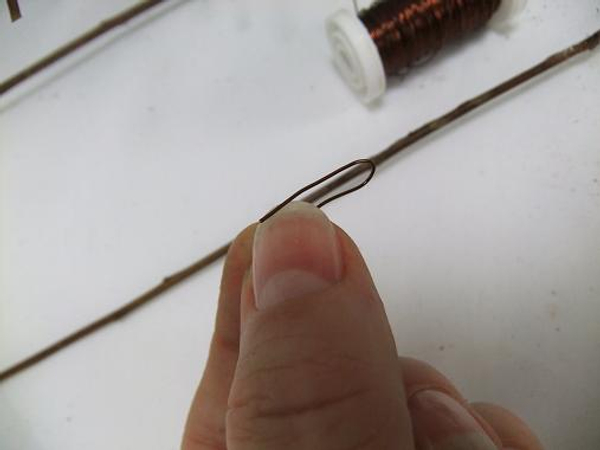
Bend a wire into a hairpin or "U" shape to pin more twigs in to place.
Pin a few twigs to hide most of the foam block

Spear in a few more twigs to complete the shape. Wrap a few twig ends with blue wire to pick up the colour from the flowers
See Tutorial below for more information on wrapping twigs with wire.
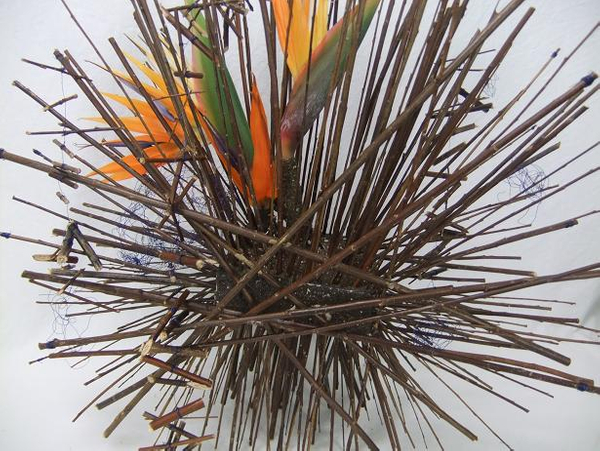
Add a twig garland, a few bits of wire and finish the design with a few fall leaves.
Sign up for my weekly newsletter
Every week I add a new design with related tutorials. Be sure to subscribe to receive an email notification with design inspiration.


