Christine de Beer - effortless floral craftsman
Sticks stuck in a ground covered foundation
- 26 November 2014
- and more
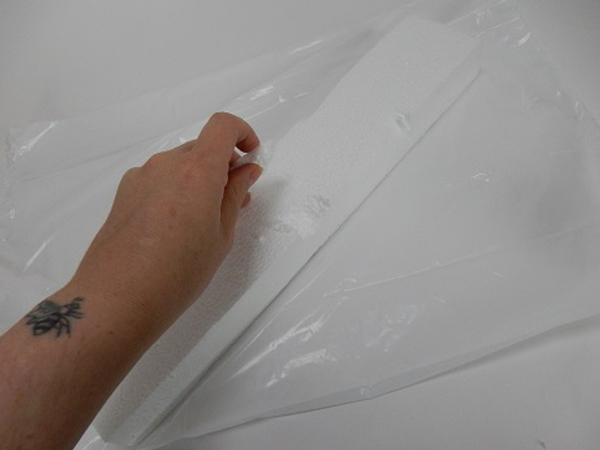
Break the edges of a long piece of styrofoam to create a natural looking shape
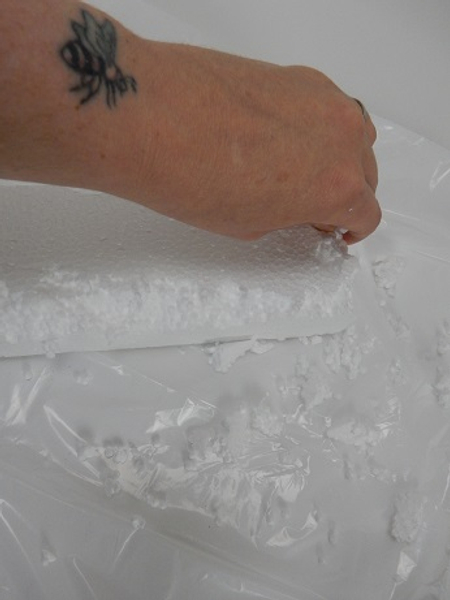
Move around the Styrofoam and pinch away the neat sharp edge.
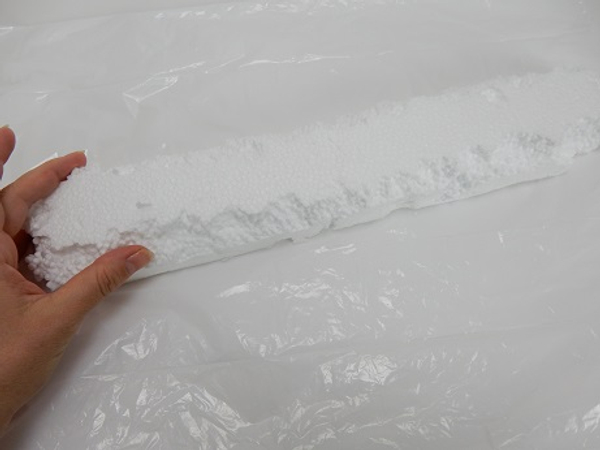
The rough edged polystyrene.
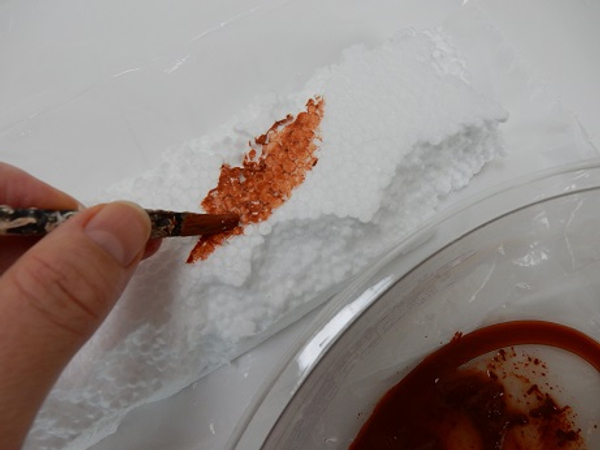
Paint the Styrofoam shape brown
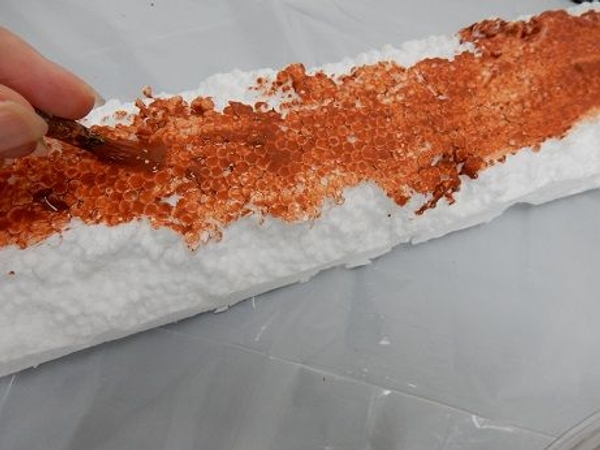
No need to be perfect, the shape will be covered in potting soil
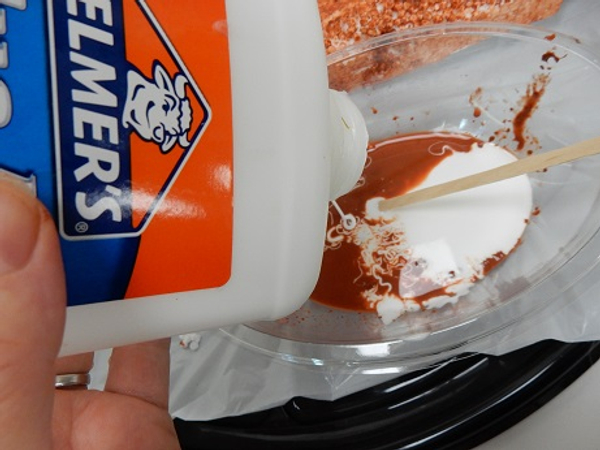
Pour wood glue and warm water in the paint bowl.
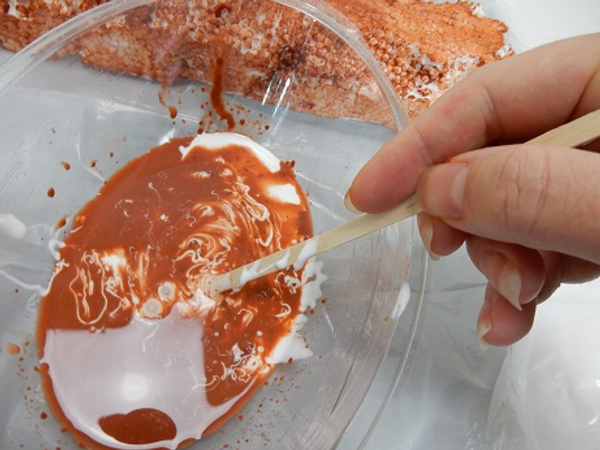
Mix to create a runny brown glue.
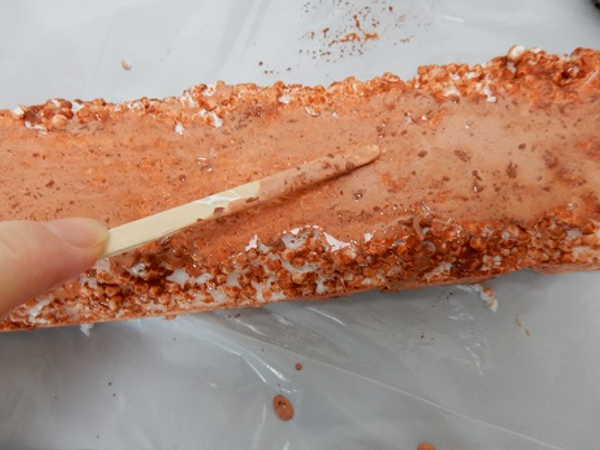
Spread the glue on the Styrofoam shape
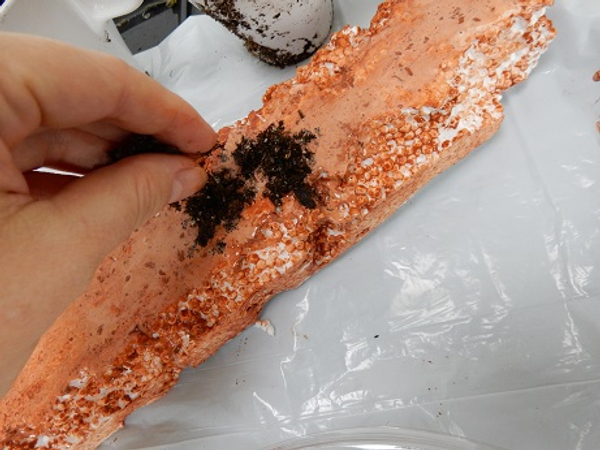
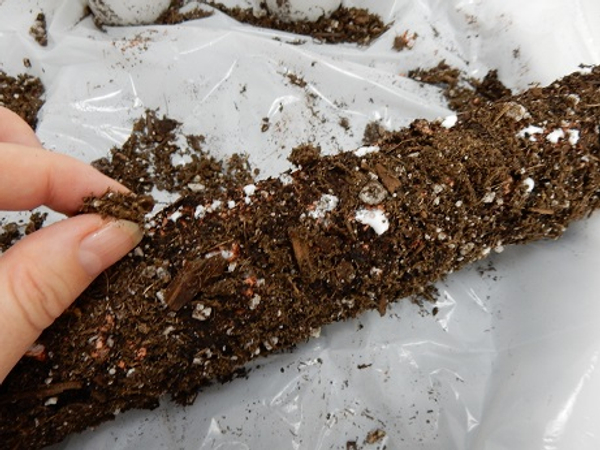
Sprinkle some potting soil on to the wet glue
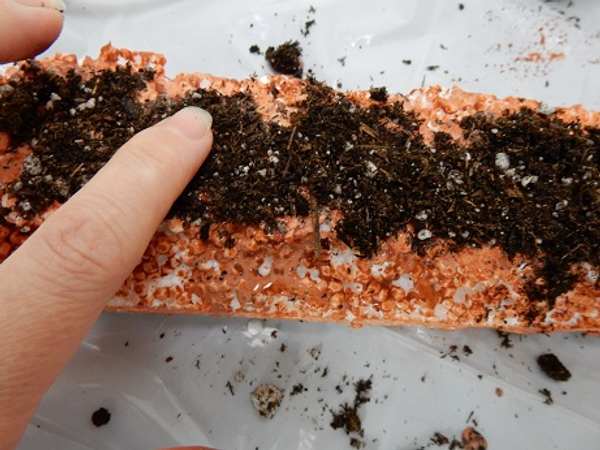
Gently pat the soil down to make sure it sticks
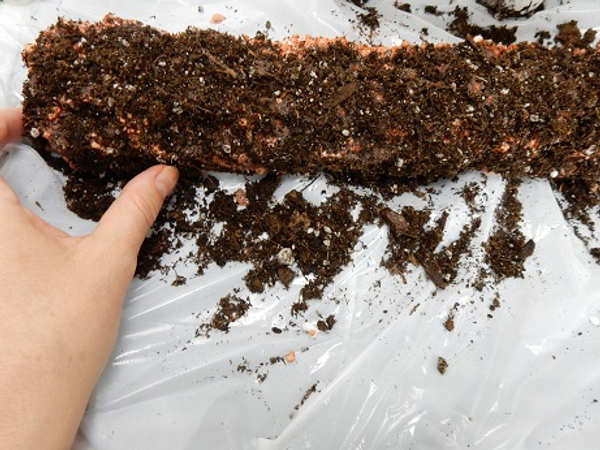
Cover the entire shape and set aside to dry
Drip some more glue on to the armature
And sprinkle more potting soil to cover any gaps
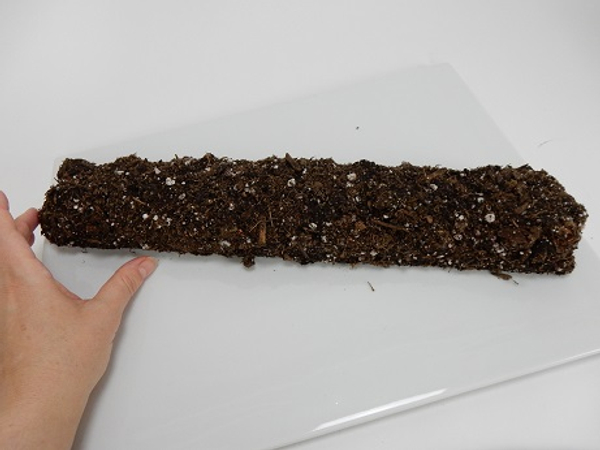
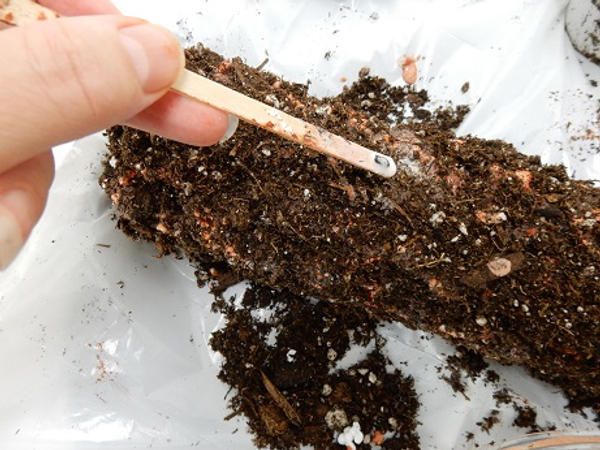
Set the ground covered foundation aside to dry completely
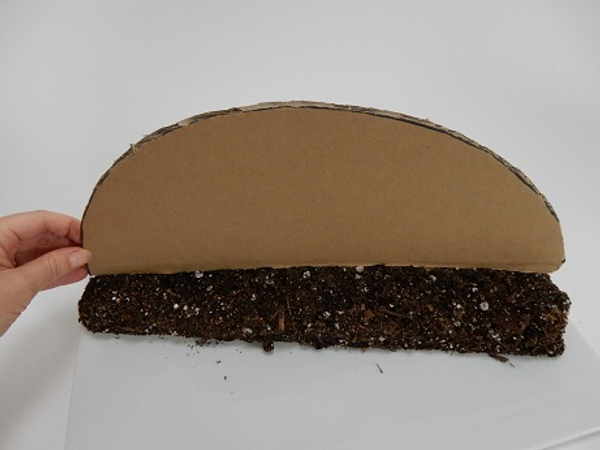
Cut a cardboard half circle that is exactly the same size as the ground foundation.
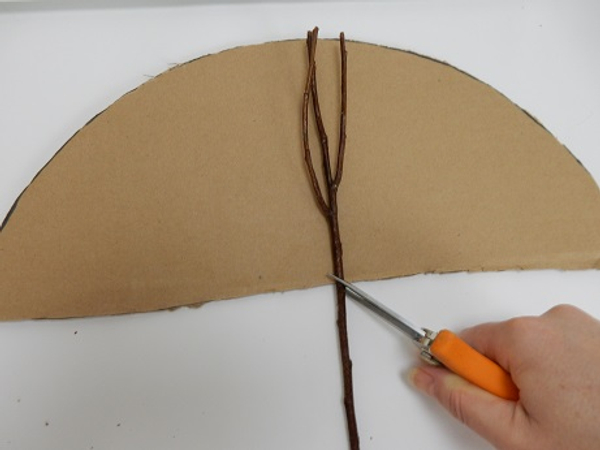
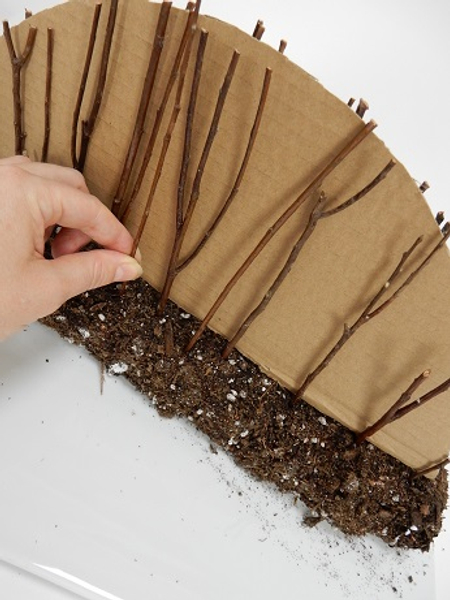
Place the cardboard on a flat working surface. Measure the twigs to conform to the cardboard shape. Add about a centimeter to the length of the twig so that you can push it into the ground covered polystyrene
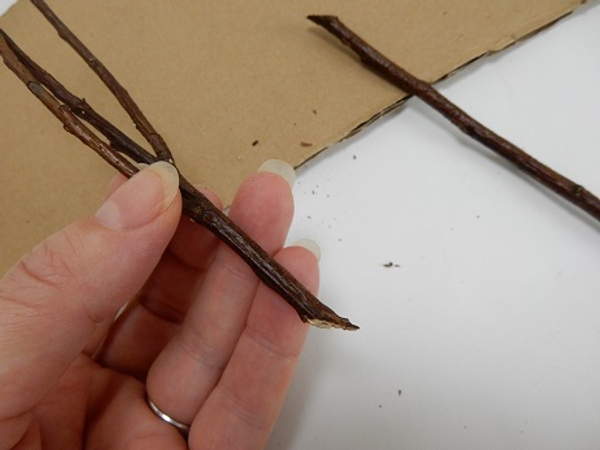
Cut each twig at a very sharp angle so that it easily spears into the polystyrene without ripping it apart
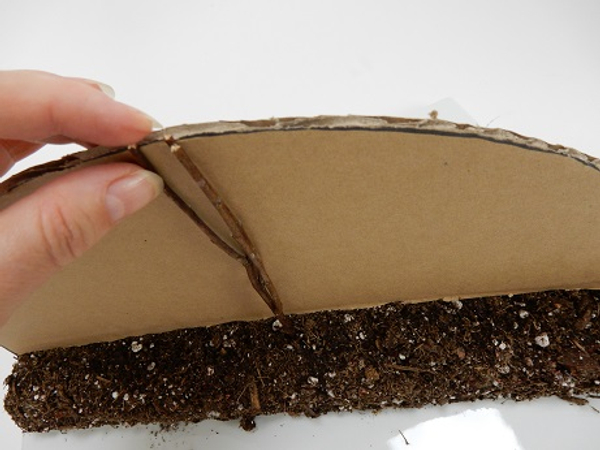
Rest the cardboard on the foundation and spear the first twig into place
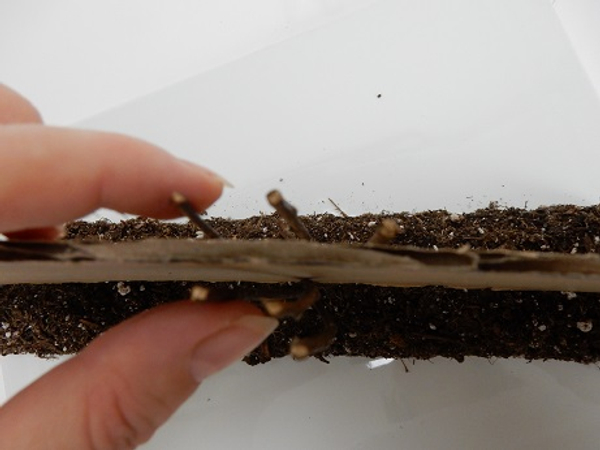
Alternate between spearing twigs at the back and the front so that the cardboard stands upright with the support of the twigs
Gently push each twig down into the foundation until it exactly match the shape of the cardboard
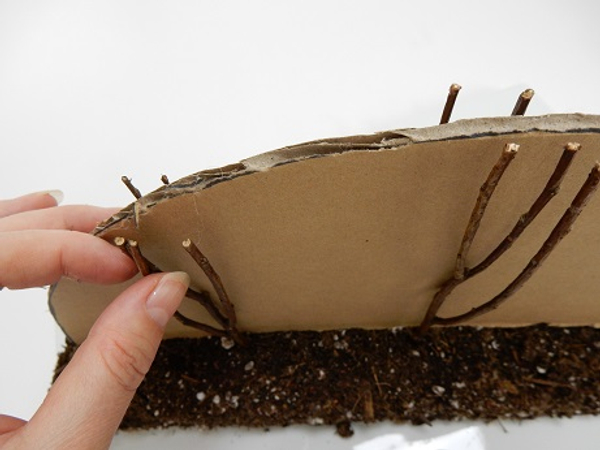
Space out the twigs to fill the armature
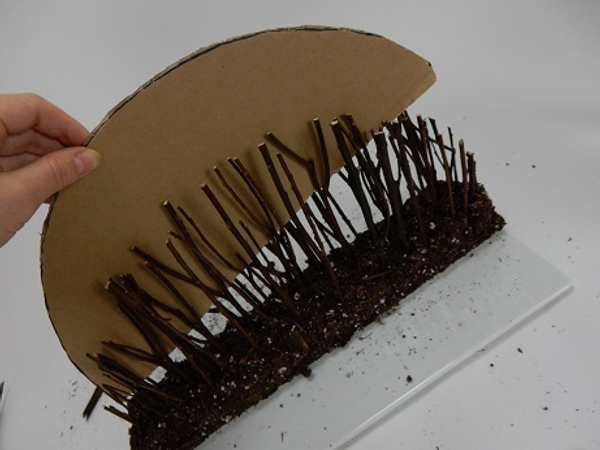
Gently lift away the cardboard
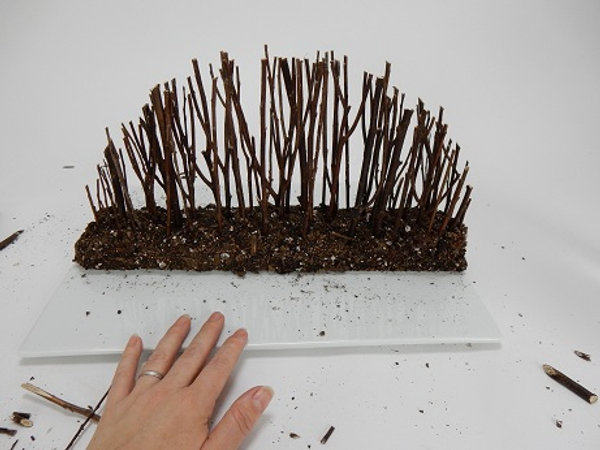
The twig armature is now ready to design with
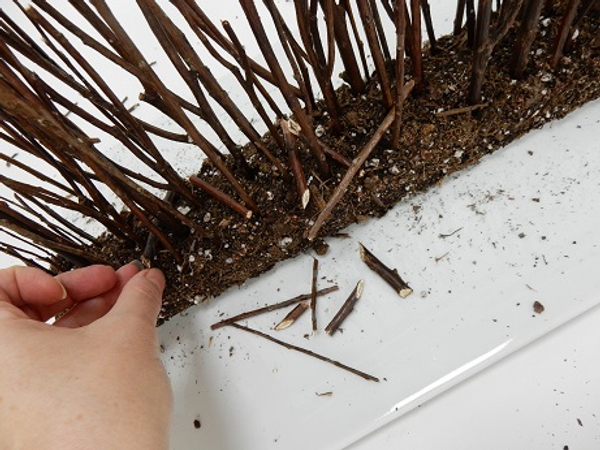
Add a few loose twigs to the foundation
Sign up for my weekly newsletter
Every week I add a new design with related tutorials. Be sure to subscribe to receive an email notification with design inspiration.


