Christine de Beer - effortless floral craftsman
Traditional book folding craft technique turned into an armature… with a me twist
- 13 September 2023
- and more
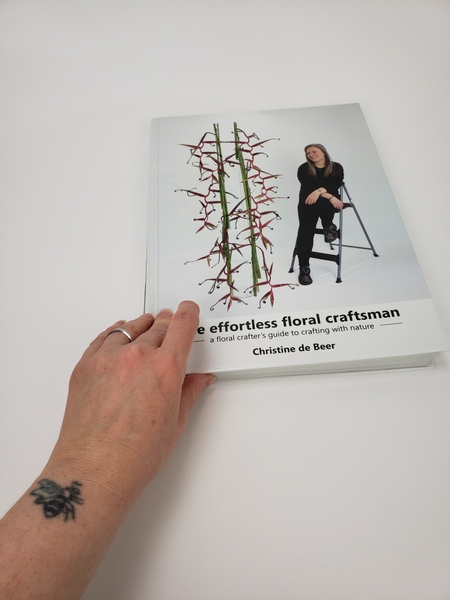
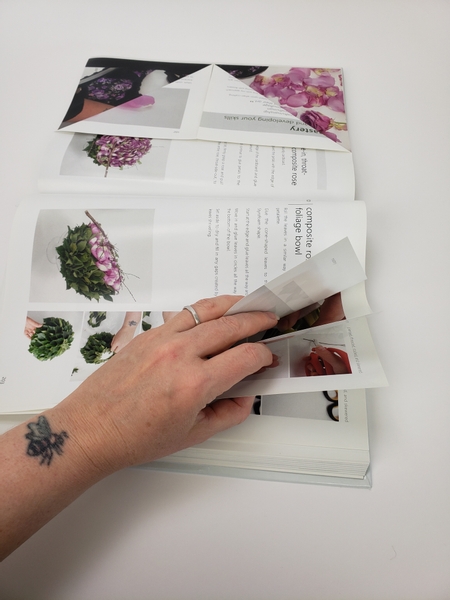
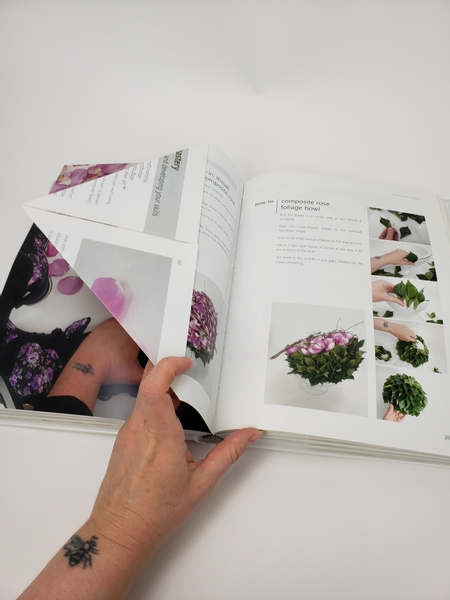
Oh yes, still my favourite. The Craftsmanship Edition of my book The Effortless Floral Craftsman is so beautiful. Each page is hand stitched and glued to fall just so to remain open exactly where you want it to on your design table. But… urgh! one tiny glue splatter and the entire book is ruined. And so I have this small stack of slightly flawed (or is that almost perfect?) books in my design room… begging to be turned into… well this week’s design, of course.
This was my design for this month's BC Floral Art Society club meeting. We were tasked with using something unusual to put our flowers in: You put flowers in what?
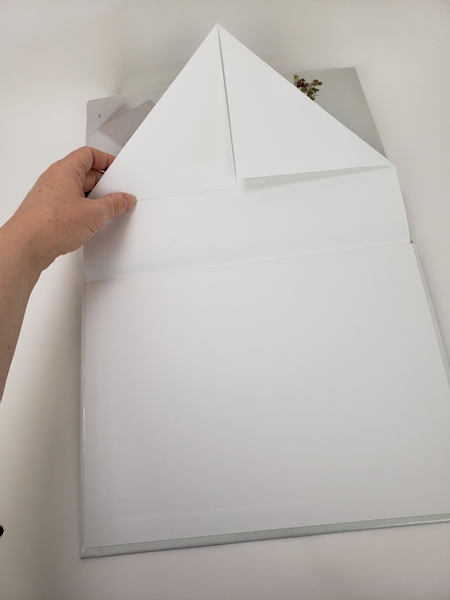
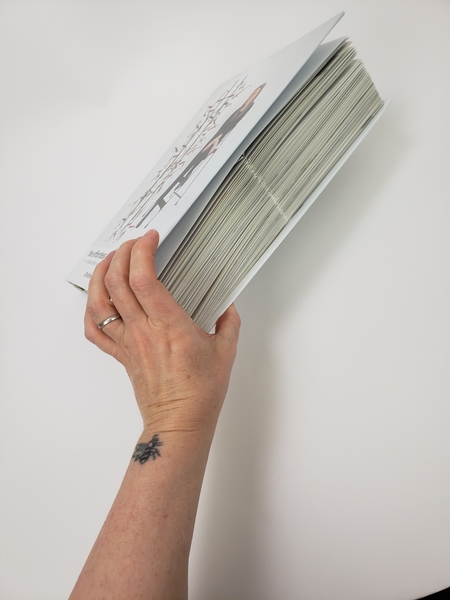
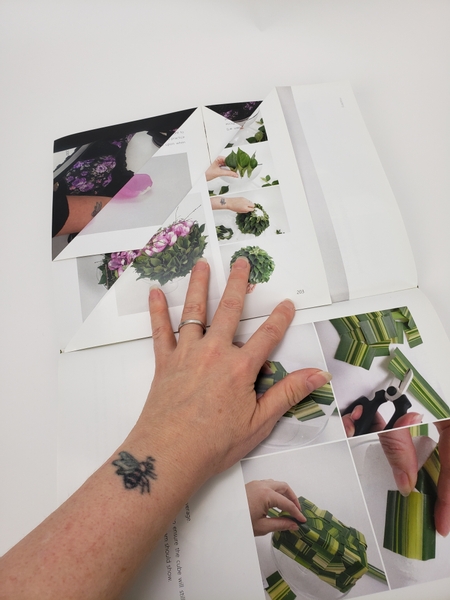
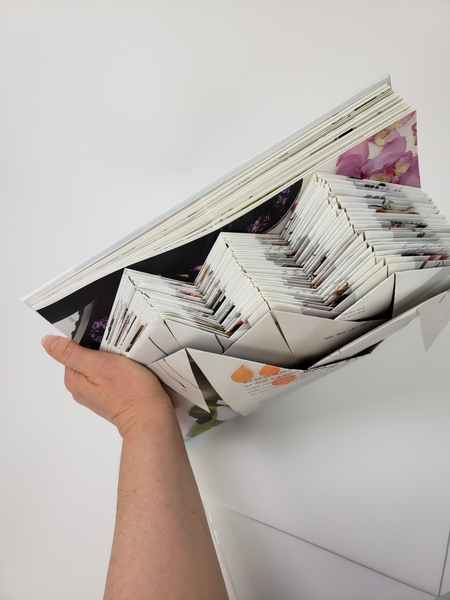
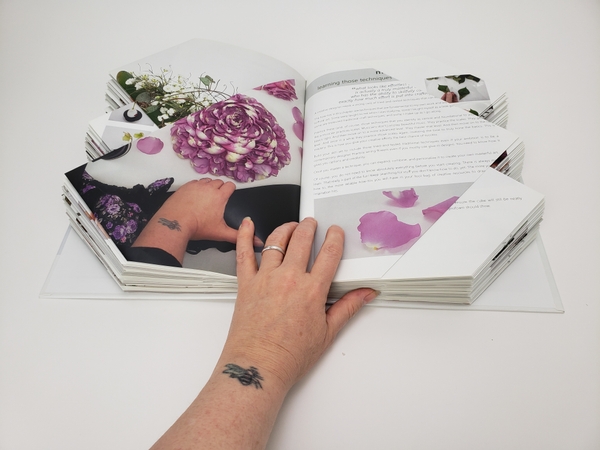
Place the book on a flat design surface.
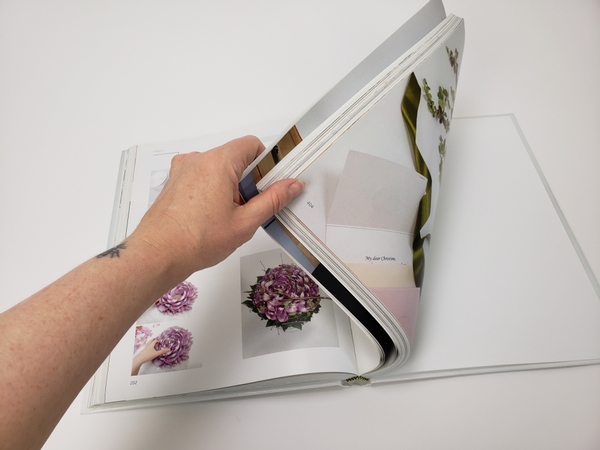
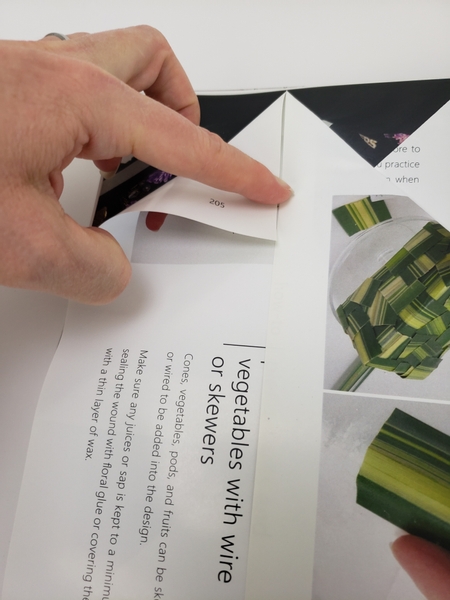
Open the book in the middle... 404 pages thick. So open on page...
202... and fold the corners in to meet at the middle of the page.
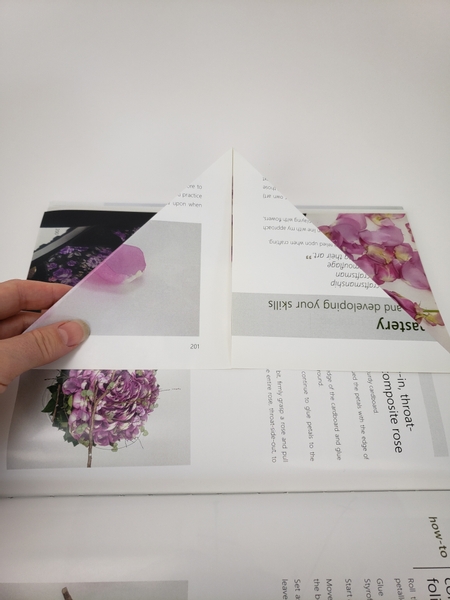
As we continue to fold remember to fold the pages towards the cover of the book.
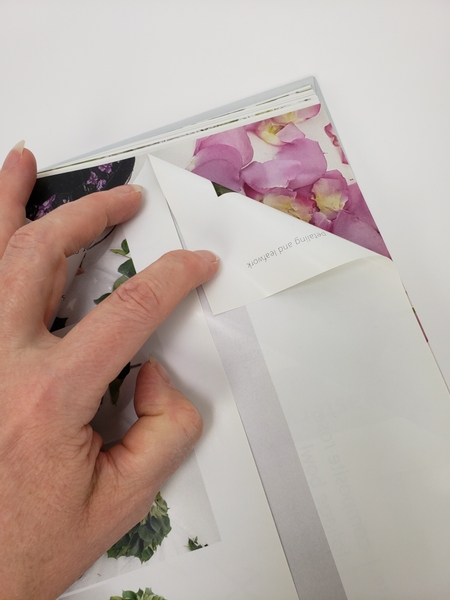
Count out three pages...
And fold the third page again corners in facing the cover of the book.

Count out three pages and fold the third in towards the cover.
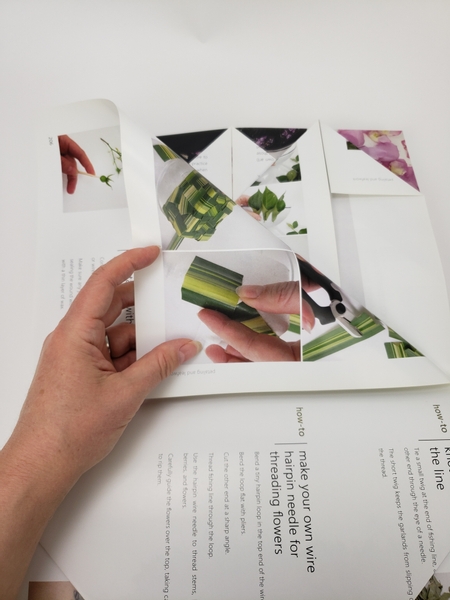
This is your basic folding pattern for the first fold...
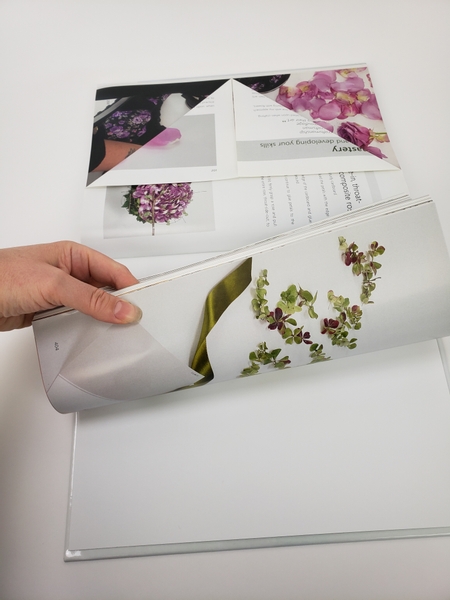
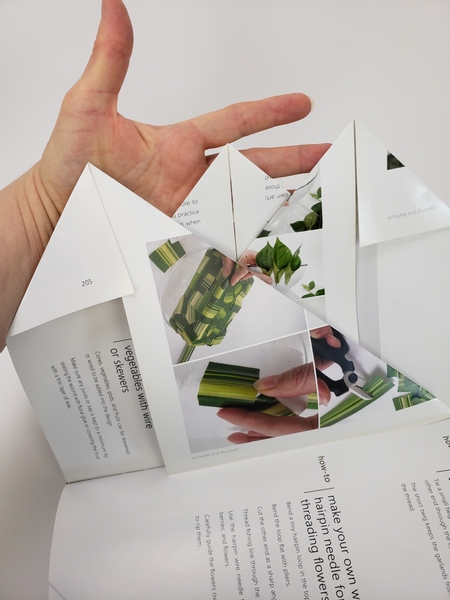
Fold all the third pages right up to the cover.
When you reach the end of the book you have half of your first points done.
Turn the book over so that the unfolded pages now face you.

Count out three pages from the last folded page and fold the third page.
Fold the pages so that the corners meet and work towards the cover of the book.
Once done from middle to cover you have a neat fold in the pages.
Open the book at the middle point again to start the next corner.
Fold the next page over so that the edge of the page lines up with the spine of the book.
Fold over the left over corner to shape the point.
Fold the page after that in the opposite direction so that the edge of the page lines up with the spine...
Fold in the leftover corner to finish the third point.
The fold lines should again face towards the cover of the book.
Now it's just a matter of continuing the fold pattern...
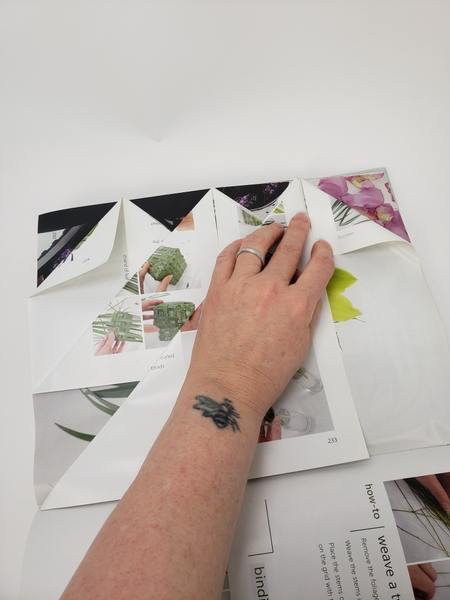
The first page goes wide over with a tiny corner finishing the point and the next page wide over to the other side with the opposite corner finishing the point. Fold your way all the way to the cover.
Halfway through the folds you now have three points.
Once done flip the book around and fold over the other side in the same way.
The first page folds up left to the spine with the up right corner finishing the point...
And then the opposite upright corner into the spine with the up left corner finishing the point.
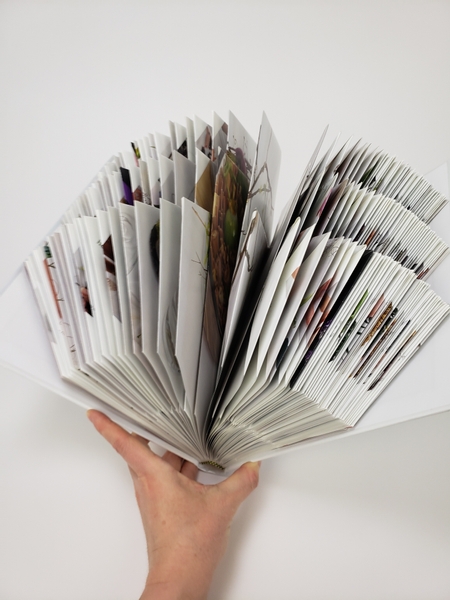
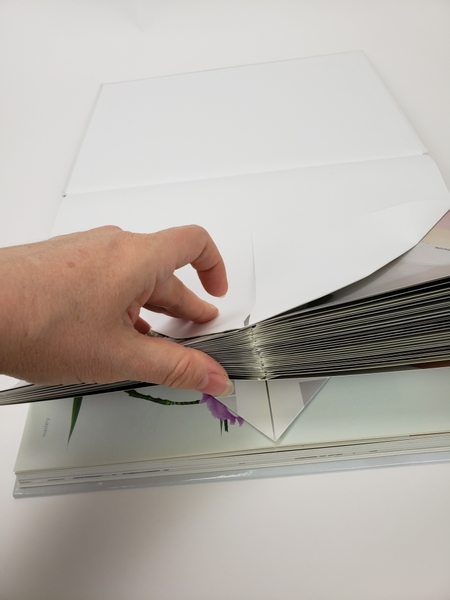
If you are using a paperback book this should be enough folds for the book to fan open by itself. My book needed one extra step.
Design note: turns out the exact things that make the book a great reference book actually makes it a bit more challenging for book folding crafts. The binders go through great trouble to secure the book so that you can place your book open on your design table when you use it as a reference and it will remain open for hands free reading. Not so great when you want it to fan. And the thick pages! Because they all have double sided coloured pictures that should absolutely not bleed through so that you can see the details are thick and sturdy it is rather tricky to fold into a sharp corner without tearing.. so try a paperback or newsprint type book instead.
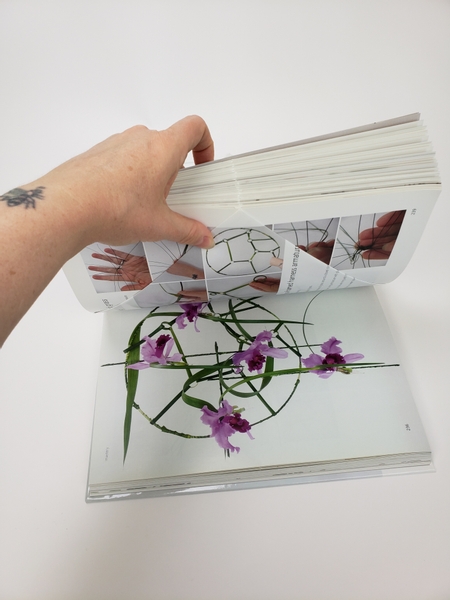
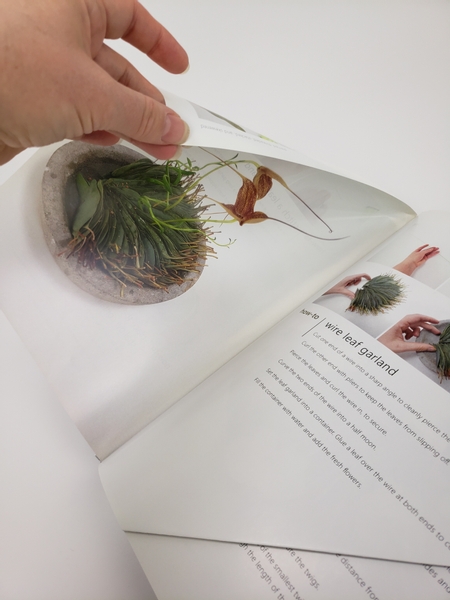
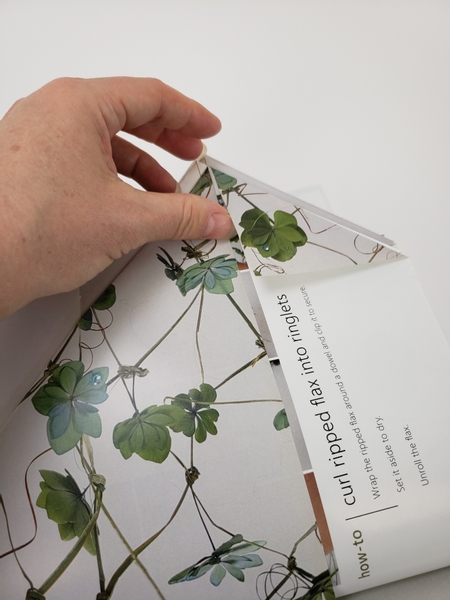
Open the book at the middle point so that it is flat on your working surface.
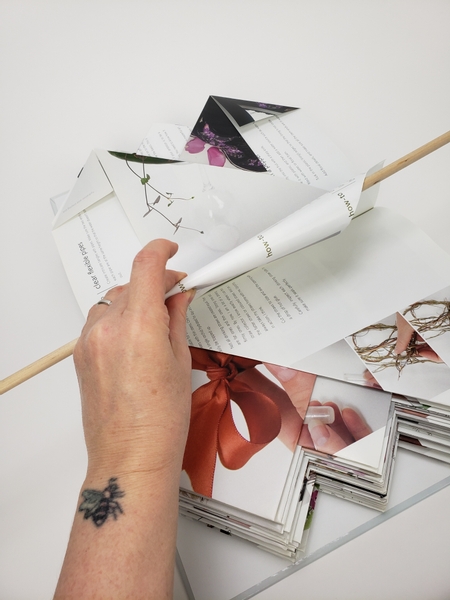
Use a dowel stick to curl the middle point in to face the cover.
Book readers: this is the exact same technique that I use to curl foliage. Have a look on page 304 where we discuss manipulating leaves and foliage.
For more information about my book: The Effortless Floral Craftsman
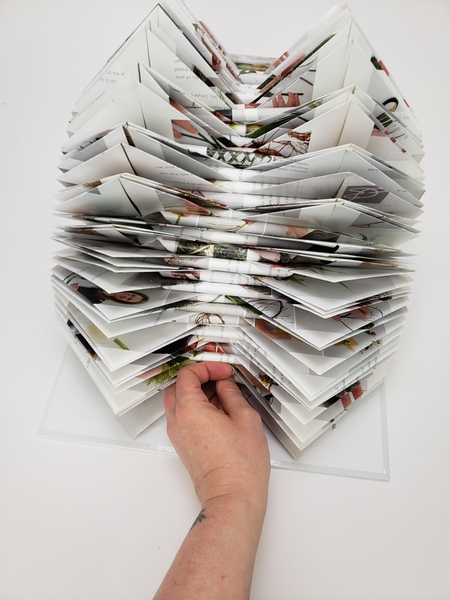
Curl all the middle points in to give you a flat design surface and to neatly fan the book open.
This week I tell you a bit more of how to keep the heavier floral details from slipping and disappearing into the pages in our email. This email is also a great way for us to stay in touch. You are welcome to reply if you have a comment or a question. Or even better... say hi. I would love to hear what is happening in your flower world. The signup is below this post if you are not yet receiving my email every Wednesday morning at about 8 (Vancouver time). Can you believe I am sending our email number 634 this week!

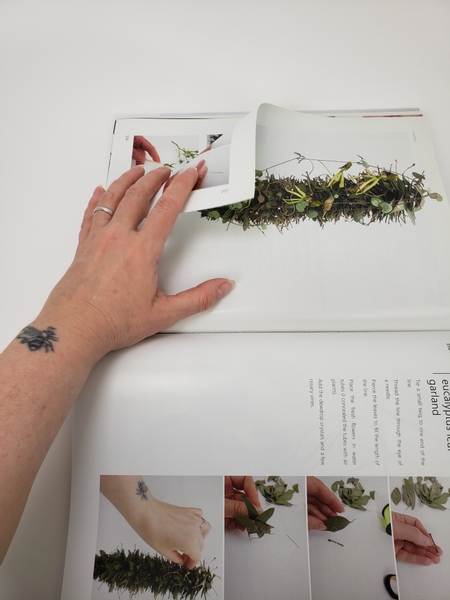
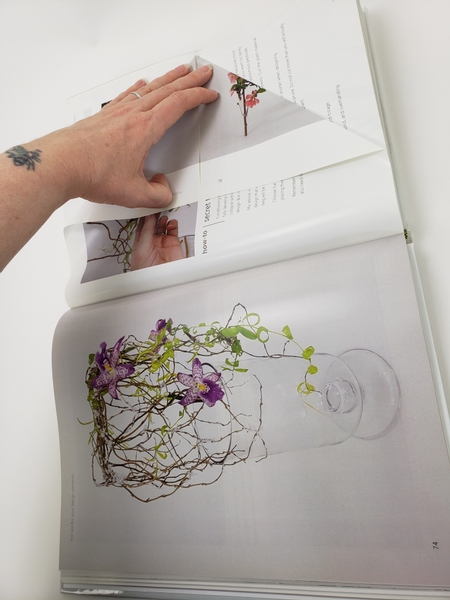
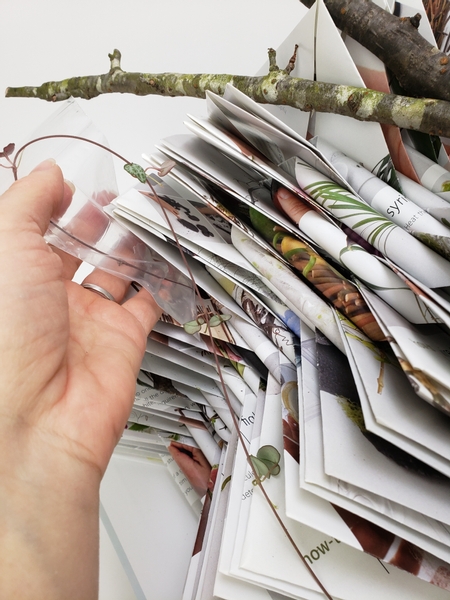
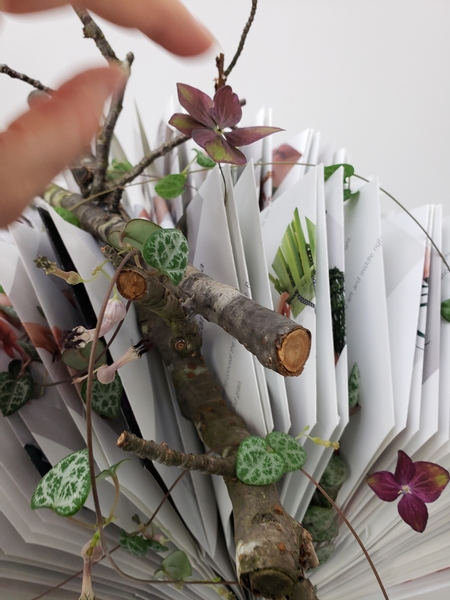
Place a few larger branches over the fanned book to anchor the design details.
If you find that the branches slip between the pages you can use the trick in our email... it works perfectly.
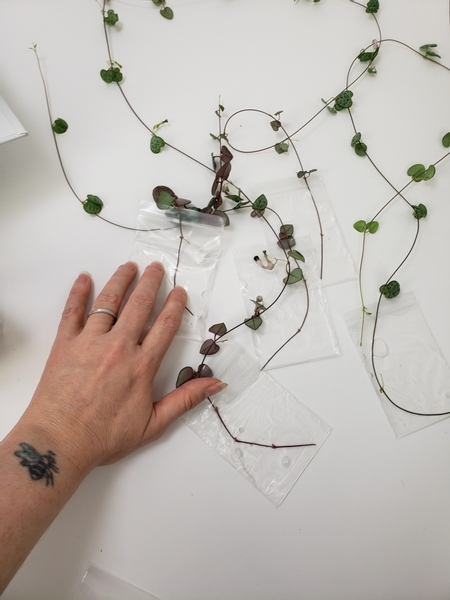
I used rosary vine to drape over the fan. It is possible to design with the vines without giving it a water source because it will look great for weeks but these have their spectacular flowers on. To prevent the flowers from dropping give the vines a water source. An added bonus is that the vines will root in water this time of year... perfect for growing and sharing new rosary vines.
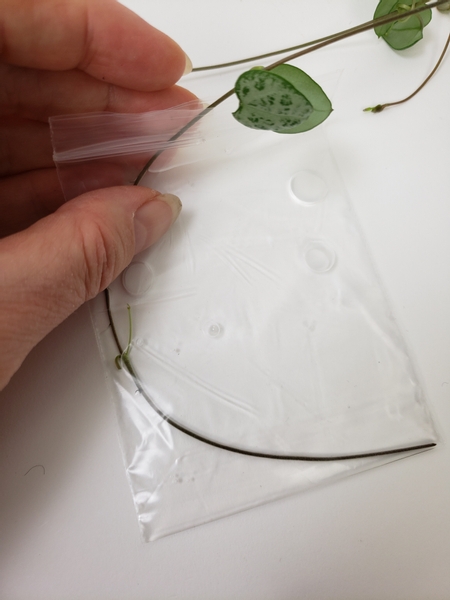
Because I needed the vines to slip into the pages without adding any bulk I placed each stem in a tiny zip-lock bag.
Pour water around the stem and zip it up as close to the stem as possible sealing the water in.
Slip the zip lock bag between the pages...
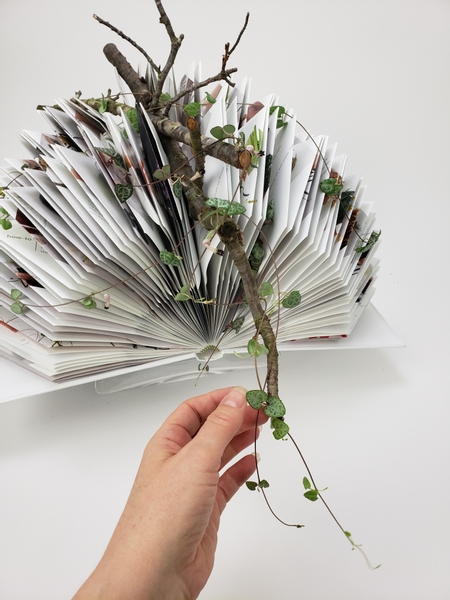
And drape the vines around the fan using the branch to lift the stems up.
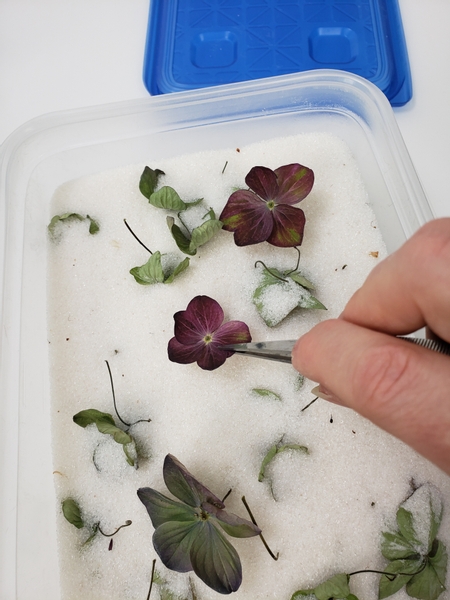
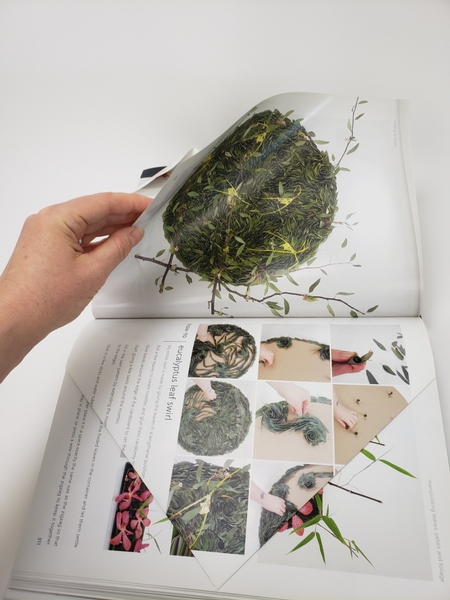
This time of year I unusually dry a few batches of hydrangeas. I press a few in a book, dry some naturally and also dry some in silica gel (picture). Each method gives you a slightly different result. I also dry a few in the microwave. See the Tutorial below for detailed instructions on how to do that.
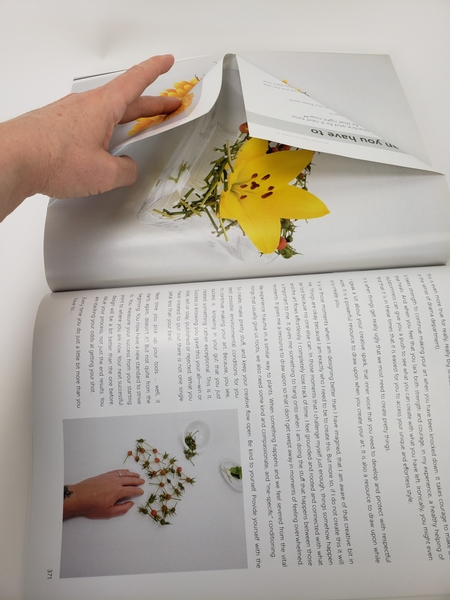
I didn't want my hydrangeas to sink into the design but rather be suspended or hover over the design as if they are magically escaping from the book. I wanted them to be as light as possible. If your hydrangea has a longer stem it is perfect, use the stem to place the flowers between the pages. If not, you will need to add a stem. I show you how in our email this week.
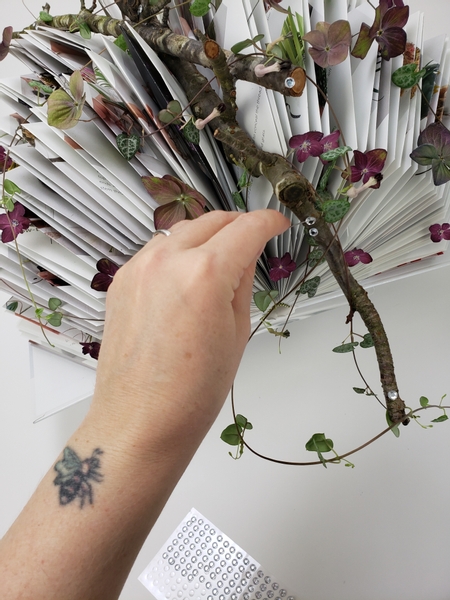
Add a few dew drop crystals to the branch to add sparkle...
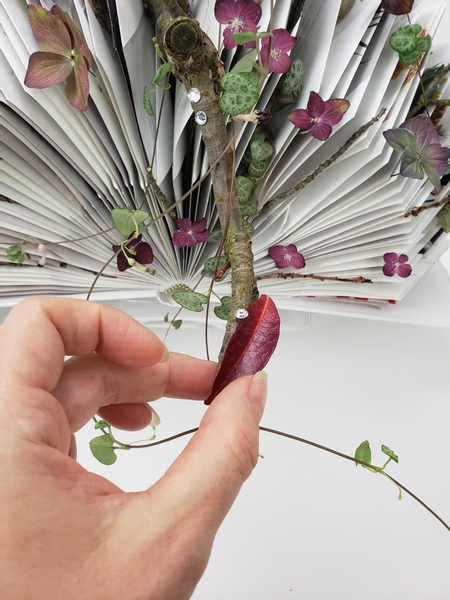
And my last touches are a few scattered autumn leaves here and there...
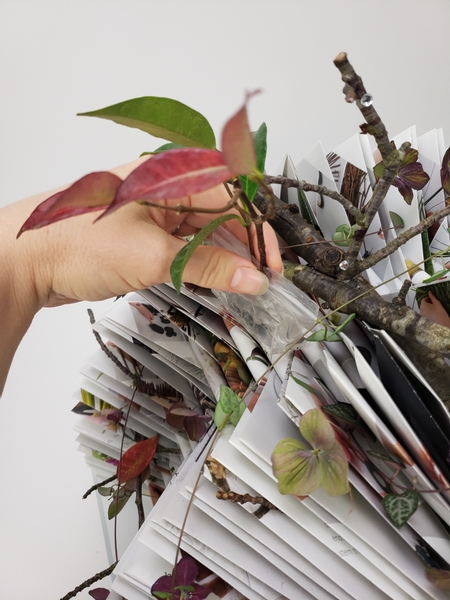
And an autumn stem that is just starting to colour again in a zip-lock bag so that it remains hydrated.
Sign up for my weekly newsletter
Every week I add a new design with related tutorials. Be sure to subscribe to receive an email notification with design inspiration.


