Christine de Beer - effortless floral craftsman
New growth Spring frog
- 26 April 2023
Cut a few willow stems that are just starting to develop and show signs of green...
Into short sections. Make sure you keep the upside end of the stem up and the bottom end down so that the stem can continue to grow.
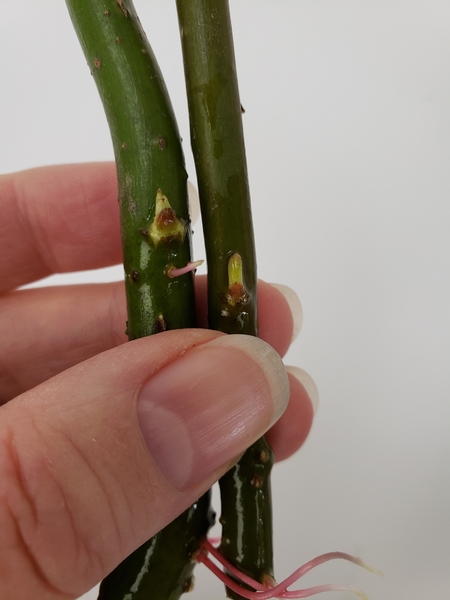
If you get mixed up the clever willow plant come with arrows... look carefully at the stem to find the "up" arrows. If you need more information have a look at the article I wrote for Plant Something BC about planting willow to coppice for crafting.
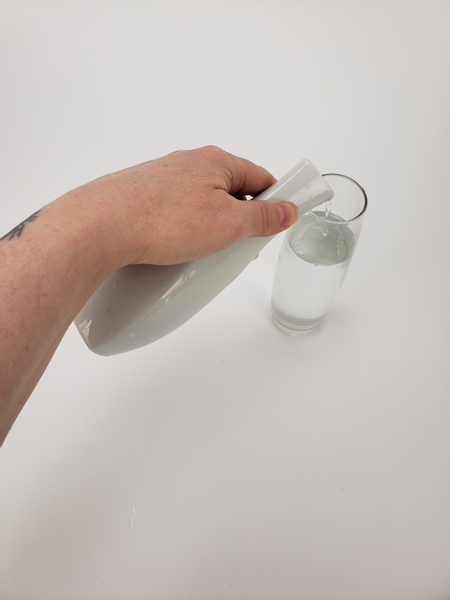
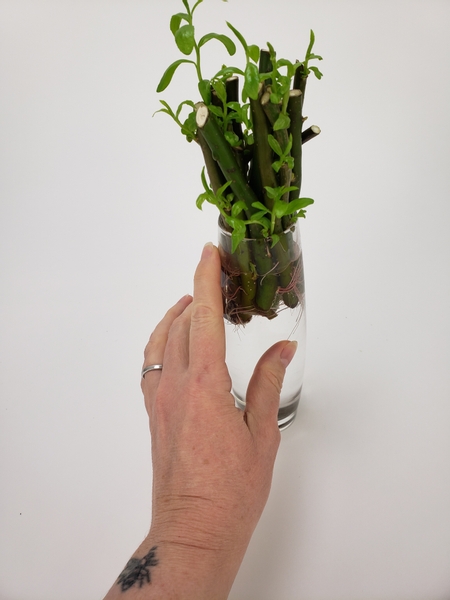
Fill a bud vase with water.
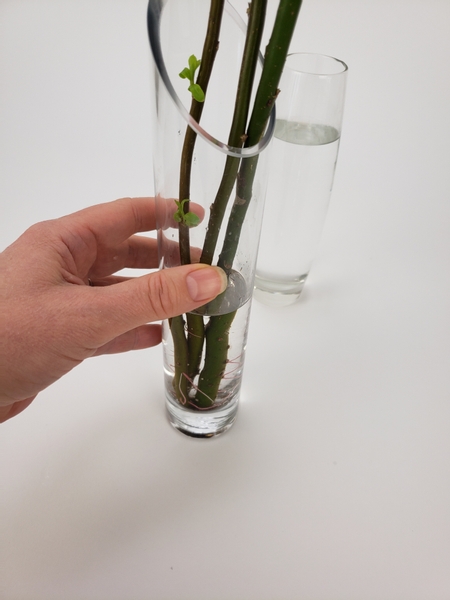
Cup the stems in your hand and place it in the small opening of a bud vase.
If you struggle a bit to get the stems wedged into the exact position you want I have a Tutorial for you below to make it easier.

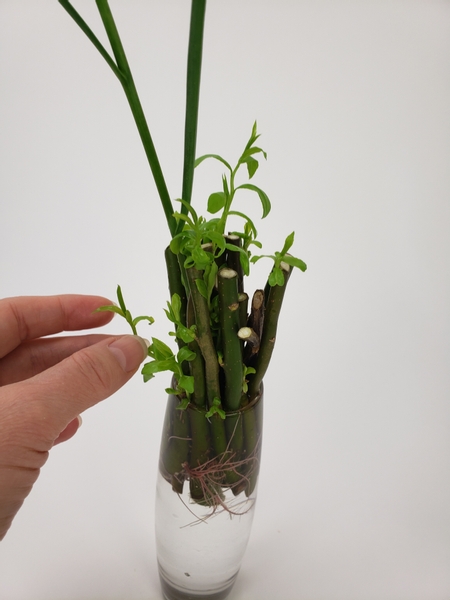
Let the willow stand for a few days to let the new growth develop....
... for a few days before replacing the water to make sure the twigs are securely wedged into place. I have a bit more information about that and about a delicate way to adjust the roots without breaking them in my email this week. Make sure you are on the list by signing up below the post. I send out the email every Wednesday morning (Vancouver time) the moment the design is ready. It is our place where we can connect. You are welcome to reply to the email if you have questions or comments... or if you want to say hi and tell me what you are currently designing.
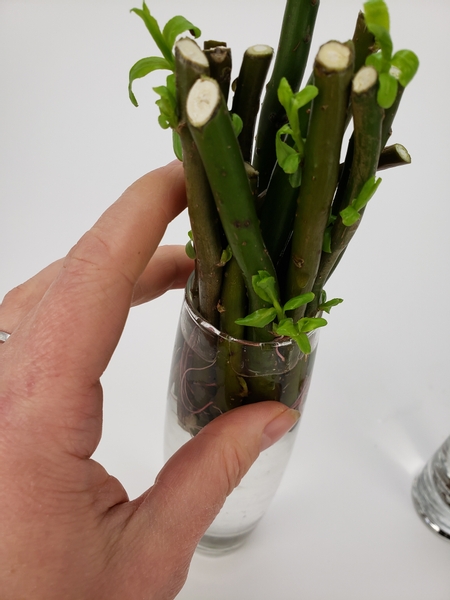
How pretty is this!?! Fresh green growth ready for you to admire on a desk or table or add a long stem flower...
New growth is too tempting to miss out on in designs... but... they simply don't last. This is how I grow new growth for my designs. I show you more in my book on page 75. It is right next to one of my all time favourite designs.
For more information about my book: The Effortless Floral Craftsman

Slip the tall flower stem between the willow stems.
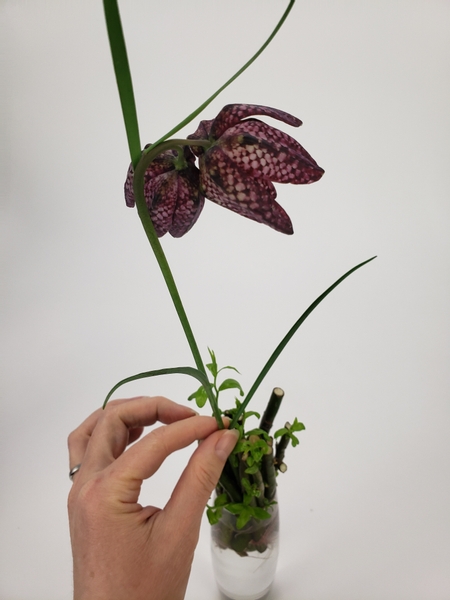
Gently push the stem from the cut end of the stem into the willow so that it stands upright.
Do not force the stem. The willow is quite tightly packed and can easily break the stem. Work slowly and slip the stem deeper until it is in position and in the water below in the vase to remain hydrated. Take extra care. You want the water to be clear and debris free and a crushed stem will increase the bacterial growth in the vase. You also require a tall stem for this look so take your time and be gentle.
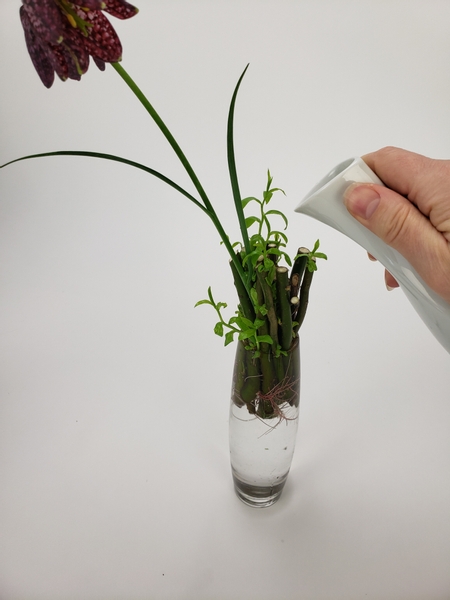
Top up the water in the bud vase so that all the stems are under water.
Inspect the vase to make sure all the new growth stems can freely grow and are not stuck between the stems to finish off the design.
Sign up for my weekly newsletter
Every week I add a new design with related tutorials. Be sure to subscribe to receive an email notification with design inspiration.


