Christine de Beer - effortless floral craftsman
Pour glue over a stick Bundle to craft a Poke Out Spring stick Armature
- 5 February 2020
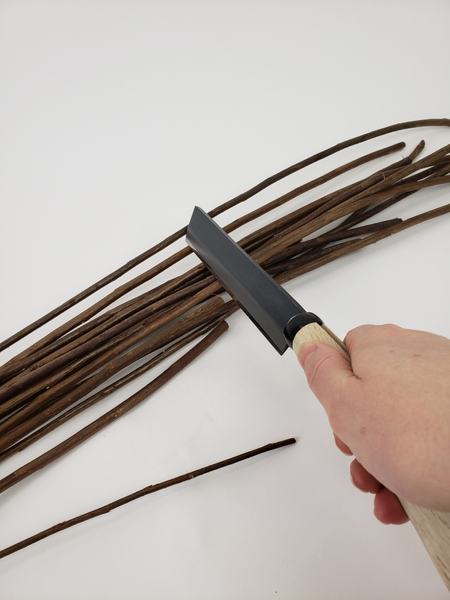
Cut a generous bundle of straight twigs.
For a really easy way to cut twigs have a look at my "bite and snap" Tutorial below in the Tutorial section.
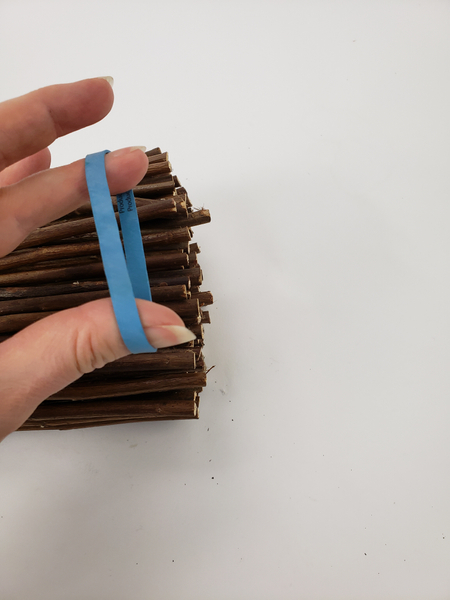
Secure the bundle with elastic bands.
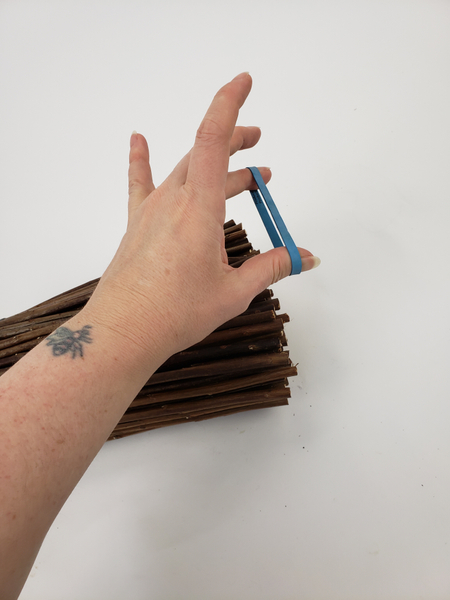
Make sure the elastic band is strong because it needs to keep the armature together for quite a few hours.
You need a band at the top and another one at the bottom of the bundle.
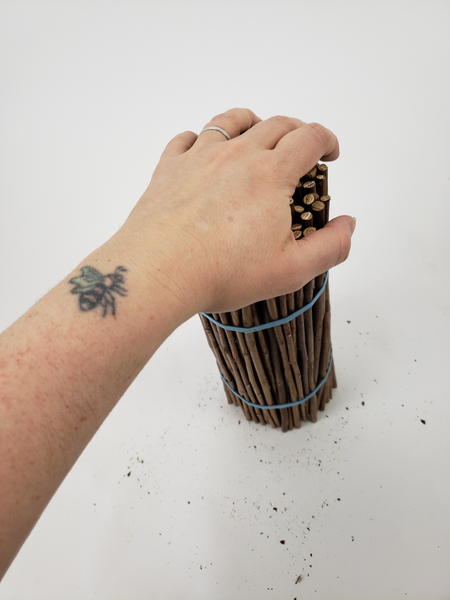
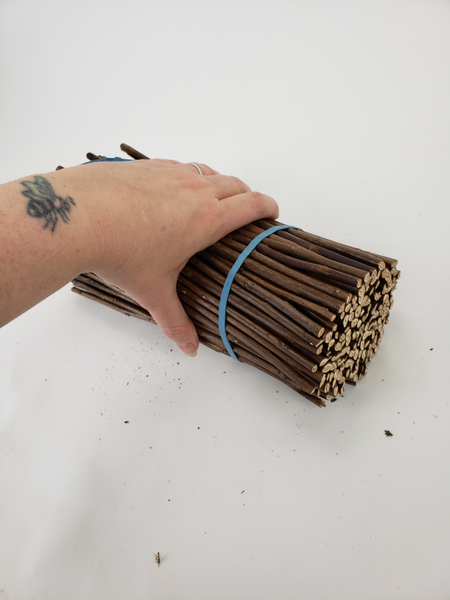
Tap the bundle down on your working surface to even out all the twigs.
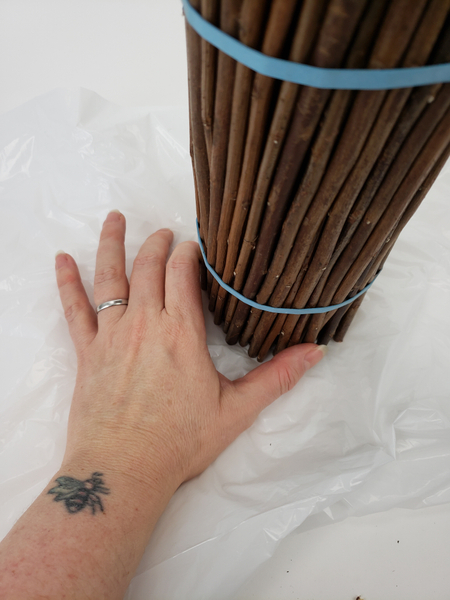
Place the twigs on a layer of plastic to catch the glue drips.
Make sure you are subscribed to my newsletter. I share an exclusive tip every week about what you can learn from the design to make your own creations more fun to do in the future. This week I tell you which side to place facing up when you start to pour the glue.
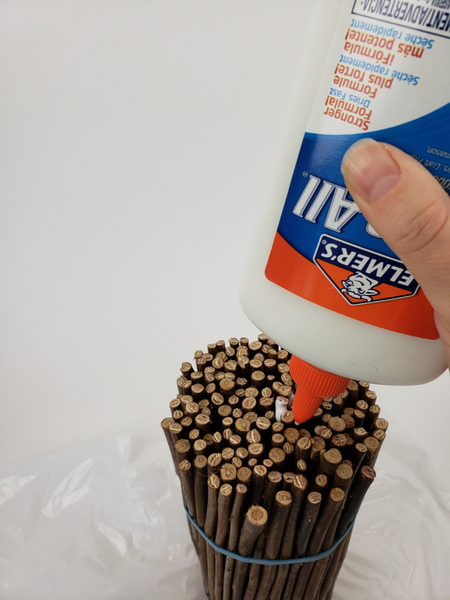
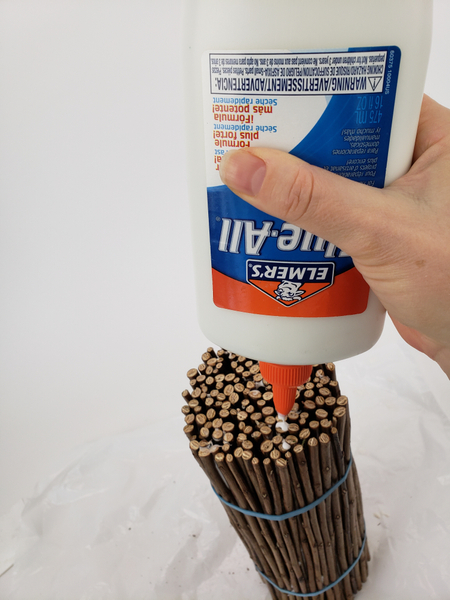
Start pouring glue on the twigs... simply let it run down the inside of the bundle.
When you look closely you can see the glue running down between the twigs.
Set the bundle aside to dry completely.
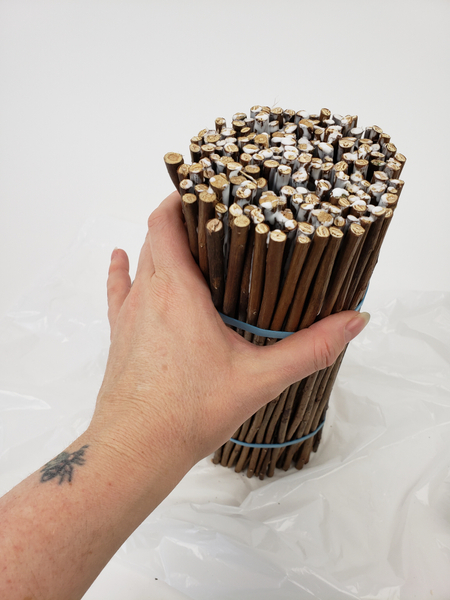
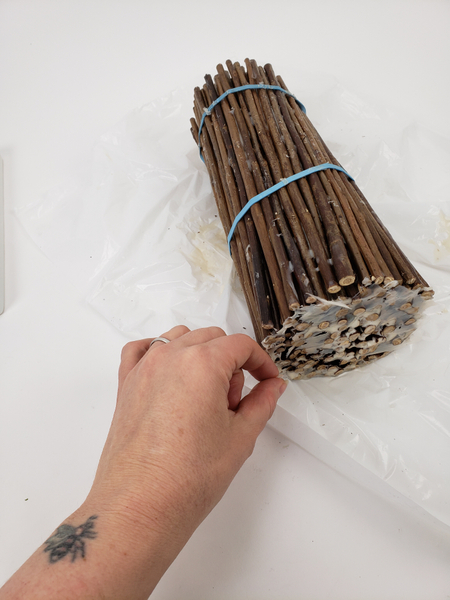
Flip the bundle over and pour the glue from the other side
... can you see the bits of dried glue where it ran through from the other side? That is what you want. The glue should connect the twigs all the way down the bundle.
Set your bundle aside to dry completely.
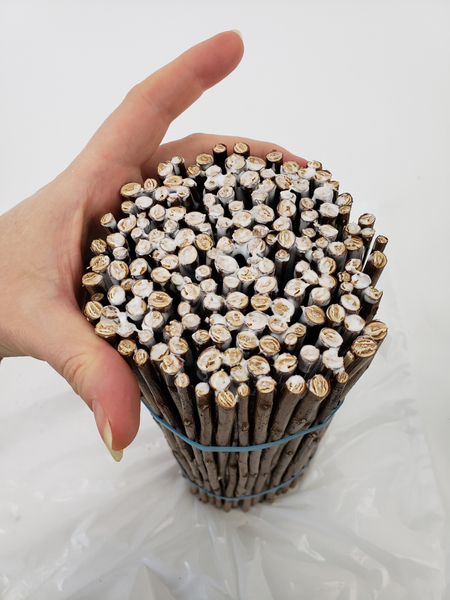
Pick away any visible dried glue flakes from the bottom side of the bundle...
Newsletter subscribers: see how well the trick I showed you works? The bottom side is now completely saturated in glue but it is concealed. The top looks like it is magically staying together.

Go around the bundle and test the sticks to make sure they are glued to the bundle. Add bits of glue to any sticks that are not completely stuck down.
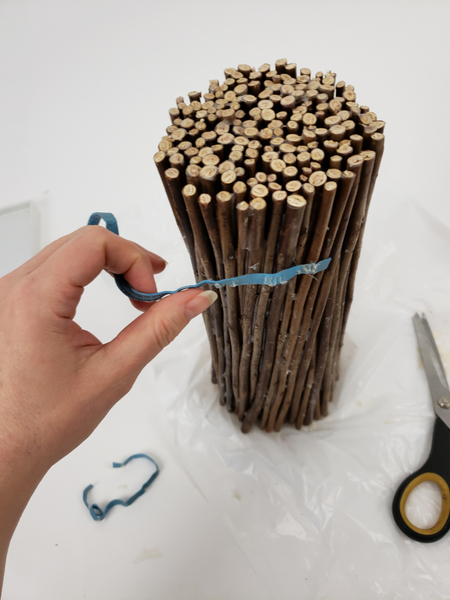
Remove the elastic bands.
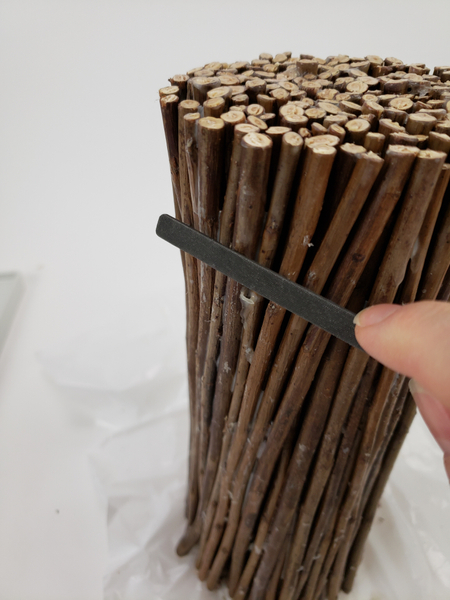
Clean away any visible blobs of glue with a file.
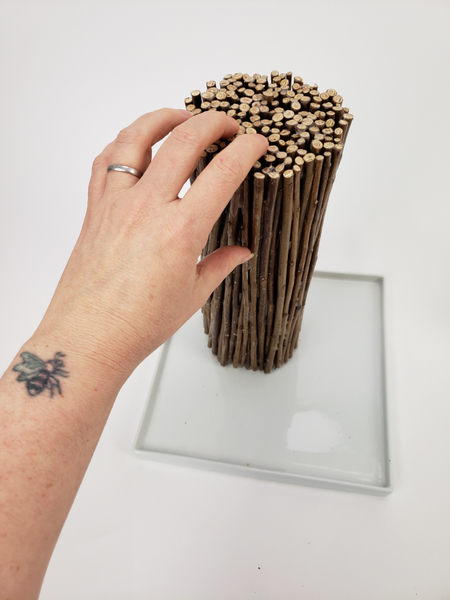
Set the twig bundle on a display container.
And now the fun starts! Book readers, turn to page 104 for more design tips for using succulents. You will also find a special hint for how to cut succulents when using glue to secure it - this is really important to know when you position the succulent and want it to stay exactly right.
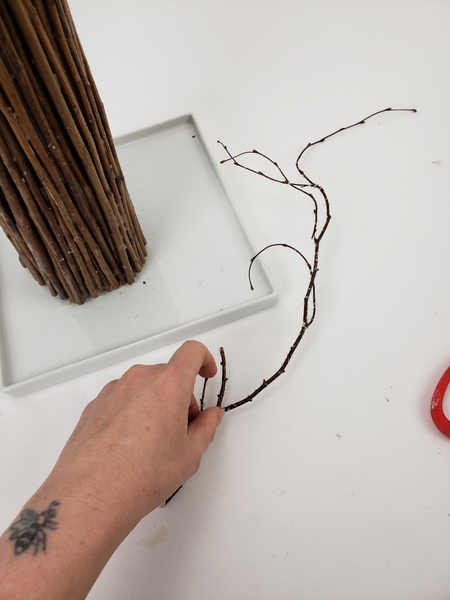
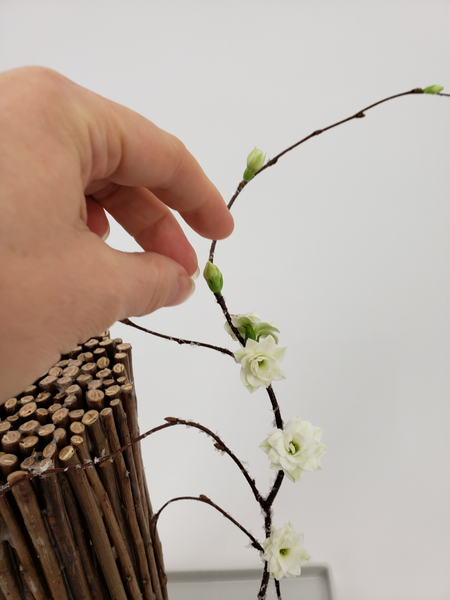
Choose an interesting twig with loads of curves and side branches.
I added a few snowflakes to the twig just to bring in the "not quite Spring" element. See the Tutorial below for detailed instructions on how to do that.
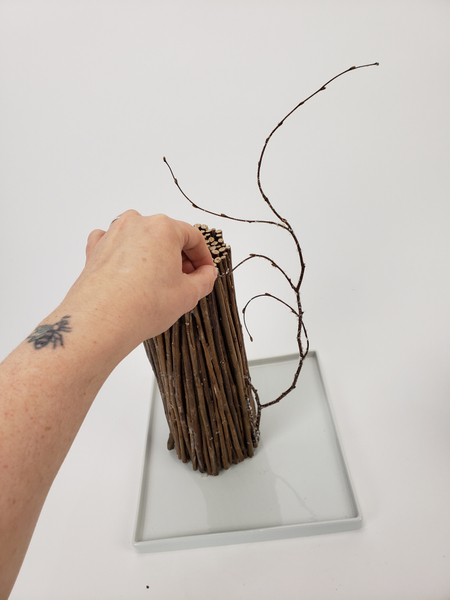
Slot the twig into the bundle so that it looks like it just grew that way.
Book readers: you will find loads of information on how to create this illusion on page 273 where I speak about crafting an illusion and bio-mimicry.
Glue in the Kalanchoe flowers. They are succulents and will remain really pretty for days without a water source.
Sign up for my weekly newsletter
Every week I add a new design with related tutorials. Be sure to subscribe to receive an email notification with design inspiration.


