Christine de Beer - effortless floral craftsman
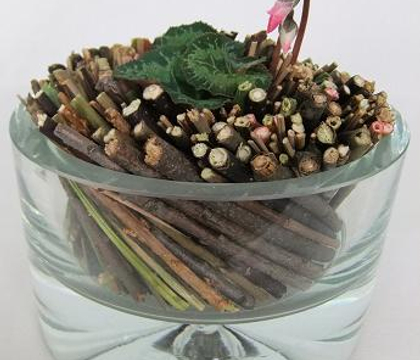
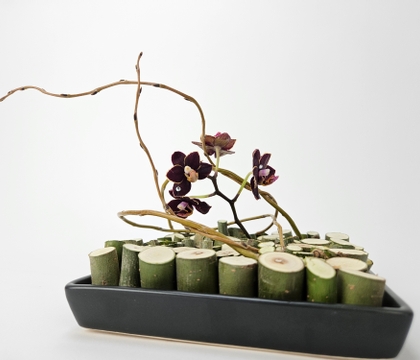
Bring out the pretty spots on the lip of this tiny orchid with a dotted twig stump armature
- 22 January 2025
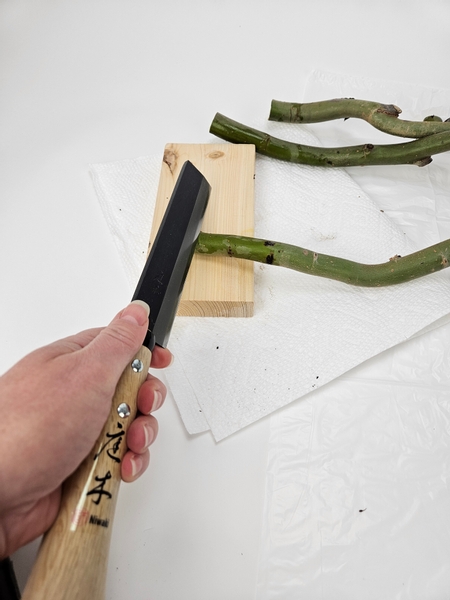
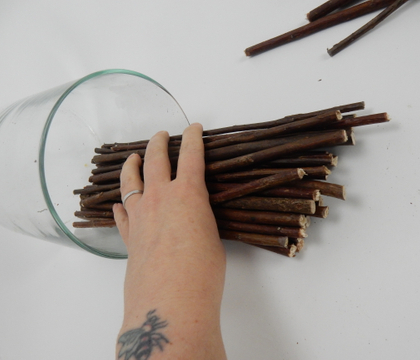
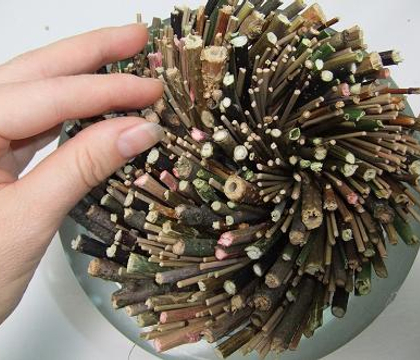
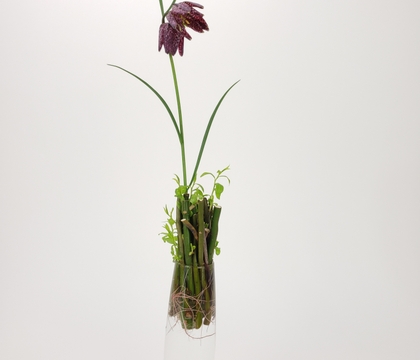
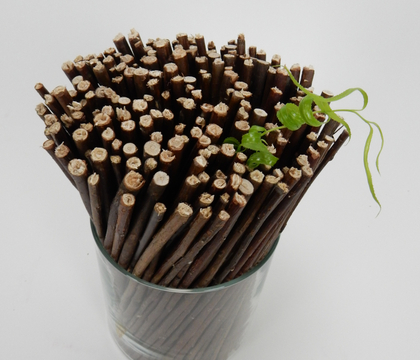
Cut a sturdy willow branch into small twig stumps...
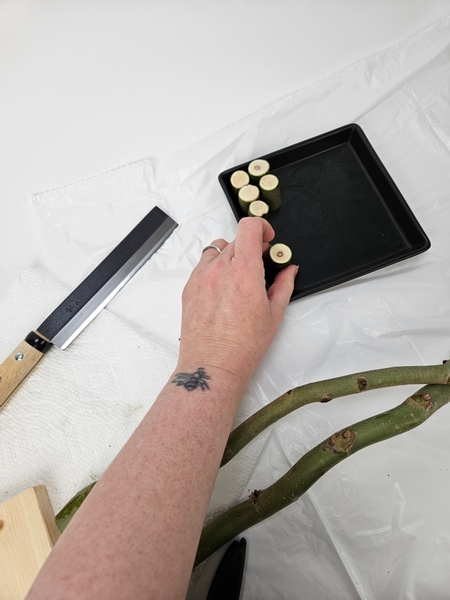
To stand upright in a shallow display container.
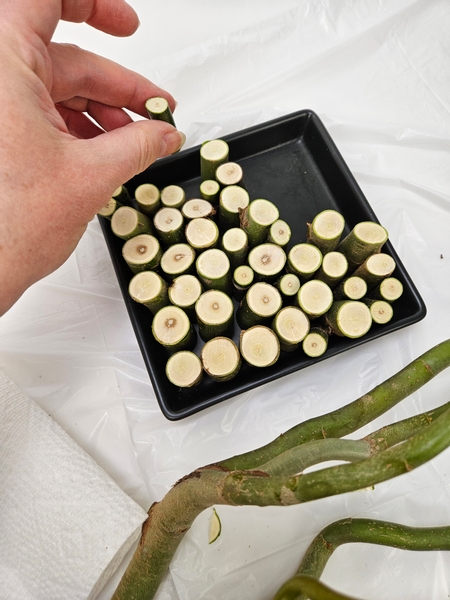
The willow stems should be about double as long as the container is deep
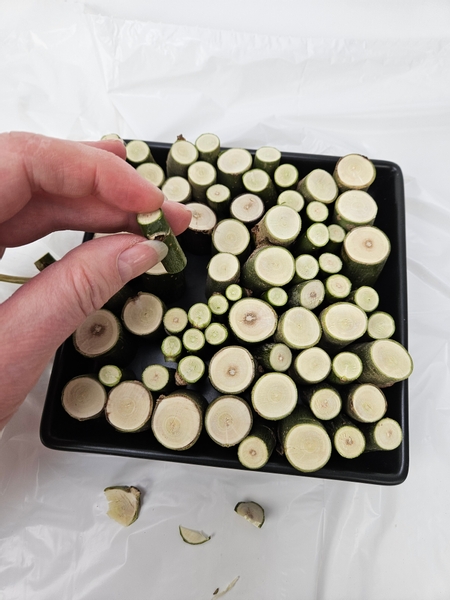
Design tip: Place the sturdiest stems first around the container and then fill in the gaps with smaller twigs. This makes it so much to keep all the twigs upright while filling the container.
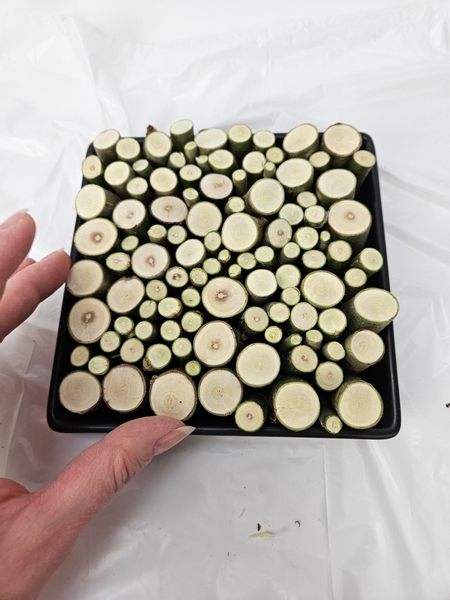
When the container is filled (but not too tightly packed) with tiny willow stumps you are ready to start with the fun design bits.
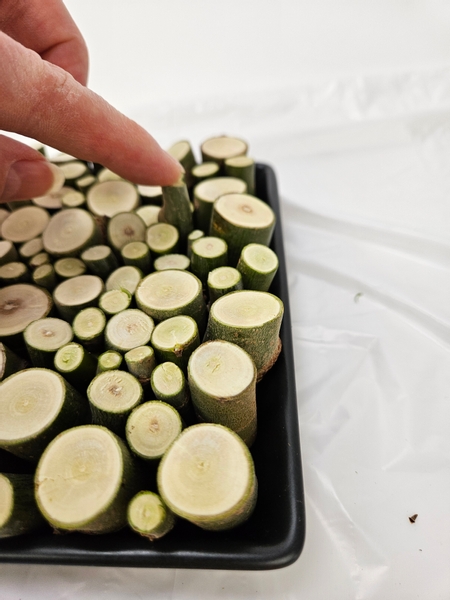
Measure and cut another twig stump, this time a bit taller than all the other twigs...
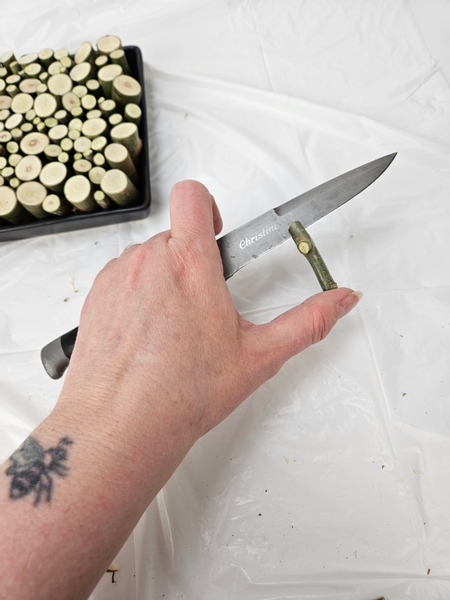
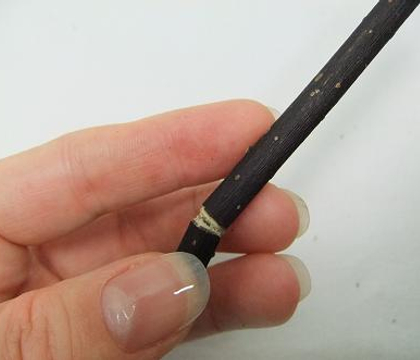
Cut a slit into this taller twig and place it back into the shallow container...
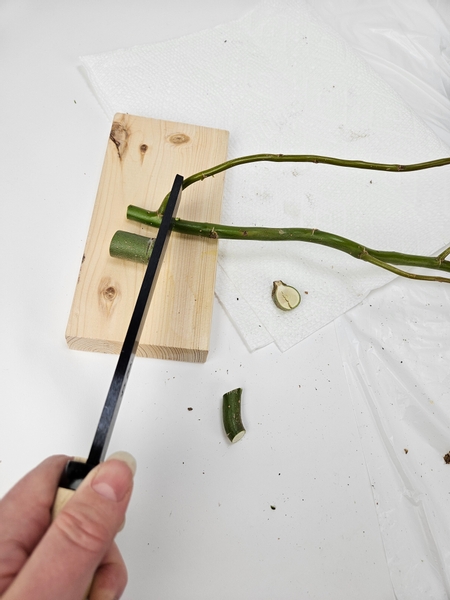
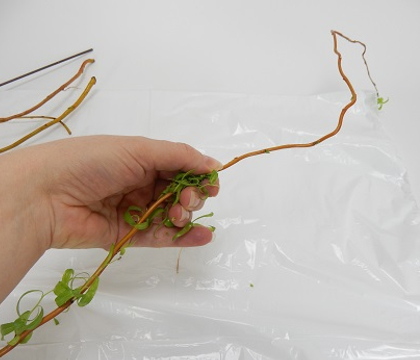
Measure out a willow twig with a side branch...
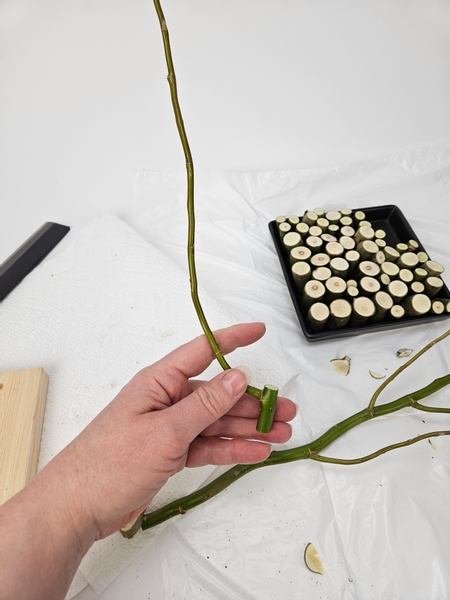
And cut it just above the side branch.
This week in our email I show you how to spot the perfect side branch to place in a low design like this and how to prevent it from lifting out... taking all your carefully placed little stumps with it! I send out an email every Wednesday morning (Vancouver time) the moment the new design is ready for you to view with a design detail that will make the design inspiration even more valuable. You can sign up to receive the email below this post.

Slip the twig with the side branch on the opposite side of the twig with the slit cut into it...
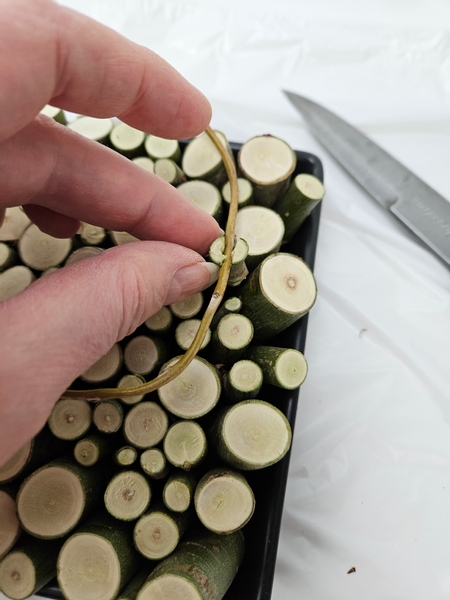
Curve the side branch and slip it into the slit in the twig so that it is held in place.
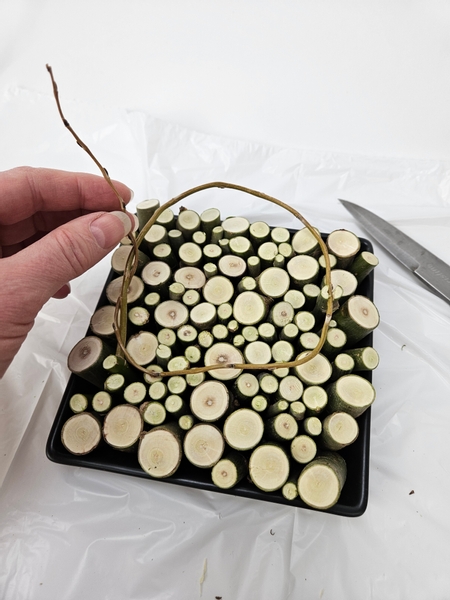
Loosely knot the willow tip to curve over the twig stumps.
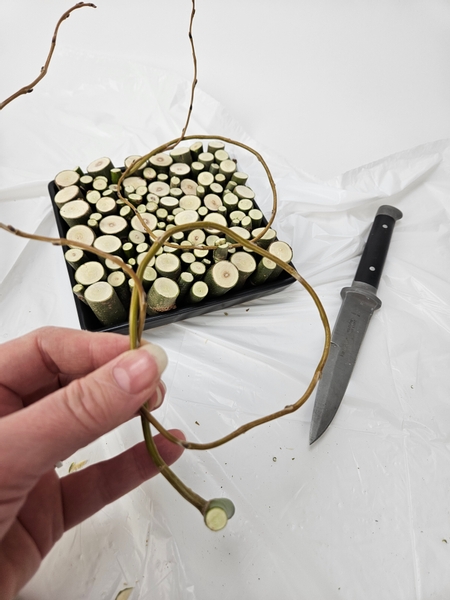
Knot a second side branch...
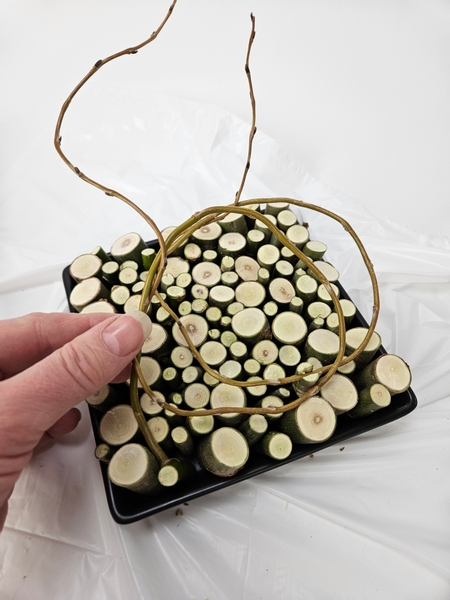
And slip the stump end of the branch into the container so that it is held in place by the other stumps and it rests on the first knot.
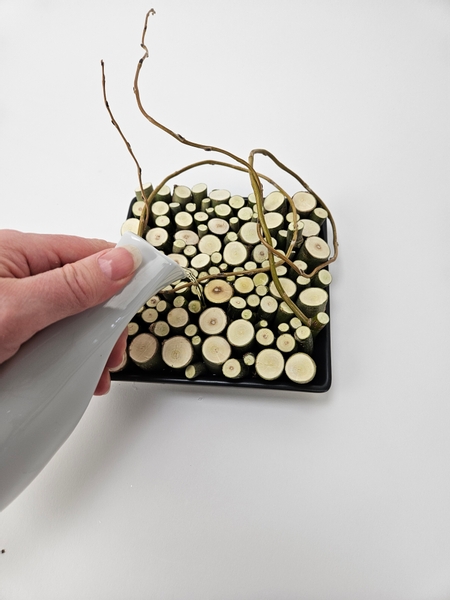
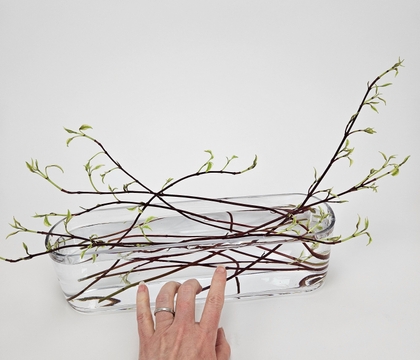
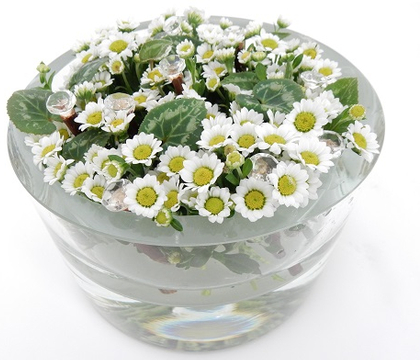
Pour water into the container so that all the stumps are standing in water. This keeps them hydrated so that they do not shrink as they dry.
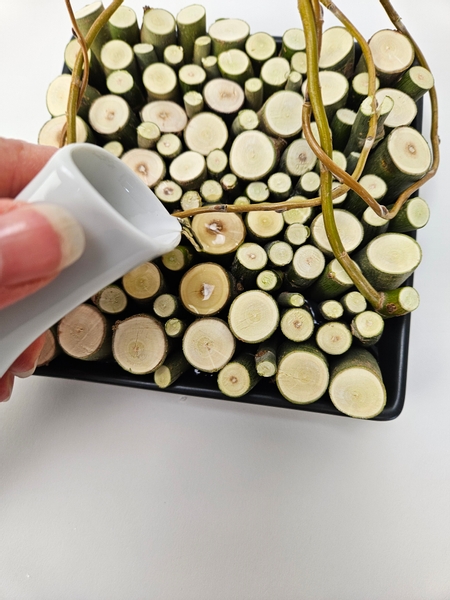
Pour in enough water to see it glisten...
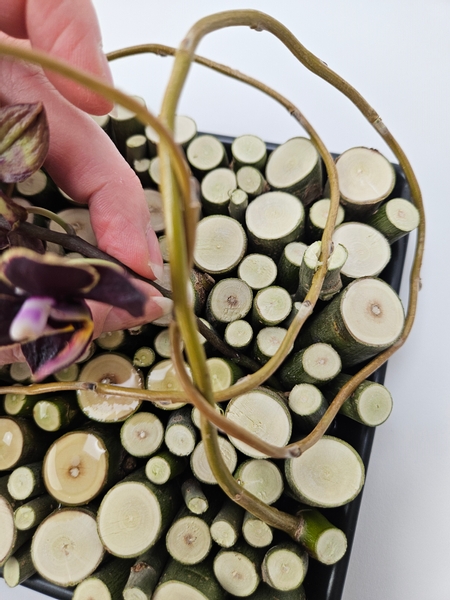
So that the orchid stem stands firmly in water and can remain hydrated as well.
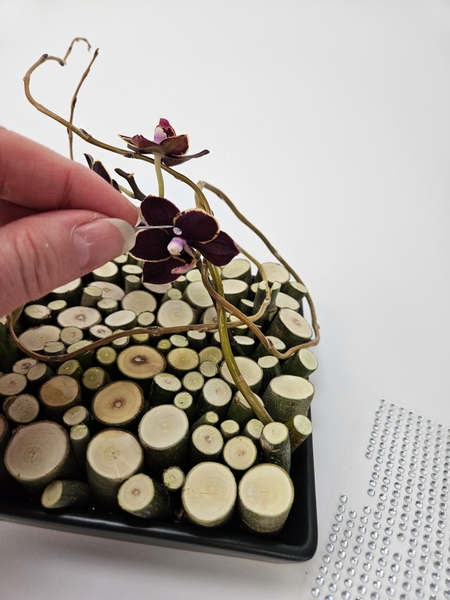
And finish the design with a few dew drop crystals.
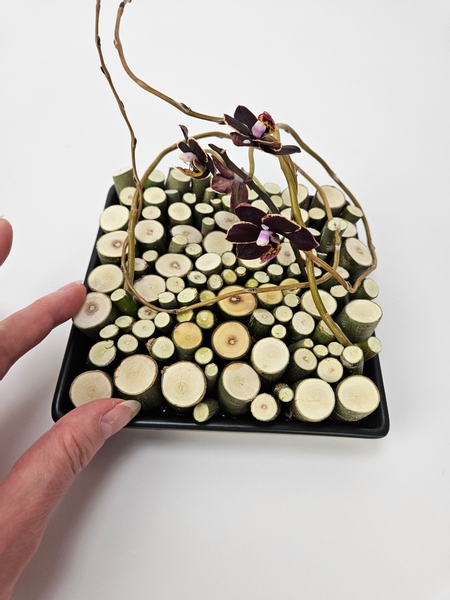
Top up the water when you notice the twigs are starting to look lighter.
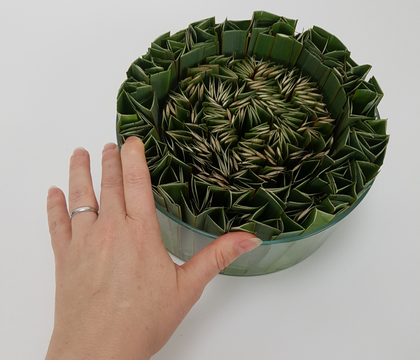
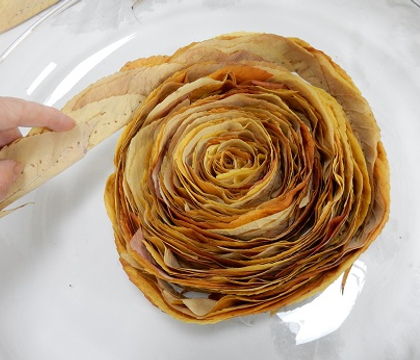
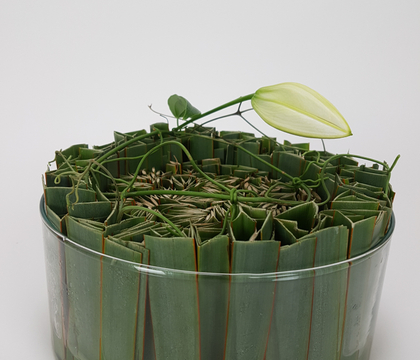
Book readers turn to page 310 for a few ideas for folding foliage to create a version of this armature. For more information about my book: The Effortless Floral Craftsman
Sign up for my weekly newsletter
Every week I add a new design with related tutorials. Be sure to subscribe to receive an email notification with design inspiration.
