Christine de Beer - effortless floral craftsman
Paperback Book Pumpkin
- 14 October 2013
Design note: I love reading. In fact, part of my definition of true happiness is having a half read book with me. And I treasure my books. Which means, cutting up a book is rather painful… But not more painful than a book with an unhappy ending. So, here is a craft to turn books with unhappy endings into something beautiful to look at.
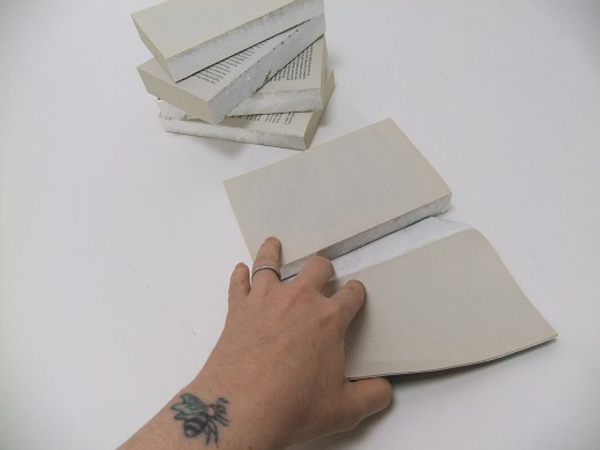
Rip the front and back cover from the paperback books
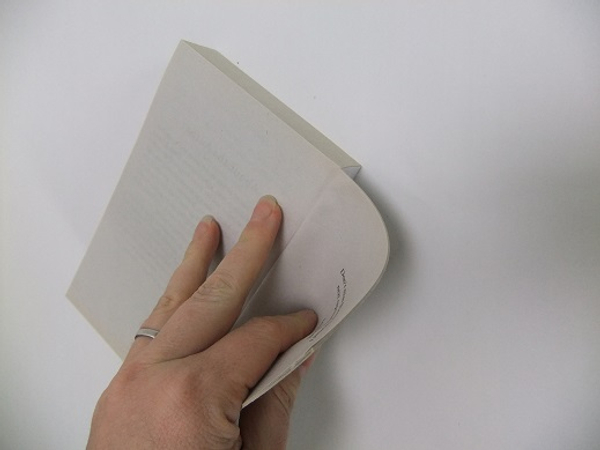
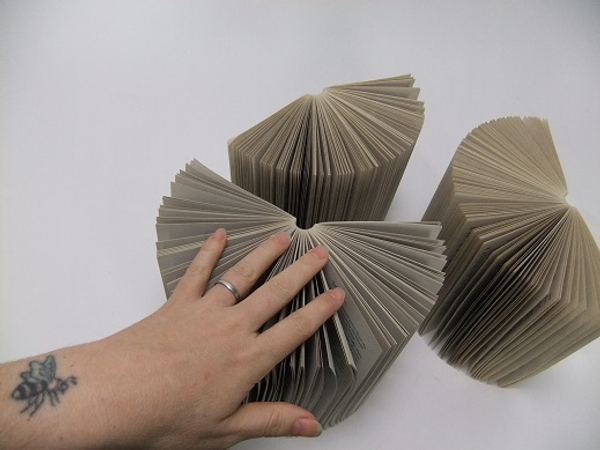
Start to break the spine of the book by bending the pages back. Do about 15 pages at a time to fan the book open.
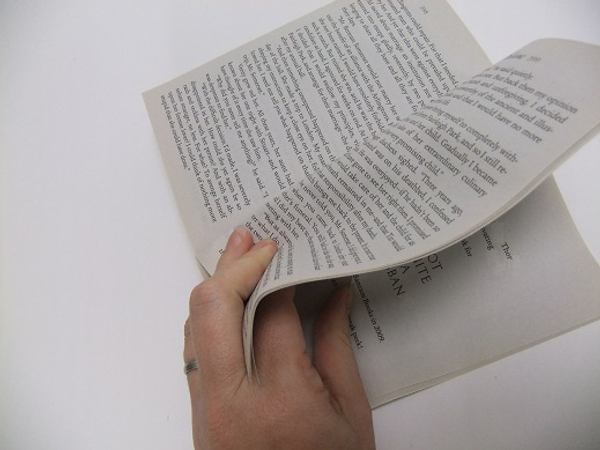
Continue to bend the pages throughout the book
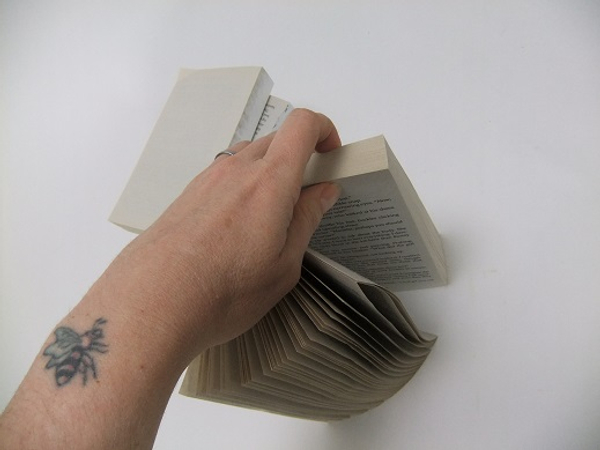
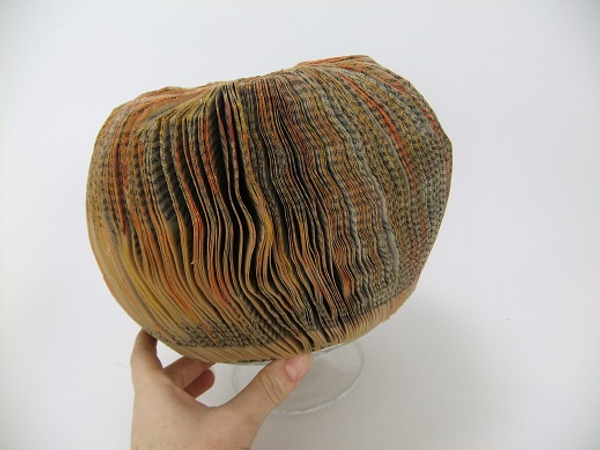
Place the book upright. You will notice the book flares open on the pages where the spine is broken. If it is not flared enough go back and do less pages at a time.

Break the spine of the second book
And break the spine of a third book
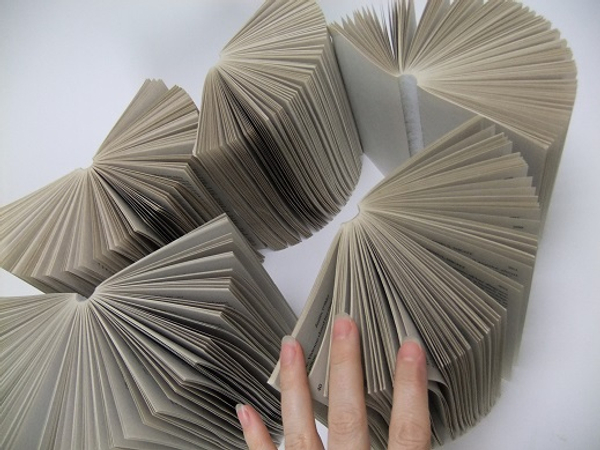
I used five books for my pumpkin
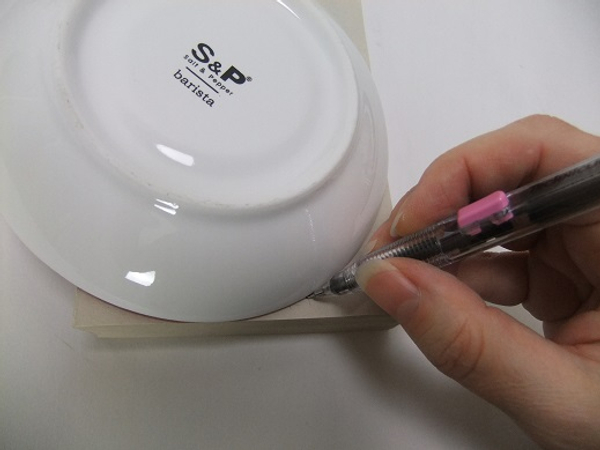
Trace a circle on to the book. Let the saucer overlap the book end slightly to give the shape a flat base

Alter the top curve to be slightly flatter
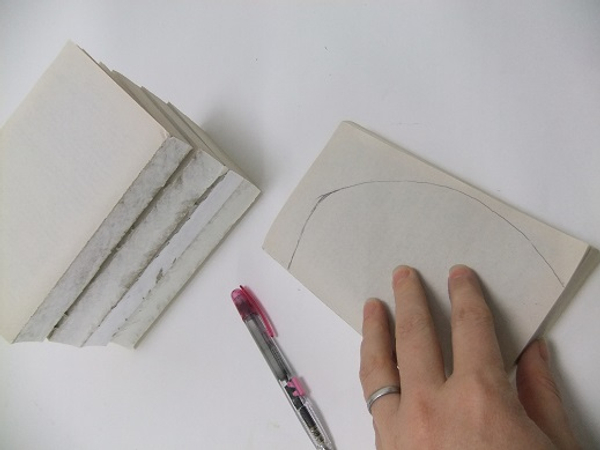
Pumpkin shape ready to cut out
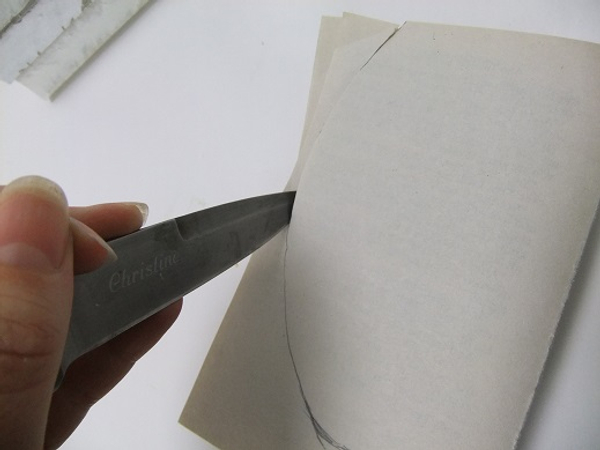
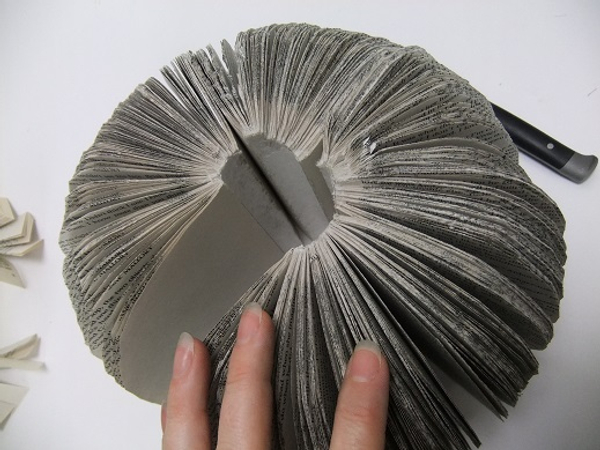
Cut out the shape with a very sharp knife

Cut through the glued spine
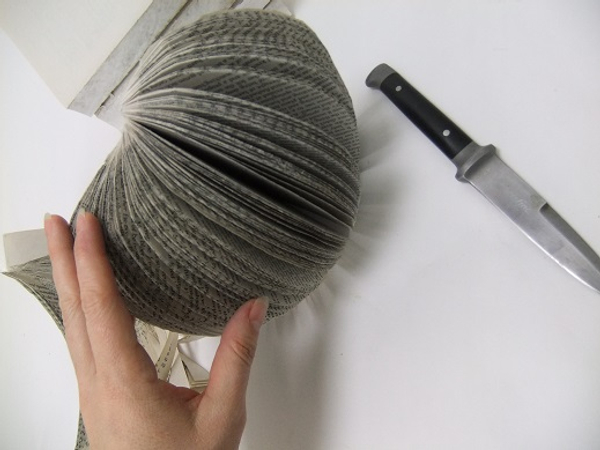
Allow the pages to flair open naturally
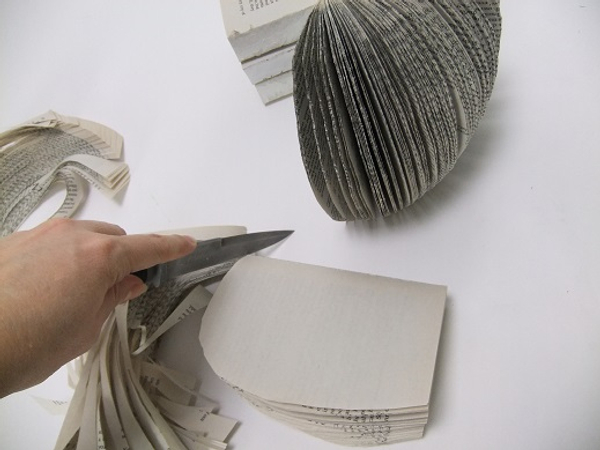
Cut the second book...
... cut the third book...
Cut the fourth book.
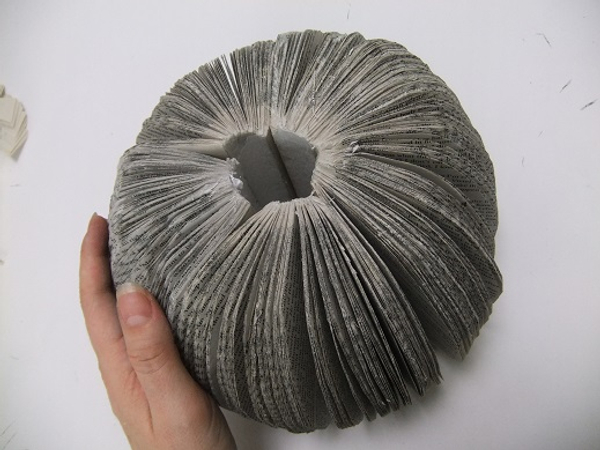
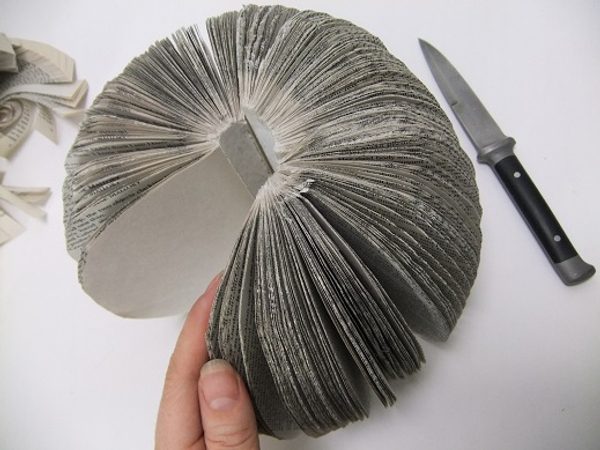
Cut the last book and fit them together
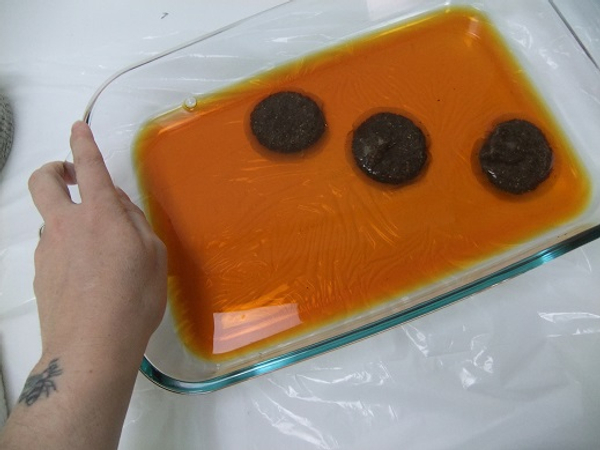
Brew a strong batch of tea in a shallow dish. I used South African Rooibos tea to get a bright orange stain.
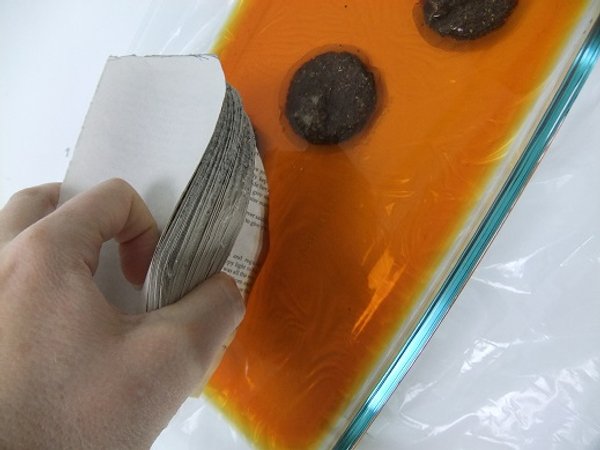
Dip edge of the cut book in the tea. Fold the pages back to soak the book a few pages at a time
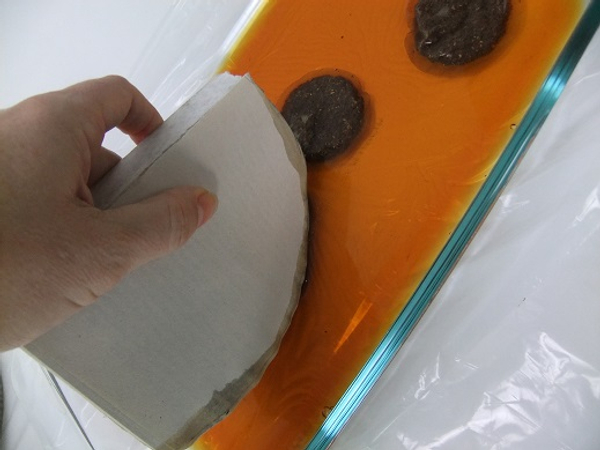
Roll the book in the tea to just soak the edges.
For more information about natural stains and dyes see the Tutorial below
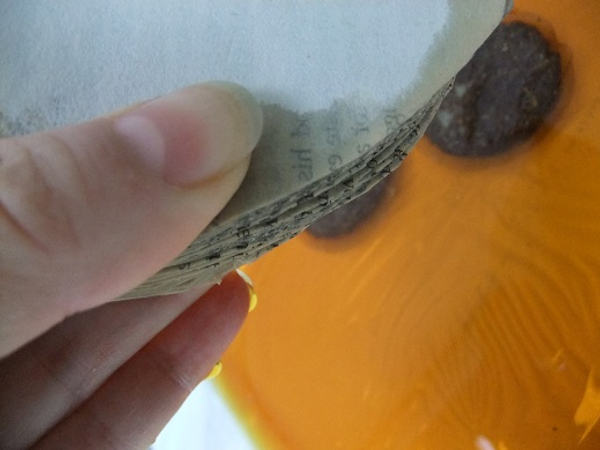
Squeeze out most of the tea
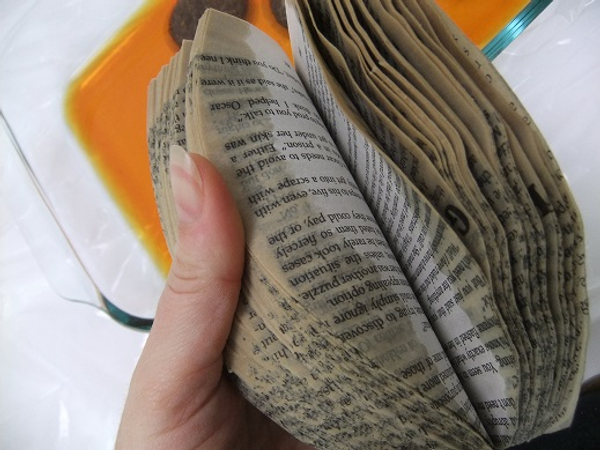
Flip through the wet pages to separate them and to add a bit of a curve
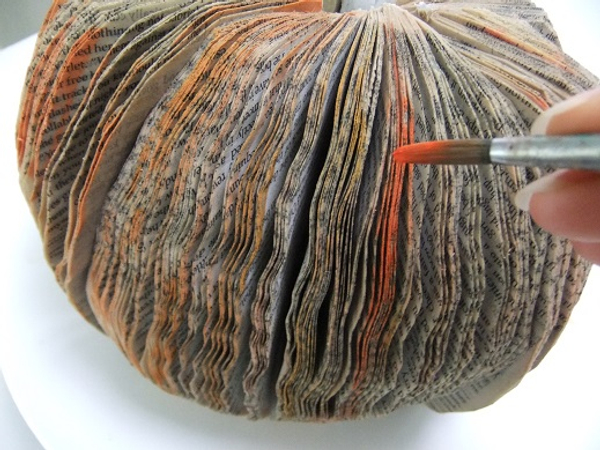
Paint a few bright orange lines onto the tea soaked book
Set the book pumpkin aside to dry completely.
Sign up for my weekly newsletter
Every week I add a new design with related tutorials. Be sure to subscribe to receive an email notification with design inspiration.


