Christine de Beer - effortless floral craftsman
Bored looking Sisal ghost with dangling bell feet
- 1 November 2023
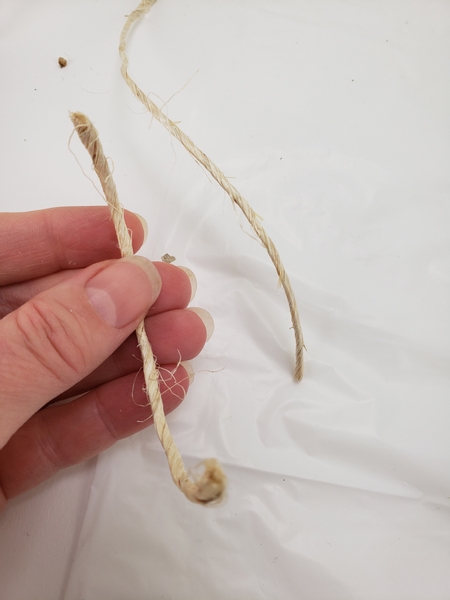
I made my ghost from sisal string but you can also rip foliage for a more rustic ghost. The Tutorial is below this post if you want to see how to.
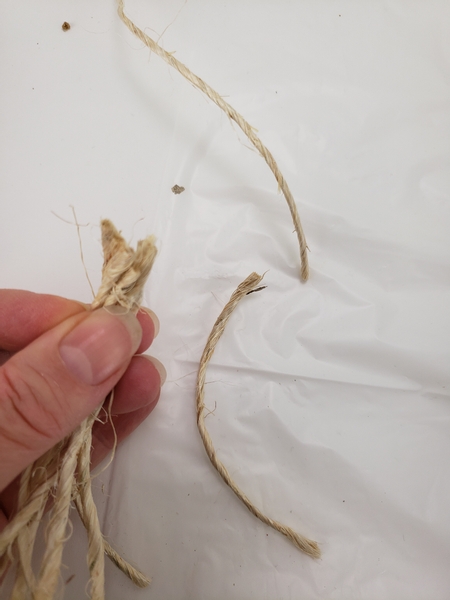
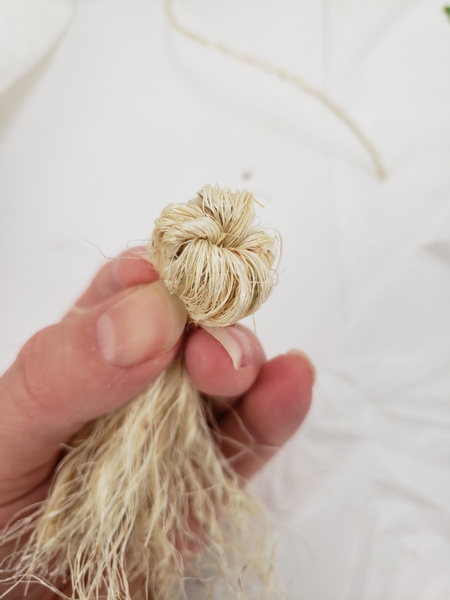
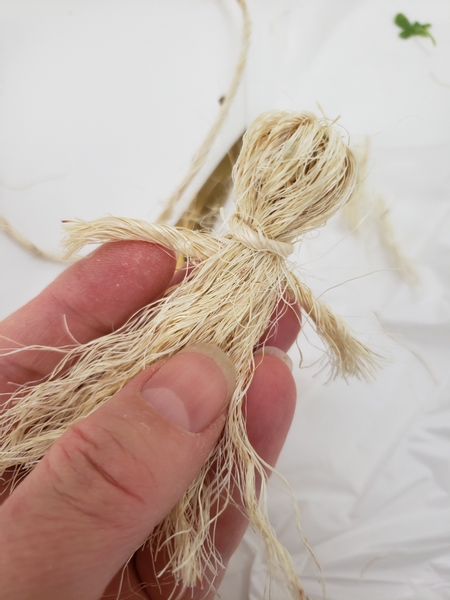
Gather a small bundle of the string.
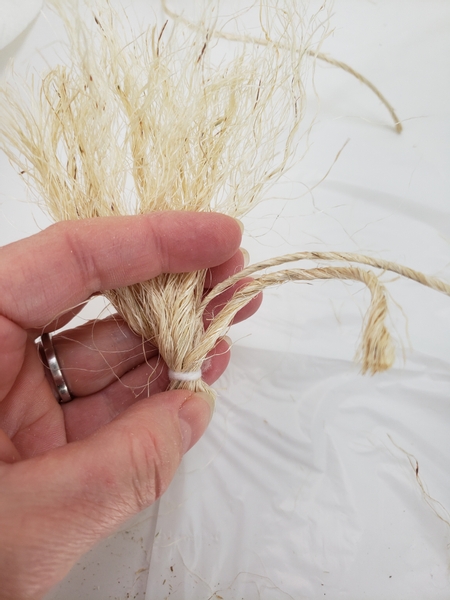
Tie it tightly together with wool.
I used wool for this first knot because it is rather difficult to get the sisal to securely bind such a small bundle. It will also be hidden. The more decorative knot is again sisal string.

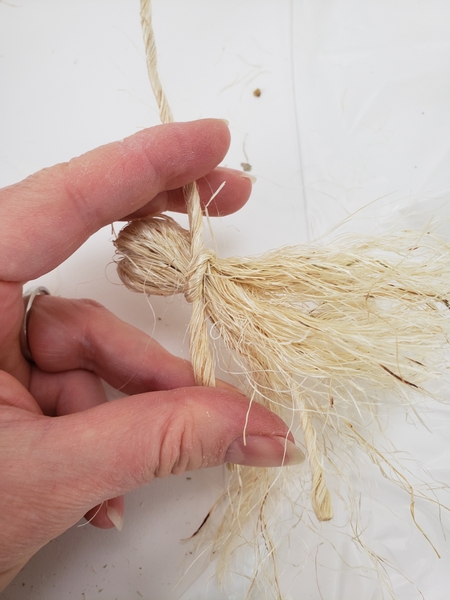
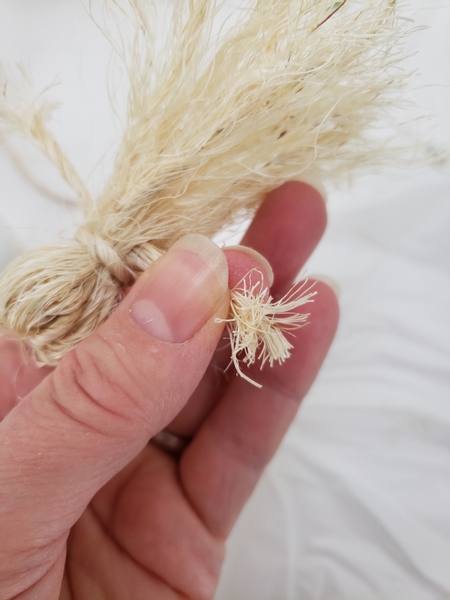
Unwind all but two or the string sections to fluff it out.
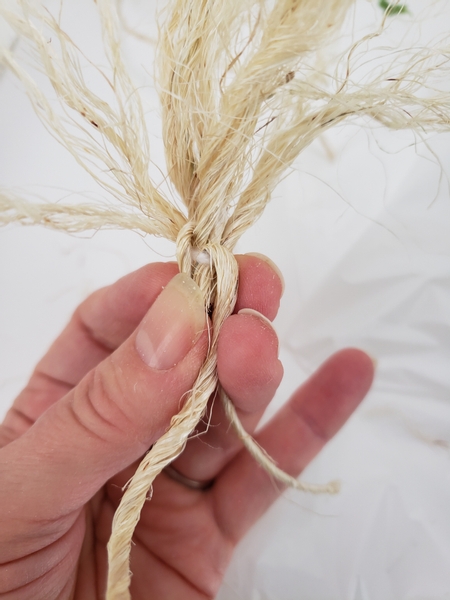
Fold those two sections down over the knot.
And fold the fluffed out sisal over to shape the head of the ghost.
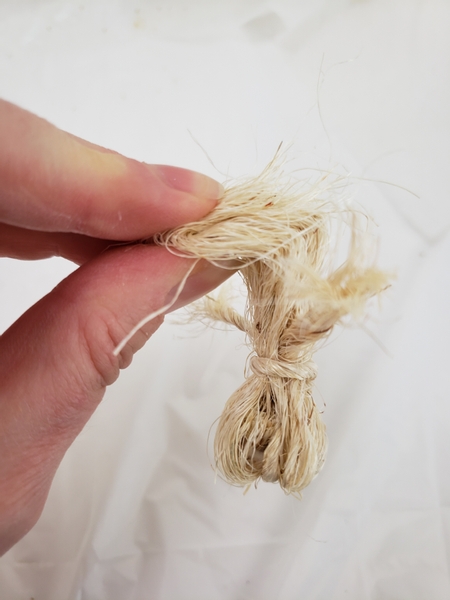
Secure the head with a sisal knot.
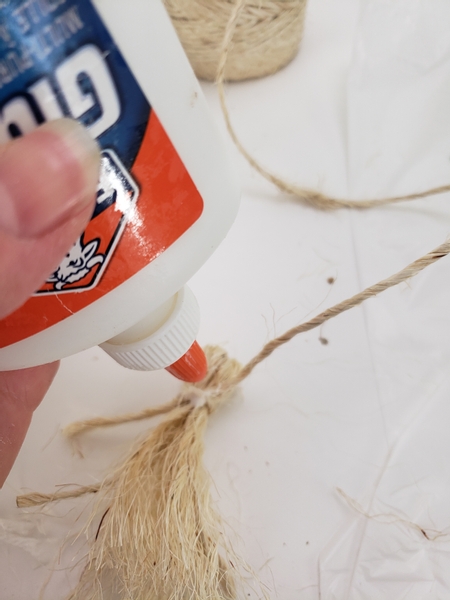
And place a small drop of wood glue on the knot to keep it secure
To learn more about tricks like this... and other fun knots you can use in your designs turn to page 49 of my book. For more information about my book: The Effortless Floral Craftsman
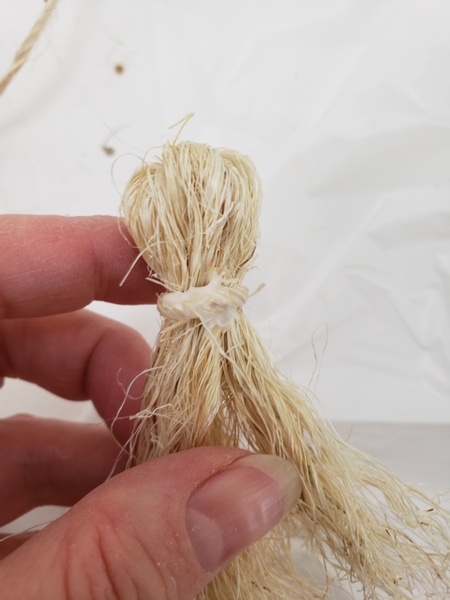
Cut the dangling string away and set the ghost aside for the glue to dry.

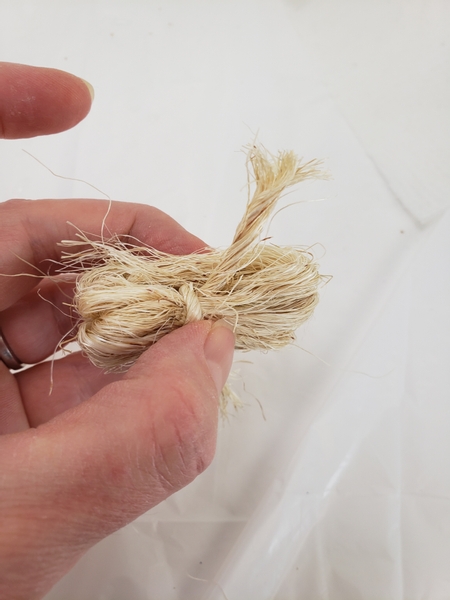
Gather the fluffed out sisal in the middle and extend the two rope pieces to the side.
Cut the arms shorter... if you want.
I actually debated with Mort on this (Mort? you know... the skeleton who was helping me out with this week's design?) Should we cut it shorter... or not? It also looked nice long. But in the end we decided it suits the personality of the design better short. This week's email has a bit more of how I groomed the floral details to add to the personality... or magic of the design. Make sure you are signed up to receive your email every Wednesday morning (Vancouver time) with a bonus tip. The sign up is below this post. This is also a great way for us to connect. You are welcome to reply to the email if you have questions or comments. Or if you want to say hi.
Fluff out the end bits for hands.
Now to make it sit. You can skip this part... or make it leap. Or make it dance. Whatever suits your design mood.
Fold the ghost in half.
And fold the bottom half back again
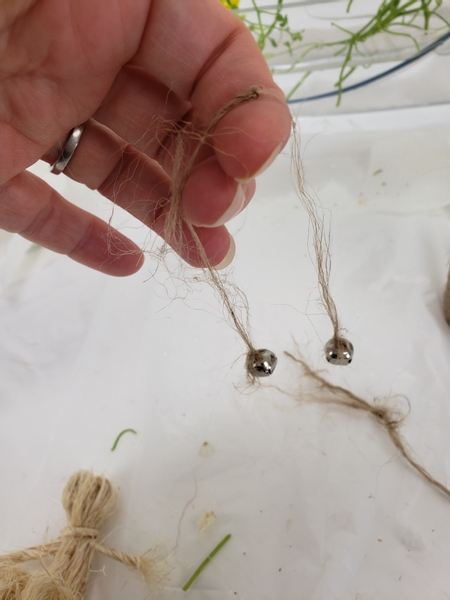
For the dangling bell feet tie two tiny bells on the end of a this string. I fluffed out the string because i wanted the ghost feet to appear like it is just hovering there... like the memory of feet more than feet.
Again do whatever your design mood requires.
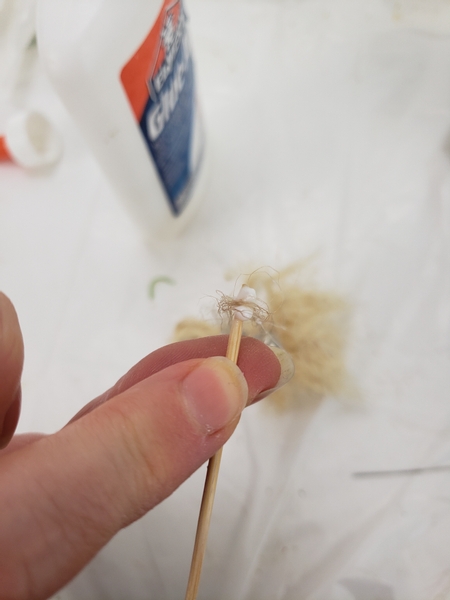
Take a tiny drop of wood glue on the end of a bamboo skewer and place the string in the glue letting the bells dangle down so that you can press the skewer into the the sisal fluff and glue the dangling feet in below the head knot.

Add eyes and draw in a mouth to finish the ghost.
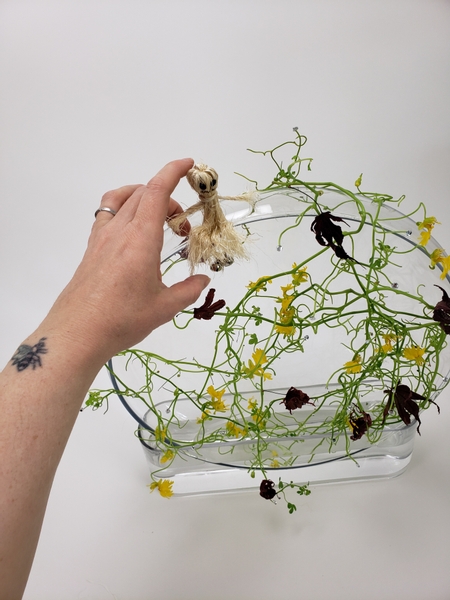
Add the rather bored looking sisal ghost into the design letting the feet dangle over the edge.
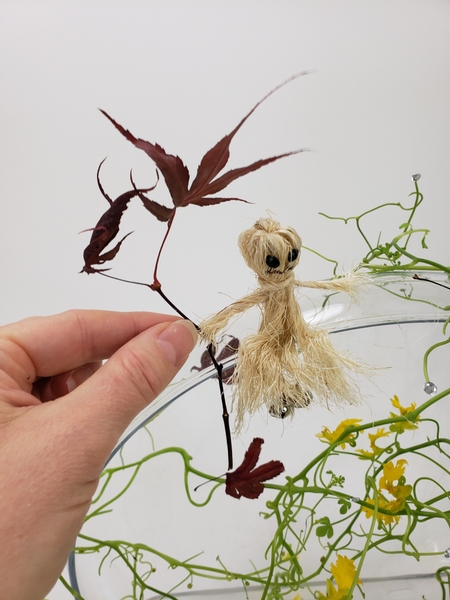
And finish it off by placing a leaf twig in it's hand to give it something to interact with.
Sign up for my weekly newsletter
Every week I add a new design with related tutorials. Be sure to subscribe to receive an email notification with design inspiration.


