Christine de Beer - effortless floral craftsman
A Twig and personal inner Gyp flurry melted snowman
- 9 December 2020
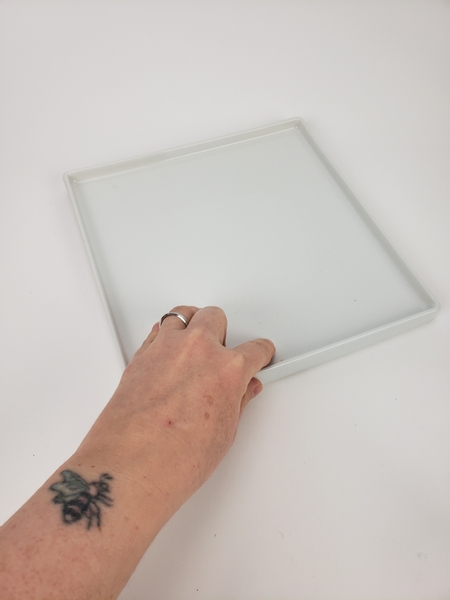
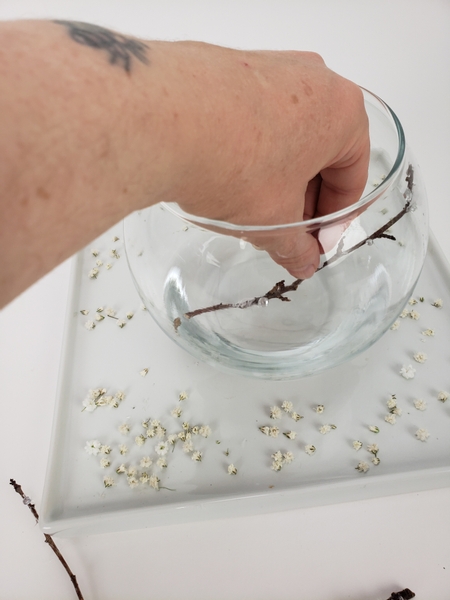
Place a display container on a flat surface.

Snip some gyp flowers into the display container.
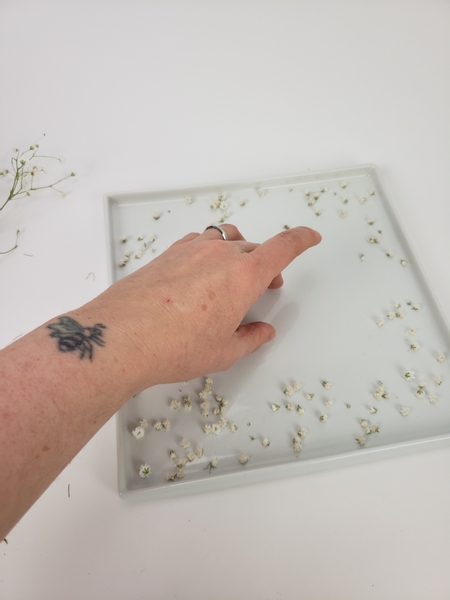
Brush away the flowers to create a open space in the middle.
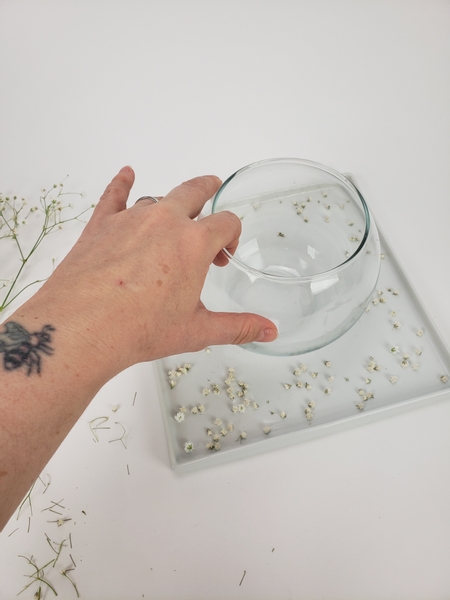
Place a medium size fishbowl in the open space
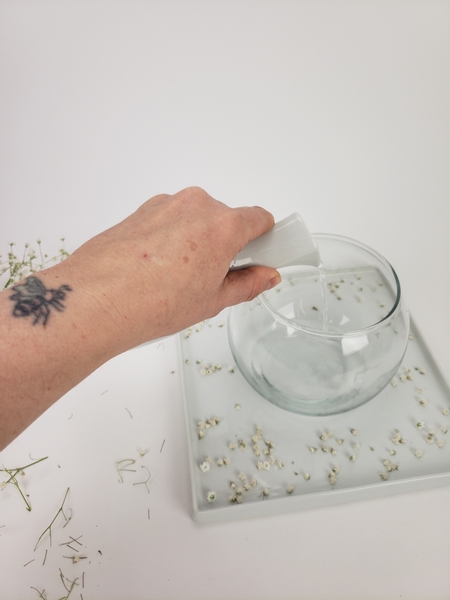
Pour a bit of water into the bowl.
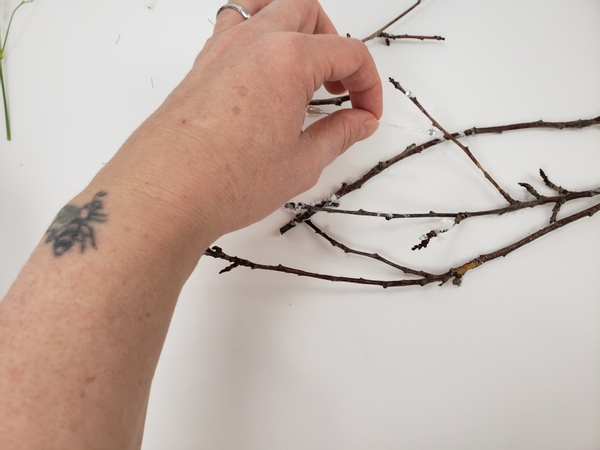
Add snow and sparkling crystals to some twigs.
If you want more information on how to add snow to twigs... or why-oh-why do I use a corsage pin to set the crystals see the Tutorial section below.
Design Tip: Set aside two character filled twigs for the snowman arms to add later.
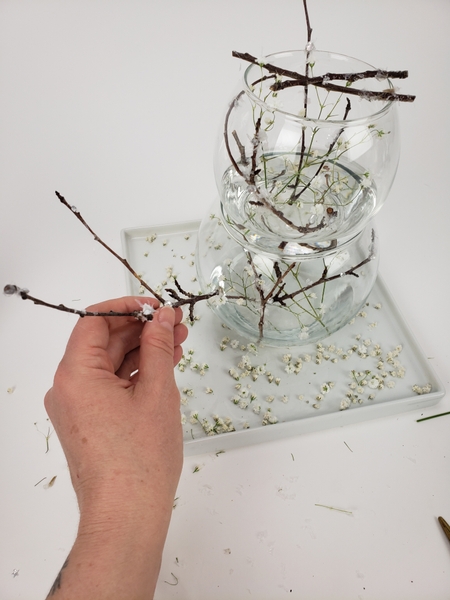
Place the twigs in the bowl.
Design Tip: yes, the twigs are decorative but they also serve a function. The twigs keep the flowers in place. So make sure the twigs are slightly wedged into place.

Place the Gyp into the bowl so that it leans against the twig.
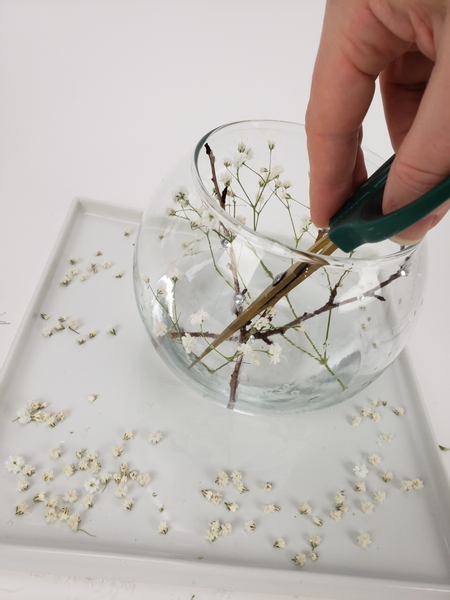
This is a great place to show off your scissor skills. Gently pinch- but don't cut the stems to place the flowers deep into the bowl. Of course you can use tweezers but it would not look half as impressive as using your scissors, now would it?
Next step is to position the second fishbowl vase on top of this one. Well... first we need to protect the bowl... and what about adding a bit of personality? Oh yes... I have a tip for you this week on all that AND how I keep the vase from fogging up. It's a bit of a longer conversation and I thought you might have questions or want to comment so I discuss this in our weekly email. Feel free to hit "reply" so that we can chat. If you are not yet receiving the once a week only notification email you can sign up right below this post.
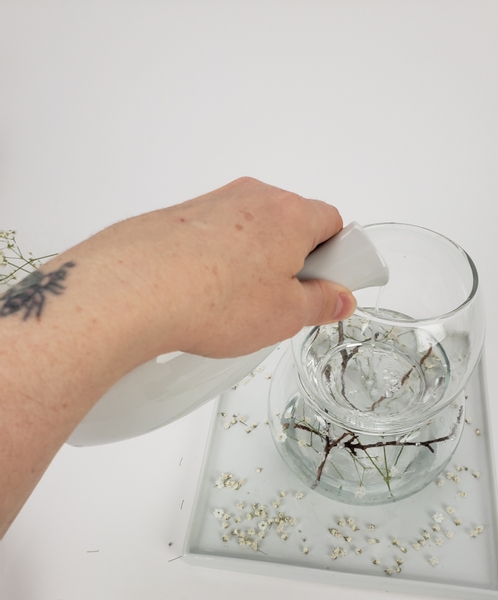
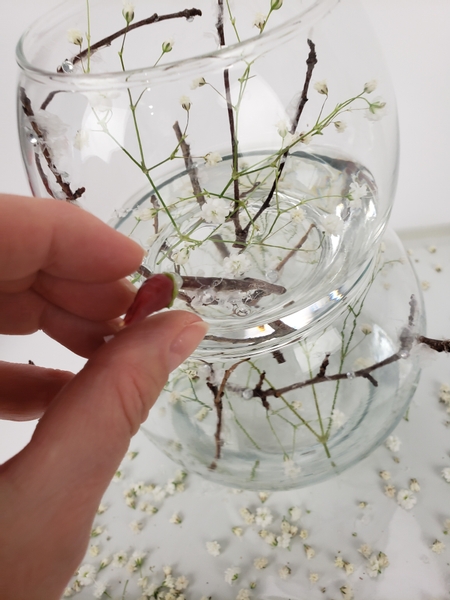
Place a smaller fishbowl vase on top of the first and pour in some water.

Wedge the snow covered twigs into the bowl and add the Gyp.
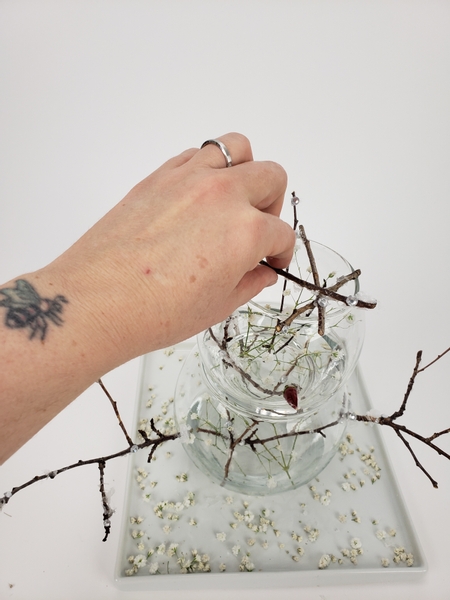
Glue in the twig arms.

Adjust the position of the twig arm so that you can add a present...
Glue in the red chilly nose.
Give the snowman a twig star hat...
… and remember to wrap a tiny gift… to add to the twigs.
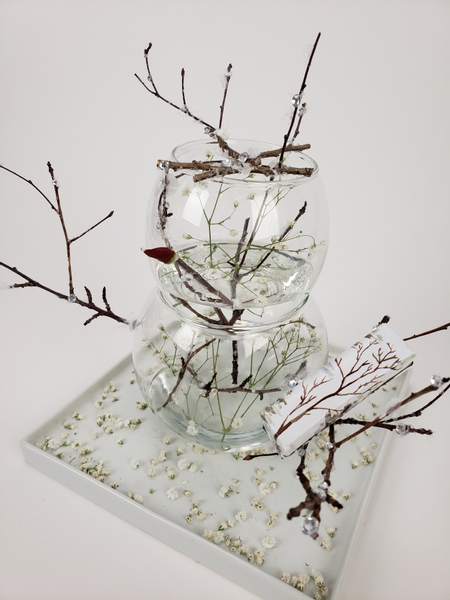
... snugly balanced on the twig arm.
Sign up for my weekly newsletter
Every week I add a new design with related tutorials. Be sure to subscribe to receive an email notification with design inspiration.


