Christine de Beer - effortless floral craftsman
Twig Snowflake
- 25 December 2018
- and more
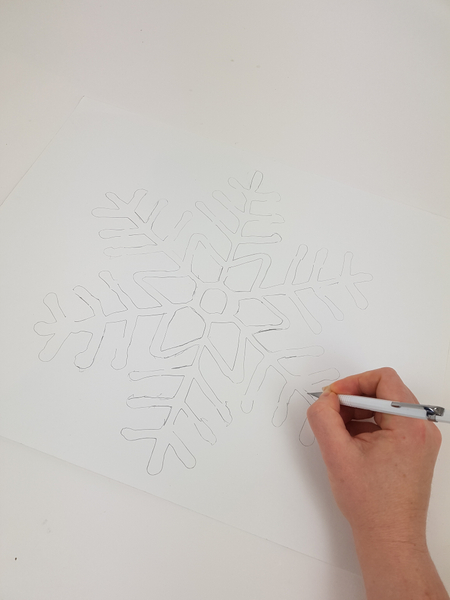
Draw the snowflake pattern on a large cardboard.
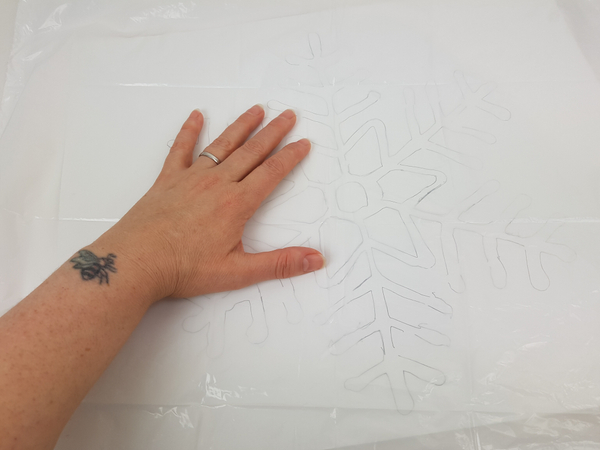
Cover the cardboard with plastic.
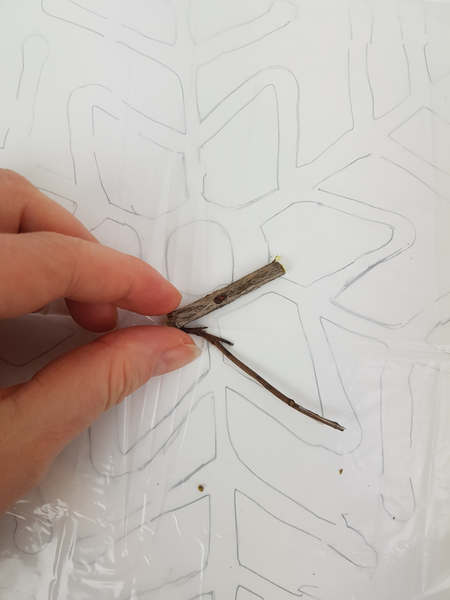
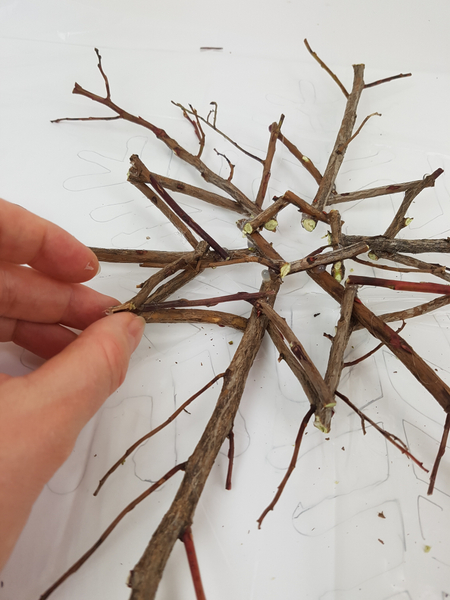
Cut twigs into small snippets to glue in the shape of the snowflake.
Follow the shape...
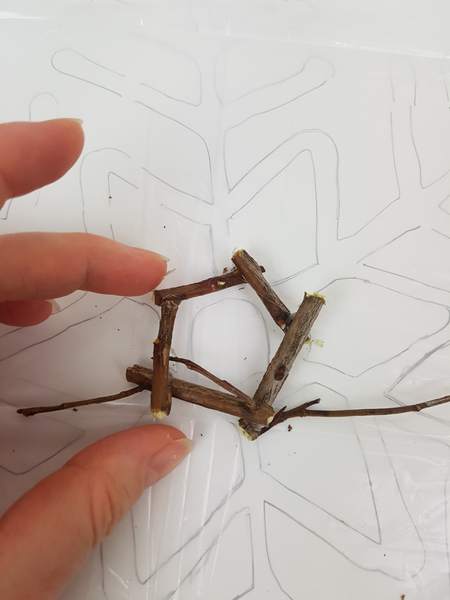
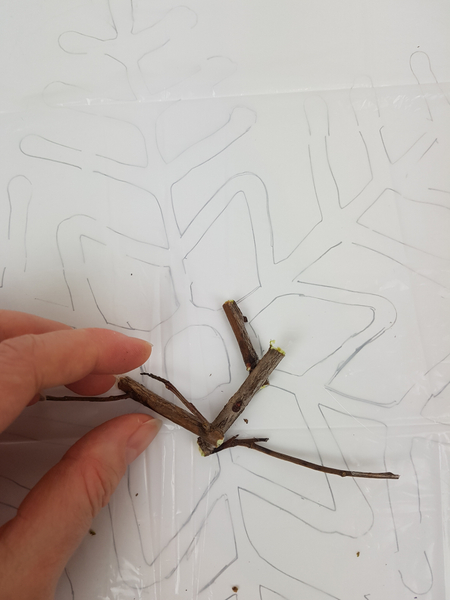
Overlap the ends of the twigs to make sure they are glued securely in place.
Match the natural shape of the twigs to the snowflake pattern.
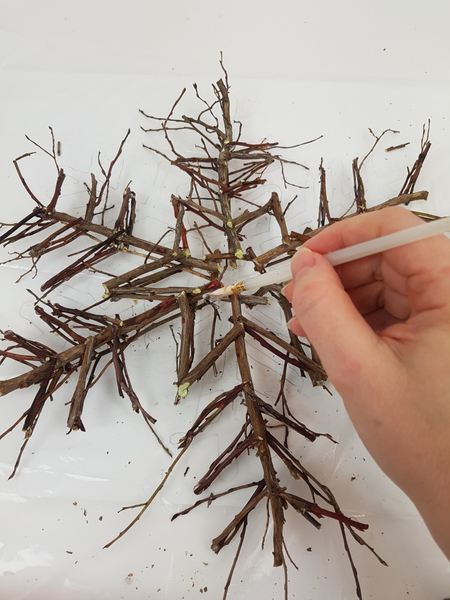
Glue in the middle star shape of the snowflake.
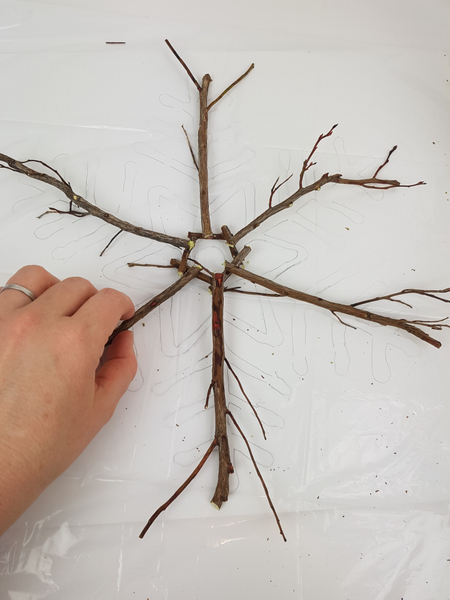
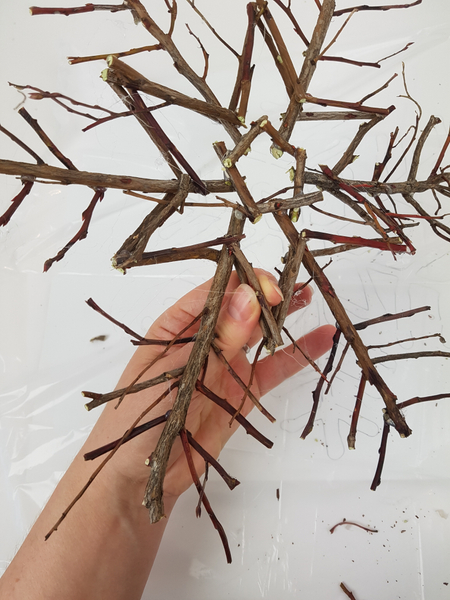
Flip the shape over.
And glue in more twigs following the star shape to create a strong armature that can carry the weight of the Christmas decorations and flowers.
Glue in the icicles at the end of the longer twigs
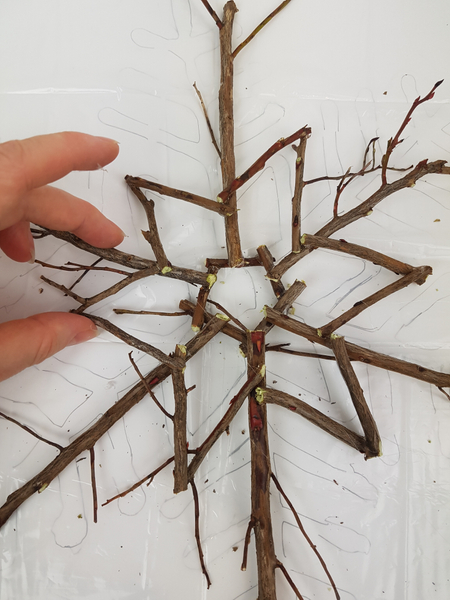
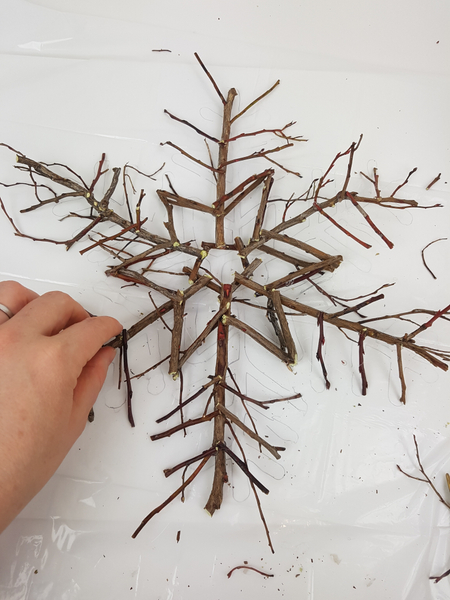
Flip the snowflake over again...

And follow the snowflake pattern again so that you have about three twigs on every line.
Paint the twig snowflake with thinned wood glue.

Sprinkle the twig snowflake with artificial snow.
See the Tutorial below for more detailed instructions on how to add artificial snow.
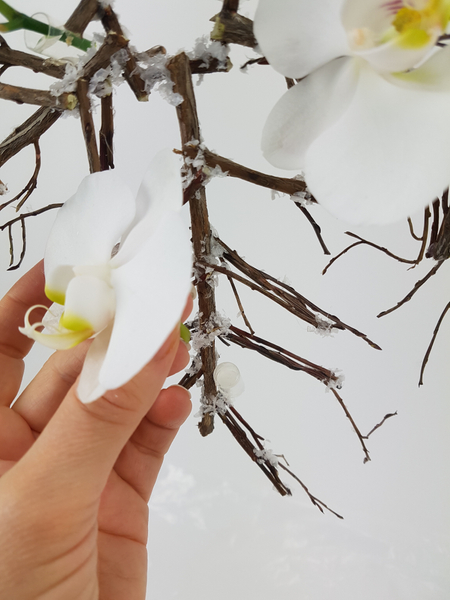
Glue in tiny water tubes to keep the fresh flowers hydrated.
See the Tutorial below for more detailed instructions on how to make your own tiny water tubes from drinking straws
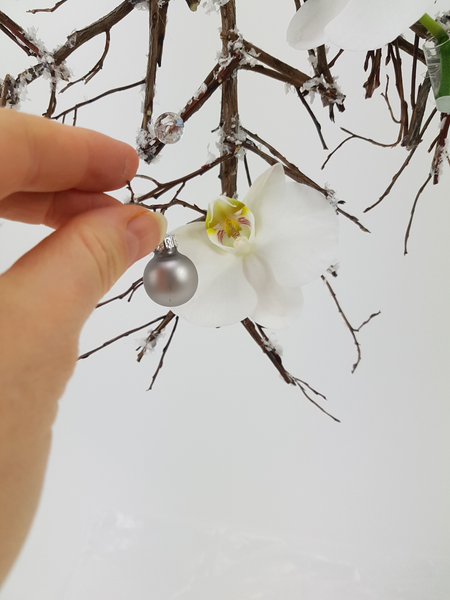
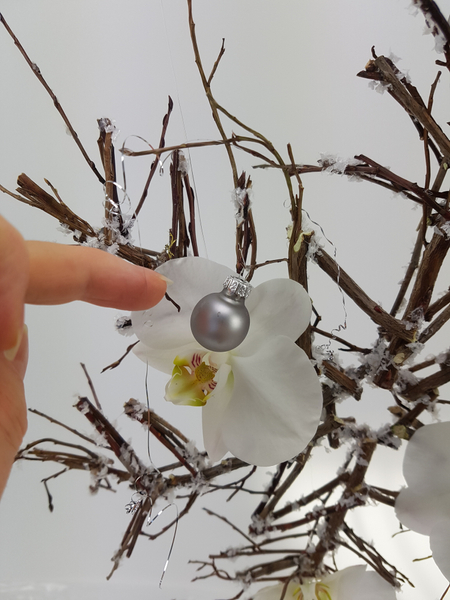
Add small baubles and snowflake crystals.
Add thin strands of curled tinsel.
See the Tutorial below for more detailed instructions on how to curl tinsel.
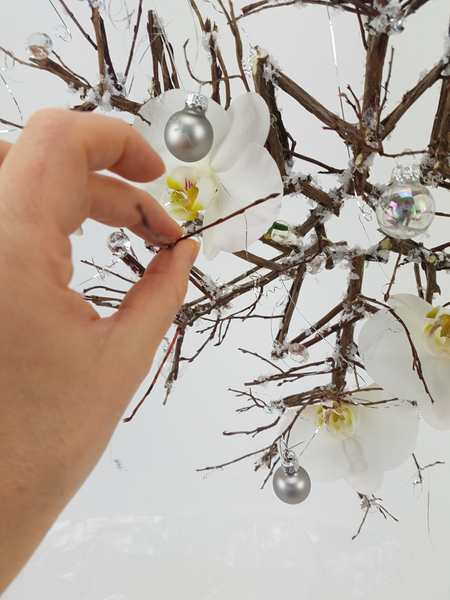
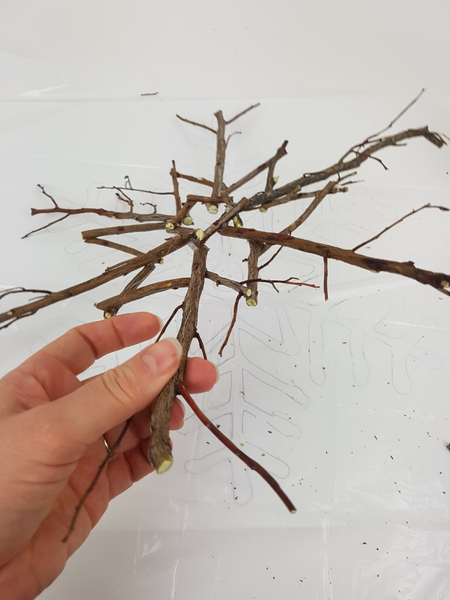
Glue in more twigs. They add dimension to the design.
Design note: With a delicate armature like this I like to add twigs that "fill in the gaps" where the shape is covered with flowers so that the basic shape is not lost in the overall design.
Sign up for my weekly newsletter
Every week I add a new design with related tutorials. Be sure to subscribe to receive an email notification with design inspiration.


