Christine de Beer - effortless floral craftsman
Fork In the Twig Tree
- 7 December 2022

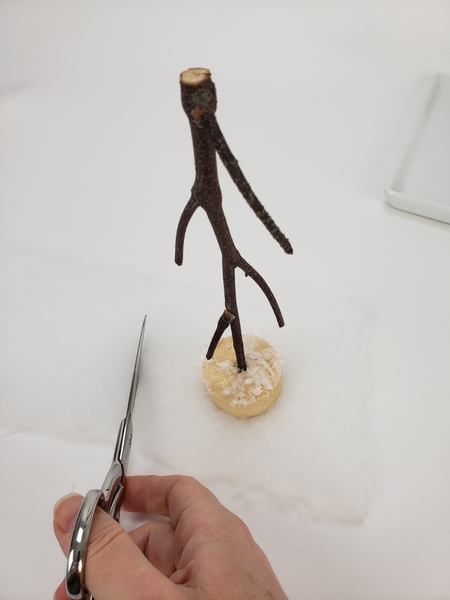
Drill a small hole in an off cut piece of wood.
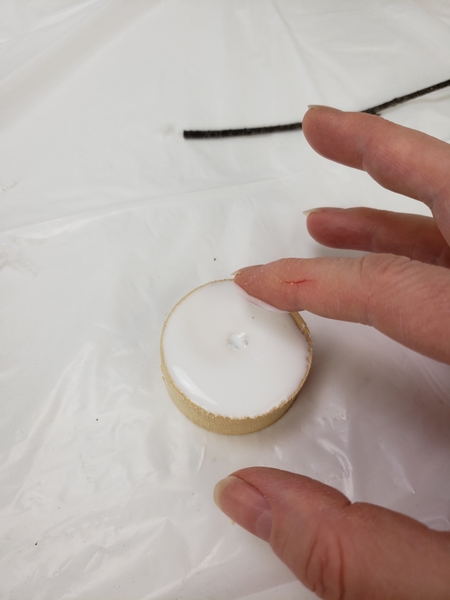
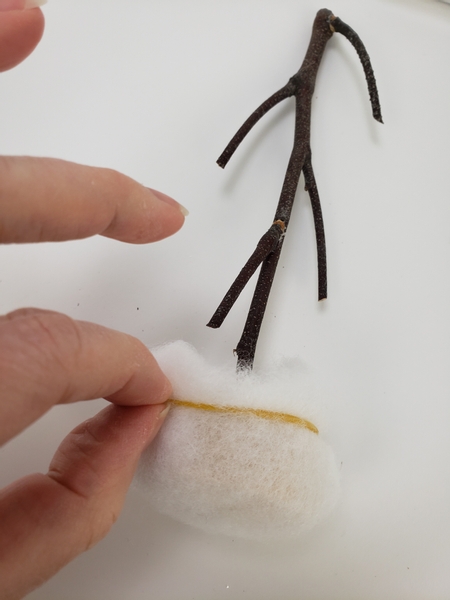
Cover the top of the wood with wood glue...

And sprinkle on some artificial snow to cover the top of the disk.
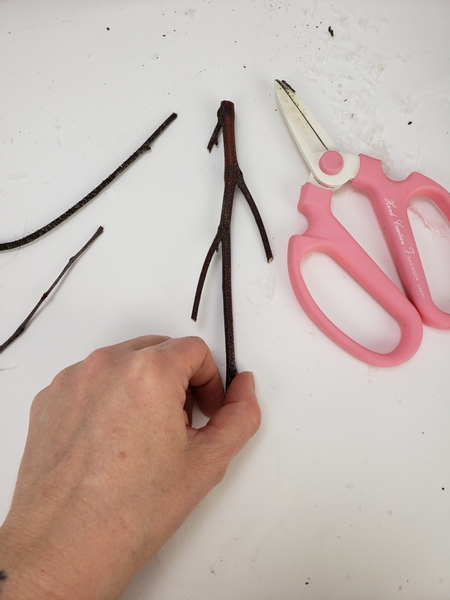
Cut the side branches from a twig...
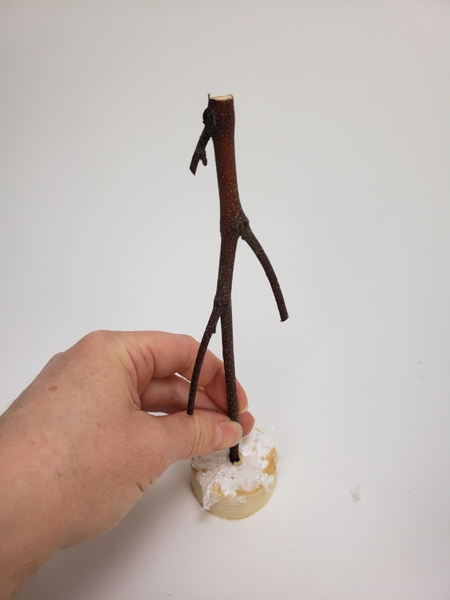
Push the twig into the hole in the wood so that the branches point down.
Yes! finding the twig with the right kind of side branches is absolutely the hardest part of making this design. But... there's a trick. You can add your own side branches by cleverly cutting the twig.
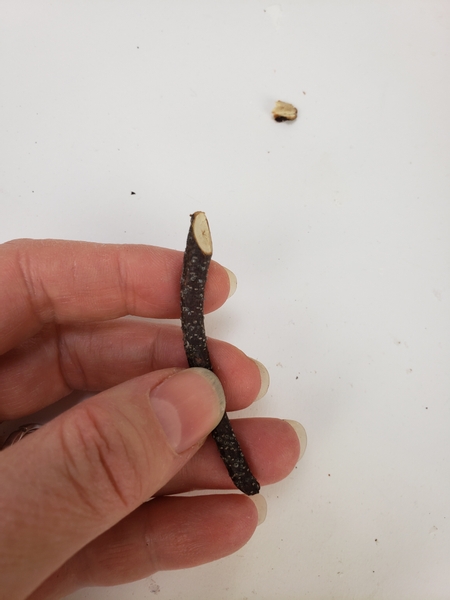
Here's how: Cut a twig at a sharp angle...
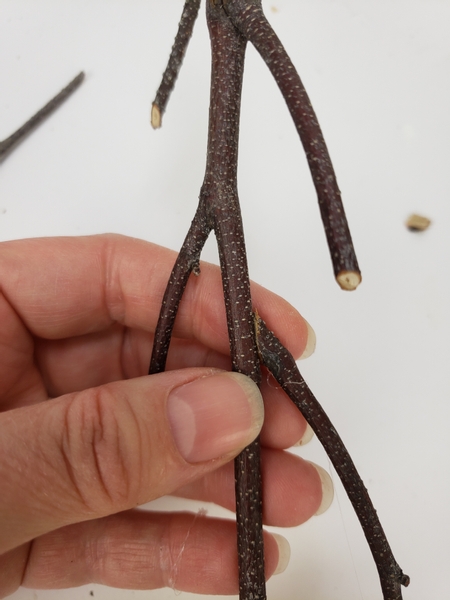
So that it seamlessly fits against the side of the branch. Secure the twig with hot glue.
Cover the base with wrapping paper, foam or fabric. I save up the foam my orchids are shipped in for just this. You can also use the foam that you get inside pillow cases- they make great artificial snow!
Secure the covering with an elastic band. You can cover the band with a ribbon, if you prefer. I wanted my tree to be as minimal as possible so that they sleigh attracts all the attention (see the Tutorial for the sleigh below) so I merely teased the foam over to conceal the elastic band.

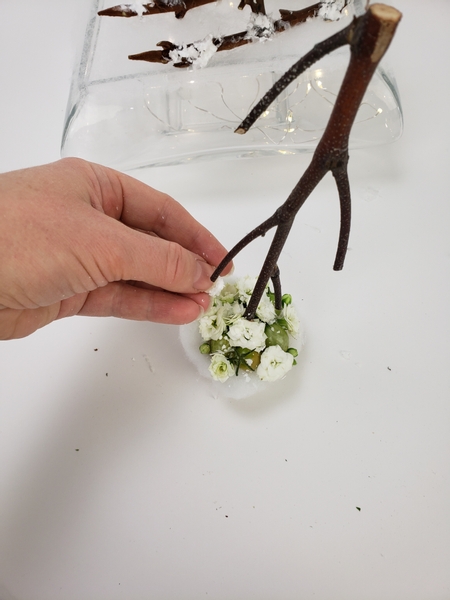
Glue a few berries (I used green cherry tomatoes. pretty, right?) to the base of the tree.
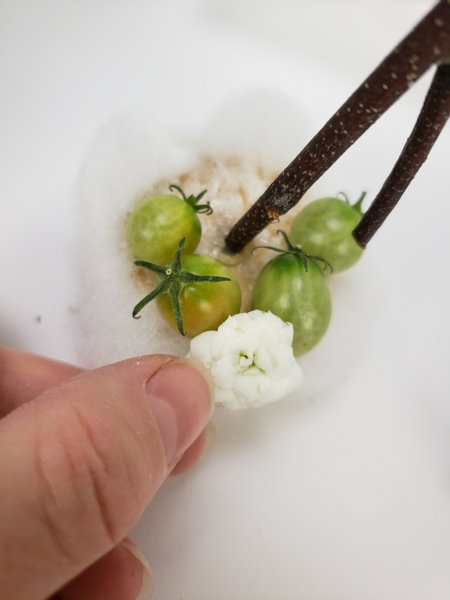
And fill in the gaps with kalanchoe flowers. Kalanchoe flowers last a remarkably long time without a water source and is ideal for dainty designs like this.
Scatter a dusting of snow so that it settles between the design details...
For a neatly packaged twig tree...

... that sits in the winter wonderland ready to be transported with the sleigh.
... back to the sleigh Tutorial, then.
Sign up for my weekly newsletter
Every week I add a new design with related tutorials. Be sure to subscribe to receive an email notification with design inspiration.


