Christine de Beer - effortless floral craftsman
The coziest Wool, Holly and Kalanchoe Table Top Candy Cane Snowflake
- 30 November 2022
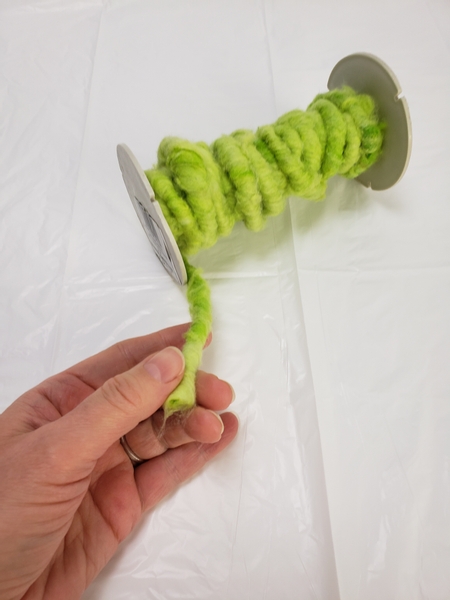
For my design I am using wool covered wire.
These are so easy to make yourself. I have quite a few Tutorials for how you can customize your own covered wire. To get you started I have a few links to Tutorials here below the post.
Book readers turn to page 36 where I show you how to cover wire... and a few more tips.
For more information about my book: The Effortless Floral Craftsman
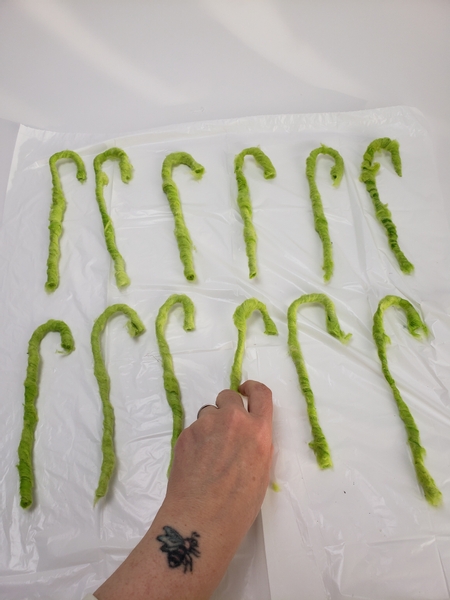
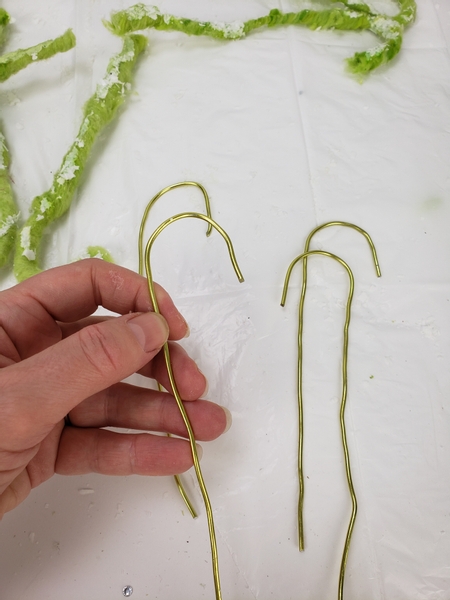
Cut the wire into sections and curve it into candy canes.

Place the candy canes on a plastic lined surface and use wood glue to dust the wool candy canes with artificial snow. See the Tutorial below for more detailed instructions on how to add artificial snow to your designs.
Absolutely the snow adds a winter frosty look to the design... but it is a vital step- don't skip it.
See this week's email for a more detailed explanation on why the glue actually helps the design keep its shape.
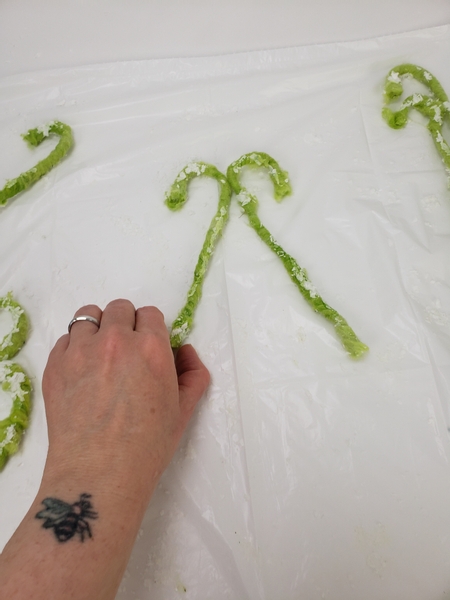
Connect the first two candy canes with a generous dollop of wood glue...
Connect the next two candy canes and again secure it with glue.
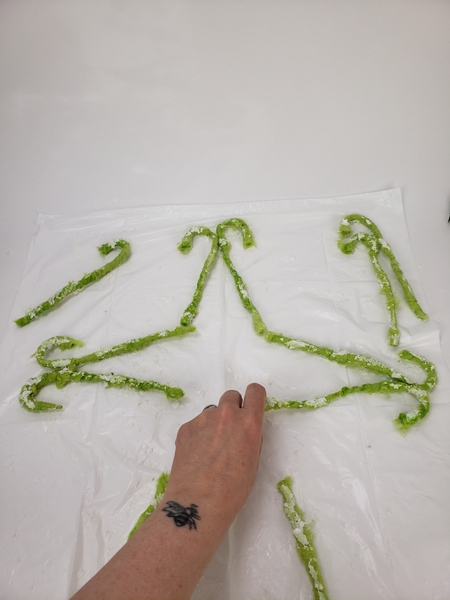
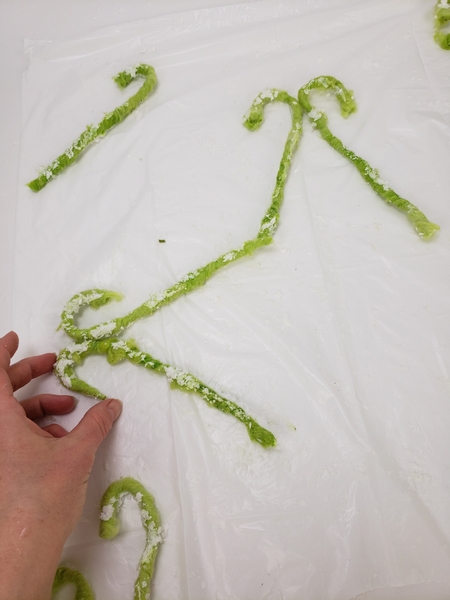
Connect two more candy canes on the opposite side and secure them with glue
And connect two candy canes to the bottom to close the shape.
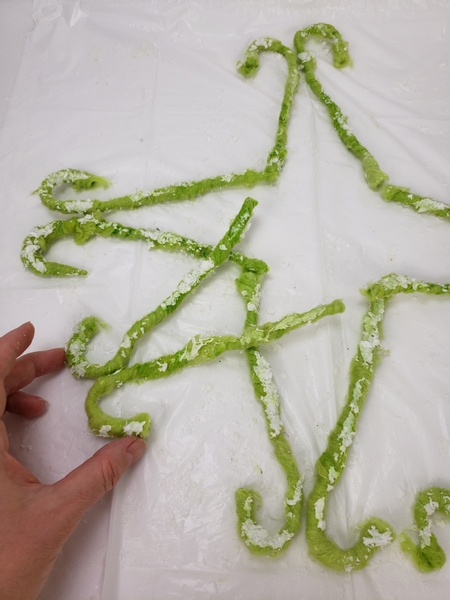
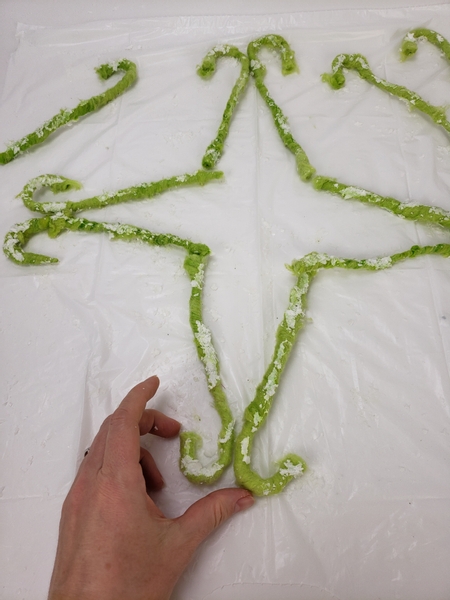
Use a generous amount of wood glue to secure the second row of candy cane pairs...
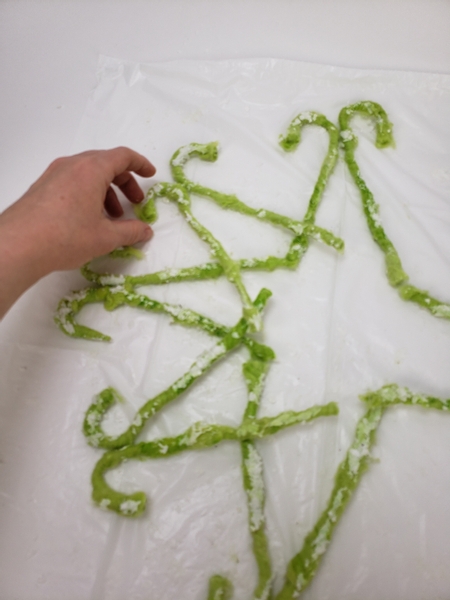
This time let the wool candy canes overlap inside the snow flake. Remember use loads of glue. The surface is lined so you will be able to peel the shape from the plastic once dried.
Add a bit more glue... and a bit more... and then set it aside so that the glue sets while you make the twig candy canes to complete the snowflake shape.
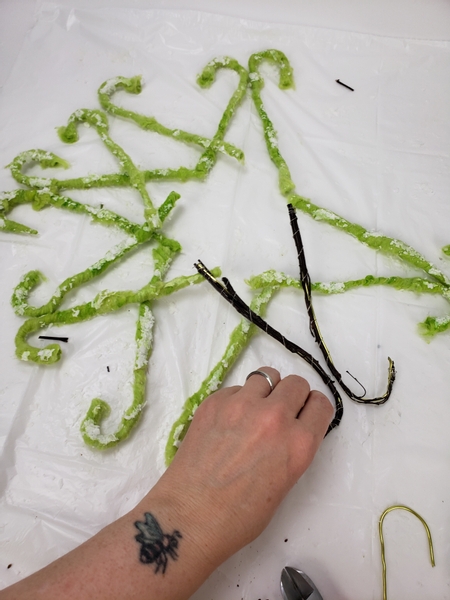
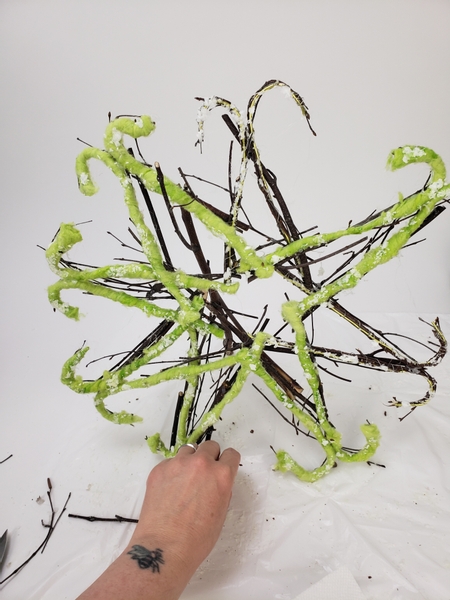
Cut four more wires to shape into candy canes. I used apple green wire to match the wool.
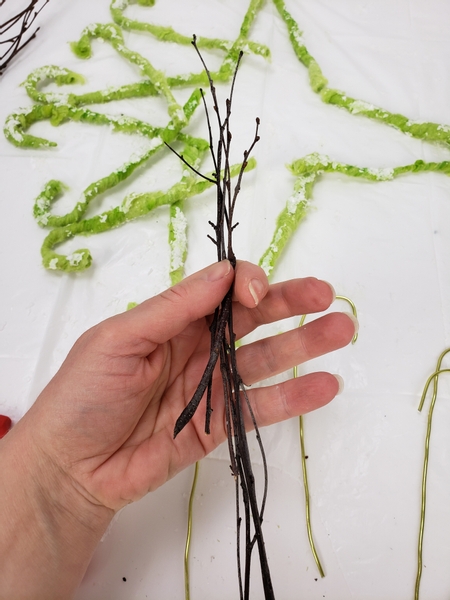
Gather a bundle of fine twigs to wrap around the wire.
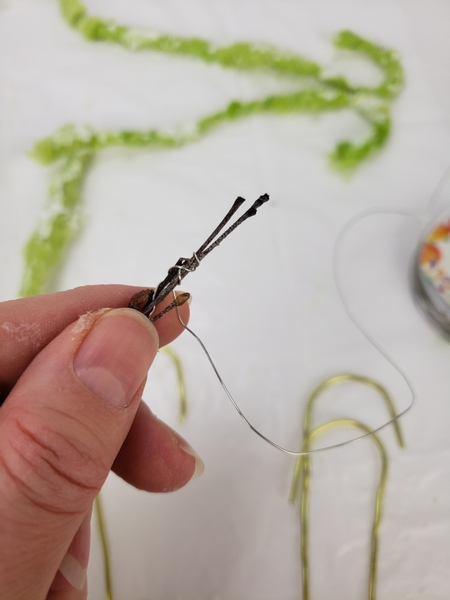
Wind thin wire around the twigs...
And wind the wire around the wire candy cane to secure the twigs
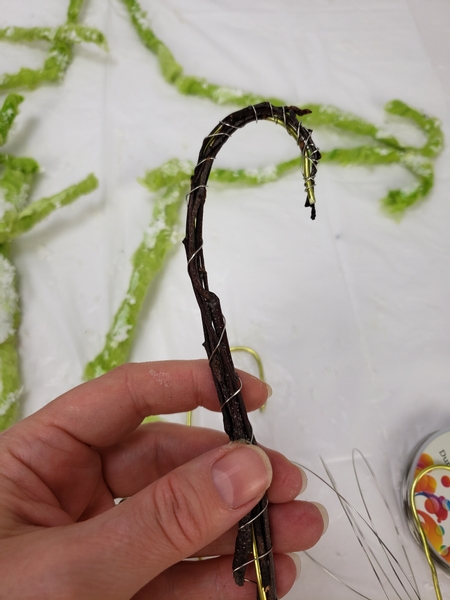
Design note: I used silver wire because the fairy lights that I am adding to this section later is silver. The twig section is actually the back so you don't have to be too concerned if the green wire shows- it will look just right when we turn it around, you'll see...
Glue in the wire and twig candy canes...
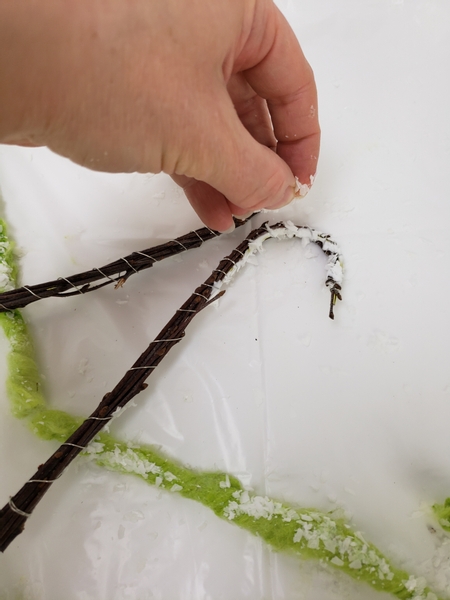
... and add a bit of artificial snow to the candy canes...
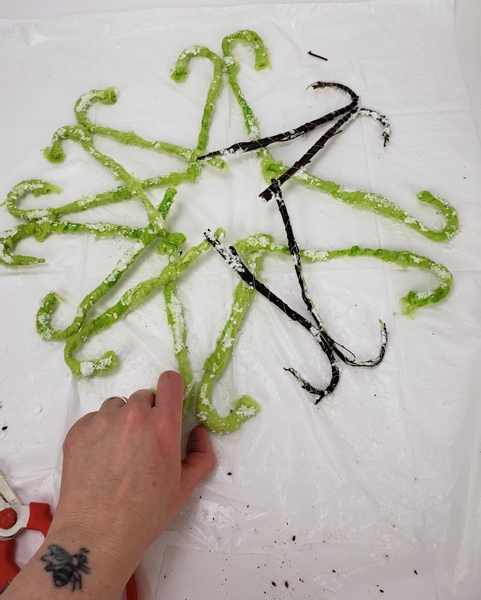
... to complete the candy cane snowflake.
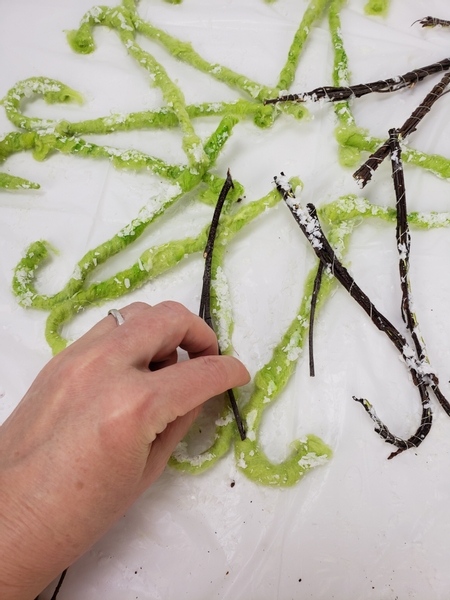
Use hot glue to secure more twigs to the back of the design following the snowflake shape.
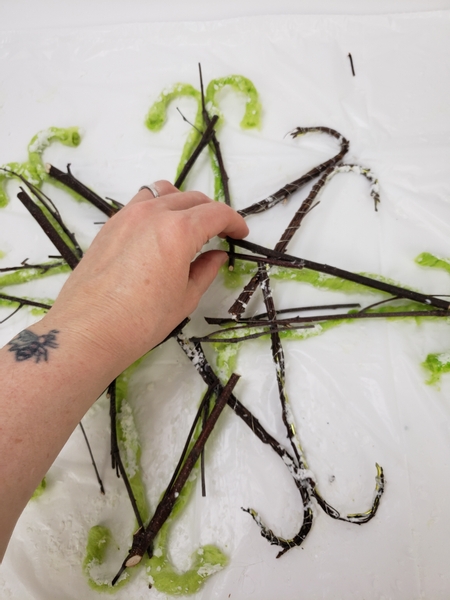
Carefully build up the snowflake. so that the twigs follow the shape but will still show. The goal is to have a glow of twigs supporting the wool candy canes without it distracting from the shape.
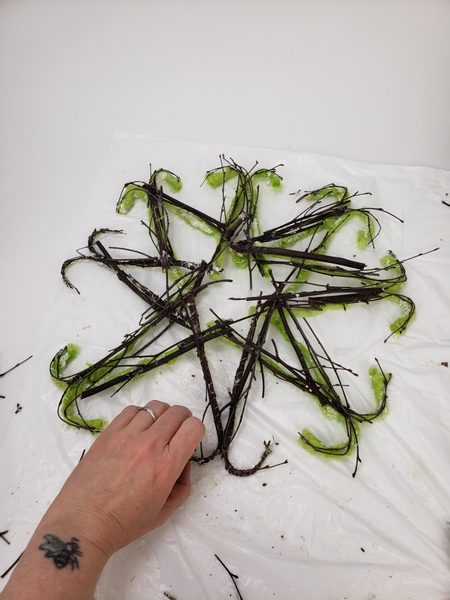
The idea is that it should almost look like the twigs grew a snowflake, Let the glue dry. Wiggle the snowflake to see if it is a stable unit. Add more twigs where you feel it might need more support.
When the glue is completely dry you can peel the wool snowflake from the plastic carefully.
If the shape is still not able to stand upright on its own place it back on the plastic and add a few more twigs.
If you feel unsure of using snippets of twigs like this to add support to a design armature see the other Tutorials below.
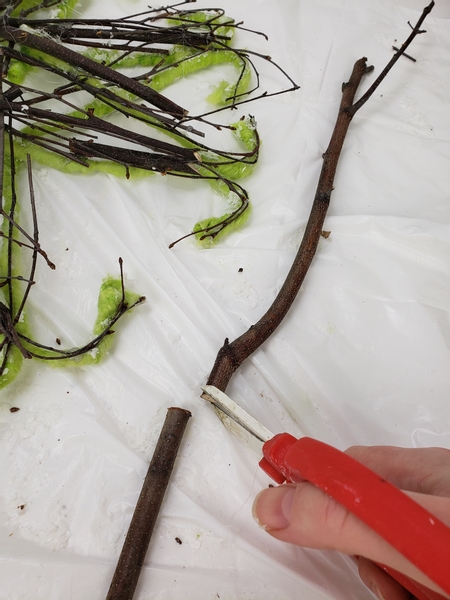
Place the design back on the plastic surface, wool side down. The wool side of the design is the front so that you can use the twig side to add the support.
Cut a sturdy twig with a fork in it to support the snowflake in an upright position.
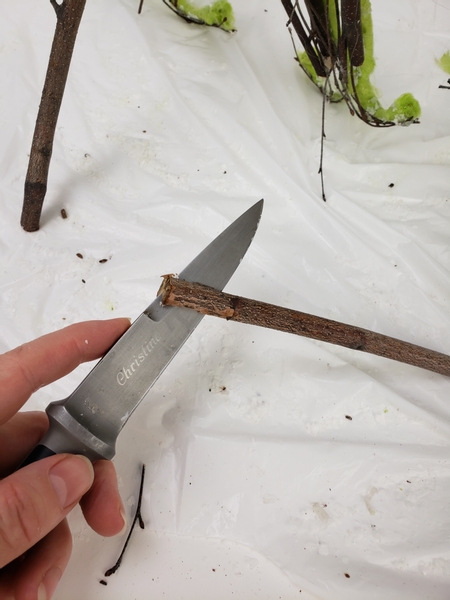
Split the ends of another twig at both sides with a sharp knife...
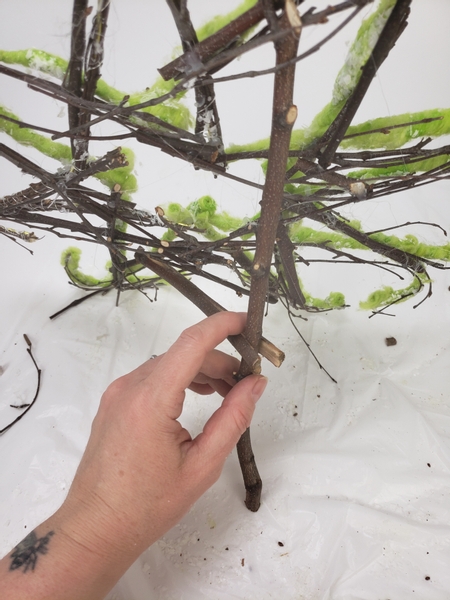
To peg the support into place.
If there is messy glue bits cover it with a sprinkling of snow. The great thing about adding the last dusting of snow once the design is upright is that it looks more natural. Sprinkle the snow to fall where you think snow will naturally fall.
Let the snow dry and place the snow flake on a display container.
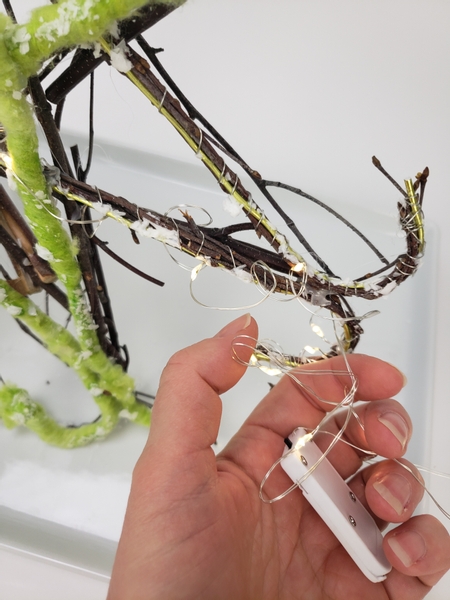
Wind tiny lights around the twig candy cane sections.
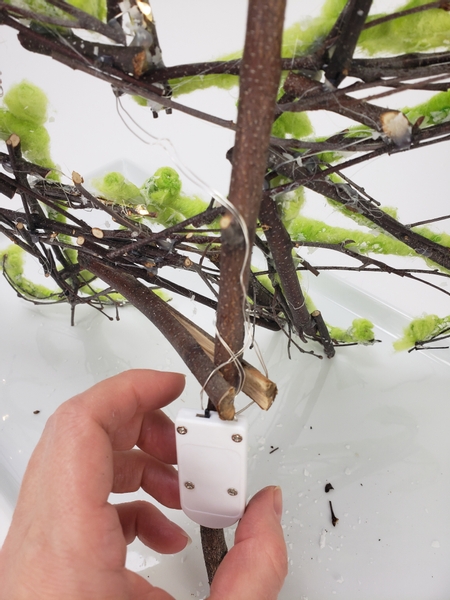
And secure the on off switch to the back so that it is concealed but still easy to operate.
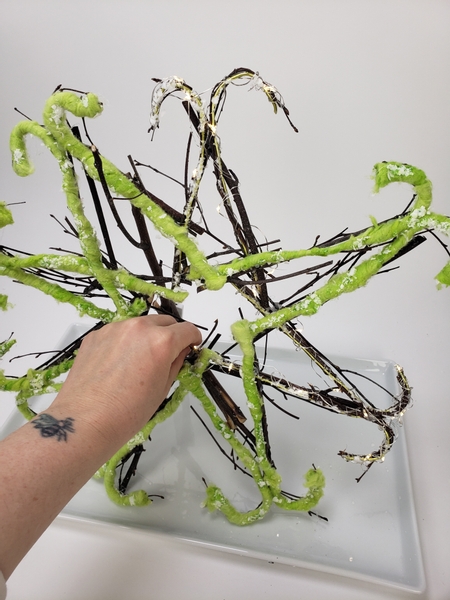
Your candy cane snowflake armature is now ready to design with...
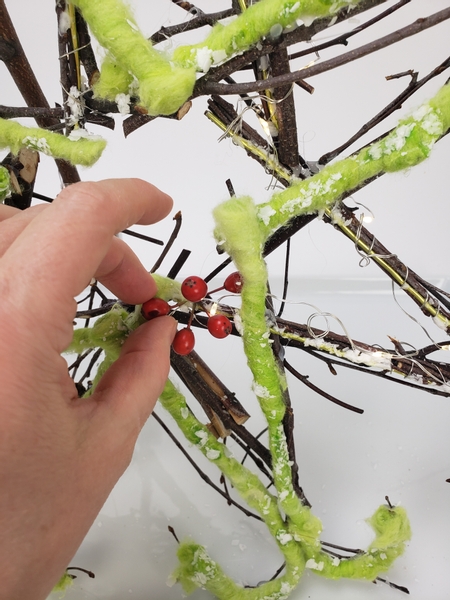
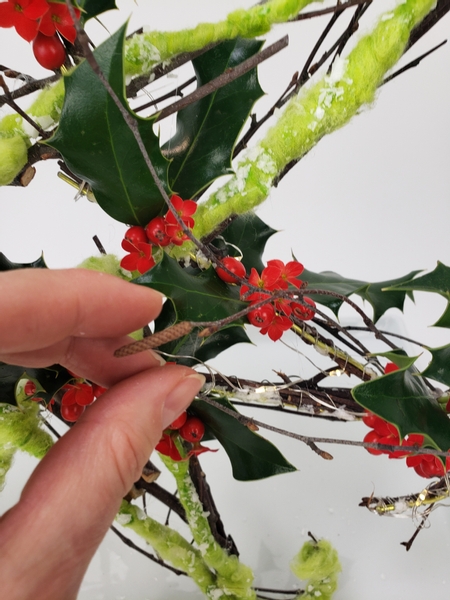
Glue in some holly berries...
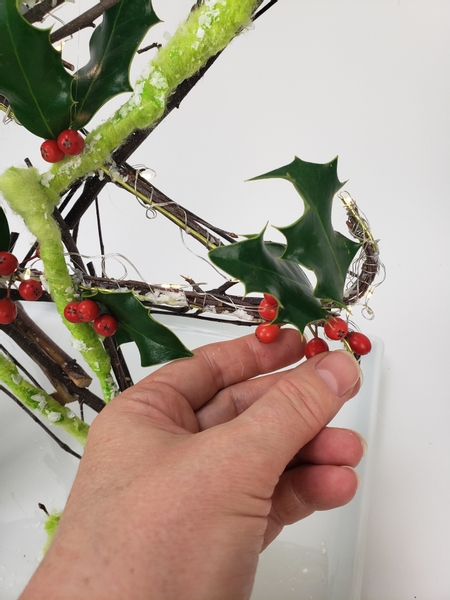
... and the holly leaves...
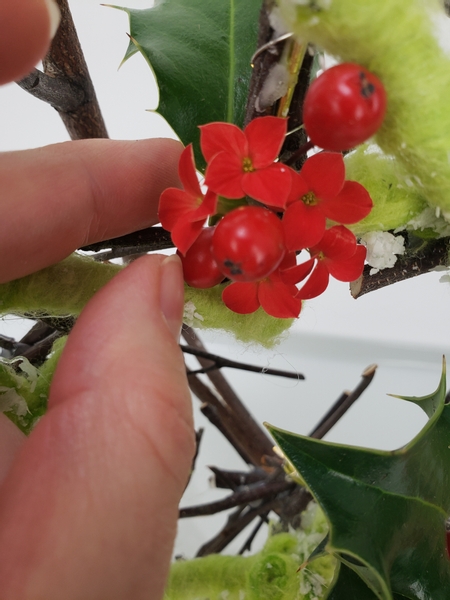
... and a few kalanchoe flowers.
Finish the design with a few tiny twigs that extend over the design details to visually connect the front of the design with the back.
Sign up for my weekly newsletter
Every week I add a new design with related tutorials. Be sure to subscribe to receive an email notification with design inspiration.


 Cotton Christmas")


