Christine de Beer - effortless floral craftsman
Copper stars to hang as Design Accessories
- 1 December 2021
Cut a basic star shape out of paper.
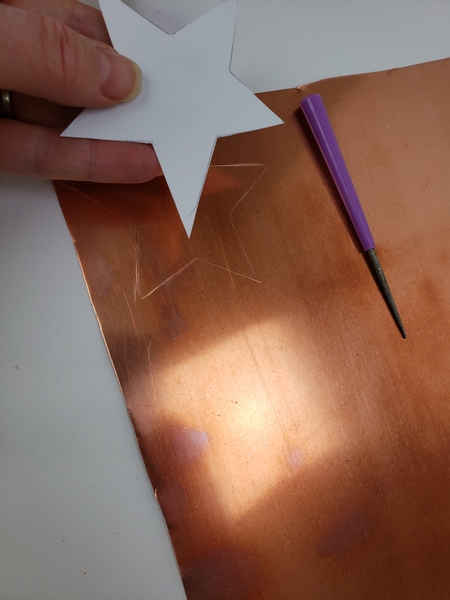
Trace the shape on to a copper sheet.
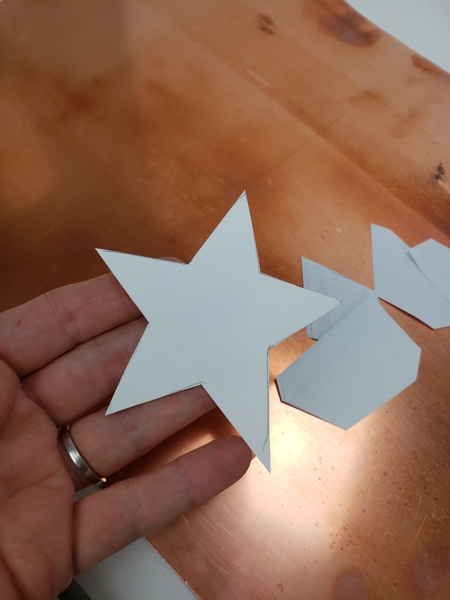
Cut the stars out with heavy duty scissors
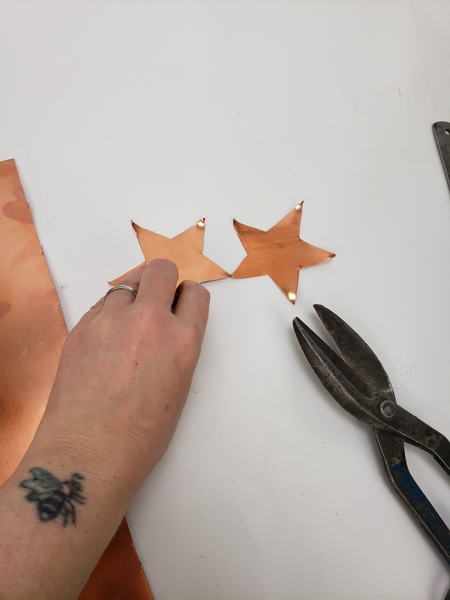
Stars ready to design with.
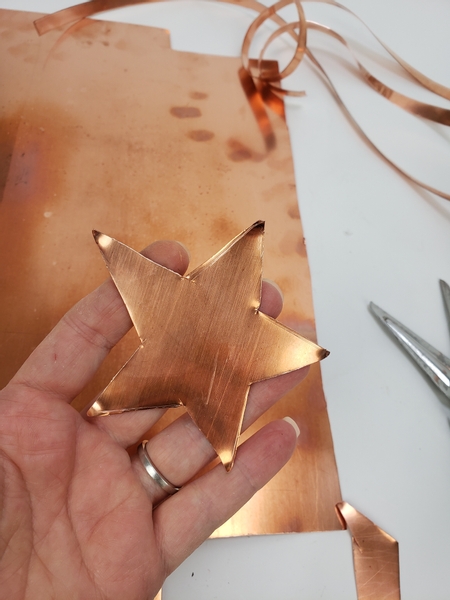
For my design I added a patina to the copper
See the Tutorial below for detailed instructions on how to add a Patina
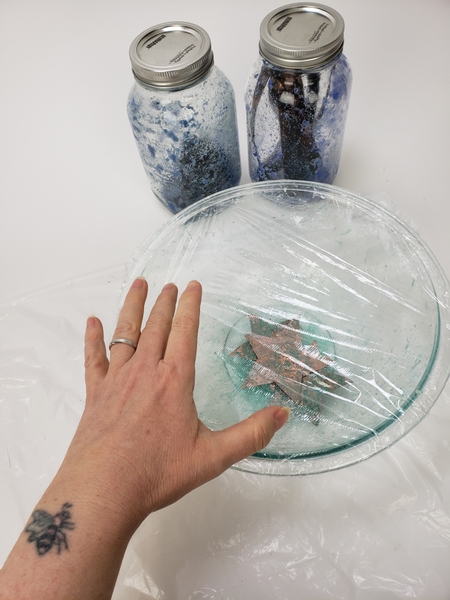
To add the stars to the design:
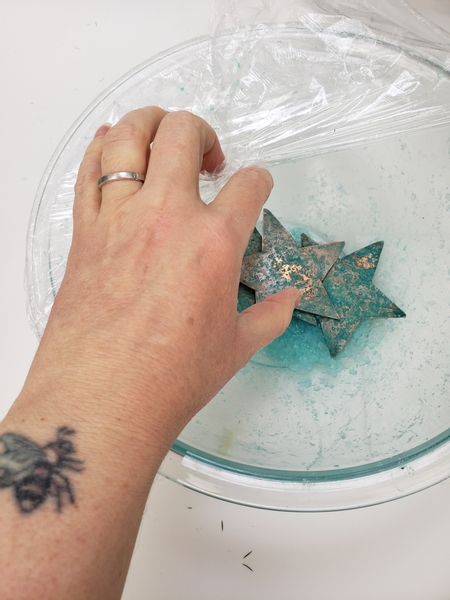
Let the copper develop overnight.
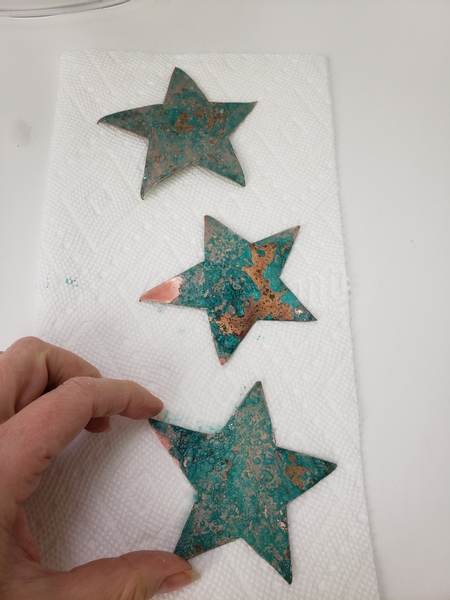
And let it dry on a paper towel.
Remember not to handle the stars too much. The effect is not yet permanent and can still chip away.
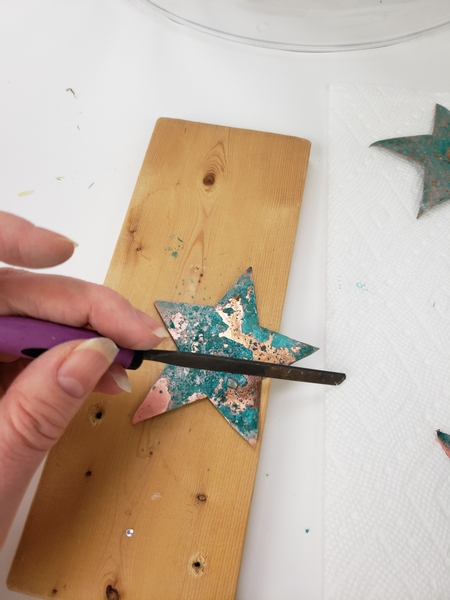
Carefully smooth the sides with a small file
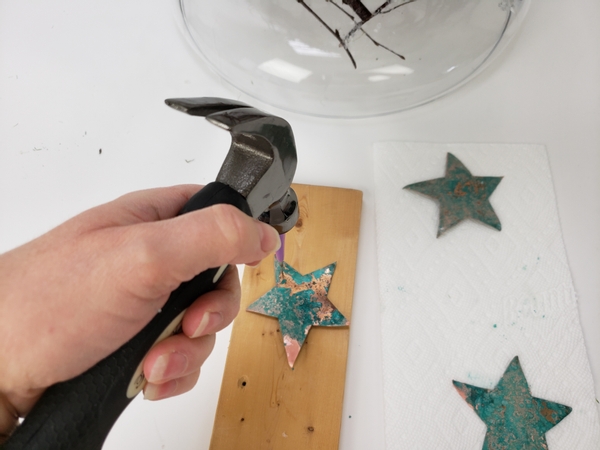
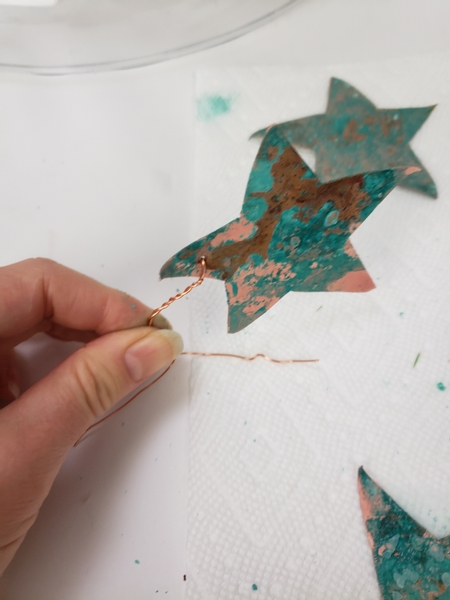
To hang the star: Make a small hole on one end using a hammer and a sharp object like a nail or screw.
Design note: use a piece of wood under the star to protect your surface.
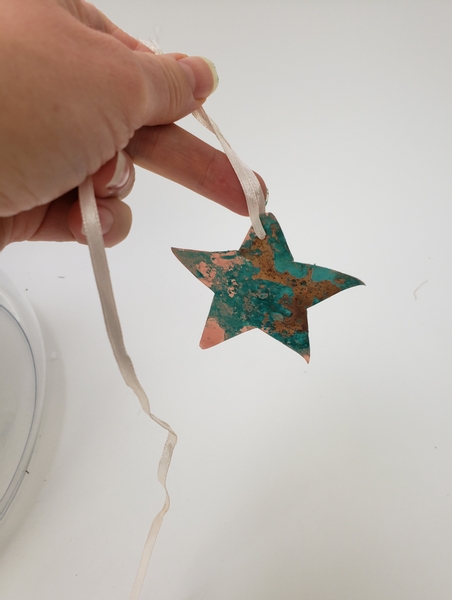
Hang the star by threading a ribbon through the hole.
or to make it stand upright in a design:
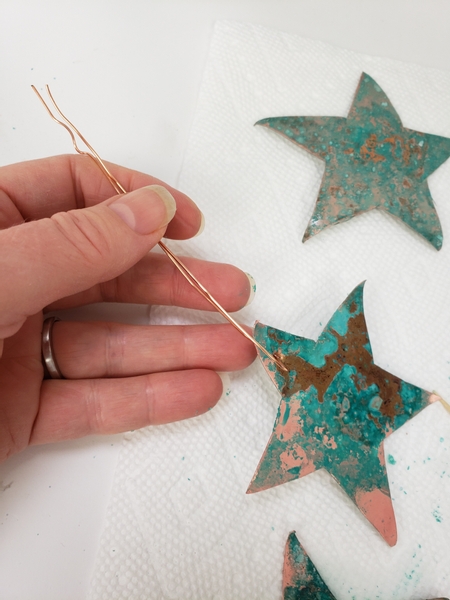
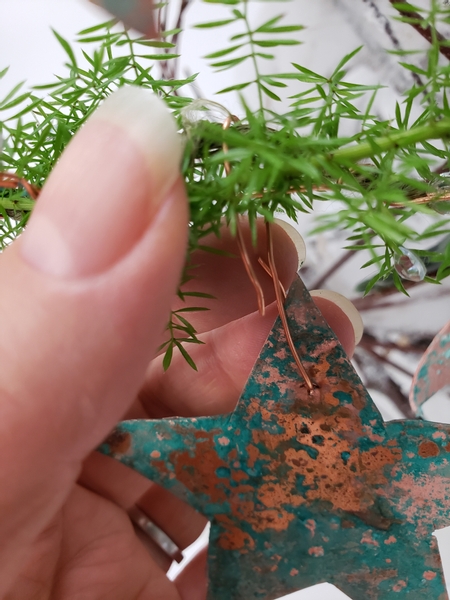
Fold wire into a hairpin bend. Thread wire through the hole.
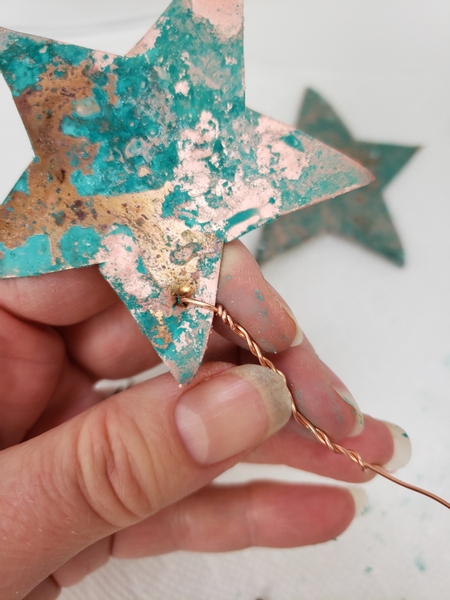
Twist the wire about halfway down the length.
Split the wire open...
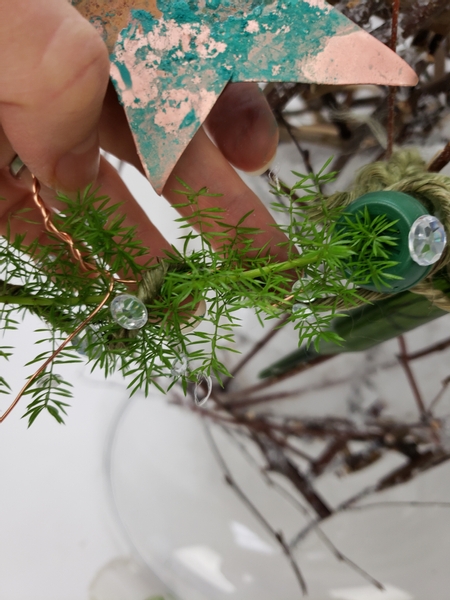
And twist the wire into the design.
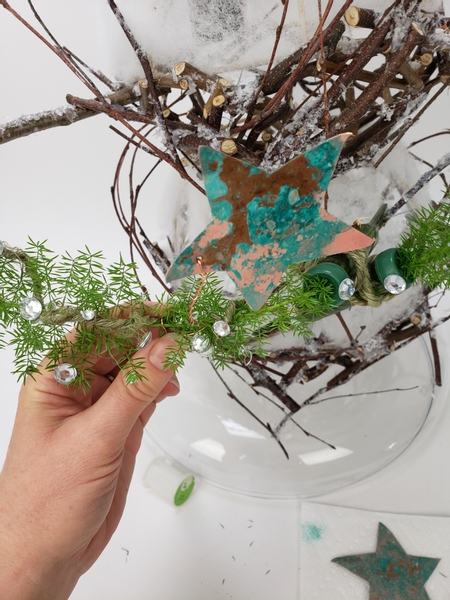
... By wrapping the one leg around the support on one side and the other leg around the support on the other end. I love this way of adding the stars because you can place the stars and then adjust the angle to be exactly how you want it.
or hook the star to dangle freely down the design:
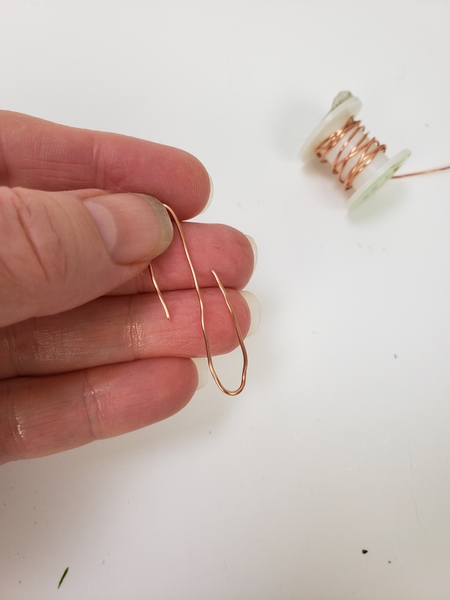
Curve your wire into a hook...
Book readers you can learn more about wire and the other supplies I always have in my design room on page 37 of my book. The Effortless Floral Craftsman
Slip the one end through the star and the other over the support in the design.
or the quickest... but the least versatile way:
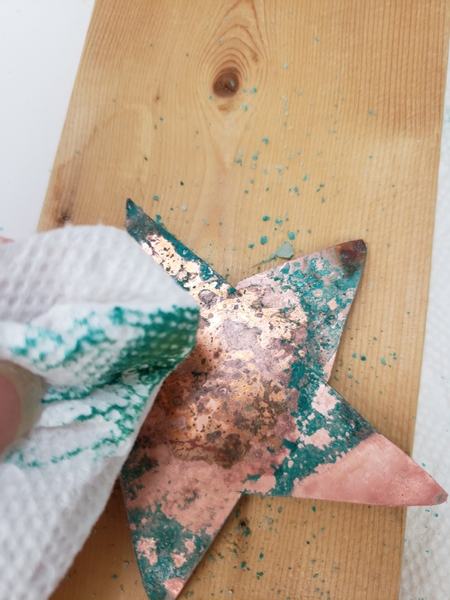
Flip the star over so that the prettiest side face away from you. Carefully wipe away the patina dust from the copper.
And glue the star into the design with hot glue.

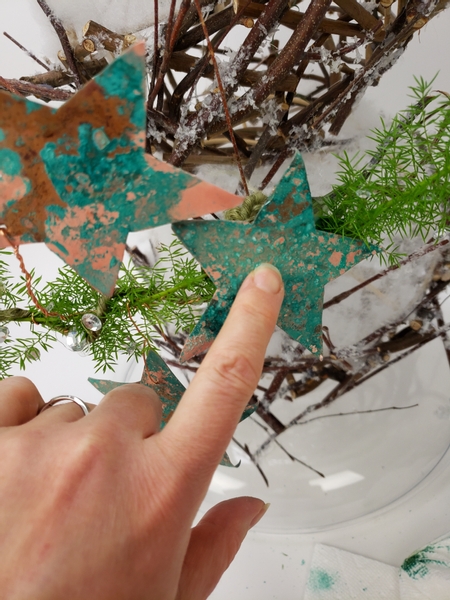
Giving you three levels of stars for the design.
Sign up for my weekly newsletter
Every week I add a new design with related tutorials. Be sure to subscribe to receive an email notification with design inspiration.


