Christine de Beer - effortless floral craftsman
Flameless Patina Copper Lantern
- 24 November 2021

Place a sheet of copper on a flat surface.
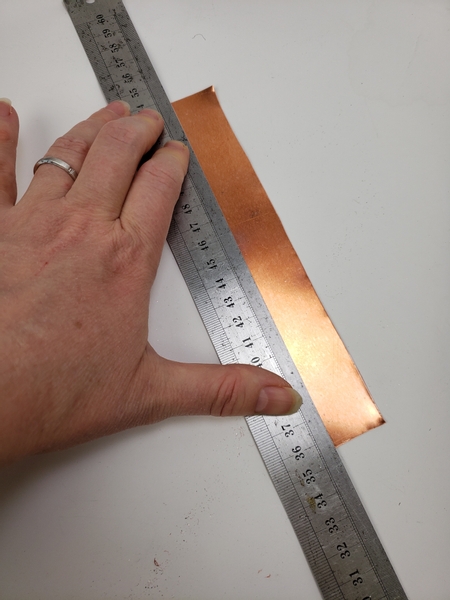
Cut the sheet into strips.
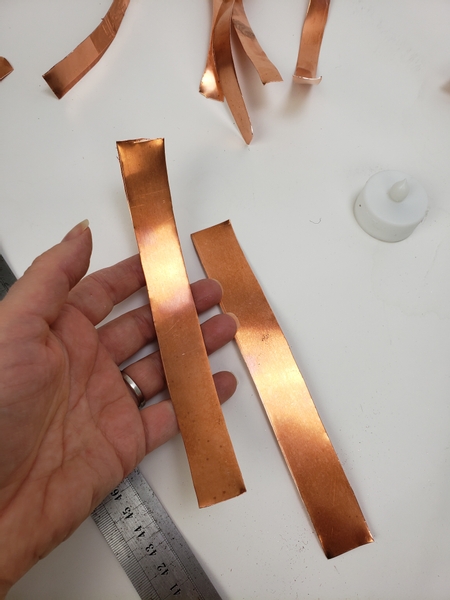
You need two thick strips and five thinner ones.
You can, of course, be much more perfect when it comes to measuring. But for my design I wanted the design to look like it was a treasure from long ago. So I left it unfinished.
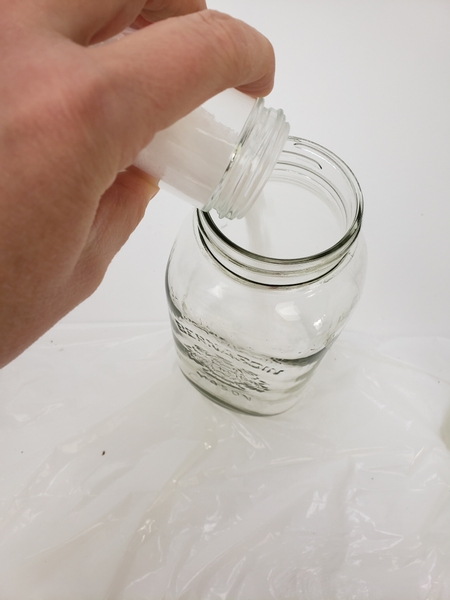
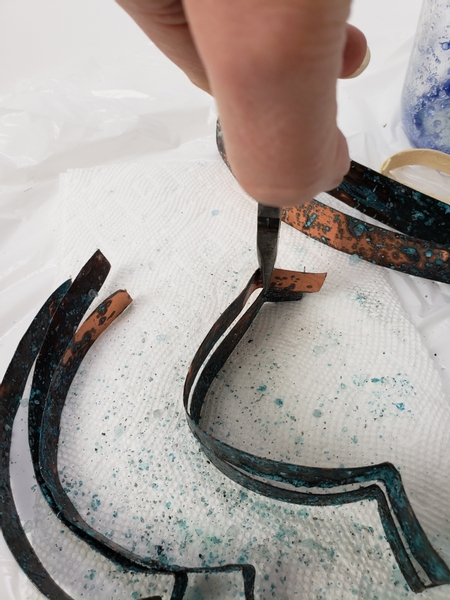
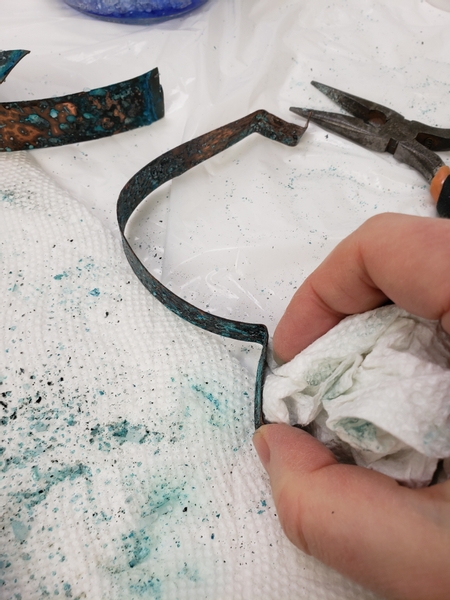
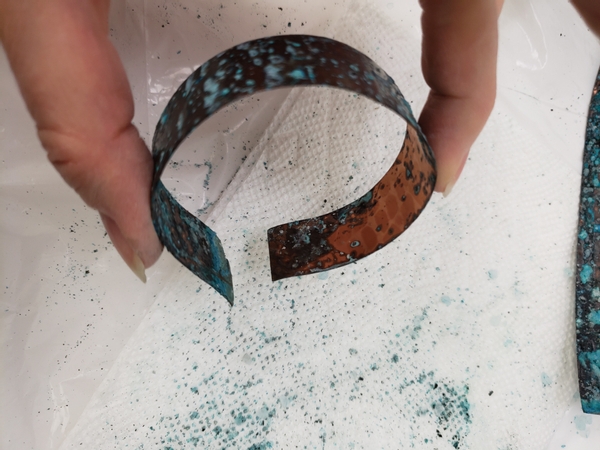
Mix the solution to add a blue green patina to the copper.
See the Tutorial below for more information on how to patina copper. This week I show you the "basic" way. No special tricks or treats. Just a lovely patina. Over the next few weeks I will add to the Tutorial so that it forms a mini Christmas workshop for you to enjoy. You can subscribe to receive advance notice for when the next lesson is ready for you to view with a few bonus tips along the way. The subscribe button is below the post.
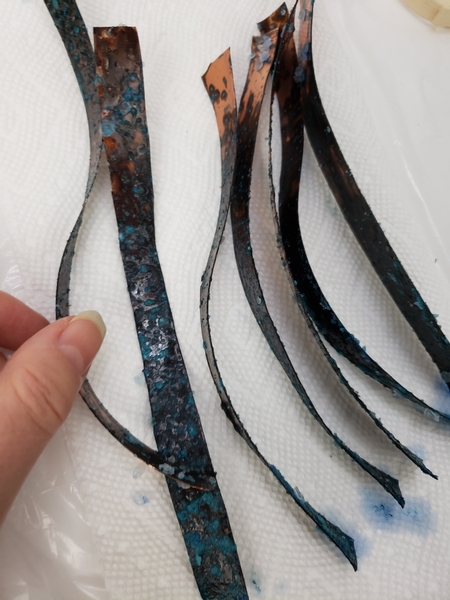
Let the strips dry on a paper towel.
My tip for you this week is about hand shaping the lantern without a template. I explain how... and why I do this in our weekly email. Make sure you are signed up to receive your once a week email with the exclusive bonus tip every Wednesday morning, the moment the design is ready for you. The sign up is below this post.
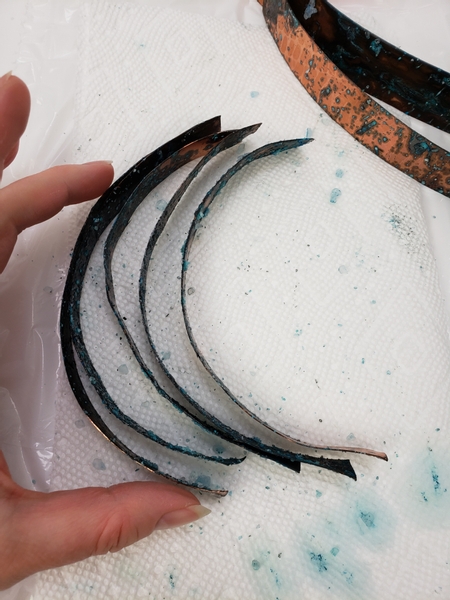
Start to shape the lantern by curving the thinner strips.
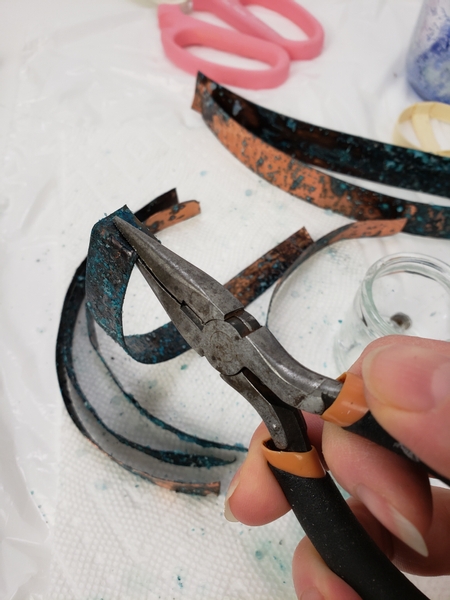
Use your pliers to curve one end flat.

Do the same on all the copper strips.
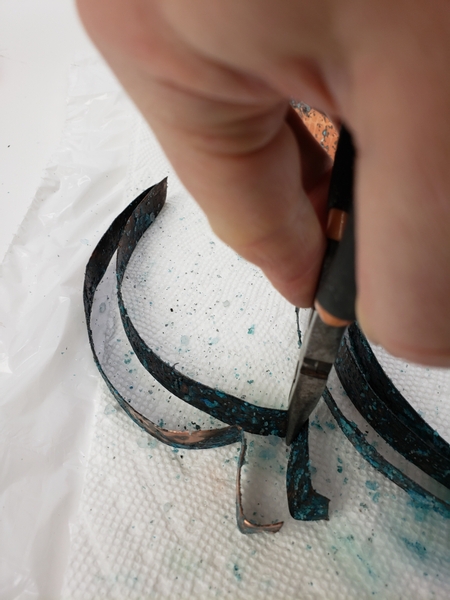
Curve the same side of the strip up and straight to create a foot.
Curve the rest of the thin strips with your pliers.
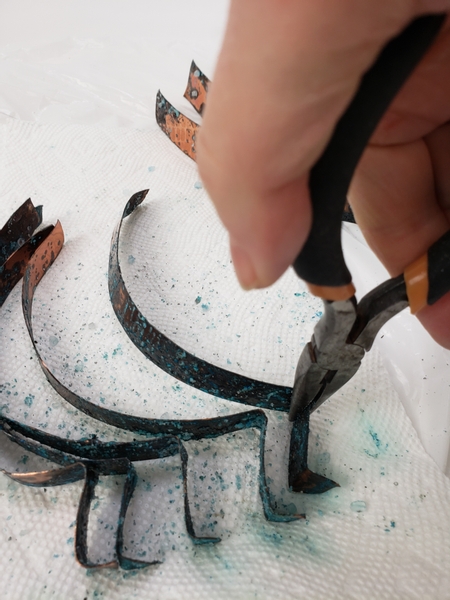
Curve the other end of the strip with your pliers to craft a top for the lantern.
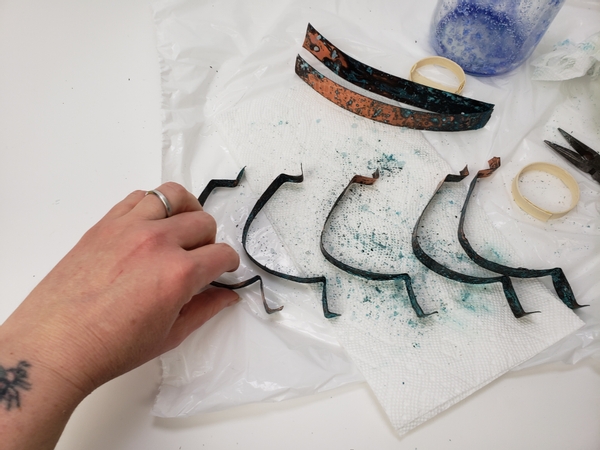
This is the basic shape of the lantern.
See all the dust? Be careful when handling the copper so that you do not dust off the patina.
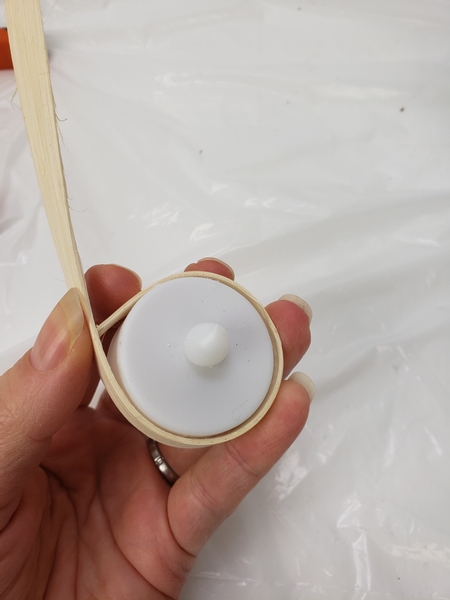
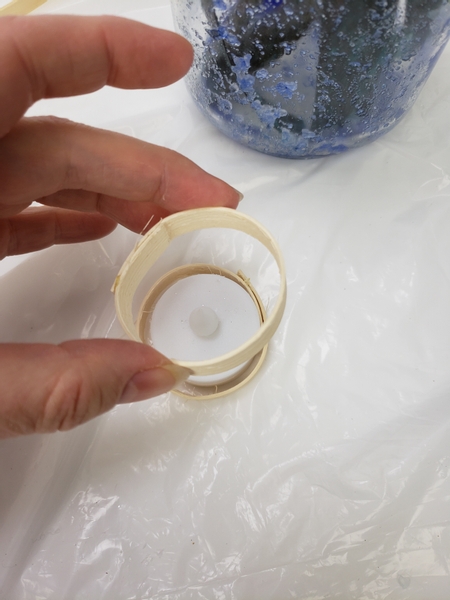
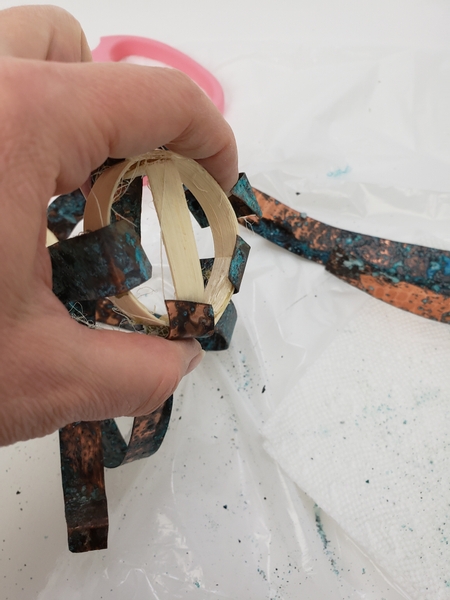
Wrap cane around a votive candle to measure the end pieces
Design note: You can also use more copper to do this. Or clay. or anything pliable, really.
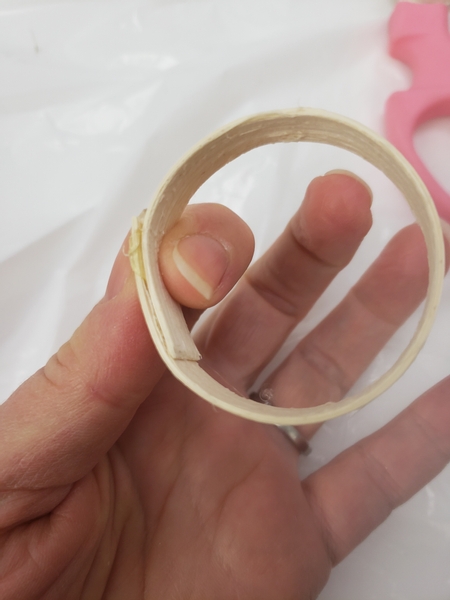
Secure the cane into a circle with hot glue.
Make another circle for the top of the lantern.
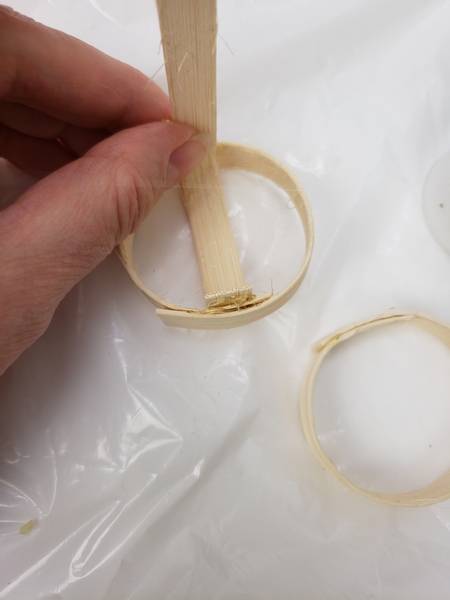
Fold a cane strip to fit neatly into the circle...
To have access to the candle if you are using a battery operated votive, like I did.
This makes it easy to switch the candle on without having to remove it from the design.
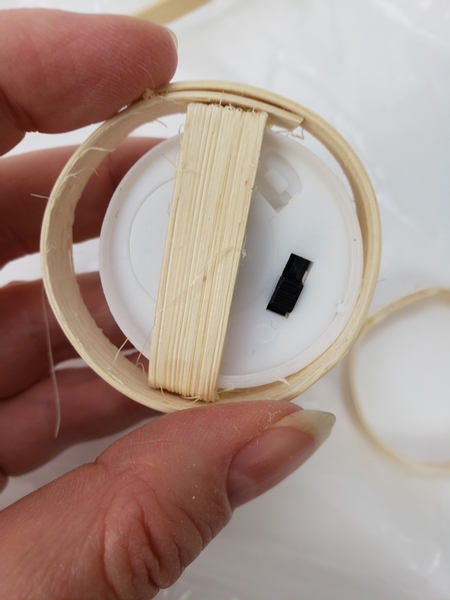
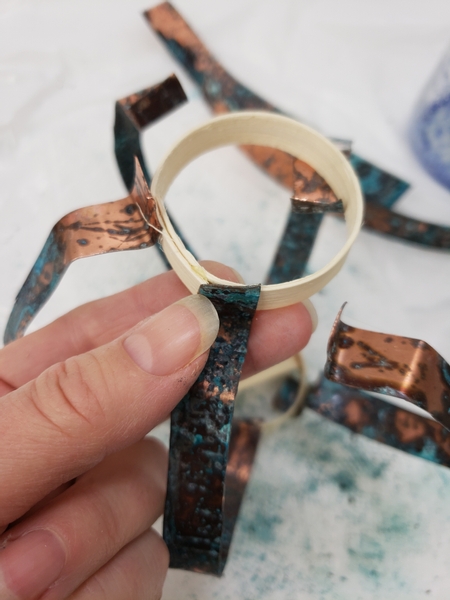
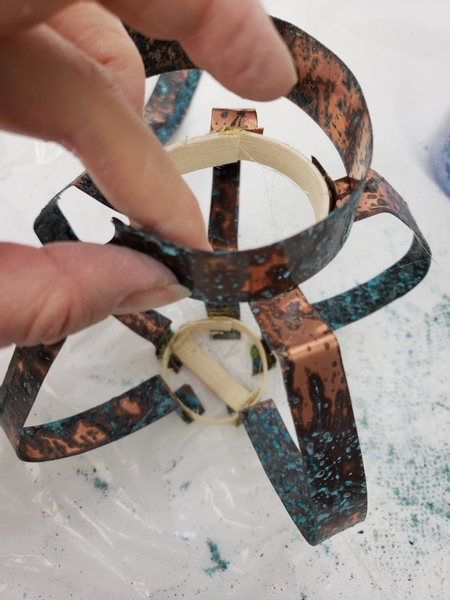
Carefully wipe away any dust from the spots where you glue the copper.
Like always, I wanted to make my lantern using only what you most likely already have in your tool bag. If you clean the dust away hot glue will glue the lantern perfectly without you having to invest in any other tools. Especially because I am using a votive candle and there is no risk of the glue melting.
Glue the strips to the cane circle with the footed end at the bottom.
Design note: Make sure the cane circle forms a basket with the hollow side pointing into the design. The bottom should be flat.
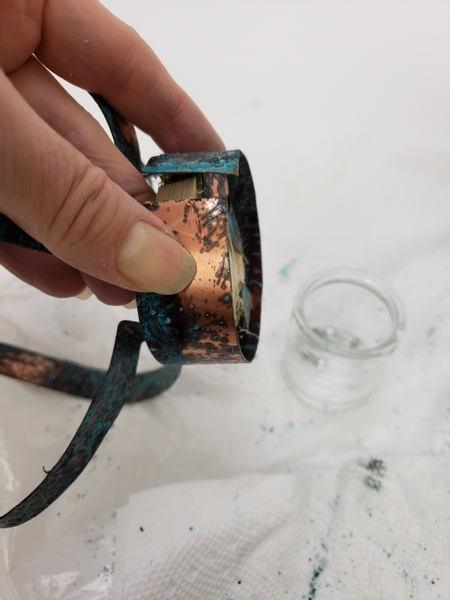
And glue the end of the strips with the single curve to the top circle.

So that you have a balloon lantern shape all the way around.
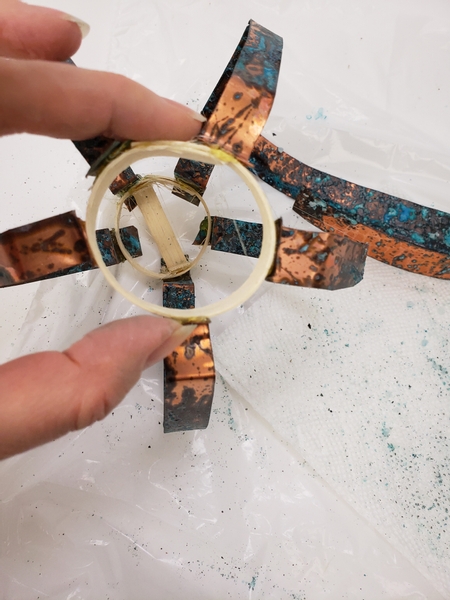
With the candle basket in the bottom.
Gently curve the thicker strips...
And wrap it around the thinner strips and the cane coil.
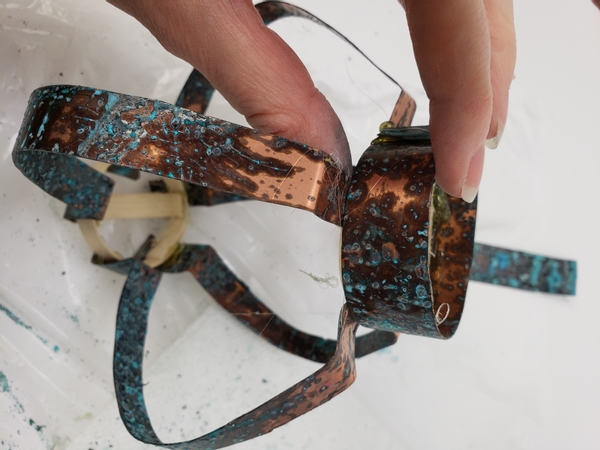
And glue the copper strip with hot glue to the cane and over the thin copper strips.
Wrap the other strip around the other end and secure it with hot glue
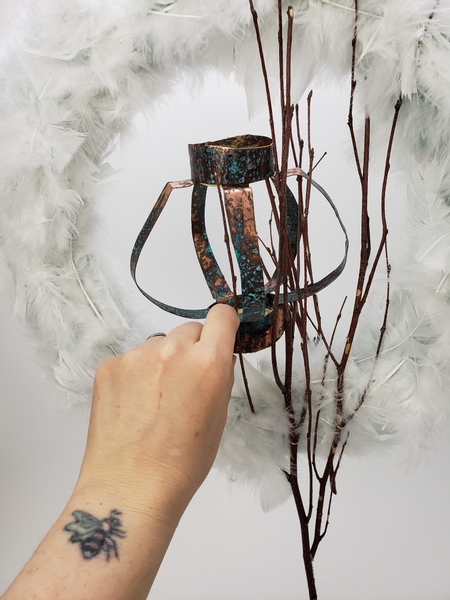
Nestle the lantern into the design...
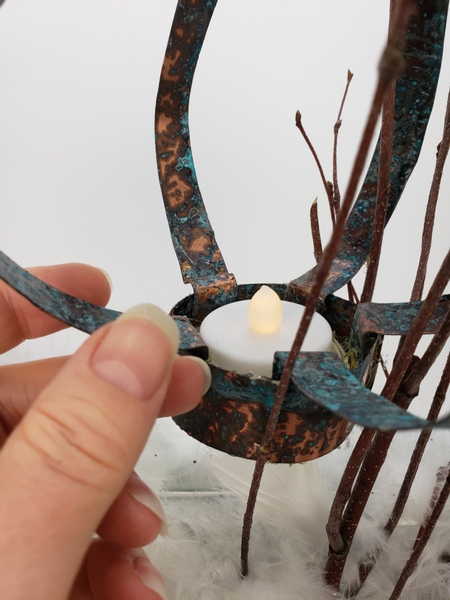
And slip in the tiny flameless candle.
Sign up for my weekly newsletter
Every week I add a new design with related tutorials. Be sure to subscribe to receive an email notification with design inspiration.


