Christine de Beer - effortless floral craftsman
Feather and Twig Wreath to frame a Handcrafted Copper Lantern
- 24 November 2021
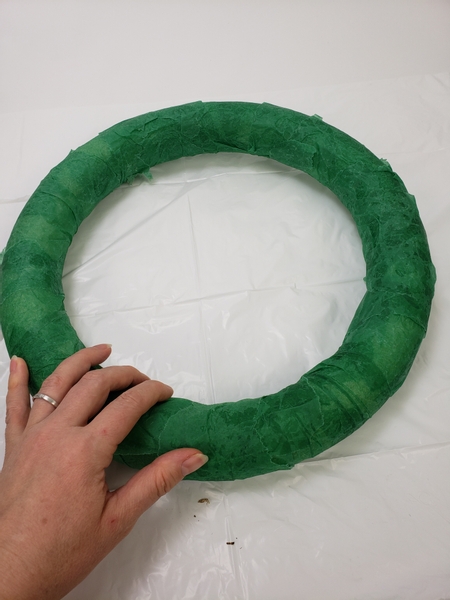
Cover a foam wreath frame with tissue paper...
Book readers turn to page 276 for a custom made wreath shape. You can add so much character to this design by shaping your own wreath.
For more information about my book: The Effortless Floral Craftsman
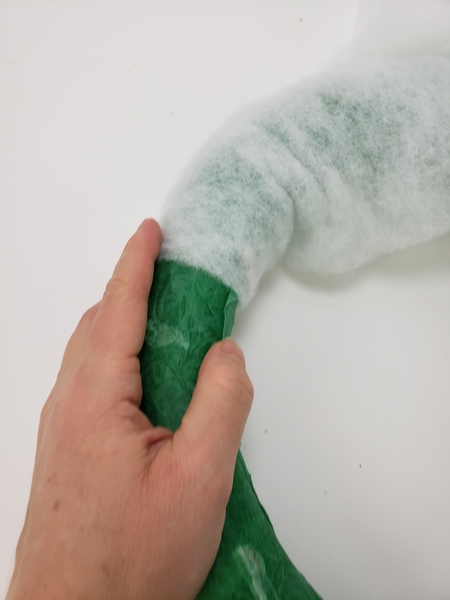
I wanted my wreath to have a soft green glow that shows through the white feathers (to match the patina on the lantern) so I covered the wreath with a layer of green tissue paper and then with a layer of fluffed packaging foam repurposed from an orchid delivery box.
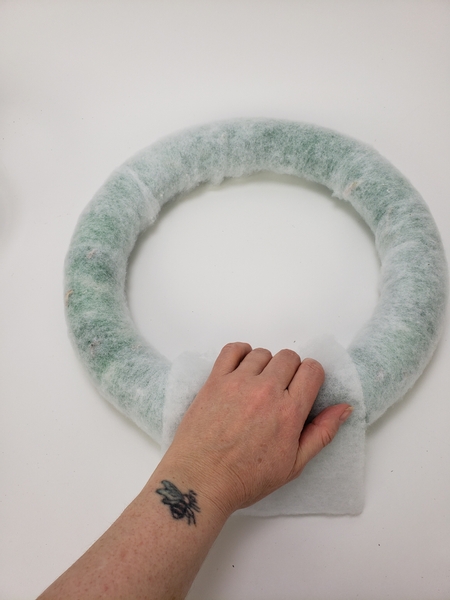
Make sure the layer of foam in thin enough to still show the green
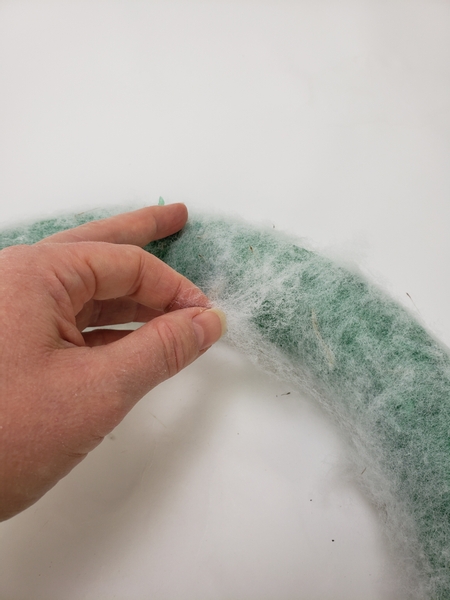
Pull tiny bits of the foam from the frame to make the layer as thin as possible.
Design note: keep the pulled pieces of foam... you will need it again for next week's design.

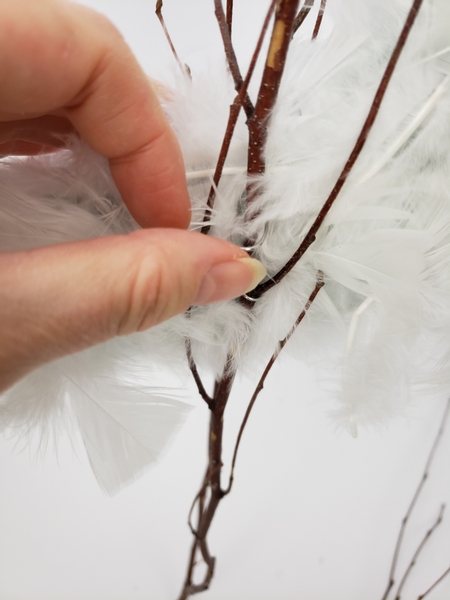
Glue a feather to the foam frame with hot glue.
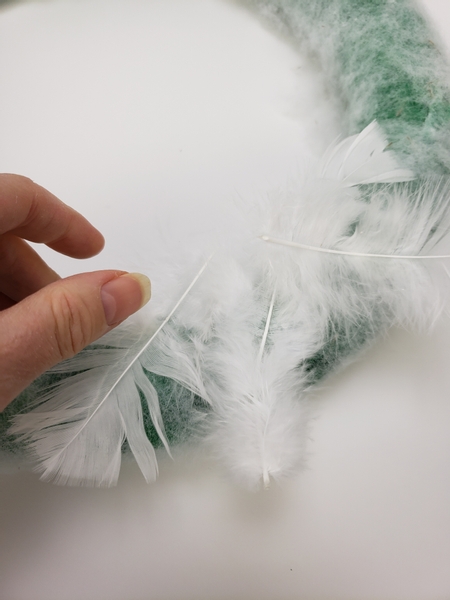
Overlap the feathers but glue them at only one spot so that they blow and reveal the layers below at the slightest breeze.
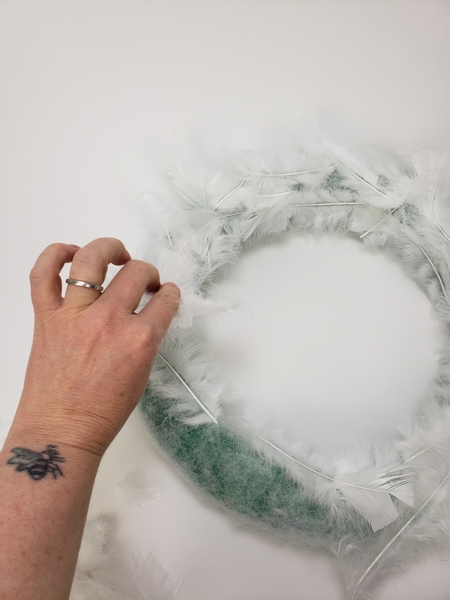
Work your way all the way around adding feathers as you go.
Add feathers to the inside and the outside of the wreath frame.

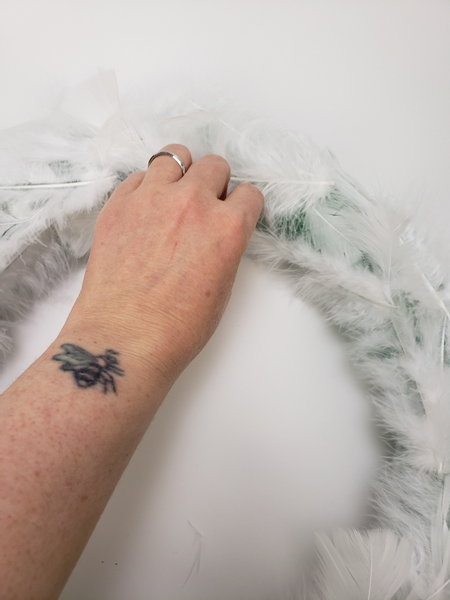
Hang the frame so that you can see how it looks as you design.
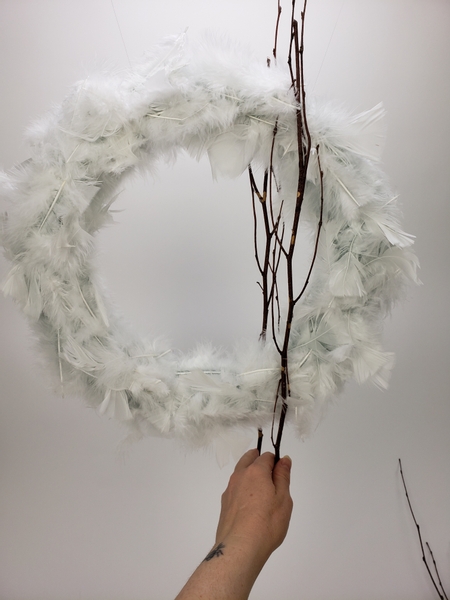
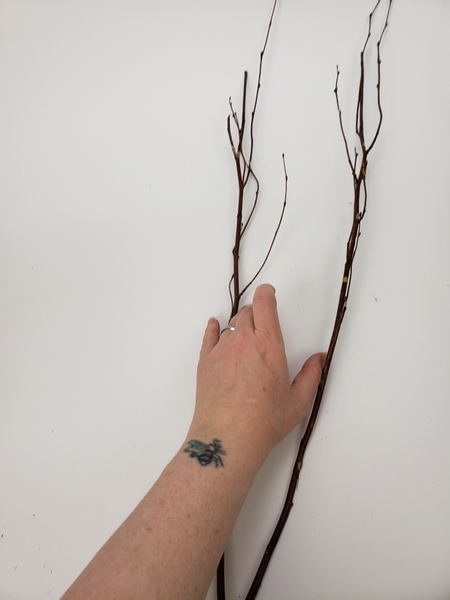
Slip a branch around the wreath so that you have twigs at the front and back of the wreath for the lantern to nestle in.
Design note: the easiest way to do this is to look for a branch with a fork in it...
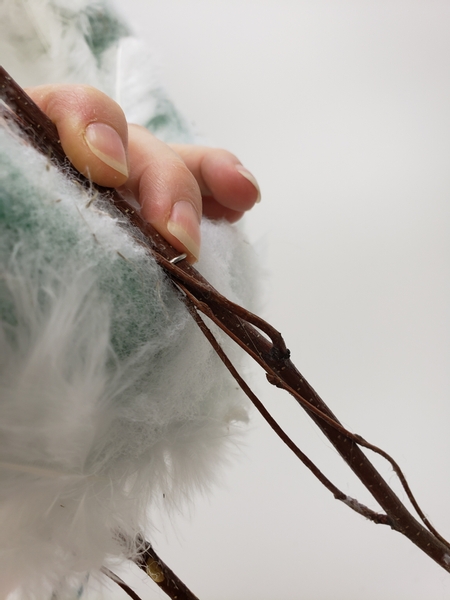
Open the branch and slip it over the wreath
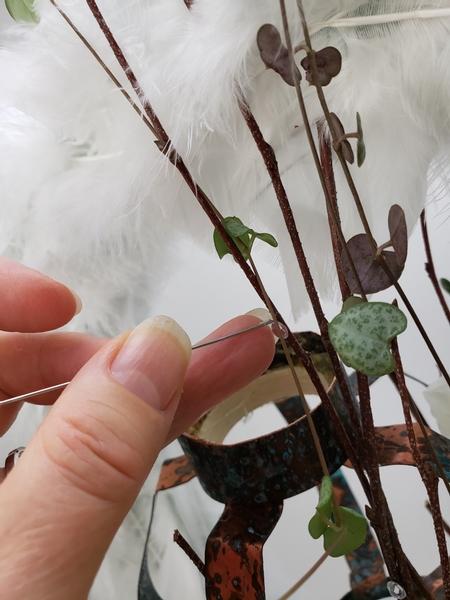
To pin the branch in place... book readers see page 38 for a Tutorial on how to bend your own hairpin from wire
Pin the twig in place in the front...
And pin the twig in place at the back.
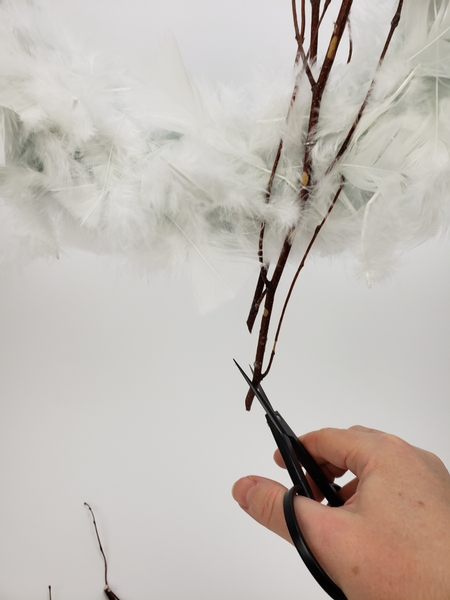
Cut the branch to size.

Add in another twig if it suits your design.
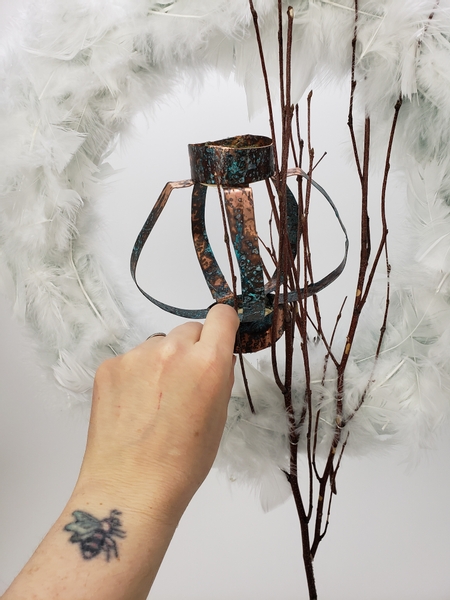
Nestle the lantern into the twigs.
Design note: See the Tutorial below for more information on how to make the lantern. I am adding Tutorials about how to Patina Copper this month in the form of a mini-workshop from now to Christmas- a gift from my design room to yours. The sign up button is below the post if you want advance notification for when the next lesson is ready to view and a few bonus subscriber's only tips each week.
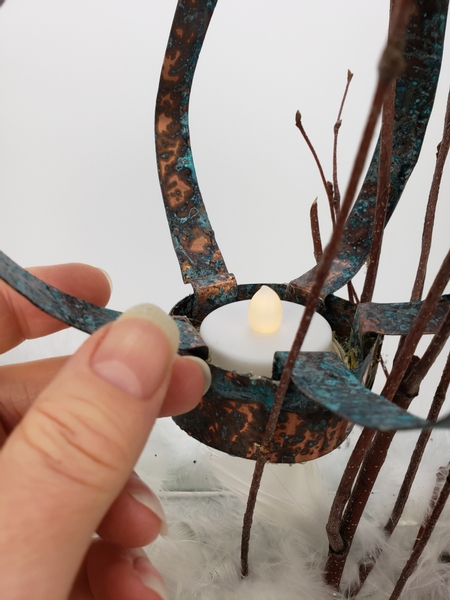
For this design I recommend you use a flameless candle. Slip the votive candle into the lamp basket. Make sure you place the candle so that you can easily switch it on and off.
See the Tutorial for details on how I made the lantern so that you don't have to remove the candle but can operate it as is.
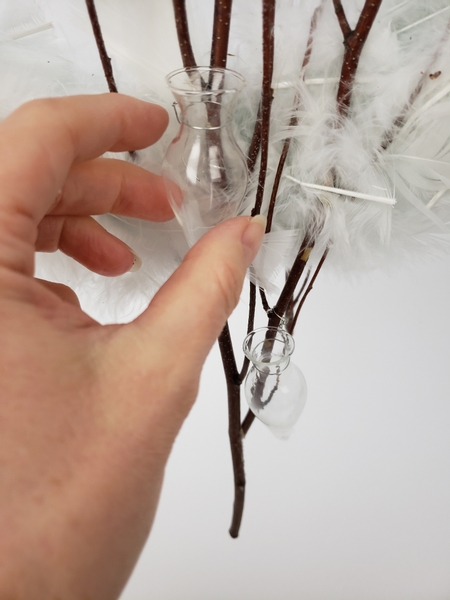
Wire in a few glass vases.
Book readers turn to page 196 for a few fun alternatives to use instead of these glass seahorses. In fact the Tutorial in the bottom of page 196 would be absolutely perfect to enhance the vintage/Christmases of long ago look of this design.

Fill the vases with water.
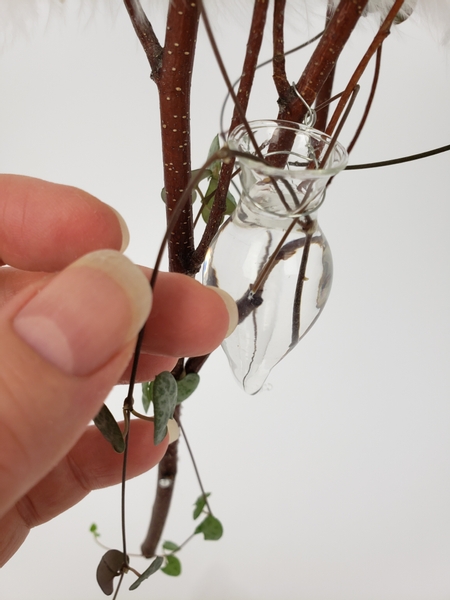
Drape a few rosary vines down and over the design.
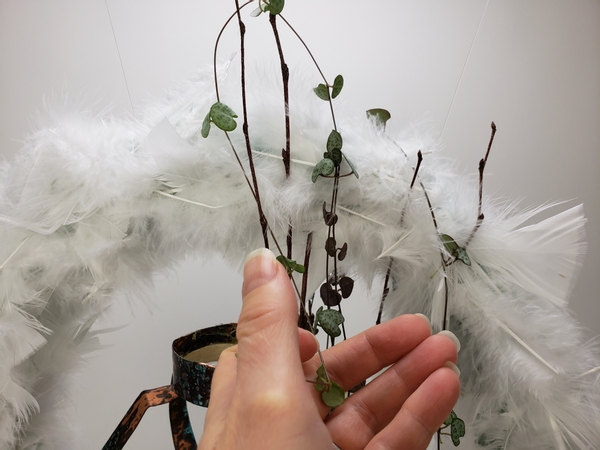
... to add a bit of blue-green that blends in with the patina on the copper.
Add in a few festive sparkling crystals.
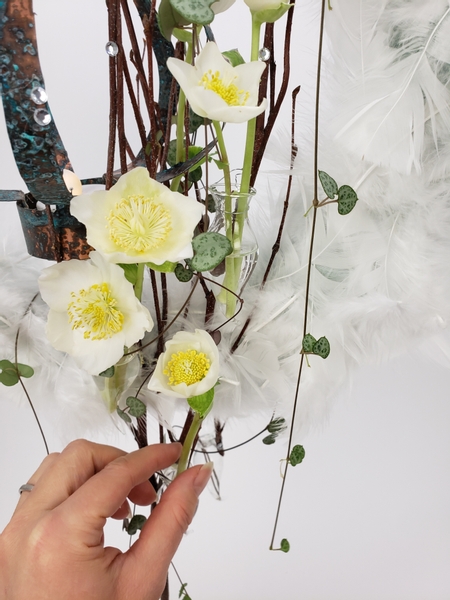
And place the fresh Christmas roses into the vases so that it remains hydrated.
Sign up for my weekly newsletter
Every week I add a new design with related tutorials. Be sure to subscribe to receive an email notification with design inspiration.


