Christine de Beer - effortless floral craftsman
Happy twig glow-man proudly showing off it's copper star garland
- 1 December 2021
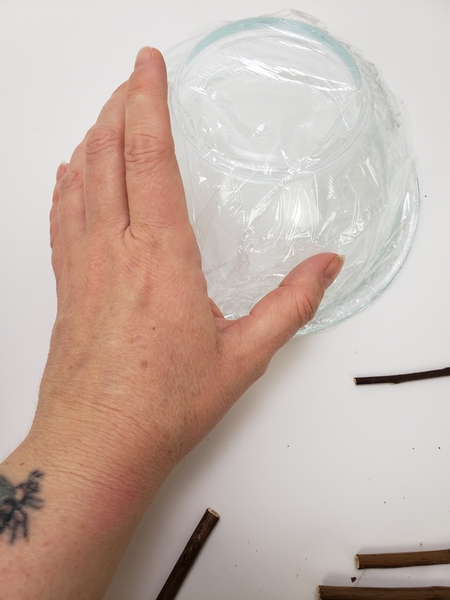
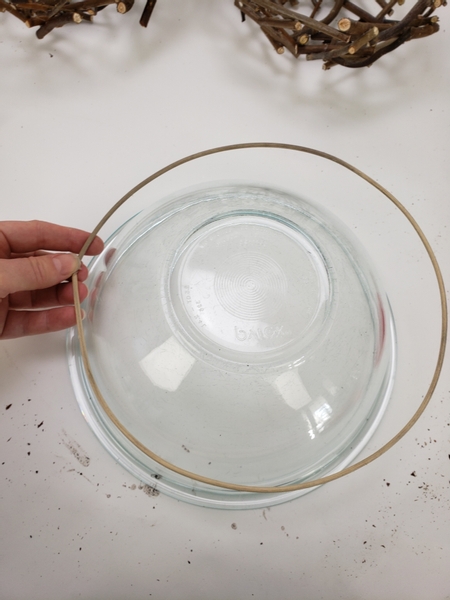
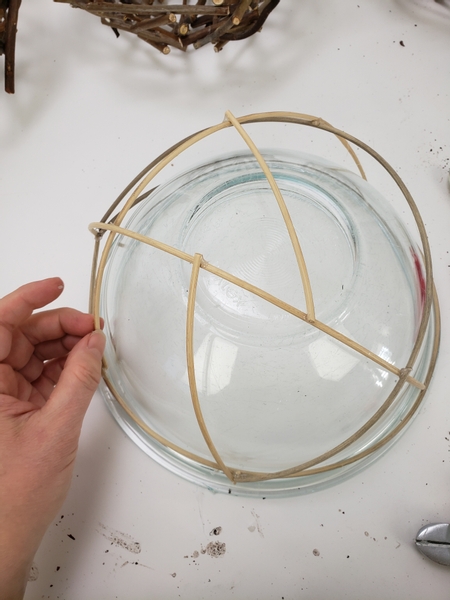
Cover a glass container with wrap
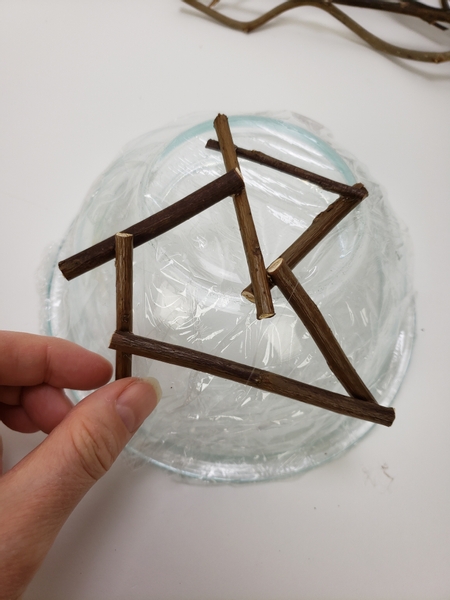
Cut a few sturdy twigs into snippets. Glue the twigs with hot glue using the shape of the bowl as a guide.
Make sure to glue the twigs to other twigs and not t the plastic so that it can be removed without breaking the shape.
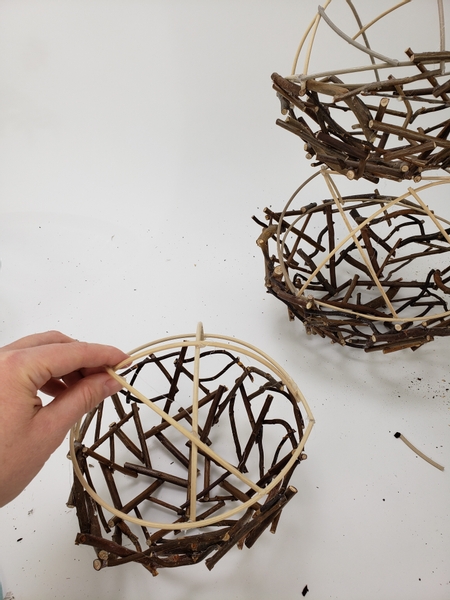
Design tip: For this design I used three bowls, each one slightly bigger than the one before. If you do not have three bowls like this, start with a small bowl. Cover it with plastic wrap as I did and then with the twigs. Let it dry. Then place plastic wrap over those twigs and make the next shape over the first. Let that dry. Cover the twigs again with plastic wrap so that you can make the third, and biggest shape, using the smaller twig shapes as a guide.
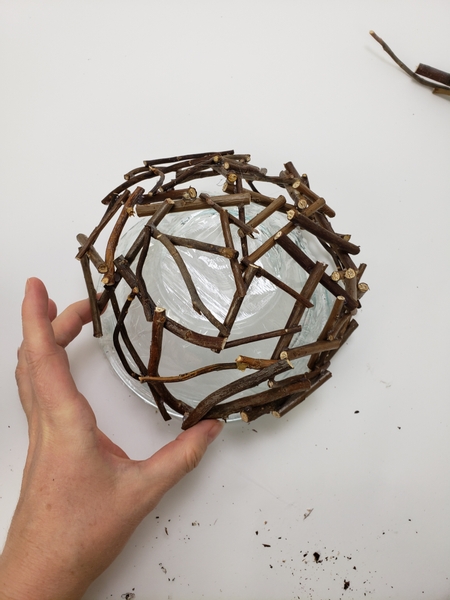
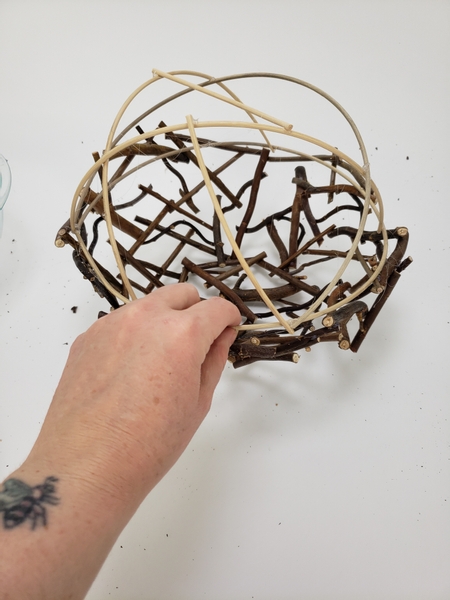
Carefully lift the twig shape from the bowl. Wiggle it a bit to make sure it is glued everywhere. Add in more twigs to make sure it is strurdy.
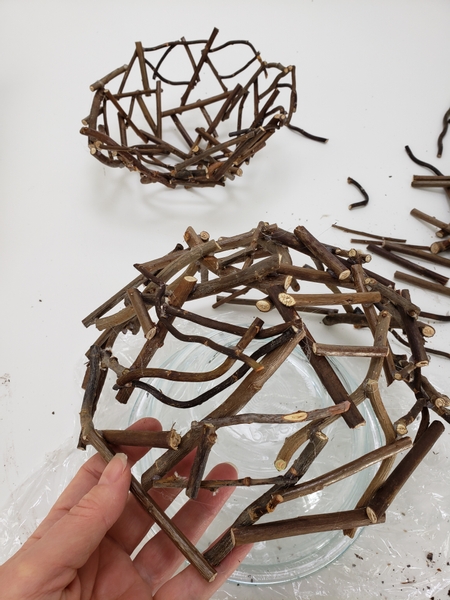
Glue a second bowl shape, this time slightly bigger than the first.
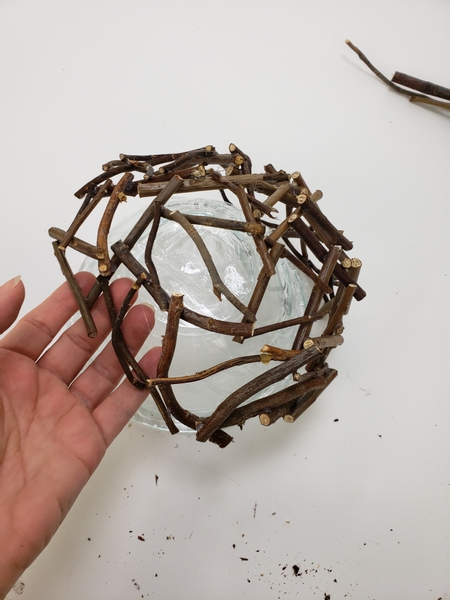
Start on the third shape, this time slightly bigger than the first two.
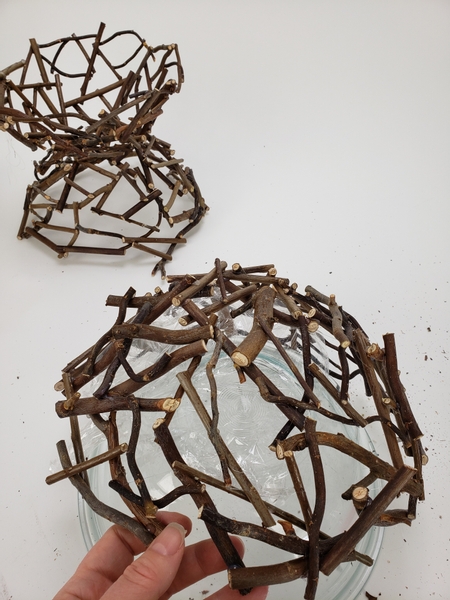
Again make sure the twig bowl is secure and add more twigs where needed
Design note: a bit off topic but... don't you think the hourglass shape in the back has some creative potential? Just for fun I have linked a design from way back when I was absolutely obsessed with patina copper accessories using exactly this shape below this post.
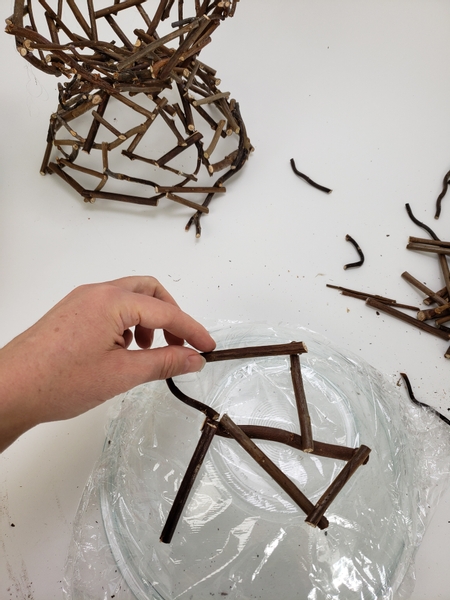
Repeat the process this time using cane to create the bowl shapes.
Carefully glue the cane to follow the bowl shape.
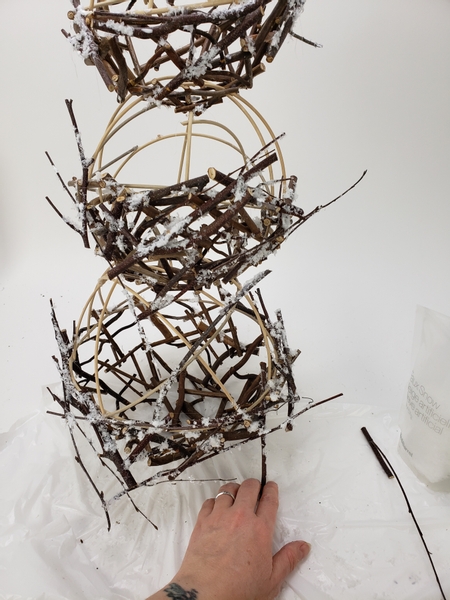
Match the twig to the cane bowls to craft a sphere.

And the second sphere...
And the third sphere to stack from large to the smallest on top.
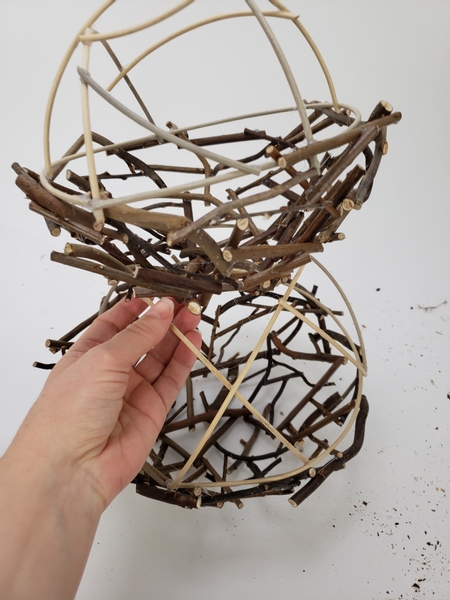
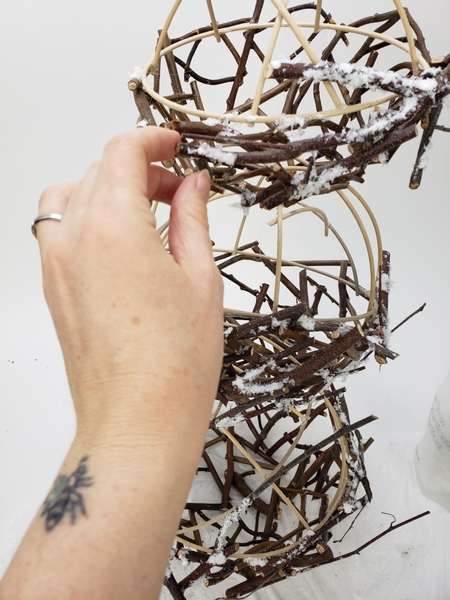
Use hot glue to secure the spheres into the snowman shaped stack.

With the smallest sphere at the top as the head
See that jaunty angle of the head? Absolutely by design. This is the first sign of adding personality to the design. I tell you more about this in our email this week. Make sure you are signed up to receive your once a week tip. The button is below this post.
Book readers turn to page 355 where I talk about how flowers are feelings made visible.
For more information about my book: The Effortless Floral Craftsman
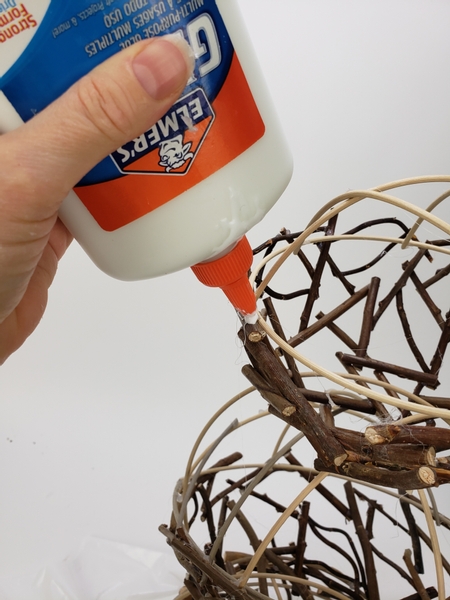
To double up on the glue, pour out some wood glue on to the twigs.
And sprinkle artificial snow so that it sets the blobs of glue.
Design note: this is the best artificial snow (by far!) that I have found. It comes in a small bag from Crate and Barrel.
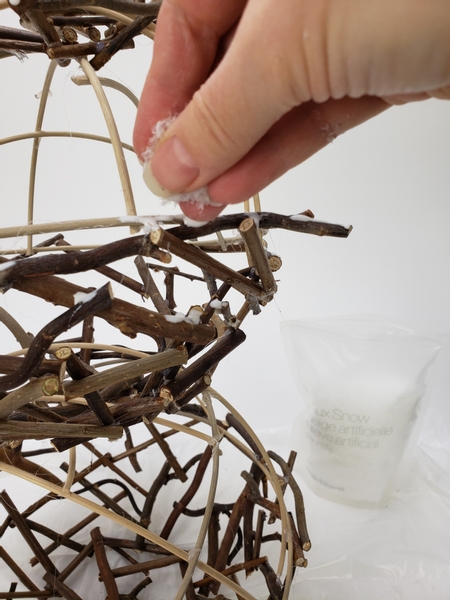
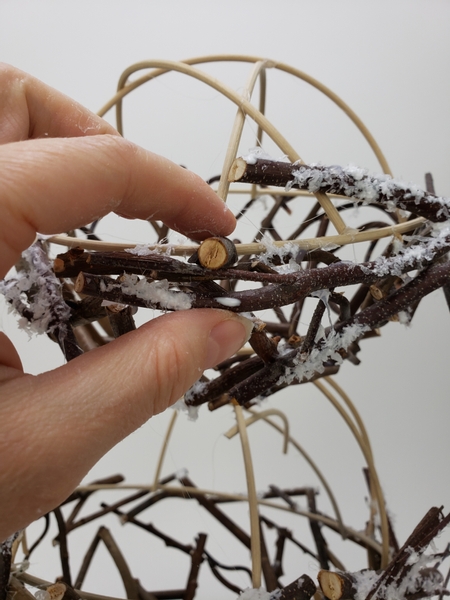
And glue in a few twig snippets to break up the bowl shapes.
And add to the personality of the snowman.
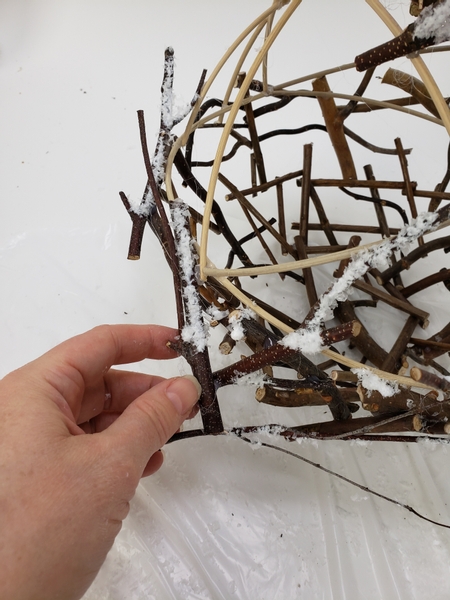
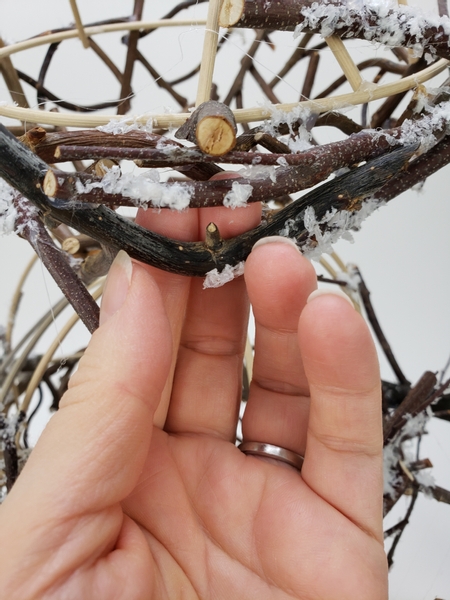
And a few twigs to add stability so that the snowman stands upright.
Add in a stumpy little button nose...

And the hap-happiest happy twig smile.
And for those people who lean in closer to take notice of finer details... the snowman has a baby twig tooth!
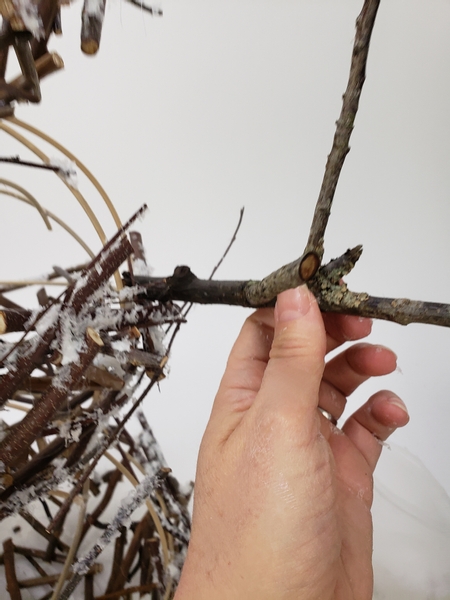
Next glue in a few side branches for arms
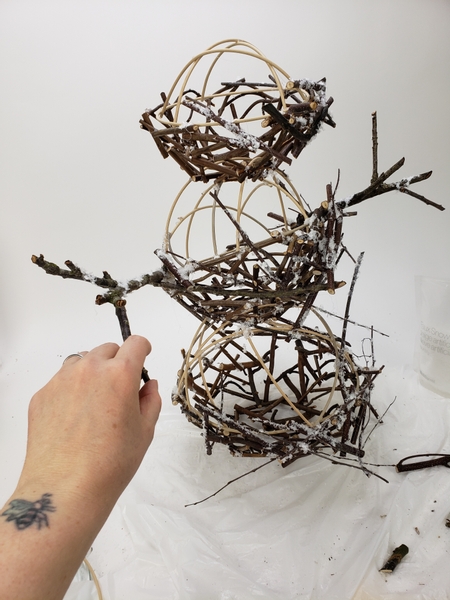
With a dusting of snow for the twig arms.
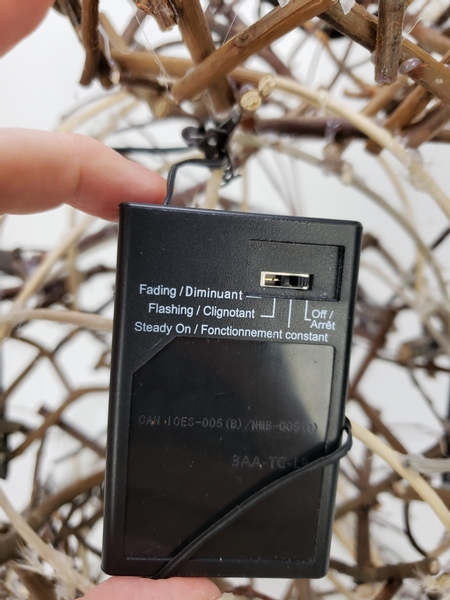
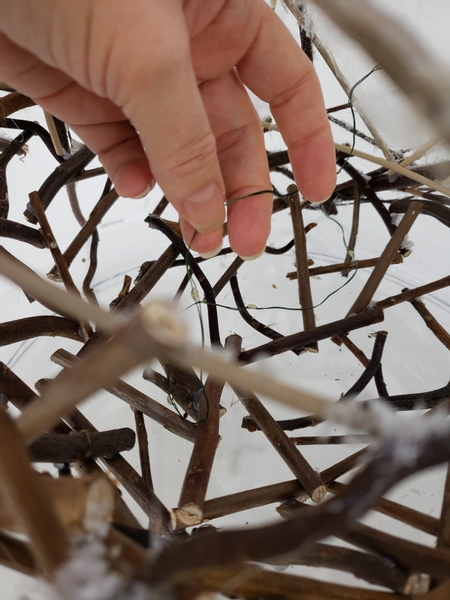
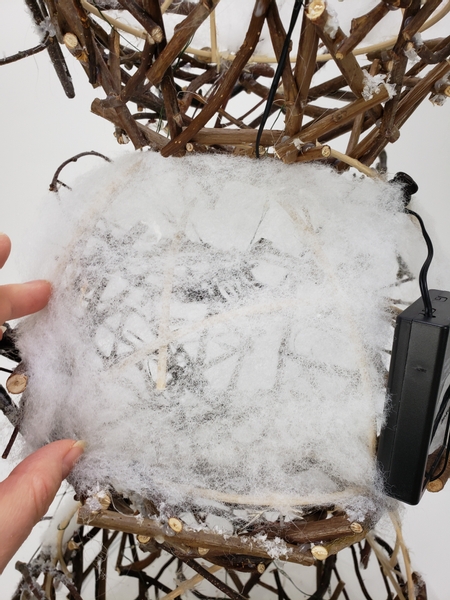
Wire in the battery pack of a fairy light string to the back if the design.
And spread out the lights inside the twig snowman.
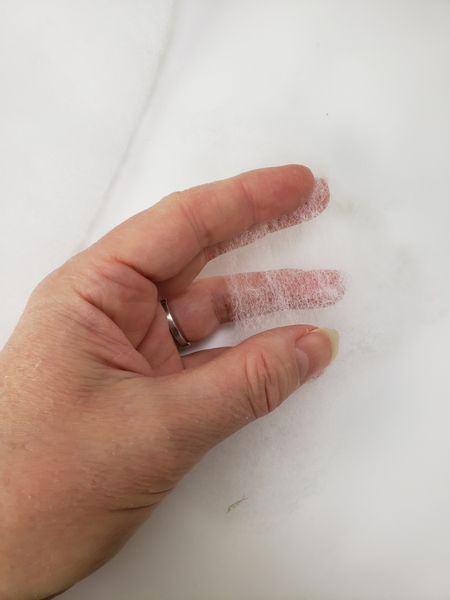
Fluff out cotton wool or foam to create a thin sheet to cover the snowman.
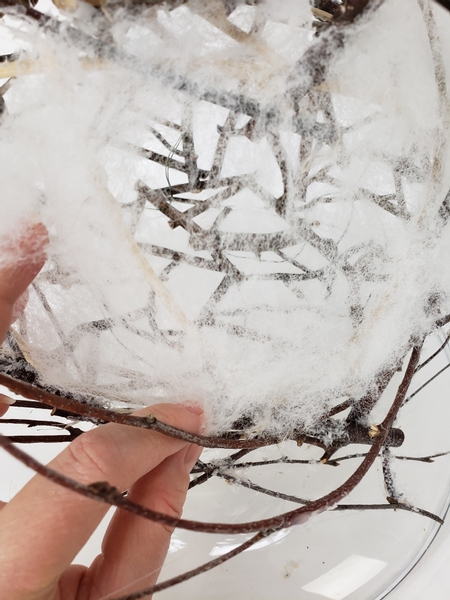
And glue in the thinnest layer of cotton to the cane part of the sphere.
Carefully following the round shape
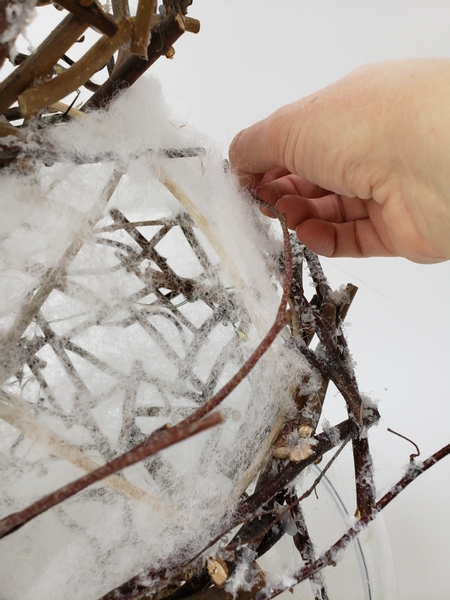
Add in a few twigs to blend the two halves.

And now for adding the foxtail and copper star garland.
I have linked the garland Tutorial and another Tutorial to show you how to add the brightest patina to some copper stars below this post.
Sign up for my weekly newsletter
Every week I add a new design with related tutorials. Be sure to subscribe to receive an email notification with design inspiration.


