Christine de Beer - effortless floral craftsman
Contactless gift exchange wreath perfect to double as Santa’s Gift Bag for your front door
- 25 November 2020
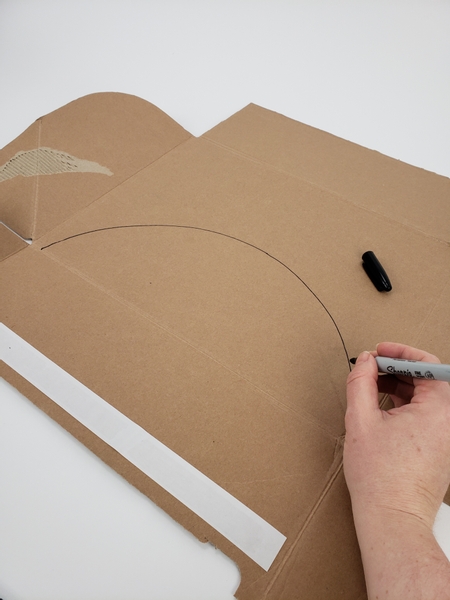
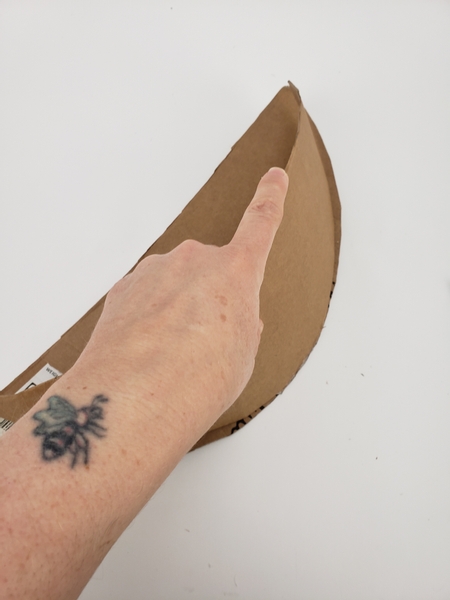
Draw out two half moon shapes on to cardboard...
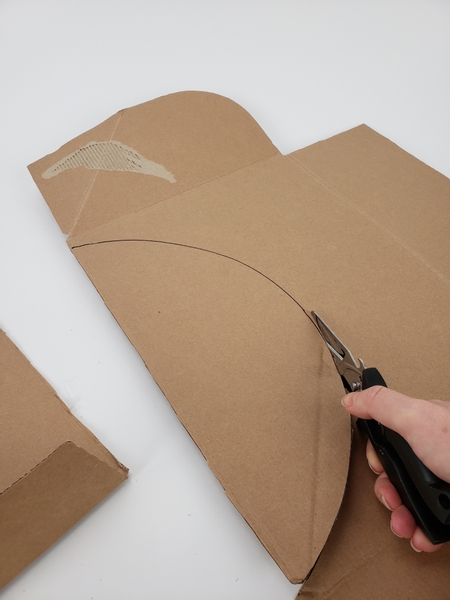
Cut the shapes out.
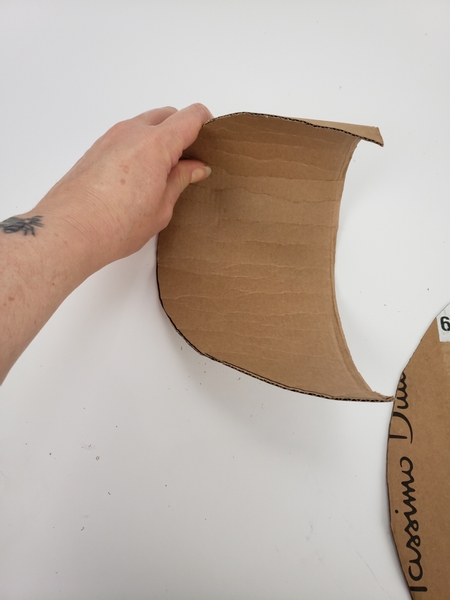
Break up the cells to curve the cardboard...
... by slowly rolling it from one flat side to the other.
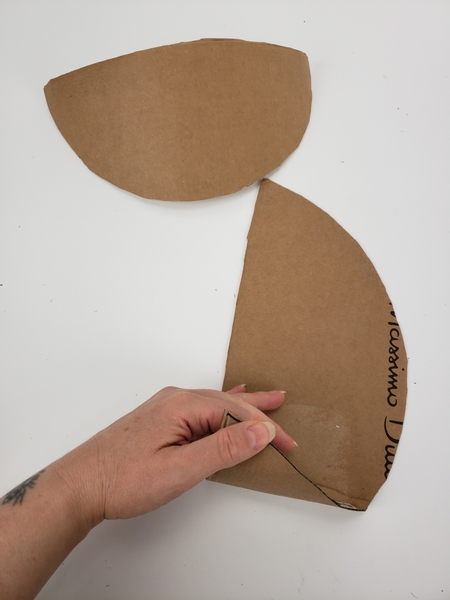
Match the half moons and glue the cardboard halves in the middle of the rounded side.
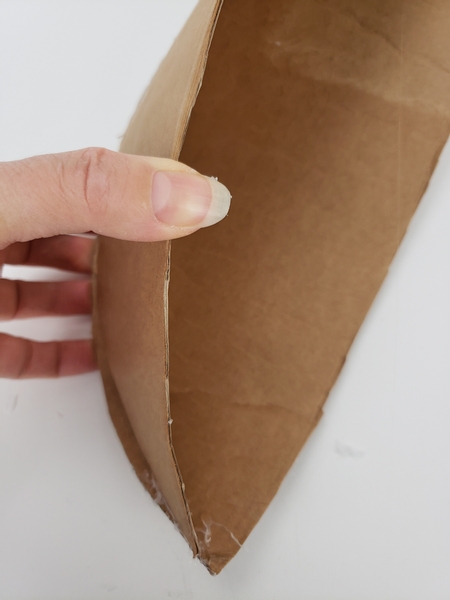
Glue the two top sides to match
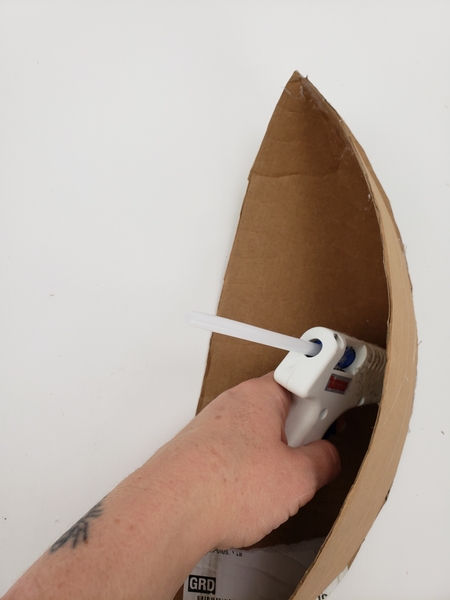
Use your hot glue gun to glue the shapes together from the inside... move from one end to the other.
Go back over the edge and glue the outside to craft a sturdy shape.
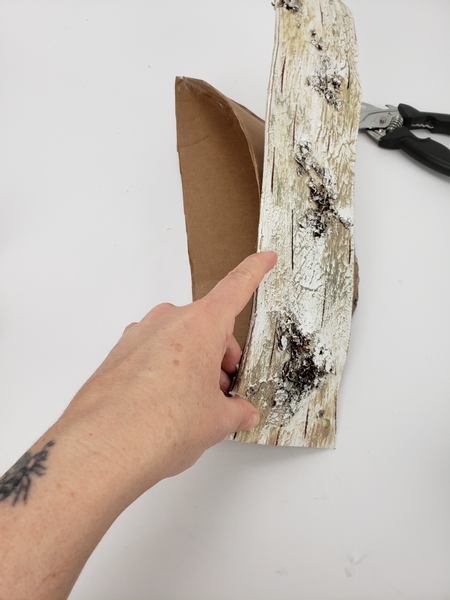
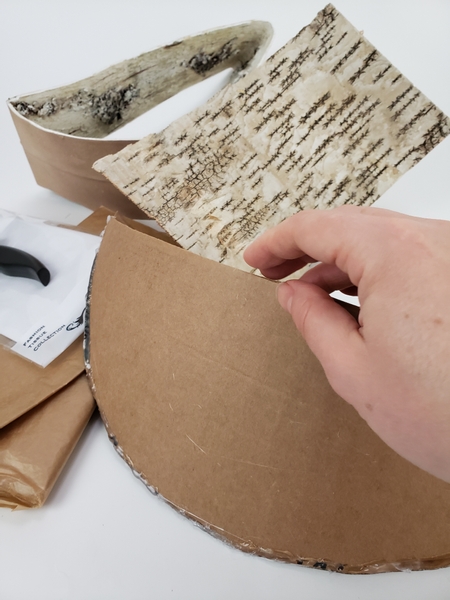
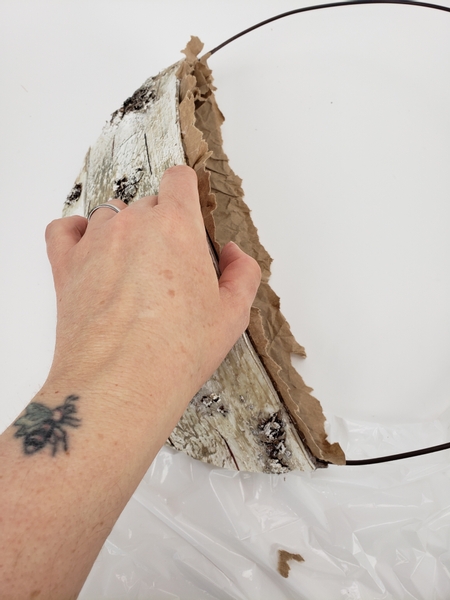
Cover the one side of the half moon shape with bark.
I have a lot more detailed instructions on how to craft a bark veneer in the Tutorials below. You can also use bits of bark broken from logs... or even wrapping paper that looks like bark.
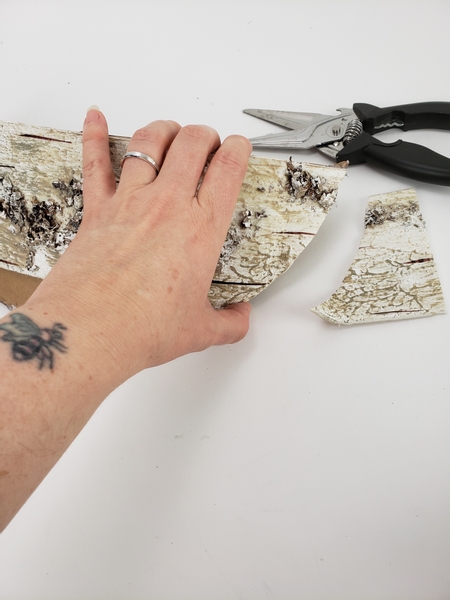
Cut the bark to follow the shape.
My bark sheet was slightly too small so I will have to go back and add a second sheet below to fill the gap just like with the first sheet.
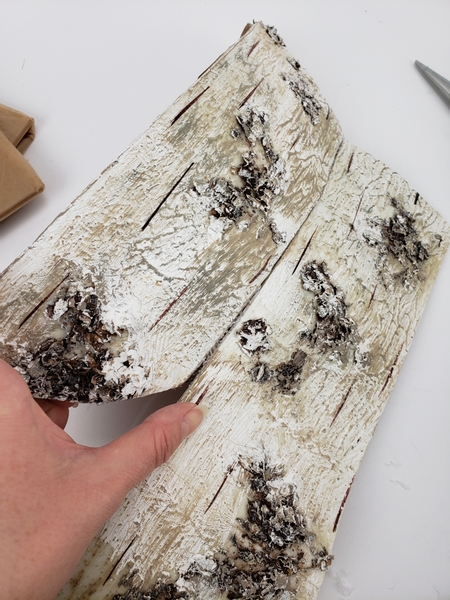
Cut the bark to follow the bottom part of the shape.
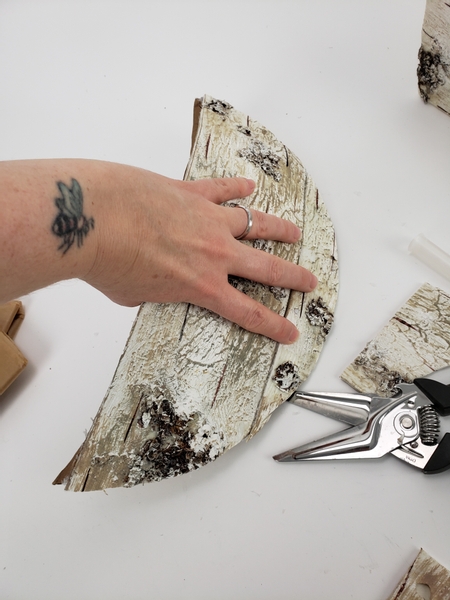
Go back in with the glue gun and secure the edges to make sure it is neatly finished off.

Curve the wire to follow the exact shape of the bark half moon.
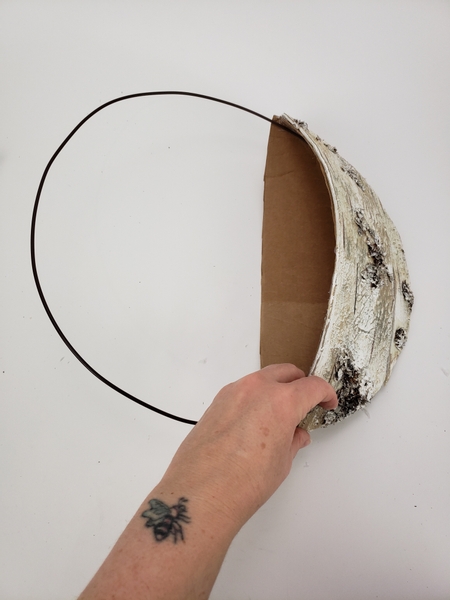
Slip the wire into the cardboard shape and adjust the wire so that you complete the moon... or circle.
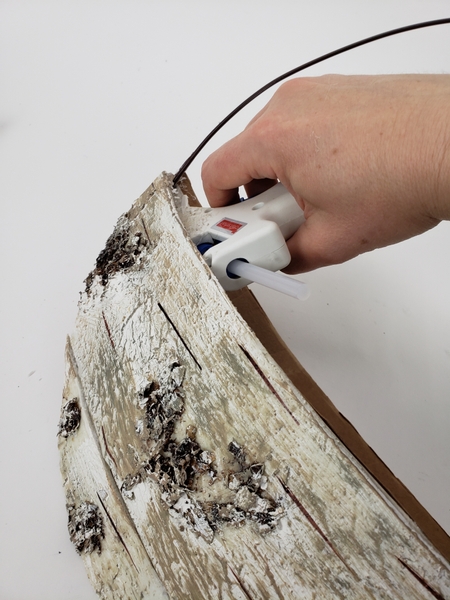
Secure the wire with hot glue.
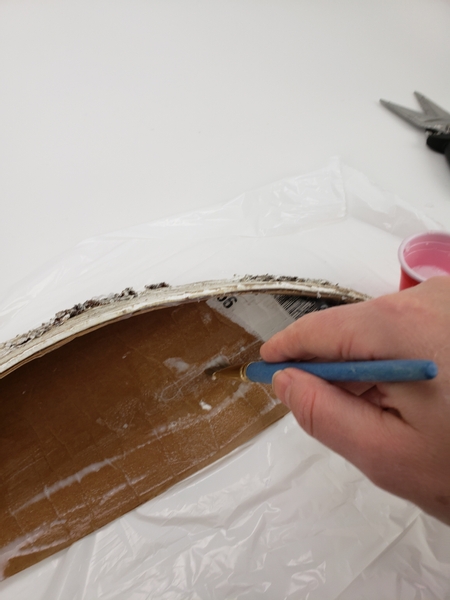
Paint the inside of the cardboard half moon with thinned wood glue.
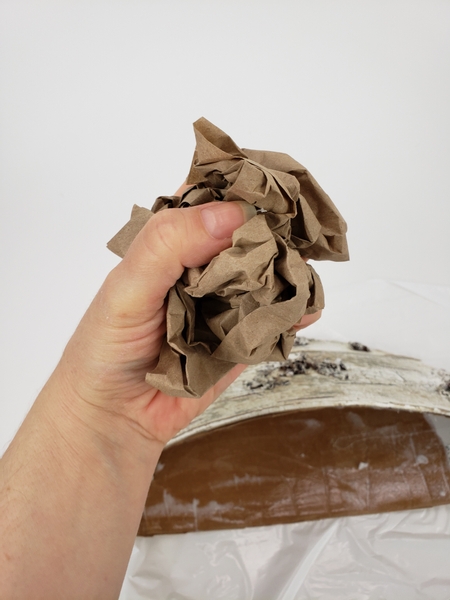
Crumple up some brown paper... you can also use gift paper or tissue paper or even fabric. I just found brown paper looks best in my rustic design.
Design note: I know it sounds weird to crumple up the paper but it really is the neatest way to get paper to follow a shape. It's a trick borrowed from cooking. If you crumple up parchment paper to line a baking tray it lines it easily following the contours of the pan or tray.
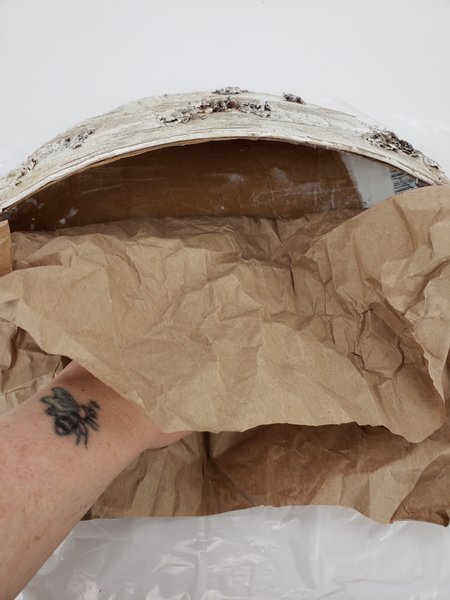
Smooth the paper out and place it into the shape...
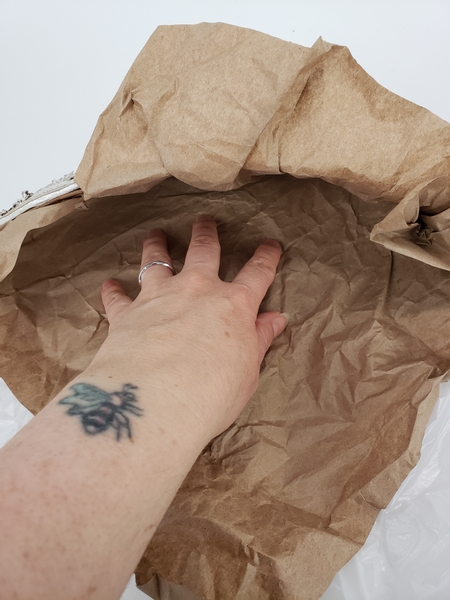
Smooth it into the corners so that it completely lines the inside of the half moon.
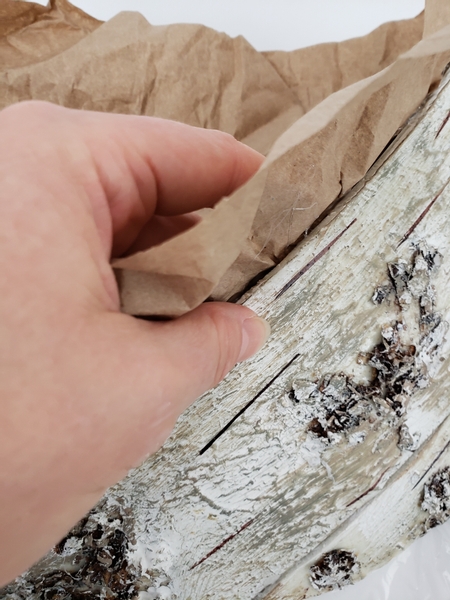
Glue the edge of the bark to the brown paper with hot glue...
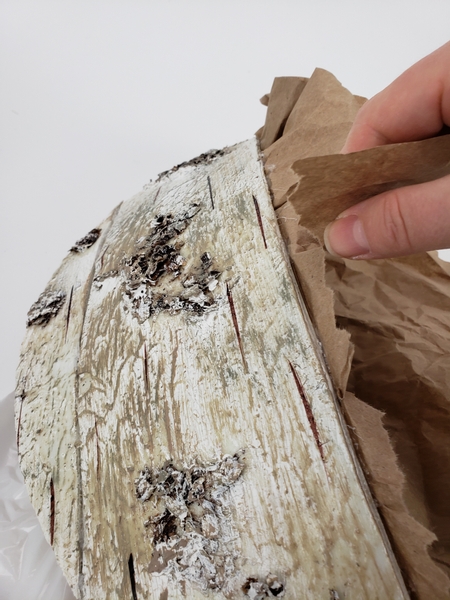
And rip or cut the paper to finish the edge.
Creating a fully lined basket gift pouch.
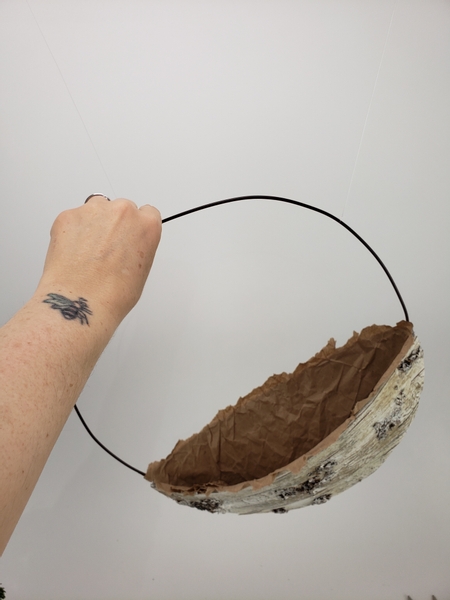
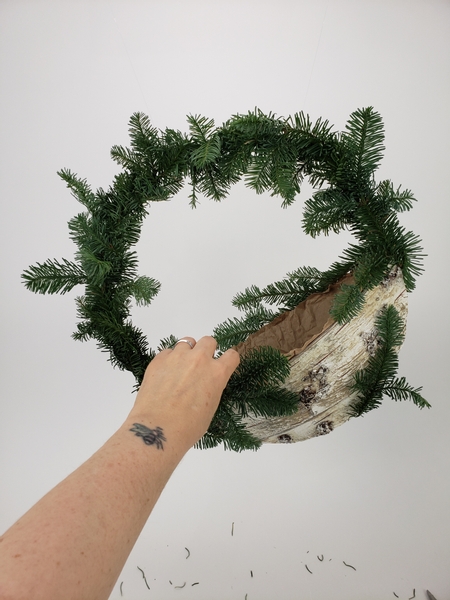
Hang the basket from the wreath frame handle.
Now for the fun part. I chose a different technique to complete my design.
My inspiration is a rather in-depth explanation and I want you to be able to ask questions or comment if you want to, so I moved the conversation over to my newsletter notification email. If you are not yet signed up the button is below this post. I send out one email per week, always on a Wednesday morning so that you have advance access the moment the design is up with exclusive tips for you to read relevant to the design.
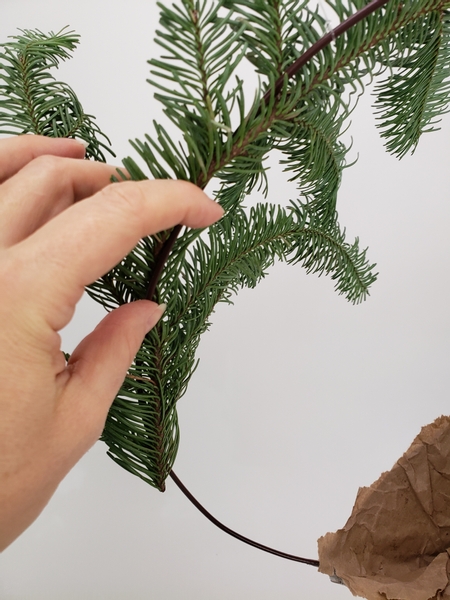
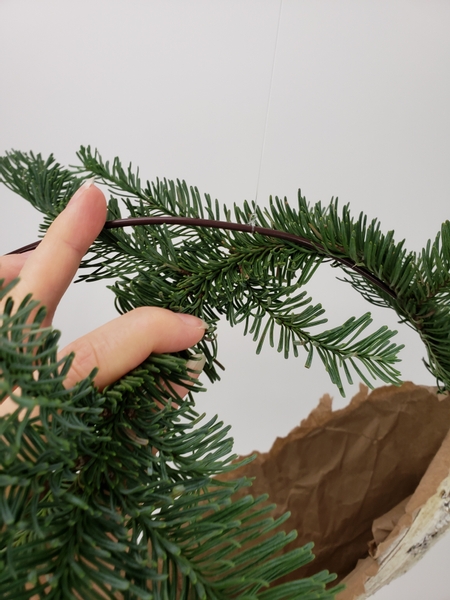
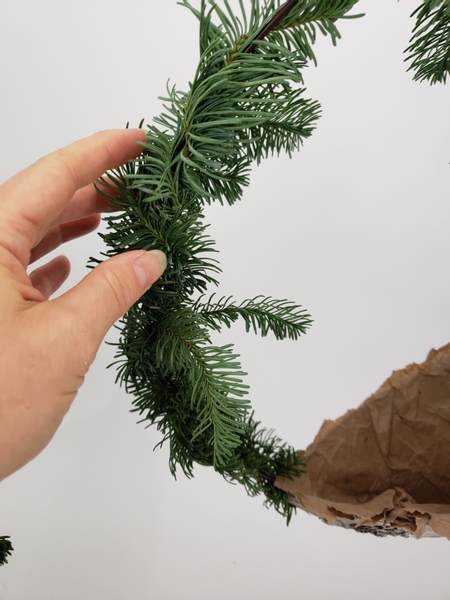
Cut a long stem of Noble Fir (or winter greenery of your choice) and start to weave it around the wire. I explain in my newsletter why I chose this method rather than wiring the stem so that I can purely focus on the how here in the Tutorial. But make sure to read the why... it is just as important.
Bend the pliable stem to wind it around the wire...
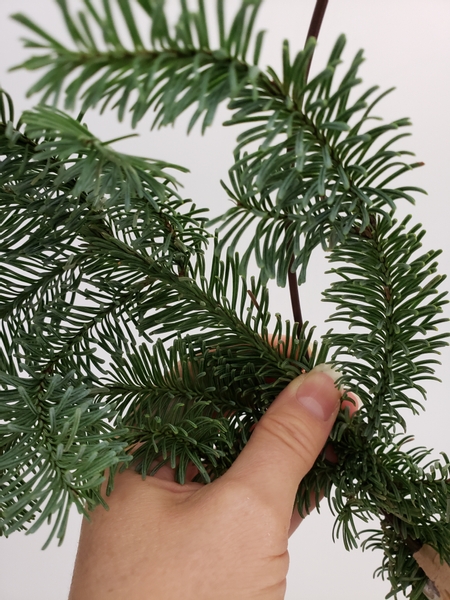
Do the same on the other side... hook the hard (least pliable) stem end around the wire and wind it around the wire to meet up with the first branch.
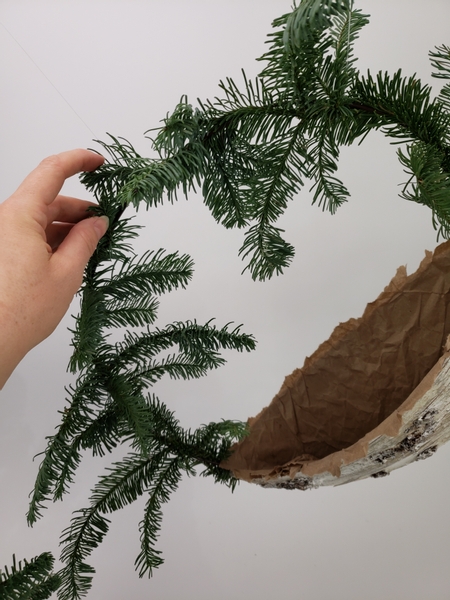
This forms the basic shape of the wreath... next we neaten it up.
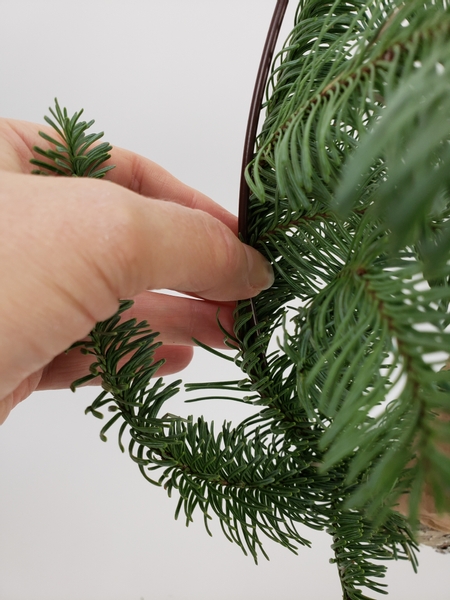
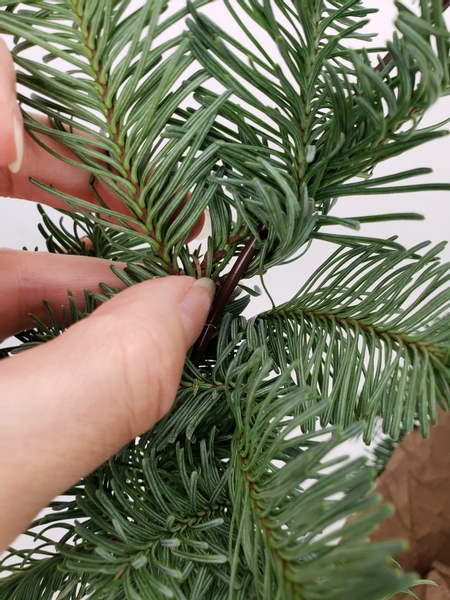
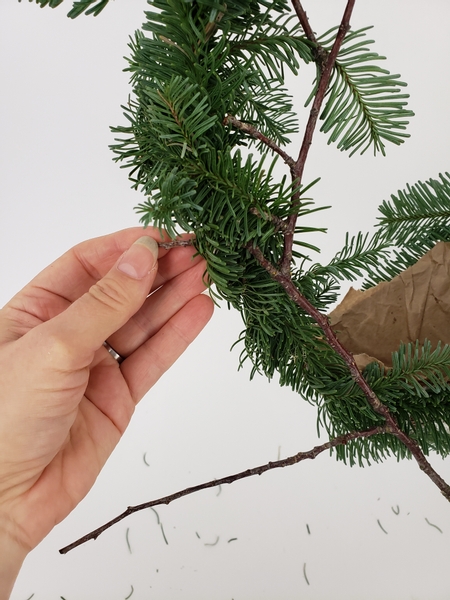
I found that I did not need any wires or mechanics to secure the wreath... just the basic wreath weaving technique. If you are unsure of how to weave a twig wreath see the Tutorial below. In short... Bend a longer side branch around the wire....
Curl it around...
And tuck it into the gaps between the wire and the Fir.
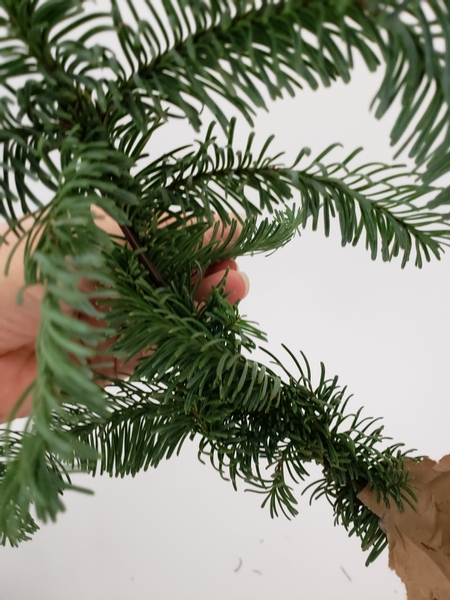
Leave some of the branches untucked to balance out the heavy bottom part of the design.

Curve some of the side branches over to the front and back of the bark covered half of the wreath and secure it with a drop of hot glue.
Have a look to see if the wire is completely covered...
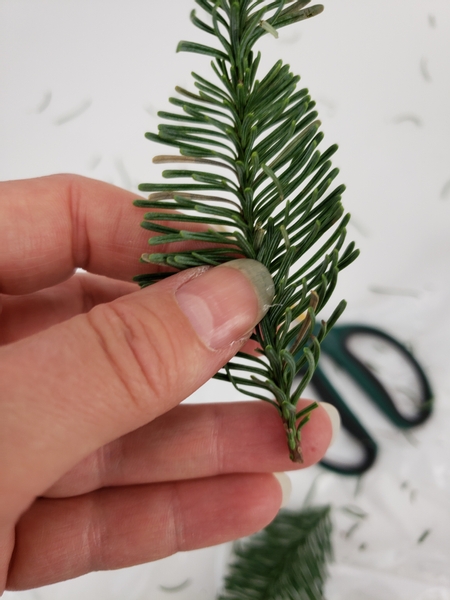
To cover any places where the greenery looks a bit sparse cut a smaller side branch to remove the bulk of the greenery...
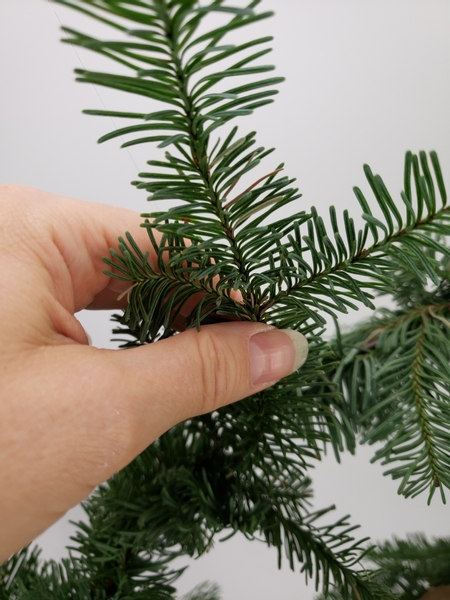
... tuck the branch to hook between the wire and the wound branches (again see the Tutorial for weaving a twig wreath if you are unsure of what I mean) ...

... and weave this branch around the wire to cover it completely. Secure the branch end by hooking it through the wreath.
Your wreath is now ready to design with.
Glue in a few twigs.
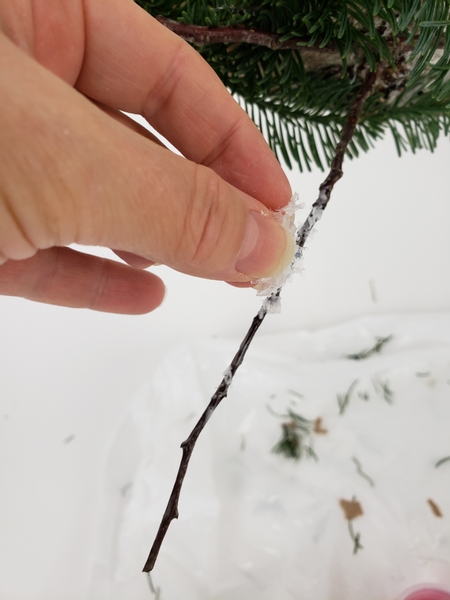
Glue in some artificial snow onto the twigs...
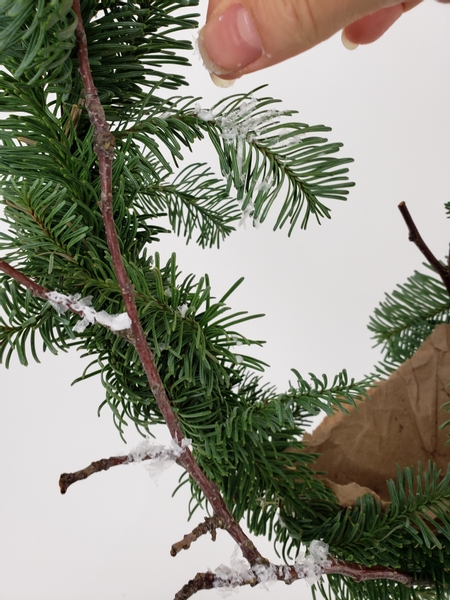
... and branches.
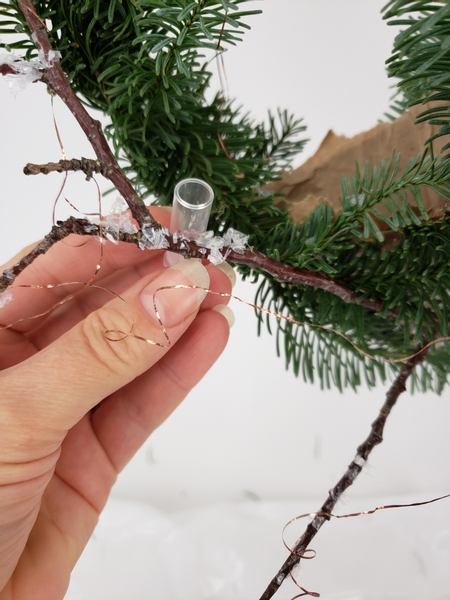
Add copper wire curls (see the Tutorial below) and water tubes (also see the Tutorial for how I make my own water tubes below)
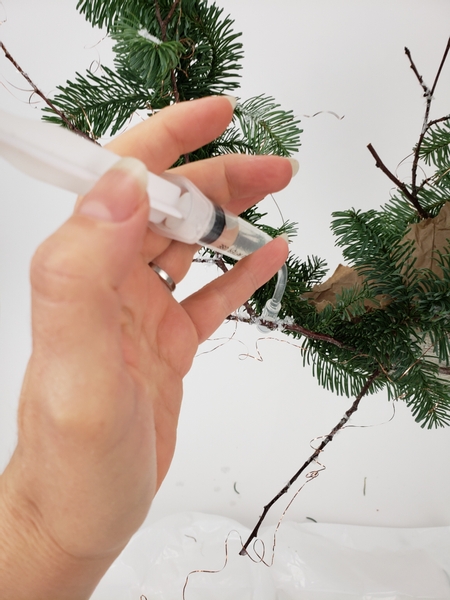
Fill the tubes with water.
See the Tutorial below if you want to make your own syringe pipette.
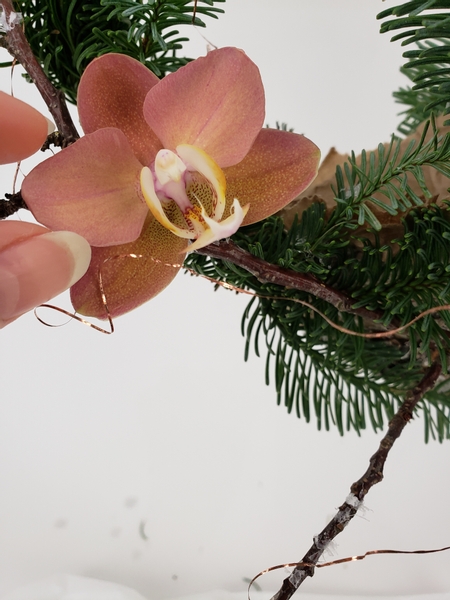
And place the orchids so that it remains hydrated.
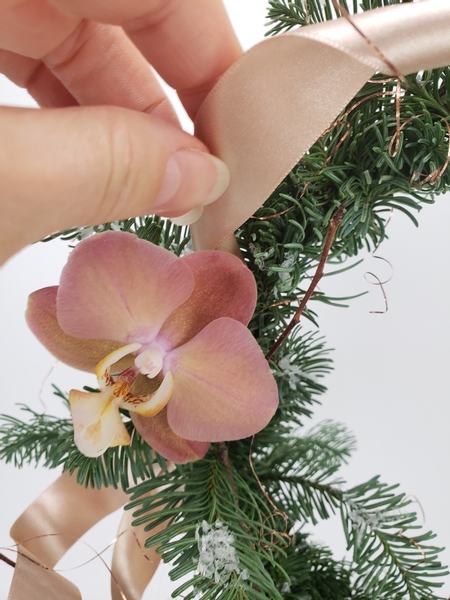
Add in a tangle of ribbon-
... on a personal note: this is part of my effortless style: I love the idea of a wind tangled ribbon for a Christmas design. Almost like the winter breeze whipped about and helped to decorate. It is my personal effortless style. For more details on how to explore, develop and protect your own effortless style... I wrote a whole book about that!
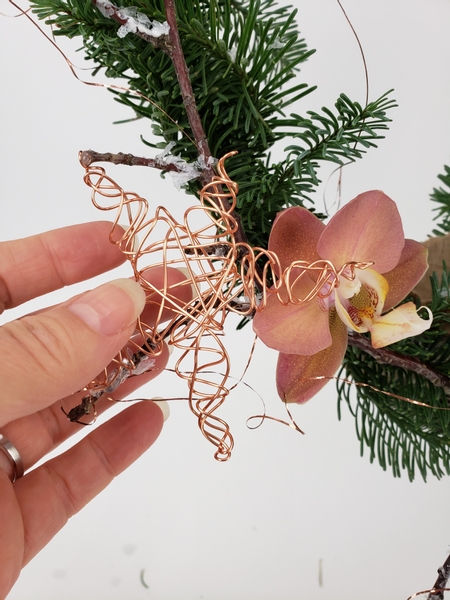
And finish the design with wire stars... also made with the help of a cardboard base- to stay with my theme for this Christmas. See the Tutorial below for more detailed instructions.
Sign up for my weekly newsletter
Every week I add a new design with related tutorials. Be sure to subscribe to receive an email notification with design inspiration.


 Eucalyptus Christmas wreath")

 Cotton Christmas")


