Christine de Beer - effortless floral craftsman
A slow reveal Birch Bark Scroll Nice List
- 4 December 2024
- and more

Cut birch bark into a long sheet and measure out a low container that is smaller than the bark is long. How much smaller depends on how dramatic you want the scroll curves to be...
No need to be too picky about the sheet. It should look rustic and natural. If it has a hole or is ripped somewhere all the better. We will use that in the display.
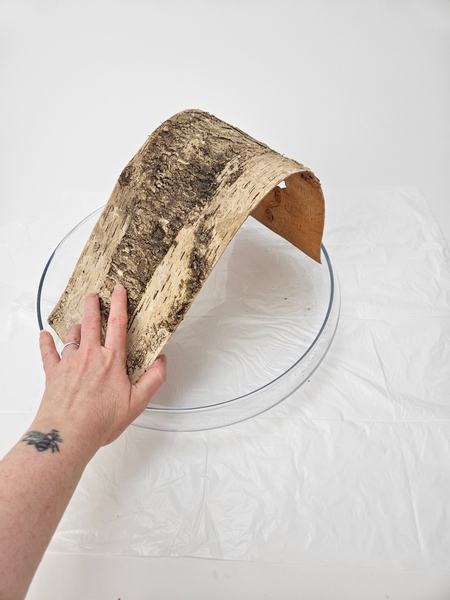
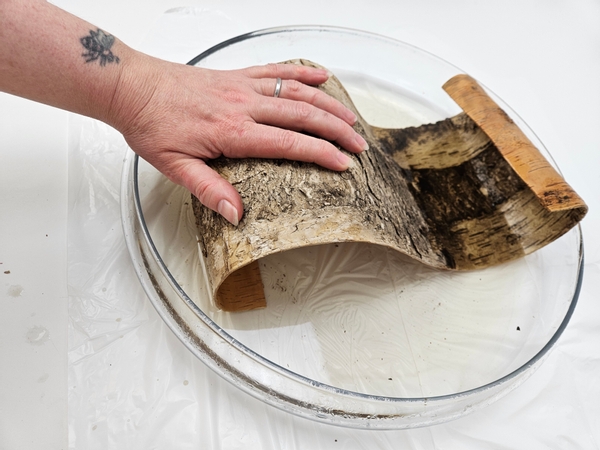
Pour boiling water into the low container and arch the bark from one end to the other inside the container, standing in the boiling water.
Let the bark stand for a few minutes to soak up the water and allow the water to cool slightly before manipulating the wet bark.
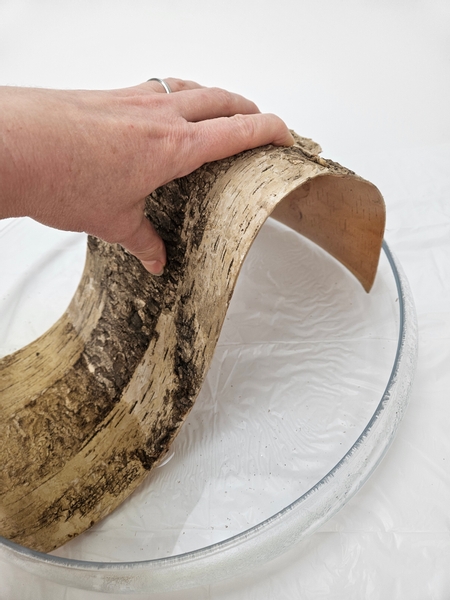
As the bark softens in the water curve one end deeper below the water.
Slowly roll the bark as it becomes more pliable in the warm water.
Use the edge of the container to keep the bark in place by slowly curving it against the edge. It is easier to manipulate the bark if it kicks against the edge of the low container on both sides.

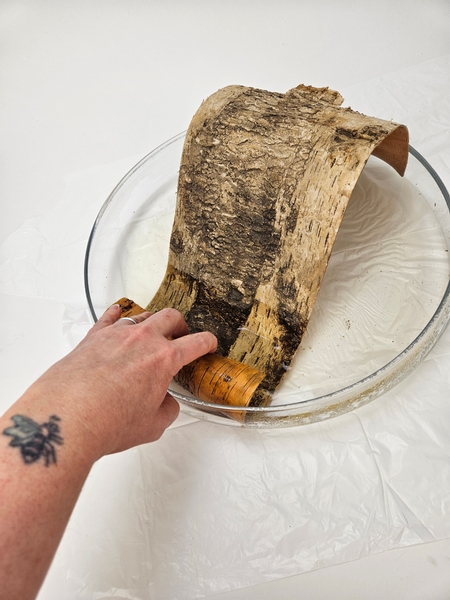
Turn the container around and start curving the other side.
Gently roll the bark while pressing the other end against the side so that the curve stays in place on the other end.

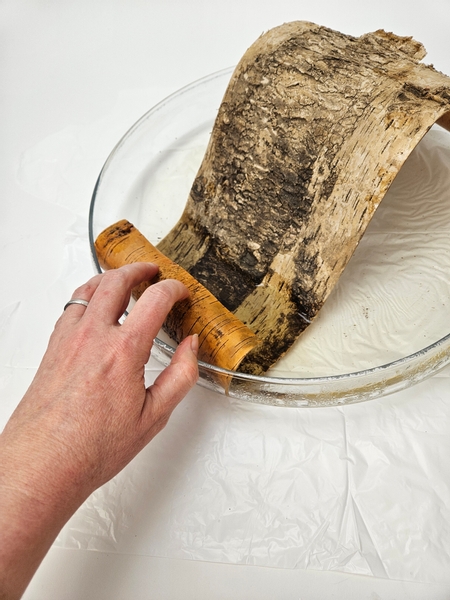
Blot the bark dry with a paper towel and set it aside to dry in the scroll shape.
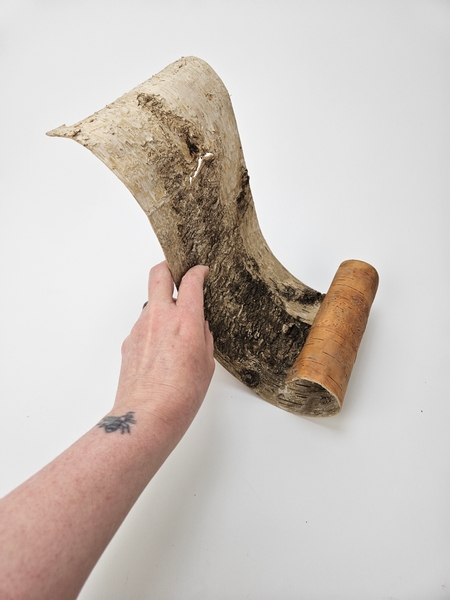
Once dry (best to leave it overnight) the bark will be set in the scroll shape.
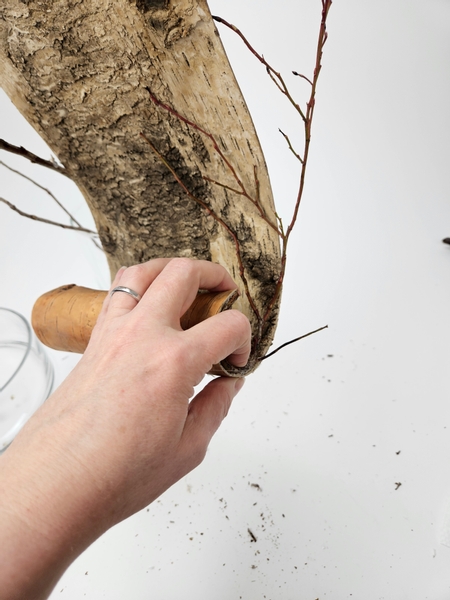
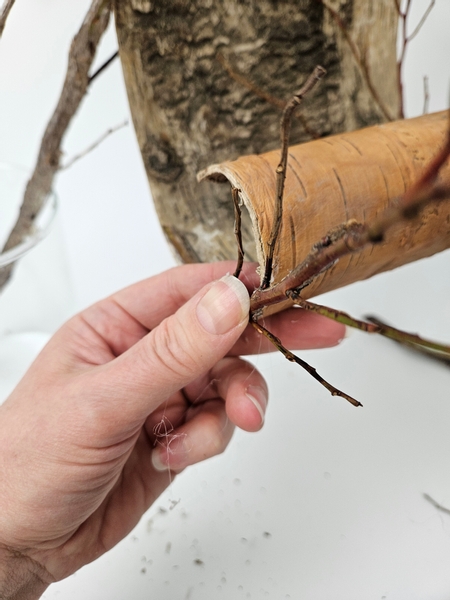
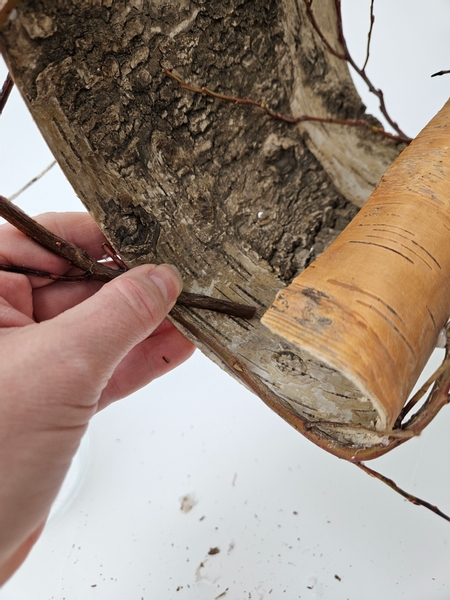
See the knot piece there where the bark split open? That is how I will hang my scroll on the twig...
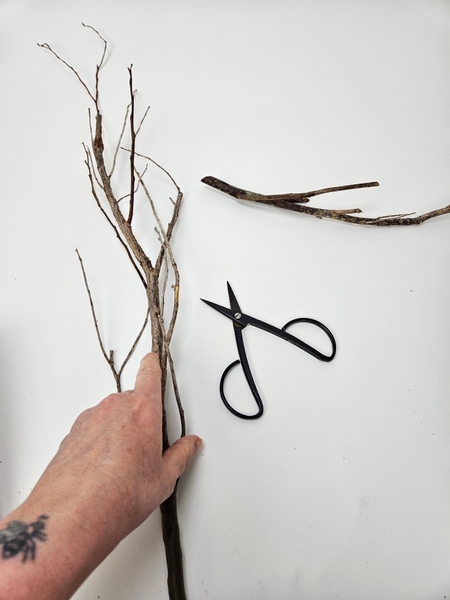
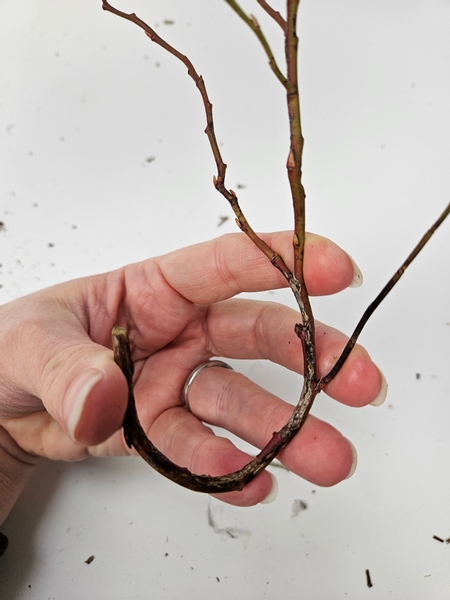
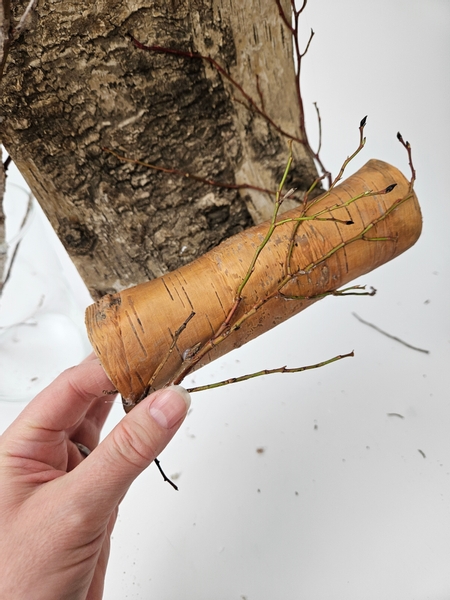
Groom a huckleberry stem so that you have a few forks in the twig to keep the scroll upright...
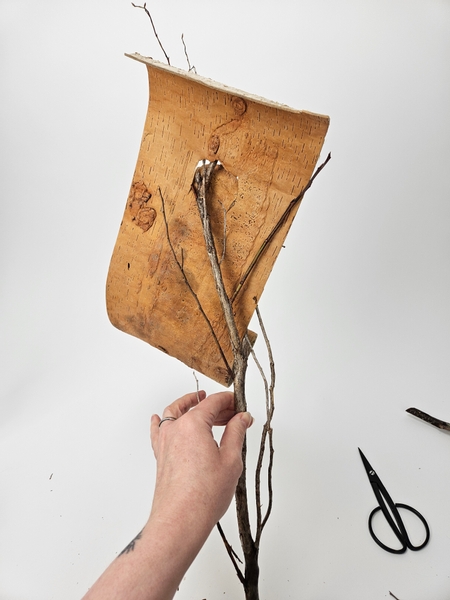
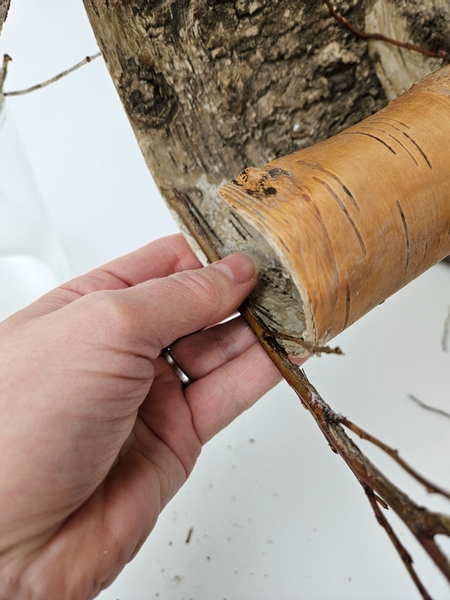
Most bark sheets with have a knot or an imperfection where the bark splits... make use of this by slipping the huckleberry twig through that for your display. Or you might have to cut a hole into the bark. Create an interesting angle by positioning the bark on the twig using the forks in the twig to keep it in place.
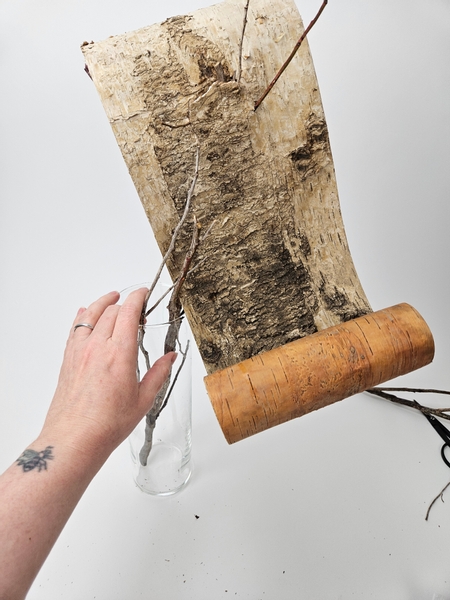
Place the twig in a display vase so that the scroll stands upright.
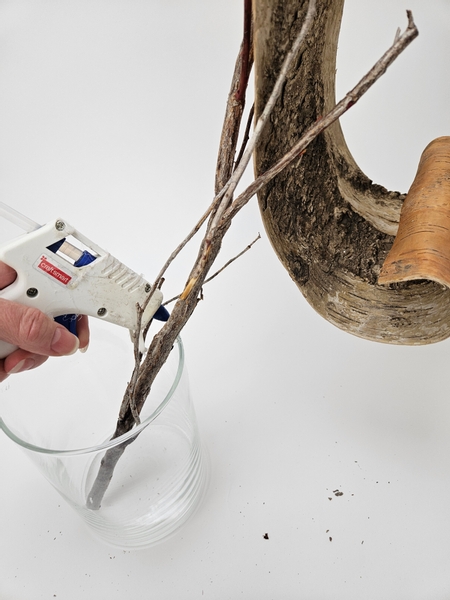
Use a glue gun to secure the twig to the vase to stop it from rolling about as you design.
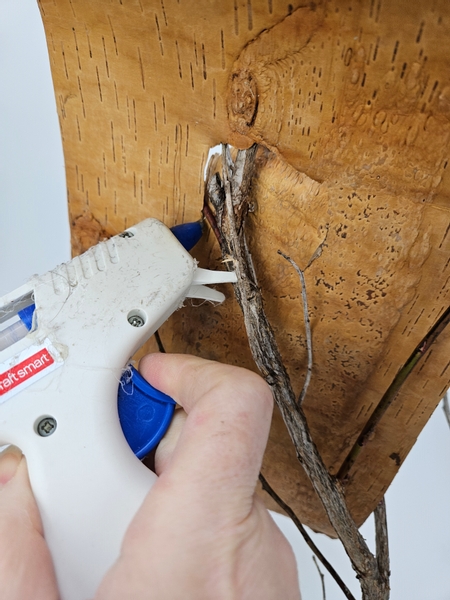
And glue all the places where the twig and the bark touches to secure it in place
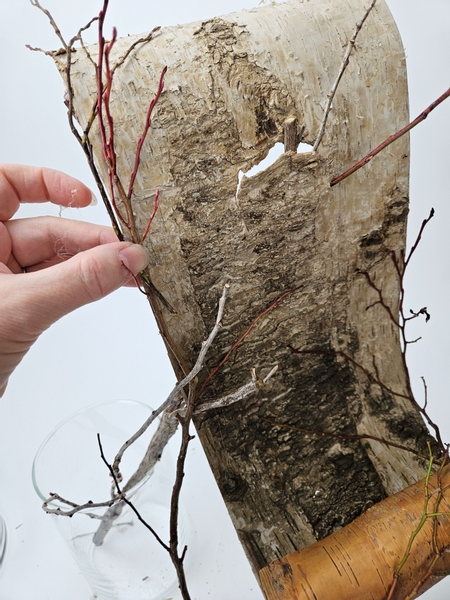
Curve a fresh huckleberry stem...
See below for the detailed Tutorial about manipulating twigs and stems.
And glue it all the way around the inside of the bark to follow the scroll curve, from the bottom edge to elegantly drape upwards on the scroll.
Measure a twig to do the same on the other side but this time...
Start at the cut end of the twig and then let the tips curve over the edge of the scroll...
This is tricky to glue neatly! This week in our email I show you how I do it to make it (easier) neater. I send out an email every Wednesday morning (Vancouver time) the moment the new design is ready for you to view with a tip that I want to show you in more detail so that you can make the most of each week's inspiration. The sign up is below this post.
Can you believe that this week is my 700th email in 700 weeks- one email per week and not a single week missed!?!
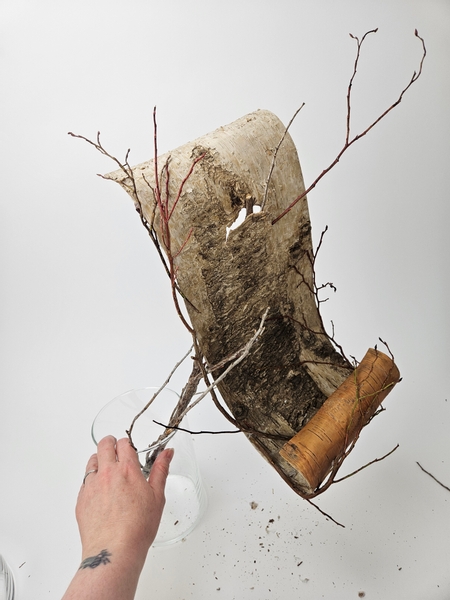
To fold over the side of the bark to drape over the bottom of the scroll.
Glue in another huckleberry stem to cross right next to the previous stem so that the blunt cut end is concealed...
Drape the stem up the scroll to fall naturally. Add in a few more twigs all around the design, every here and there, to create the feel you want.
I wanted mine to look like it was discovered in a woodland... maybe it fell out of Santa's sleigh... so I am adding only a wintery few twigs.

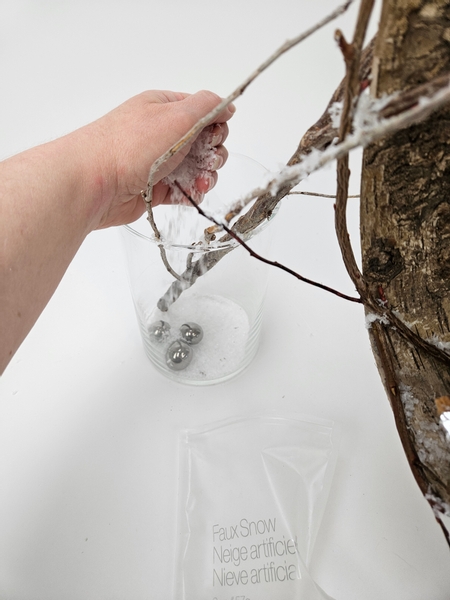
Add a dusting of artificial snow on to the bark...
I use artificial snow made from shredded plastic because it will not biodegrade. Meaning it will not degrade. It can be rinsed (through a sieve) and reused without ever ending up as trash.
And the twigs. And the slightest dusting of snow to where you secured the twig to the container to conceal the glue. See the Tutorial below for more detailed instructions on how to add the snow.
A tip for later: To remove the snow and the hot glue simply soak the armature in hot water. The snow floats and can be reused. The clumps of hot glue can be remelted and reused by collecting it and adding it into a hot glue pan. I use new glue only when it is visible. Then I reuse the melted glue in designs where the glue will not be visible such as cardboard armatures with a veneer.
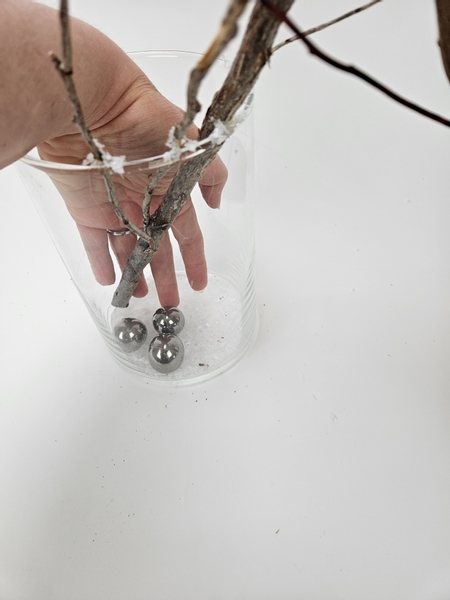
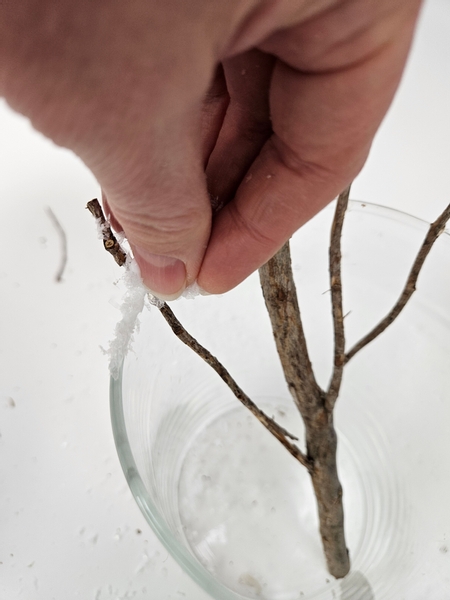
Add a few pebbles or something heavy to the bottom of the container...
And conceal with artificial snow.

This will ensure that the design will not tip over when you add flowers to the scroll design.
This is similar to what I did to create my book cover design. You can read more about it here: The Effortless Floral Craftsman, cover story
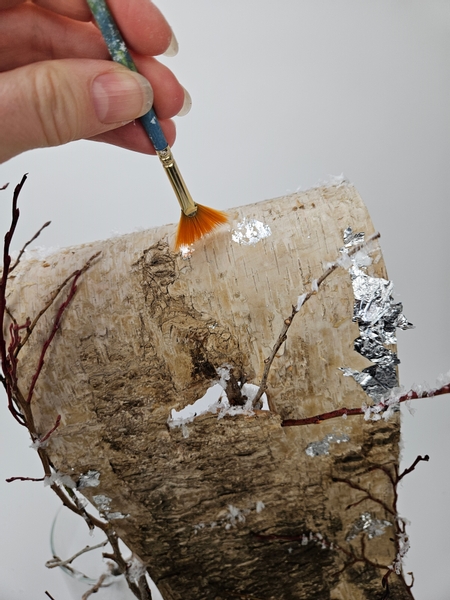
Next I am adding bits of silver leaf to add Christmas sparkle....
See the Tutorial below for more detailed instructions.
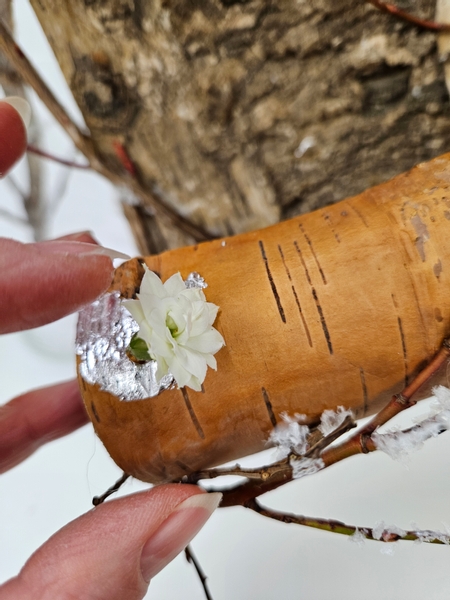
And then I glue clusters of kalanchoe flowers...
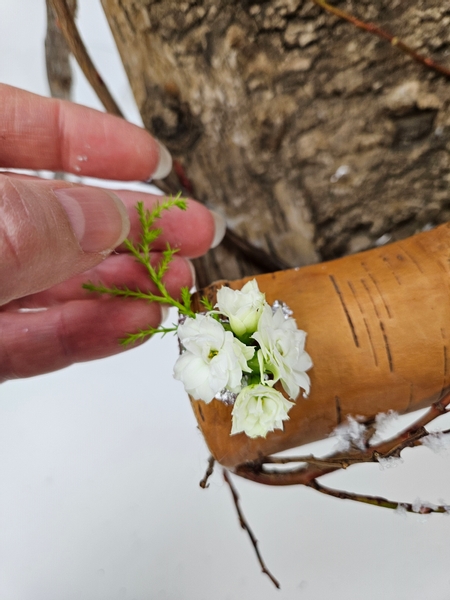
... And lemon cypress into small designs over the silver leaf.
The Kalanchoe flowers will not need a water source and will remain looking fresh and beautiful for weeks. The succulent flowers are absolutely my favourite for this kind of design.
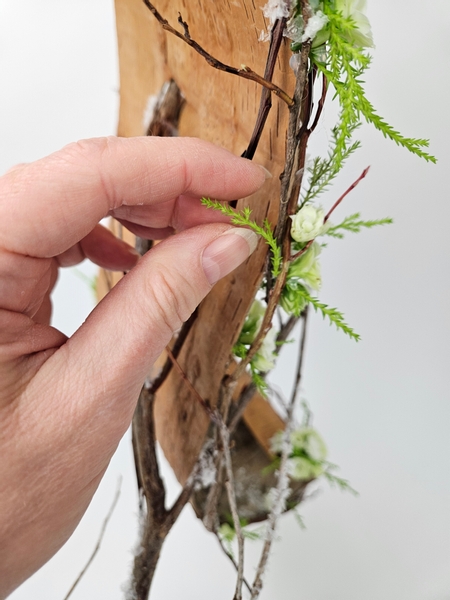
Slowly turn the design and finish off the sides and back with small sprigs of cypress so that it looks 'done'.
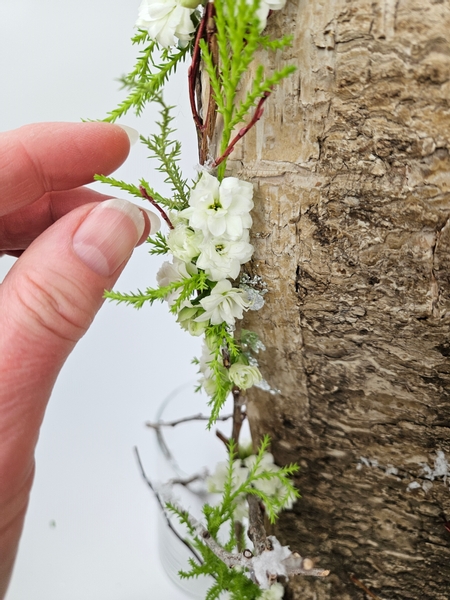
Inspect the design from all angles to make sure all the tiny design details look neatly finished with just a silver shadow glistening from below.
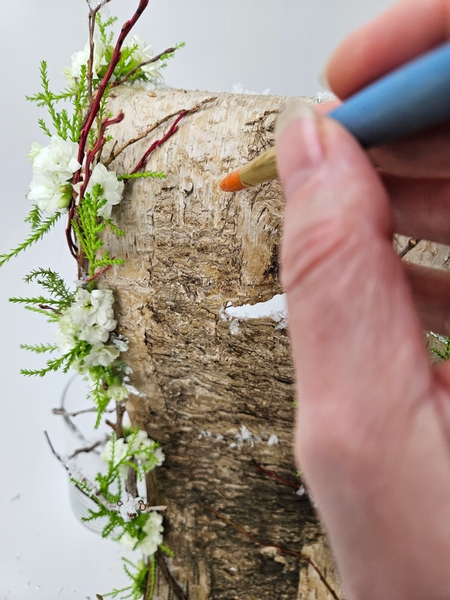
I finished my design with a few Christmas touches... for the lettering I wanted it to look like the Nice List is written in bark knot-calligraphy. So not too neatly then... I used a thick brush to paint the letters...
If you want writing that looks less like it was written by a tree see the Tutorial below for an alternative.

Place the silver leaf, let it dry and dust it with a fan brush to remove the extra bits...
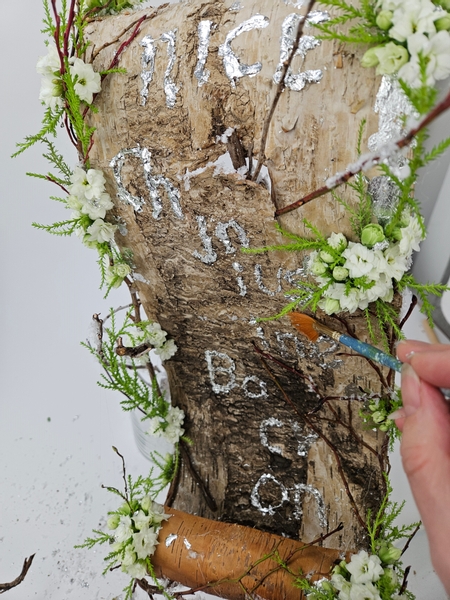
And just one or two letters of the names of the people on the Nice List... so that it looks like the list is slowly being revealed...
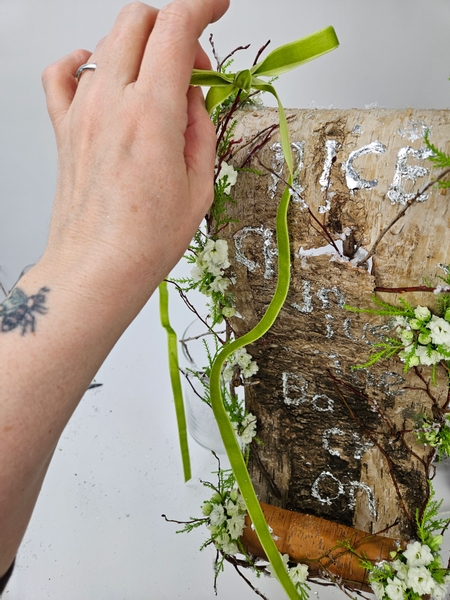
And will it even be a 2024 design without an oversized bow?
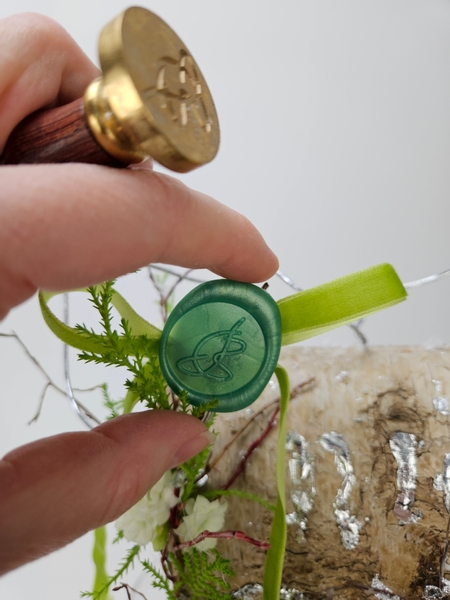
... And every scroll needs a wax seal, right?
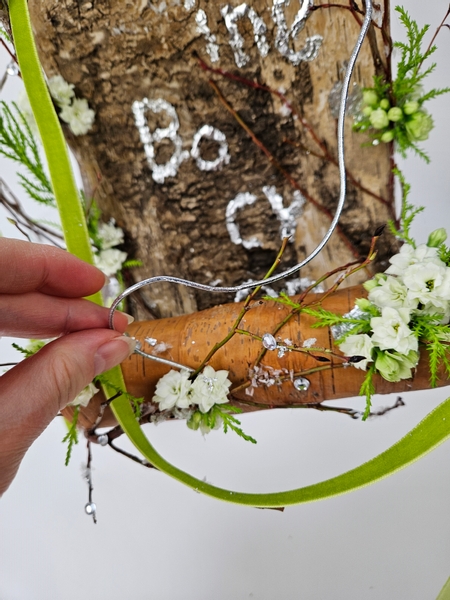
And finishing off with a few dew drop crystals and silver wire to visually tie the design together
Sign up for my weekly newsletter
Every week I add a new design with related tutorials. Be sure to subscribe to receive an email notification with design inspiration.


 Cotton Christmas")


