Christine de Beer - effortless floral craftsman
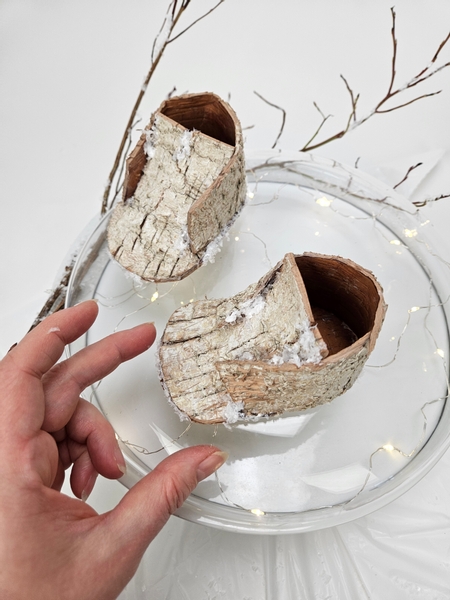
Birch bark ice skates on a glistening kalanchoe and cypress snow pond ice skating rink
- 18 December 2024
- and more
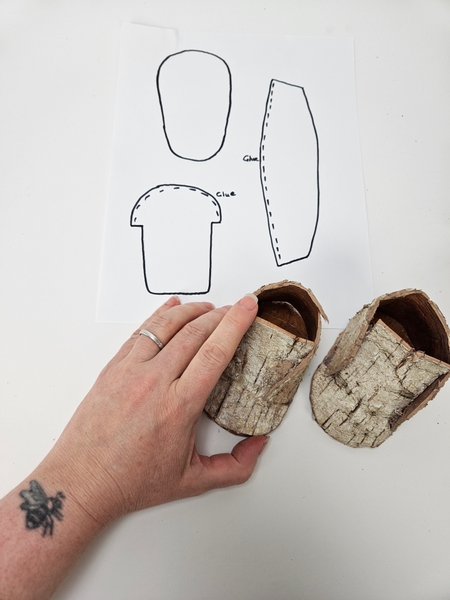
From my design room to yours... an Early Christmas Gift Delivery from the Santa’s Sleigh Express. Absolutely open before 25 December! Free Printable Template Booklet- and Template 1 is for these bark booties we are making for the skates.
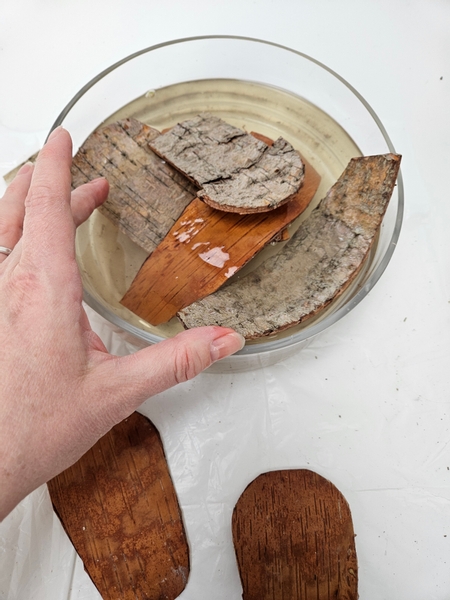
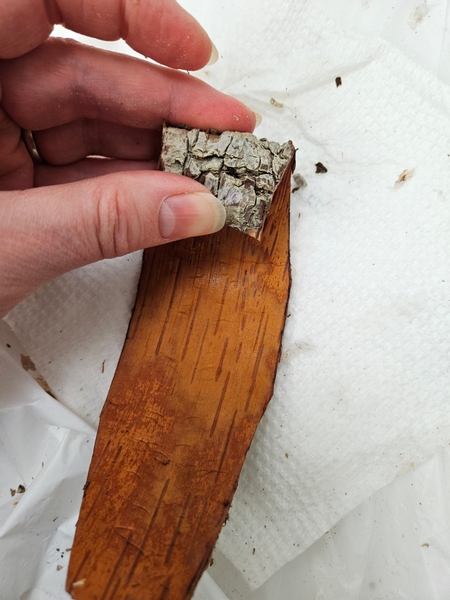
Use the template in the booklet to cut out 2 of each of the pieces for the boot part of the bark skates. Soak the two uppers (almost looks like mushrooms) and the heel parts (longer strip) in warm water overnight.
Set aside the two soles.... they will not be curved and manipulated and must be kept flat.

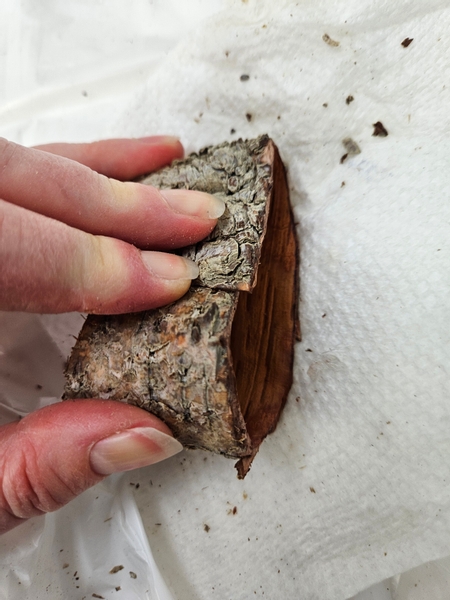
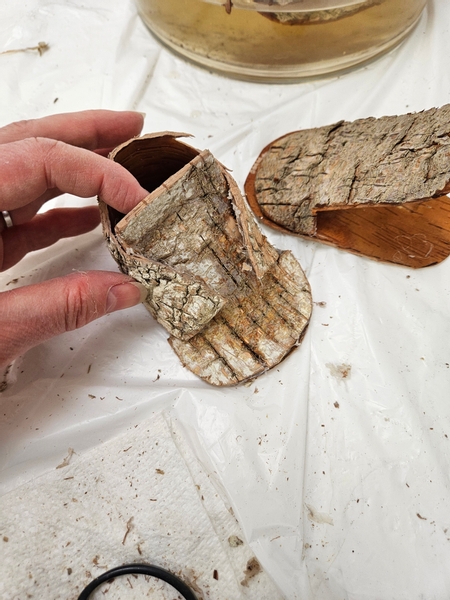
Roll the boot upper to give it a dramatic curve... this tongue part is shaped like a mushroom.
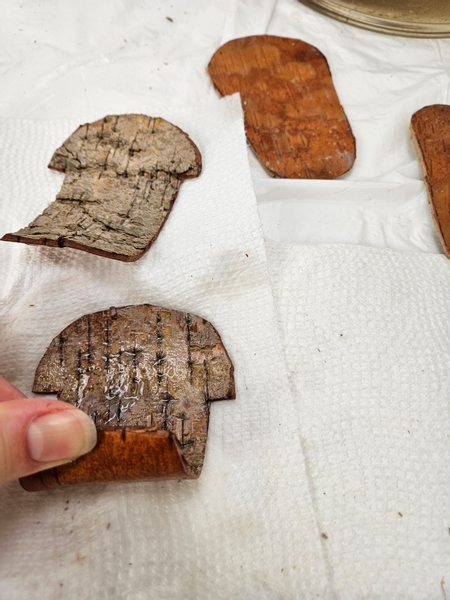
Slowly curve the one and then the other so that your boots match. It will take a little while to curve it just right so go slow and be patient.
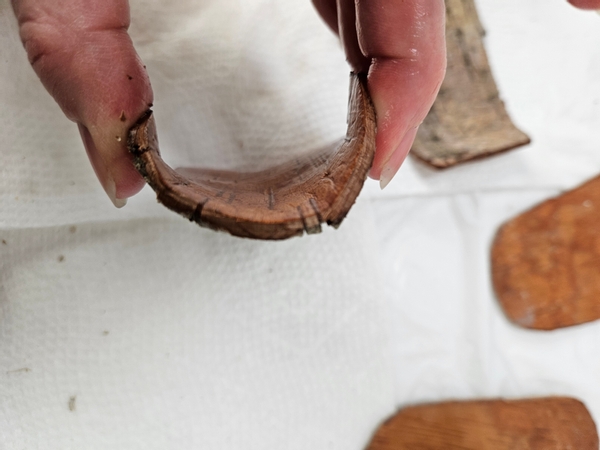
Curve the toe part of the boot upper in...
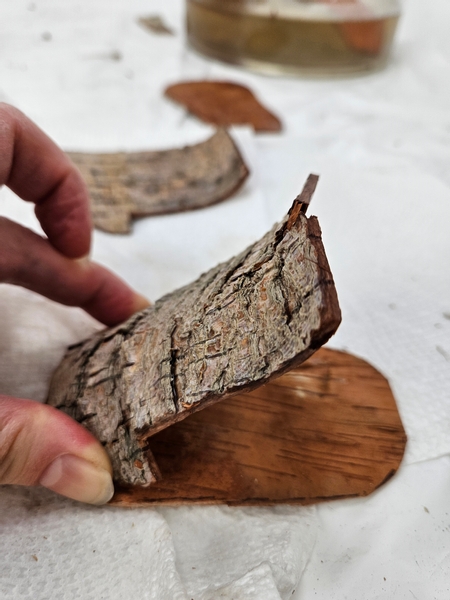
And glue it to the sole of the boot with hot glue.
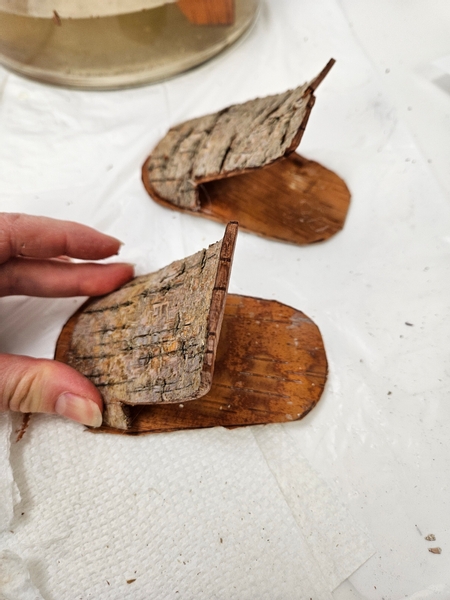
Glue the other boot in the same way.
Oh boy... this is a tricky process to get the shape just right. This week in our email I share my tip for keeping the bark moist while curving it into the exact shape you want. I send out an email every Wednesday morning (Vancouver time) the moment the design is ready for you to view with a design specific tip for you so that you can have the "inside scoop" even before viewing the design. The sign up is below this post if you wan to join in and follow along.
Carefully start to roll the heel part of the boot to curve it...
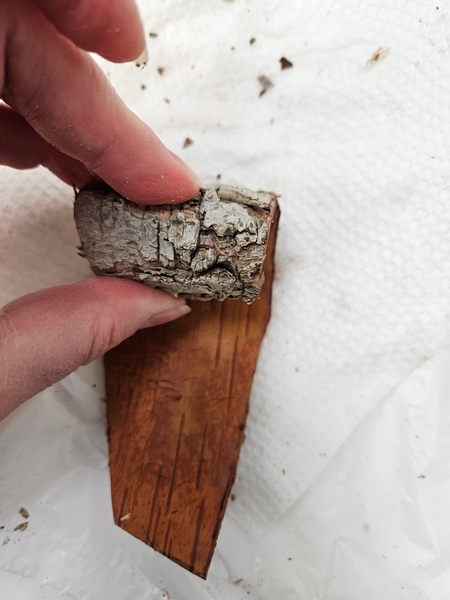
Roll the other end in so that you have a curve on both sides...
Manipulate the bark slowly to build up the curve without snapping the bark... the two ends should be able to meet in the middle.
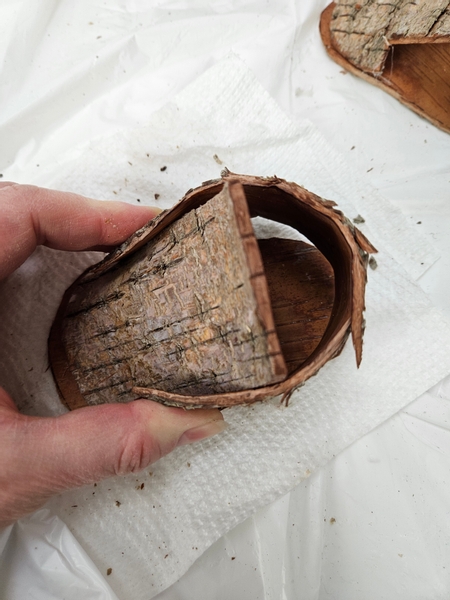
Fit the heel piece on to the sole of the boot to curve around...
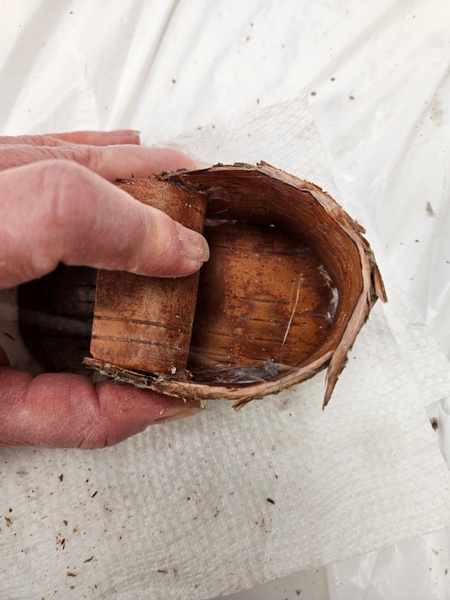
Glue in the bark making sure the front of the boot remains curved open.
Hold the bark down tightly while the hot glue sets.

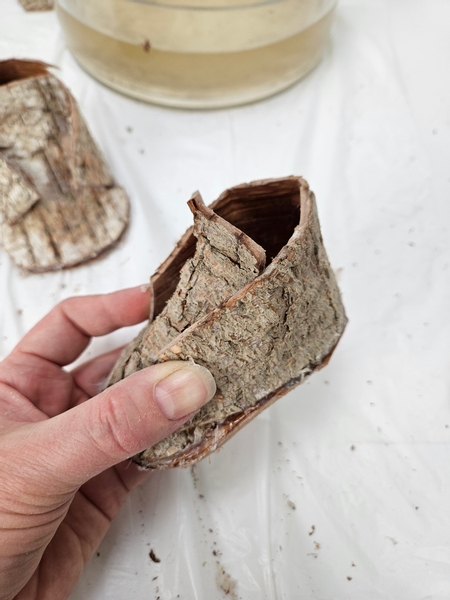
Overlap the front of the boot... but keep the tongue part gaping open while you glue the bark together.
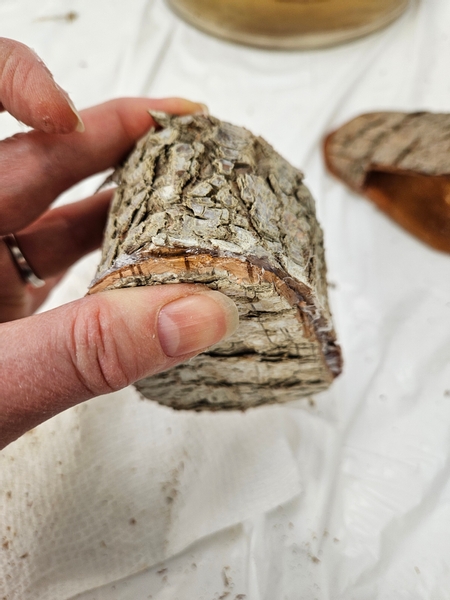
Cut away any bark that sticks out to tidy up the boot.
Curve the bark for the other boot, overlap it and glue it along the edge into the boot shape.
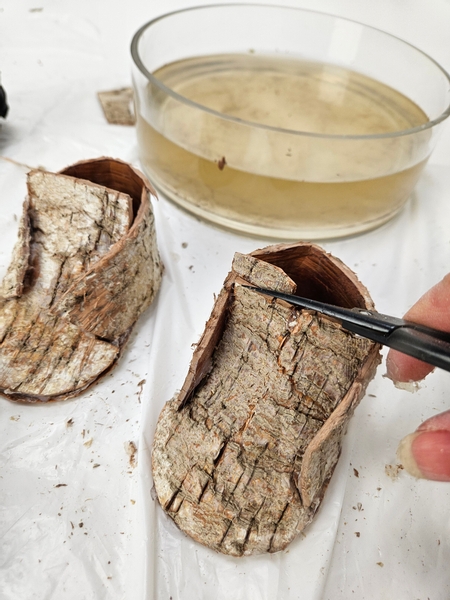
Trim away all the extra bark pieces to neaten up the boots.

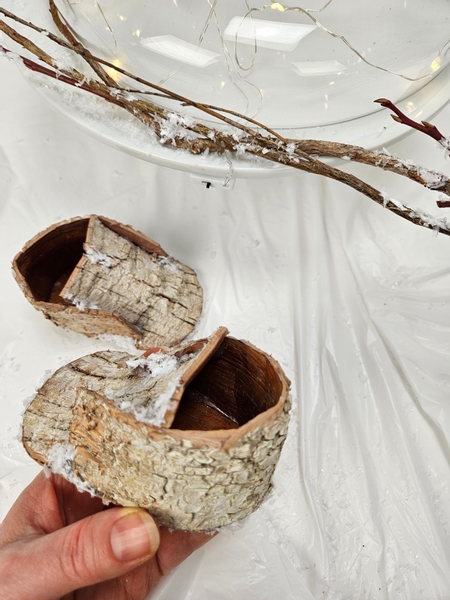
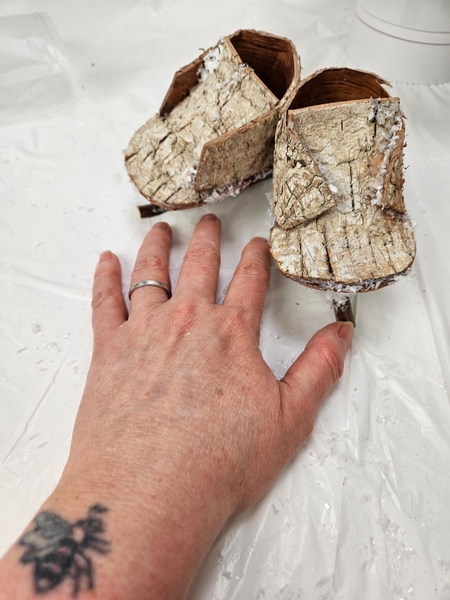
Your booties are now ready to become skates.
Rather cute as is as well... right?
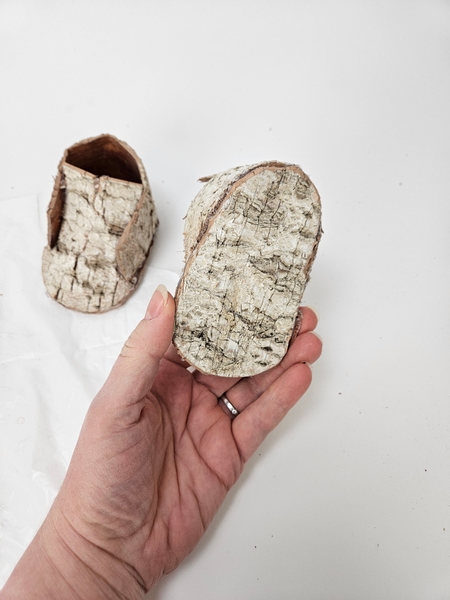
You can use the bootie as is... or turn it into skates...
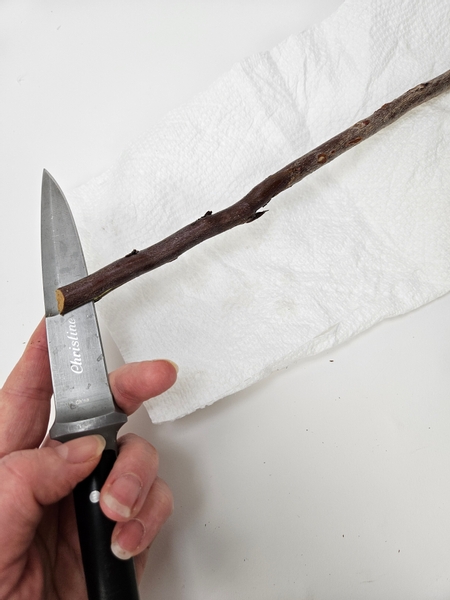
For the blade of the skates: Split a fresh huckleberry branch in two...
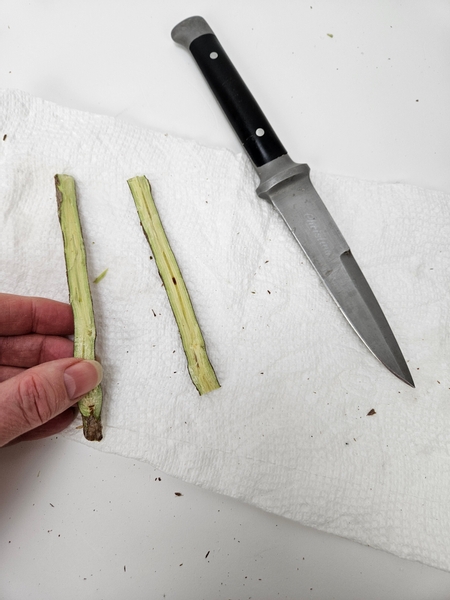
To create a flat surface for the skates to balance on. Set the split stems aside to dry.
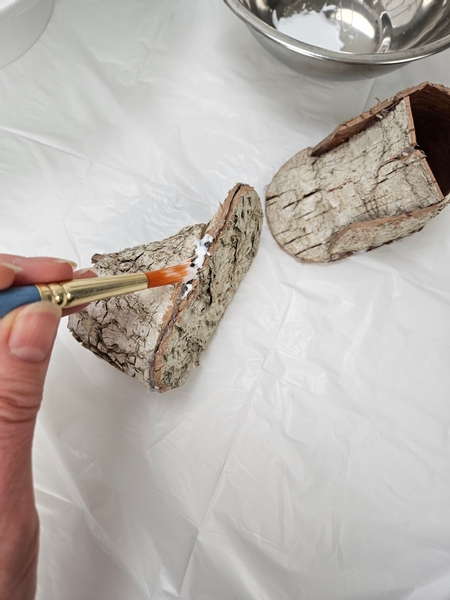
Paint wood glue to add a dusting of snow to the bark boot...
And sprinkle the booties with artificial snow.
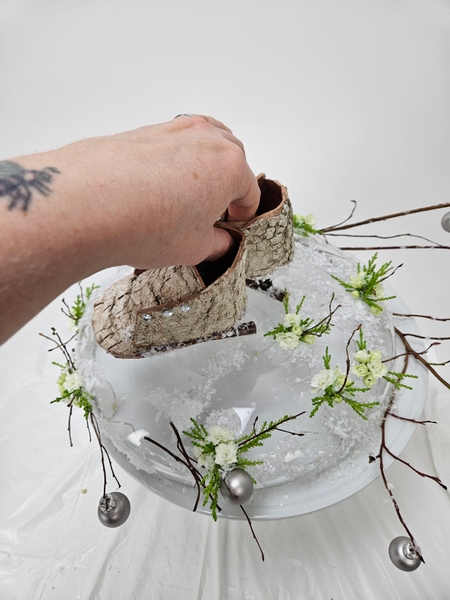
Set the booties into the design while the glue sets. It is easier to work around the booties than the skates so it is the ideal moment to finish the ice pond part of the design.
See the Tutorial below for detailed instructions on how to design the ice skating pond.
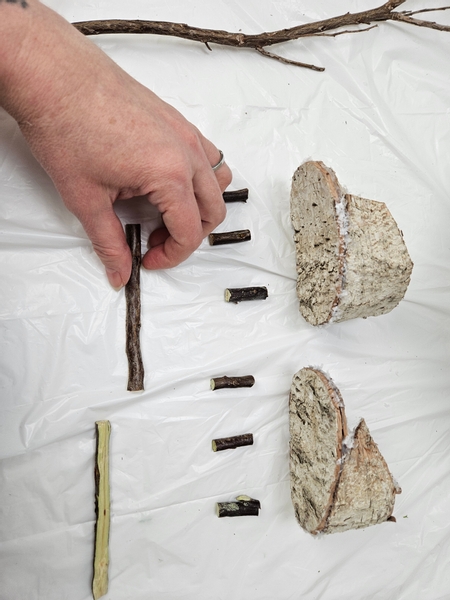
Cut three twigs (for each skate) into small bits for the skate blades to rest on...
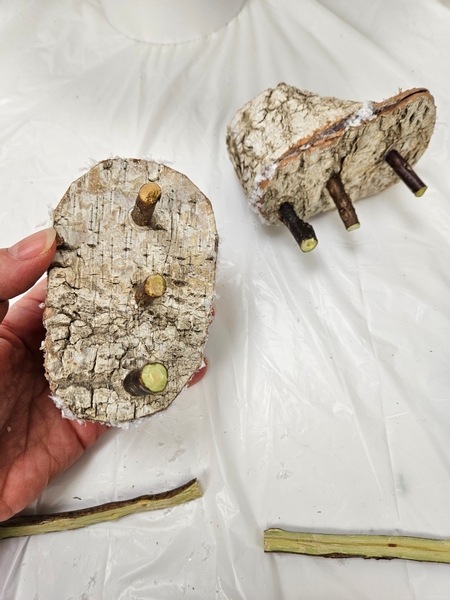
Use hot glue to secure the twigs down in a row on to the booties.
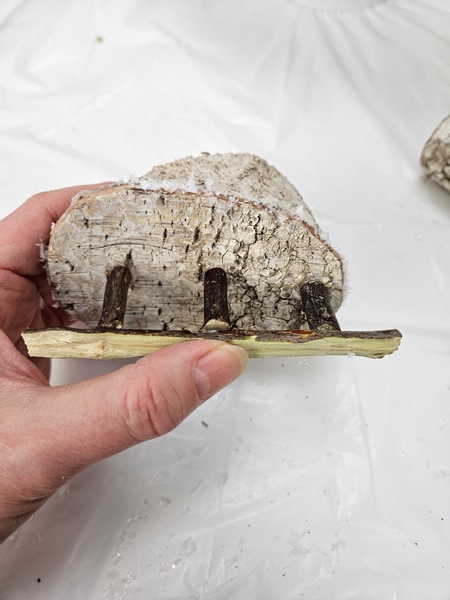
Glue the split twig flat side down to the twigs.
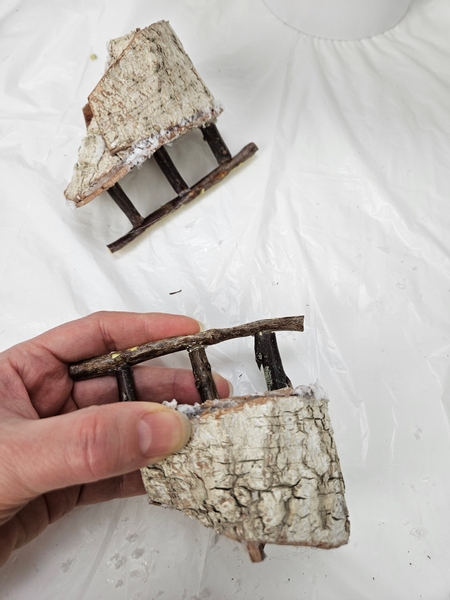
Giving the skates a flat surface to balance on when placed in the design.
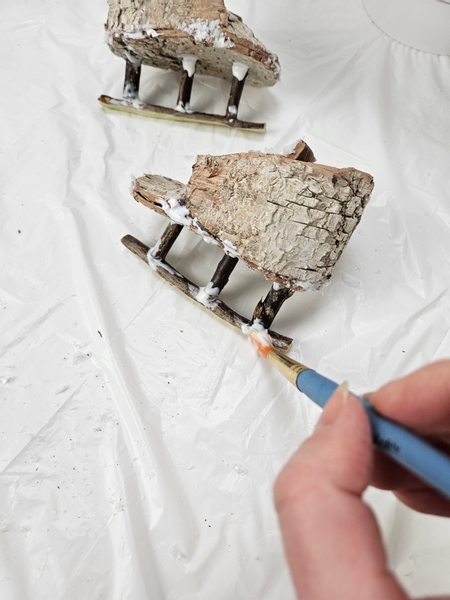
Paint the skates with a final layer of wood glue...
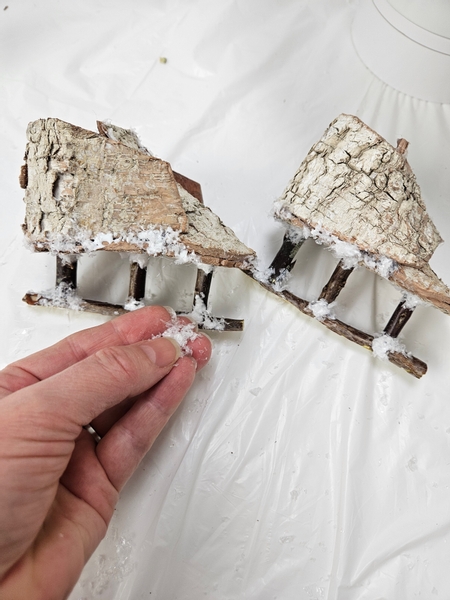
And sprinkle with artificial snow to finish it all off neatly.
Once the glue is dry and the snow is set place the skates on the blade twigs and make sure it balances securely upright. If it is not secure use a sharp blade and whittle away tiny bits of bark from the split twig below to make it perfectly flat so that the skates are balanced and secure.
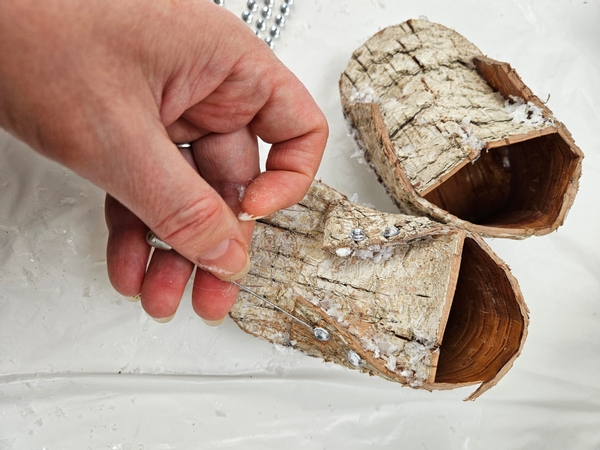
For a final bit of sparkle add in some dew drop crystals in place of laces...
And place the bark ice skates into the snow pond design.
Sign up for my weekly newsletter
Every week I add a new design with related tutorials. Be sure to subscribe to receive an email notification with design inspiration.


 Cotton Christmas")


