Christine de Beer - effortless floral craftsman
Candle in a window pane Christmas glow
- 25 December 2024
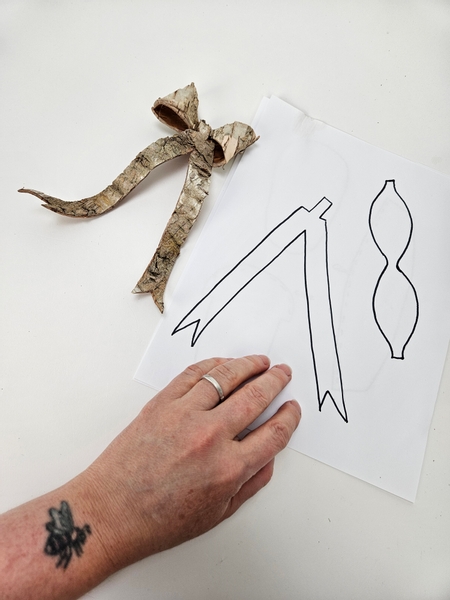
From my design room to yours... a Christmas Gift Delivery from the Santa’s Sleigh Express. Free Printable Template Booklet-and Template 1 is for last week's bark booties we made for the skates and Template 2 for this week's bow.
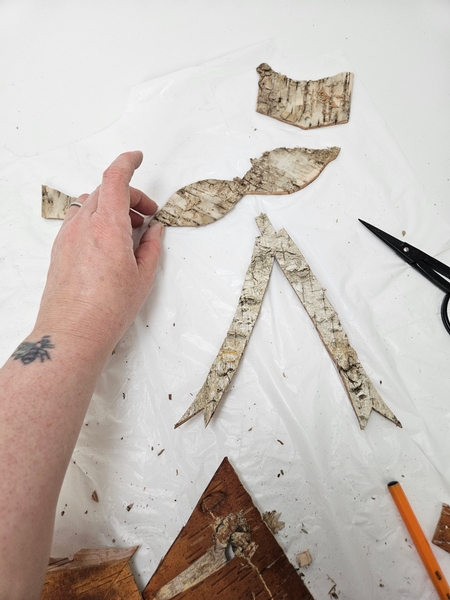
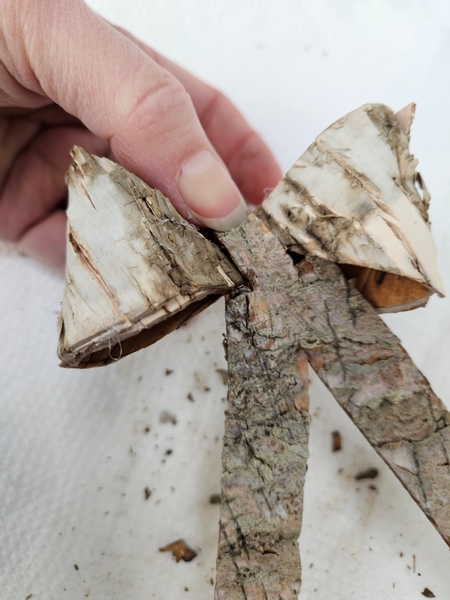
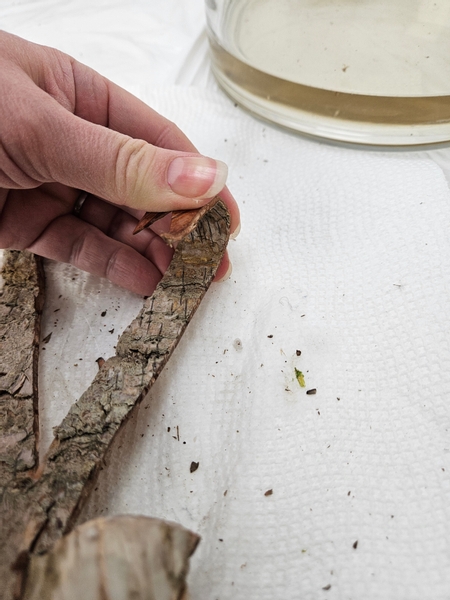
Cut out the two pieces for the birch bark bow...

And soak the bark in boiling water overnight.
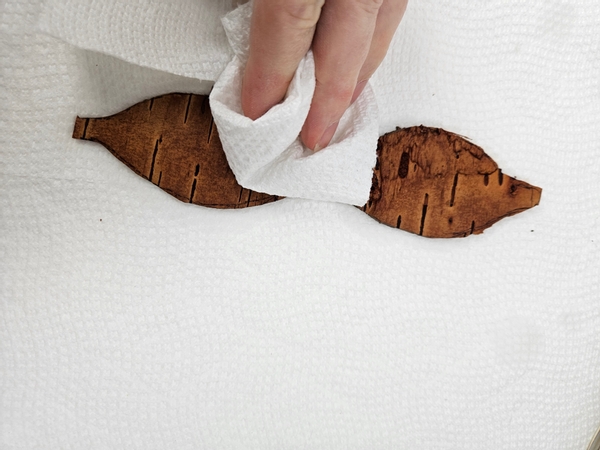
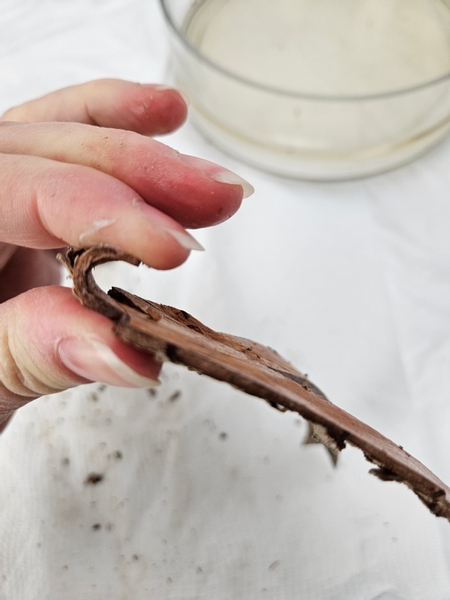
Blot the bark dry with a paper towel...

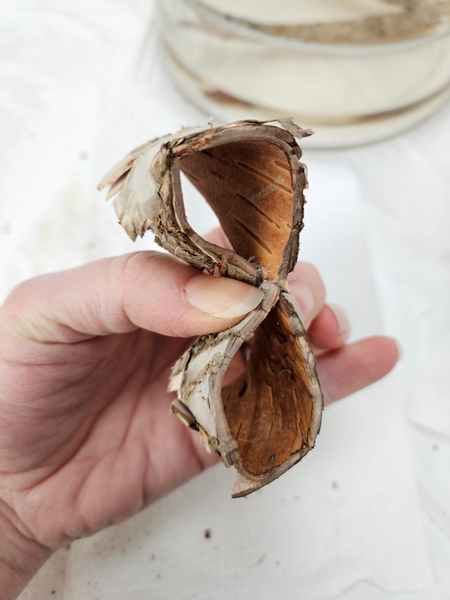
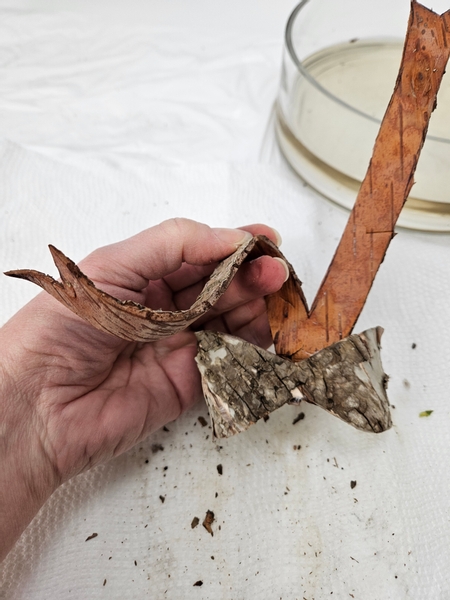
Carefully curve the sides towards the inside of the bark...
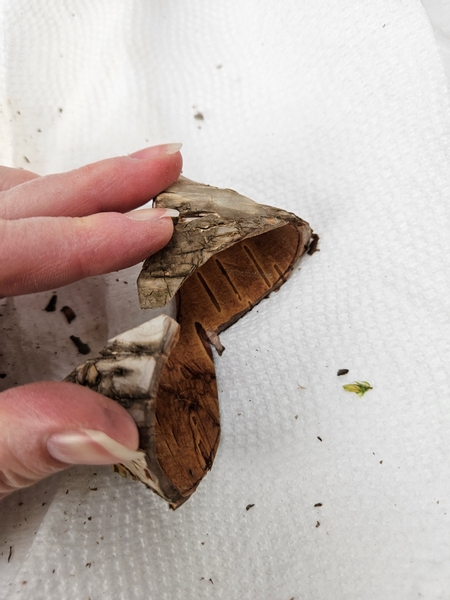
Manipulate the bark slowly to prevent it from snapping...
Secure the bark in the middle with hot glue.
Curve the top part of the ribbon tail piece over...
Hook the curve of the tails over the top bow part and glue it in place with hot glue.
Slowly curve the ribbon tails...
... Into a festive looking bow.
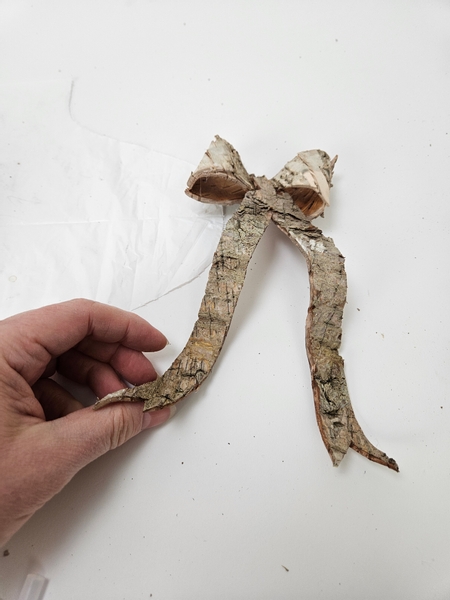
Bark bow ready to design with.

I am using two glass containers as my mechanic... one stacked on top of the other. Fill the sturdy "bottom' container with water.
Book readers to learn more about using multiple containers to keep your designs in place turn to page 169 of my book. For more information about my book: The Effortless Floral Craftsman
But to get you started I have also included a Tutorial on how I use the double vase trick as a mechanic below.
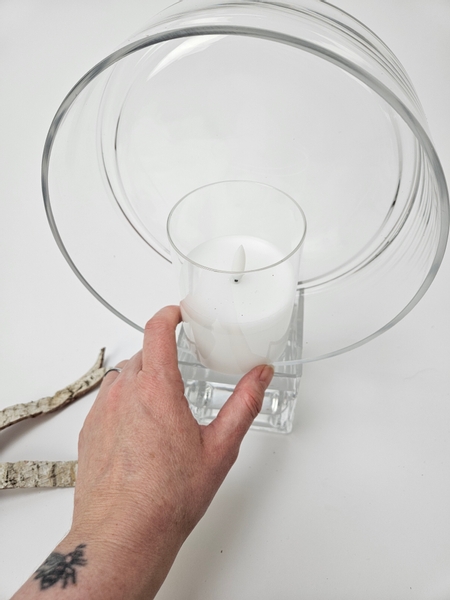
I am stacking a shallow container on to this water filled container and then fitting a flameless candle into that...
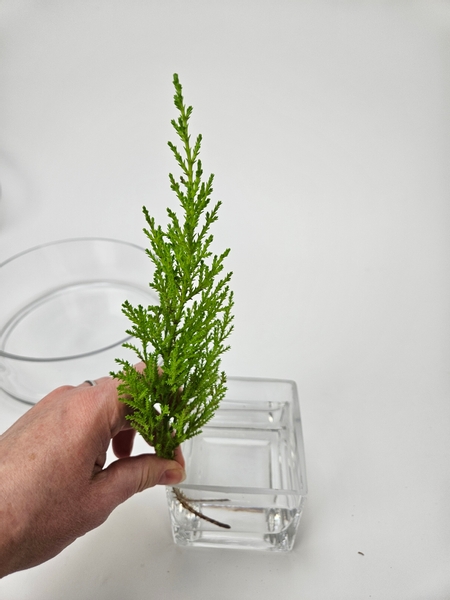
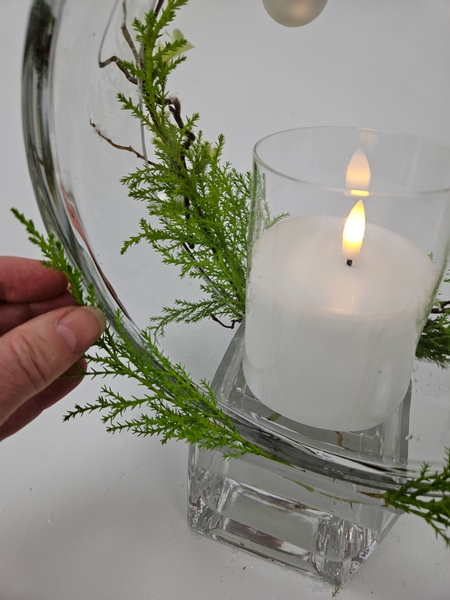
To choose the size and decide on the position of the containers measure a small gap on either side (the front and the back) that can fit 4 lemon cypress branches.
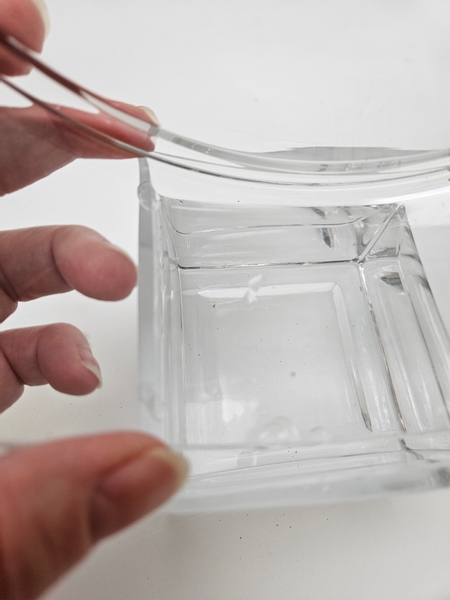
Secure the two containers together with small drops of hot glue.
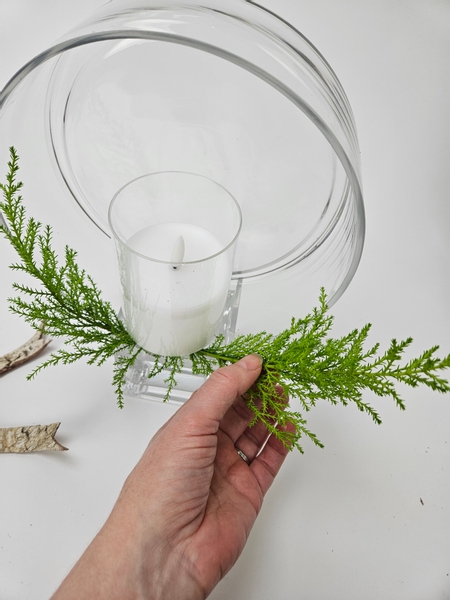
Slip two cypress branches through the gap and into the water in the container below so that they remain hydrated.
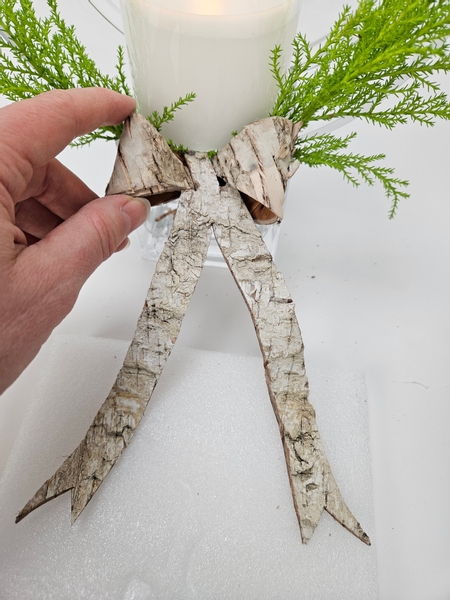
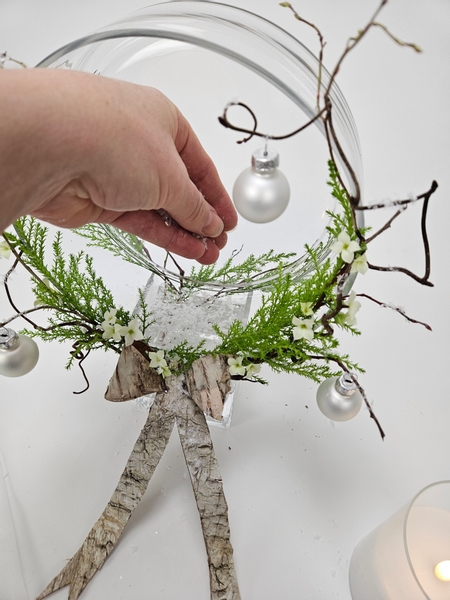
Glue the bow to the front of the design.
This week in our email I show you how I secured the bow so that it hovers away from the container rather than resting flat on the design surface. It adds a modern lightness to the overall effect that is well worth the tiny bit of effort. I send out an email every Wednesday (Vancouver time) with a handy tip that I explain in more detail to make sure you get even more benefit from my weekly inspiration design. You can sign up to join in below this post.
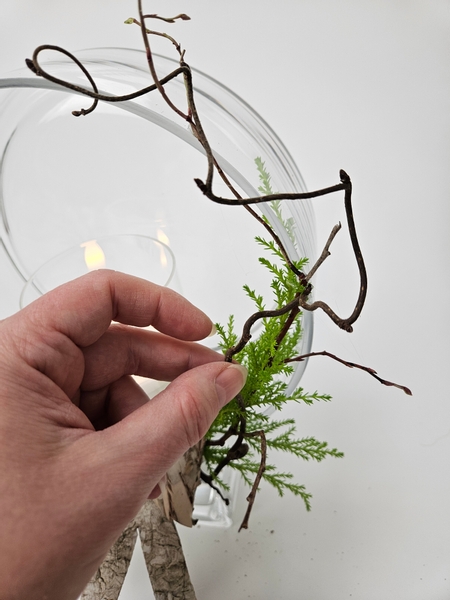
Slip a few contorted hazel and huckleberry tips into the container to help support and guide the cypress branch into a curve to follow the glass container shape ...
Design tip: secure the branches with hot clue to the container to create an elegant and minimal curve.
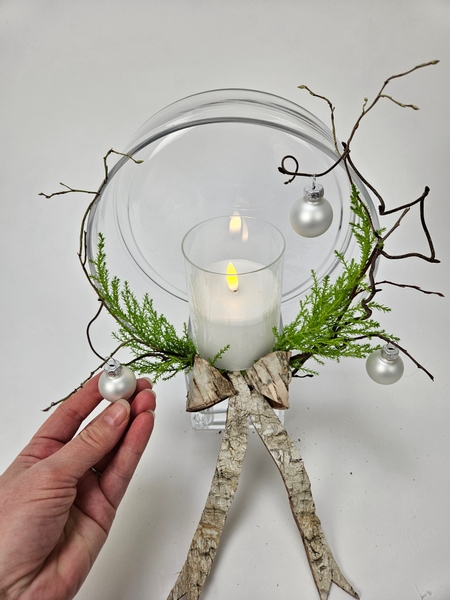
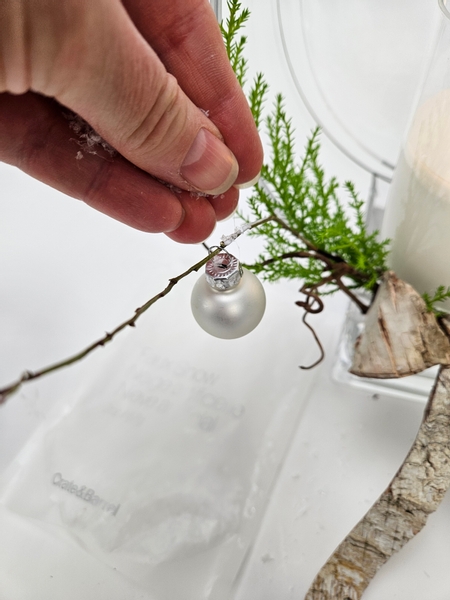
Hang a few baubles to dangle from the twigs.
Turn the design around and add a few cypress branches to follow the glass curve into the back.
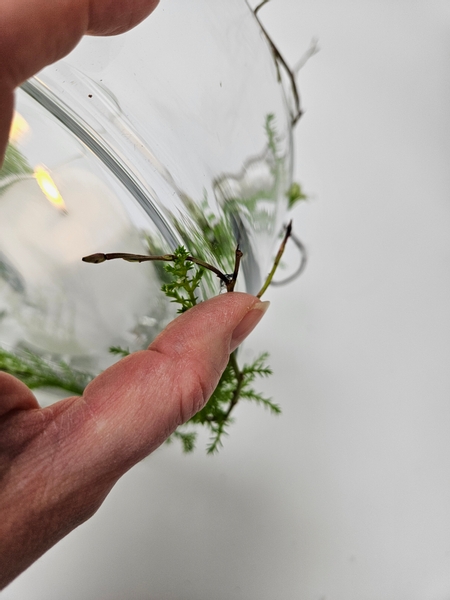
Add in a few twigs and secure them to the glass to help guide the cypress.
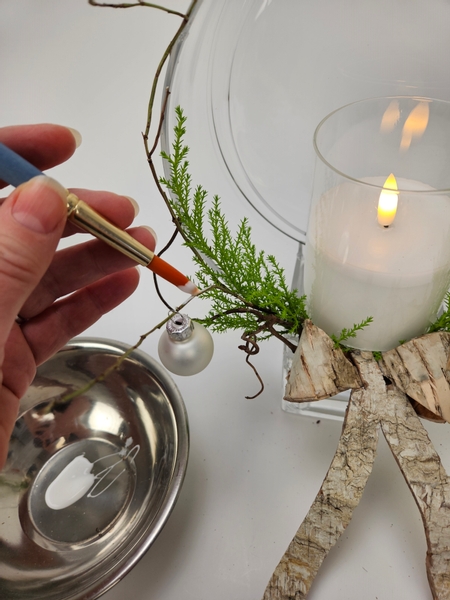
Paint the twigs with a bit of thinned wood glue...
And sprinkle on a light dusting of snow.
See the Tutorial below for more detailed instructions on how to add snow to twigs.
Glue in a few Kalanchoe flowers (no need for a water source, the succulent flowers will last a surprisingly long time glued into a design like this) and finish the design with a dusting of snow in the base of the top container so that the inside is also snow covered...
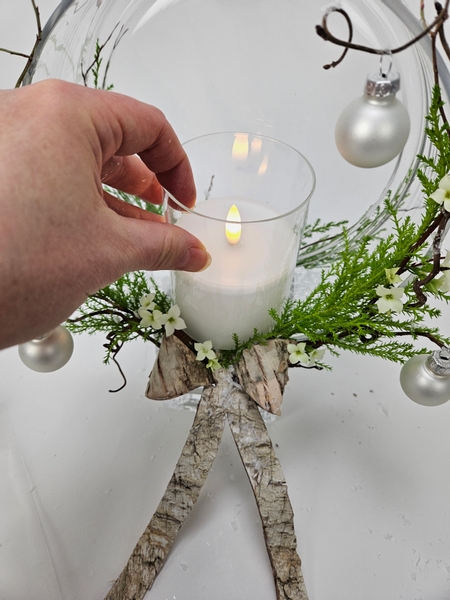
And place the candle on the snow so that you have easy access to the on off switch and can replace the battery if needed.
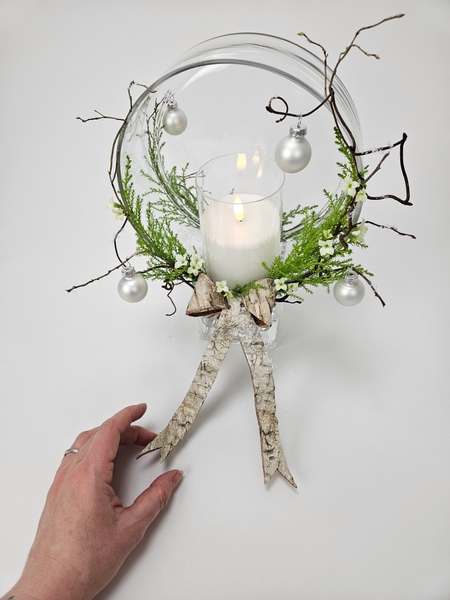
I wanted to create a design that gives that nostalgic feeling of seeing a twinkling candle in a window.... so I am adding design details to the back so that you look through the glass. Position the baubles at the back to lead your eyes through the design.
Every good wish for a Merry Christmas, Flower buddies. Have a fun and flower filled day.
Sign up for my weekly newsletter
Every week I add a new design with related tutorials. Be sure to subscribe to receive an email notification with design inspiration.


 Cotton Christmas")


