Christine de Beer - effortless floral craftsman
Twirling New Year’s wish upon a sparkle star
- 1 January 2025
- and more

Draw a star on paper to use as a template...
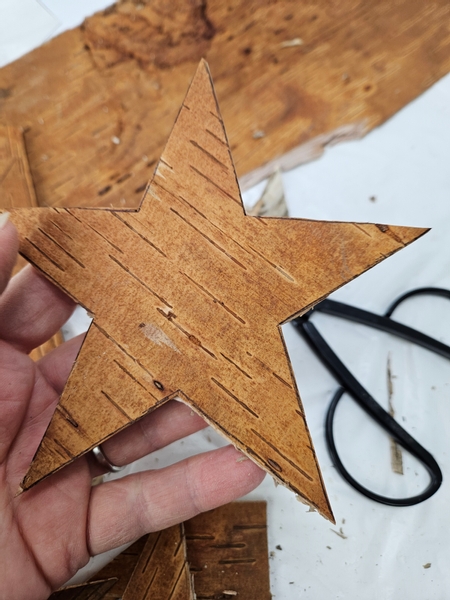
Retrace the shape on to birch bark and cut it out.
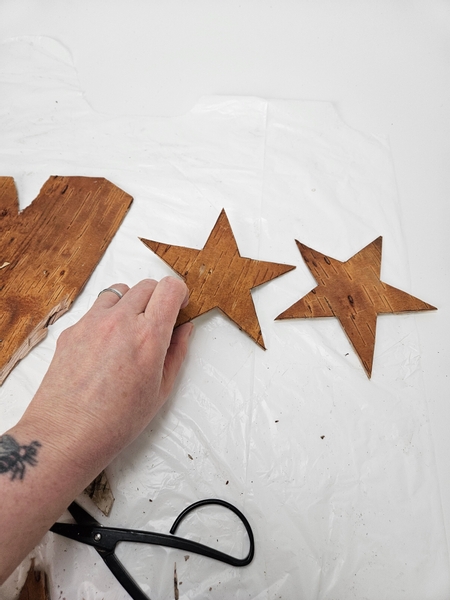
For this design you will need two birch stars.
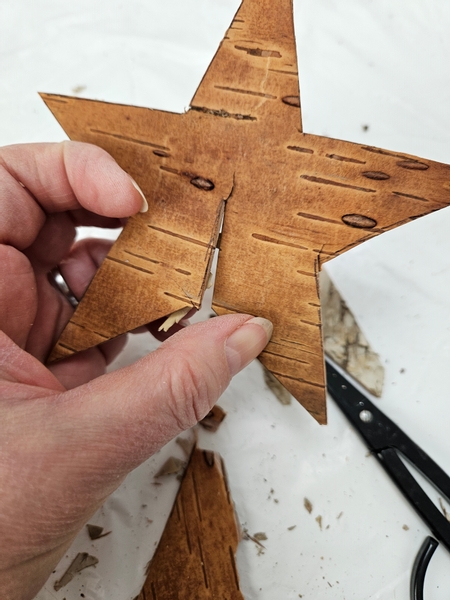
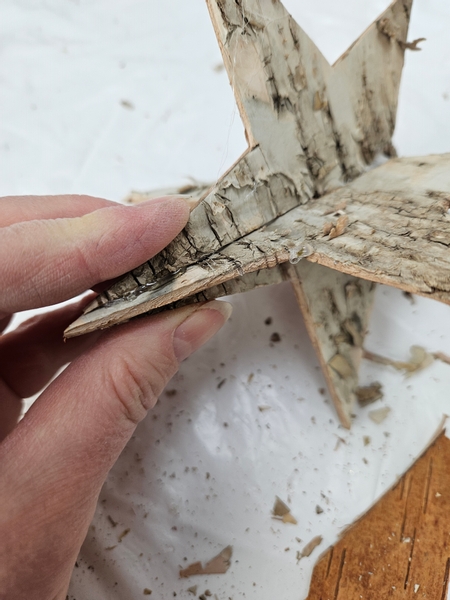
Cut into the star and split it slightly open.
Design note: it is not too much of an issue if it rips slightly. Just make sure to control the rip so that the bark don't split open completely.
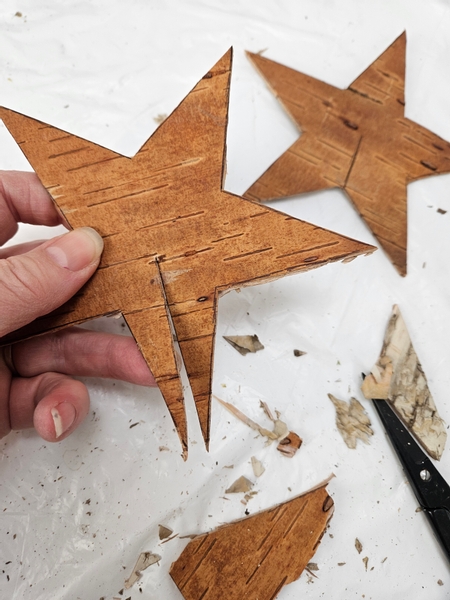
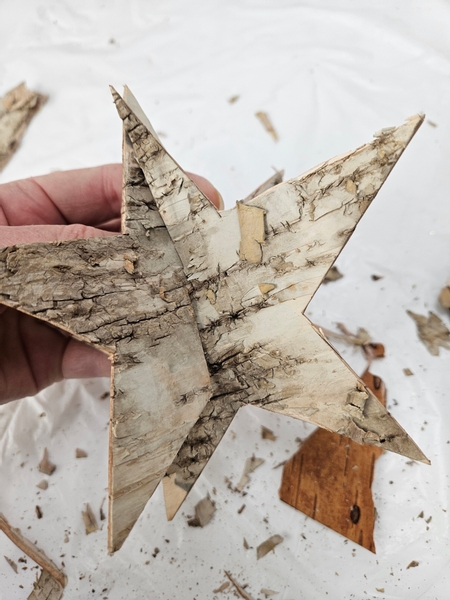
Cut into the second star. Here you can see where to make the two cuts. The first cut is from the sharp point into the star pointing into the V of the star at the opposite end and the second between two sharp points pointing into the sharp point where you cut into the other star.

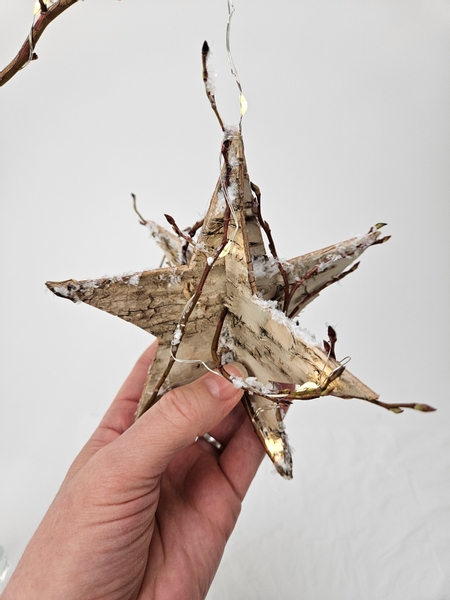
Carefully match the two stars into each other using the cut strips so that they combine.

Wiggle the bark slowly into position...
Until you can open it up into the star shape.
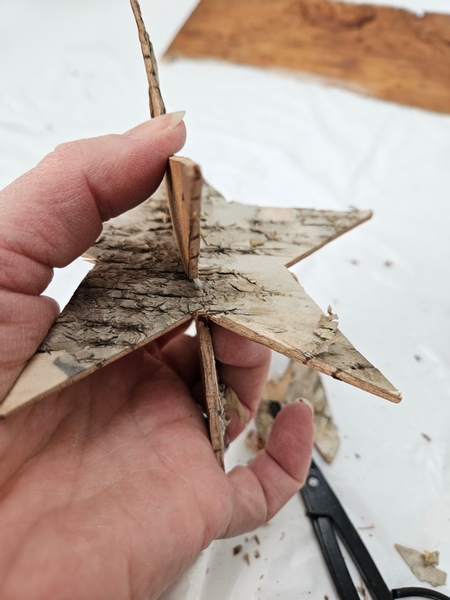
Take care not to force it to the point where the bark is damaged. It is perfectly perfect to have a lovely and imperfect star... we are working with bark after all!
Most of the imperfections will disappear or at least be less visible anyway when you start to secure the pieces into place with hot glue.
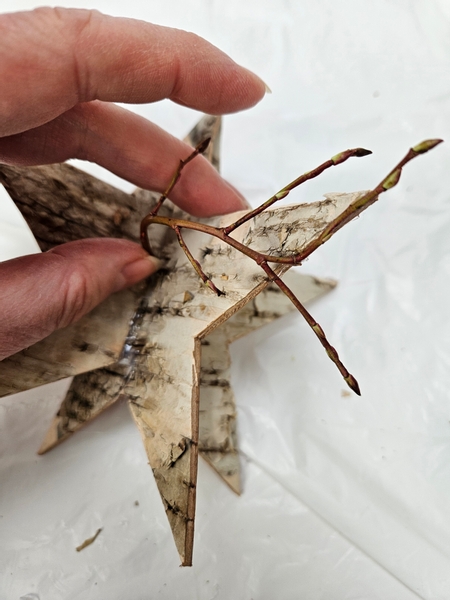
Glue a few huckleberry tip stems on to the bark star.

Turn the star and add tips to the next level...

So that it looks like the star is overgrown with fresh tips and twigs... with hopeful buds that are about to burst into life.
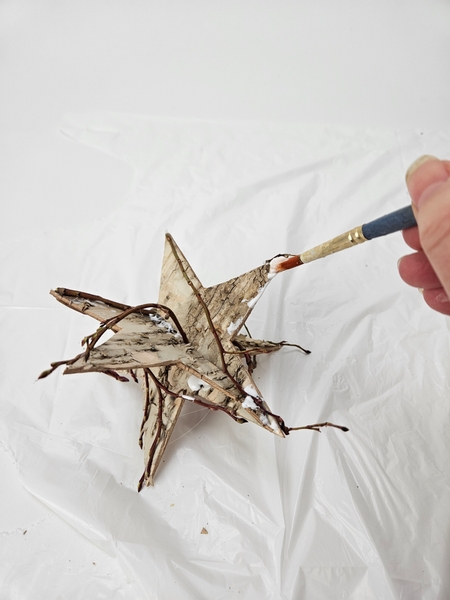
Paint a bit of wood glue every here and there...
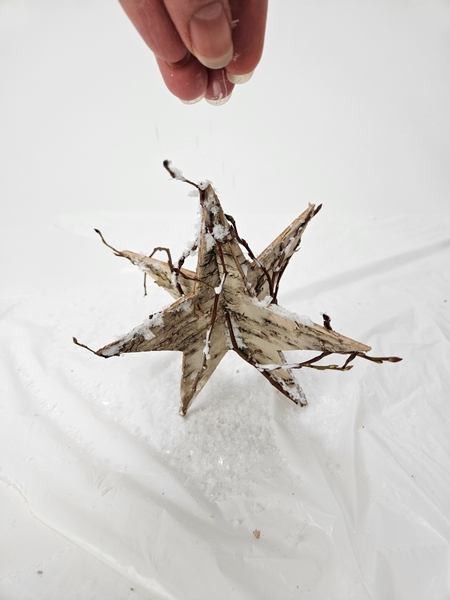
And sprinkle the design with a bit of artificial snow
This week in our email I tell you a bit more about the snow I use. There is a link to the exact snow I use and I show you how I adjust my end of life plan for my design so that I can compost the plant material and reuse the snow in a continued effort to make my design room waste free. If you are not yet receiving the weekly tip email from me the sign up is below this post. You can expect one email a week, every Wednesday morning (Vancouver time) the moment the latest design is ready for you to view.
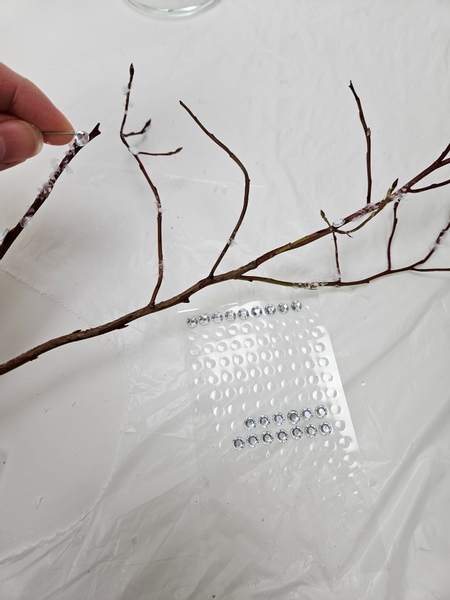
Also add a bit of snow to a huckleberry twig. You can find a Tutorial for how to do this below the post.
And add a few dew drop crystals in for extra sparkle. Also, see the Tutorial below for detailed instructions on how to do that.
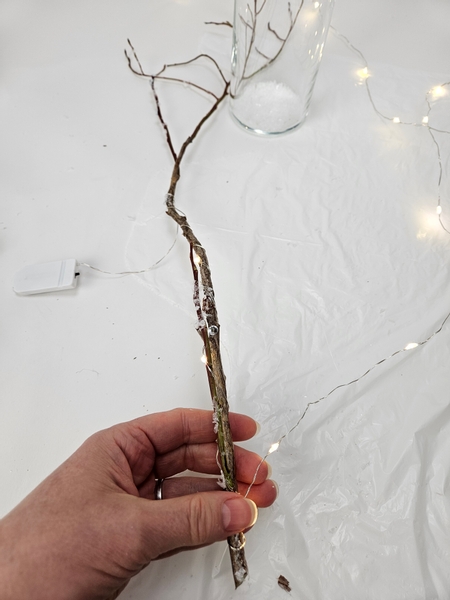
Place the battery pack of a string of fairy lights at about the middle of the twig and start to wrap the lights all the way down the twig to the cut end...
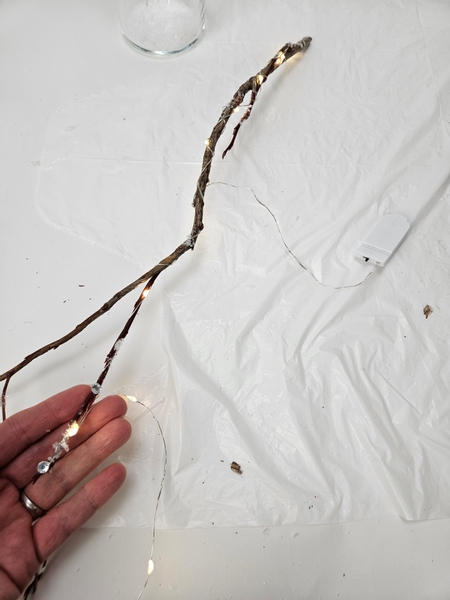
And wrap the lights all the way up again past the battery pack (securing it in place) and up to the tip of the twig.
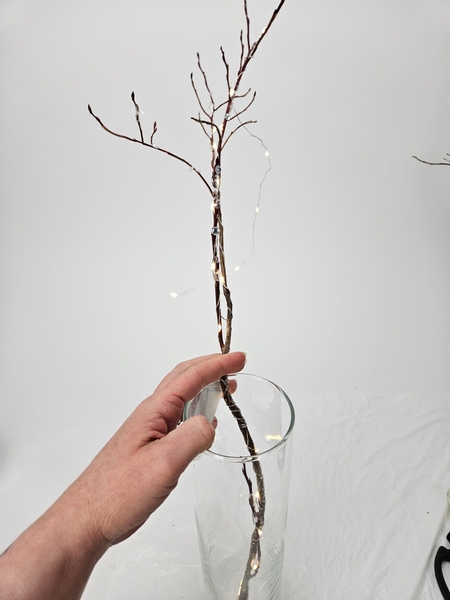
Place the twig in a cylinder vase so that the battery pack is right outside the container and the tip of the fairy lights dangle down.
Book readers turn to page 140 for a summer Christmas idea... instead of snow we use water. You can simply hang your star from this submerged armature
For more information about my book: The Effortless Floral Craftsman
Secure the battery pack to the container with clear tape. You can tape it on the inside... or outside. I prefer the outside so that it is easy to switch it on and off without disturbing the design.
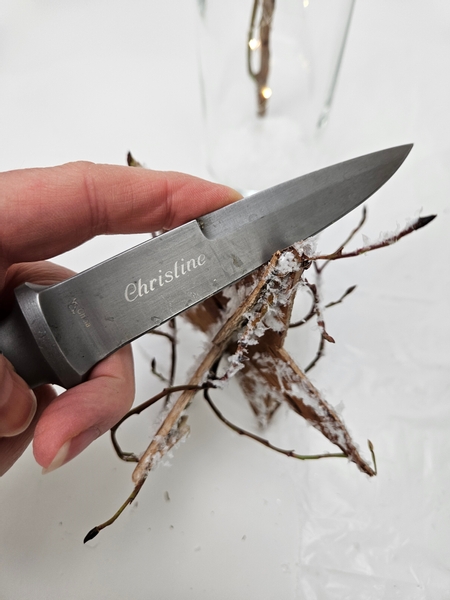
Cut into the top of the bark star with a sharp knife...
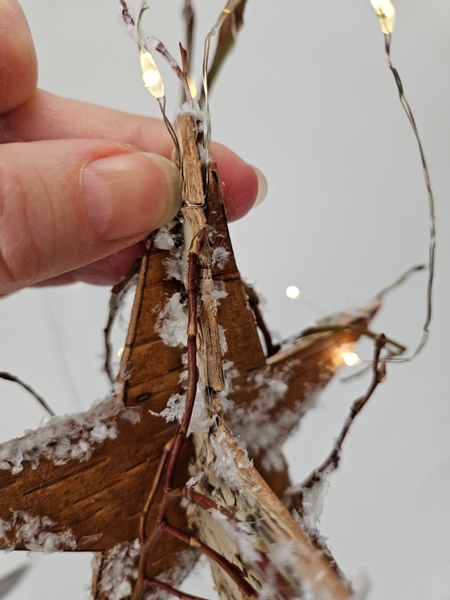
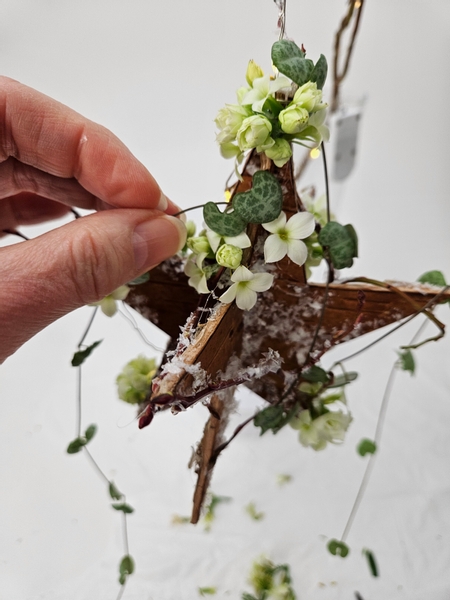
And slip the fairy light wire through the cut and bend the wires up...

Wrap the fairy light wire around the wire that is now hooked through the bark star to secure it...
And use the left over fairy light to add sparkle to the star design.

Your star is now hanging like a drop from the twig so that it can twirl freely.

Glue in a few clusters of Kalanchoe flowers.
You can add the flowers just by sealing the cut stem ends with the floral glue you use to secure it with. No need for a water source. It will remain pretty and fresh looking for a surprisingly long time.
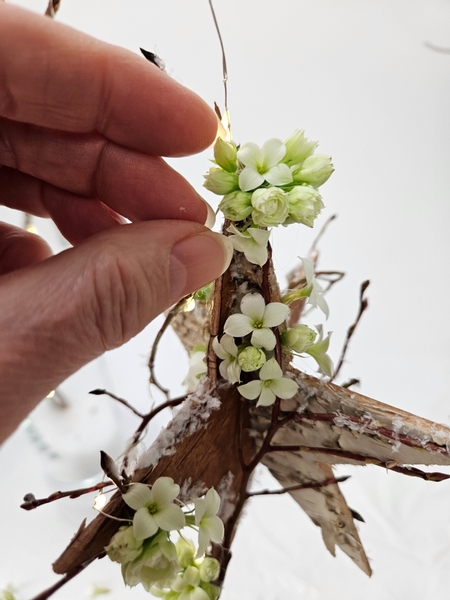
The star will turn so make sure to add flowers all around the bark shape.
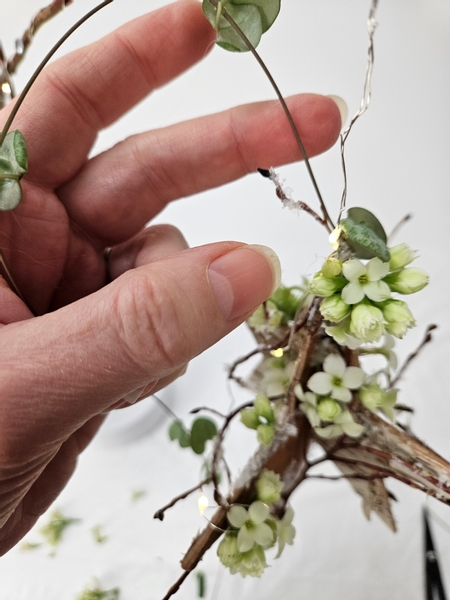
Glue in a few rosary vines...
To twirl and dangle down the star shape.

Fluff out some cotton wool...
See the Tutorial below for more detailed instructions on how to turn cotton wool into "snow"
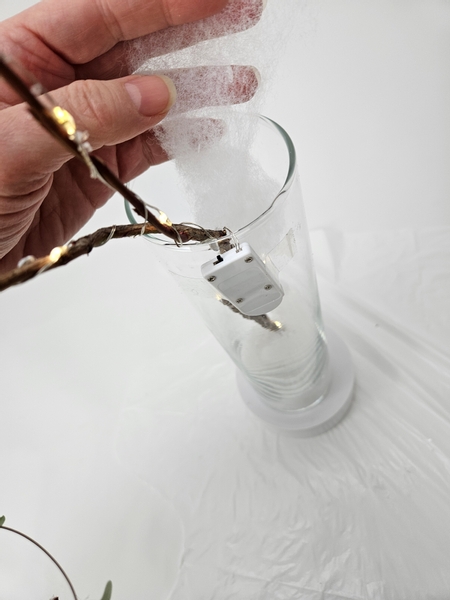
Slip the strip of wool down the container...
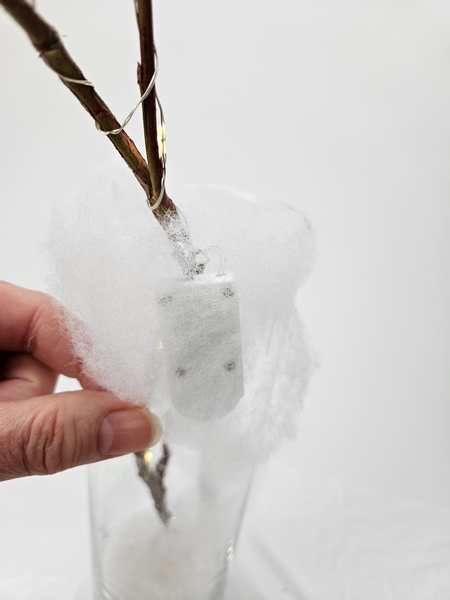
And up and over the side to conceal the battery pack.
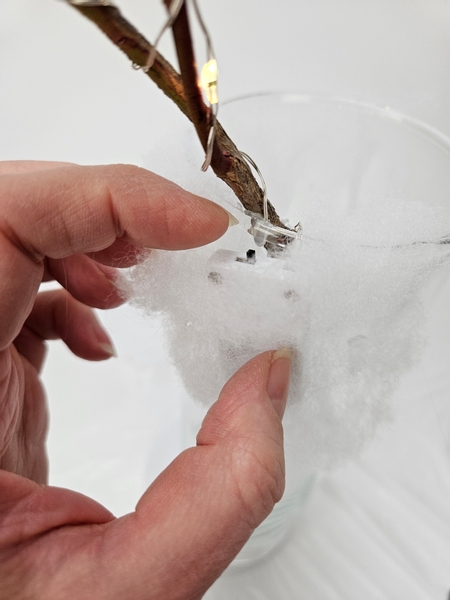
But make sure you can still operate the light switch.
Add a handful of artificial snow over the cotton and allow it to lightly dust the inside of the vase... and you are ready to display your star.
Sign up for my weekly newsletter
Every week I add a new design with related tutorials. Be sure to subscribe to receive an email notification with design inspiration.


 water source")


